Promotions
Promotions
Current Promotions
-

Promotions, Rewards & Special Offers
for the latest Promotions, Rewards and Special Offers from Duck® brand.
-
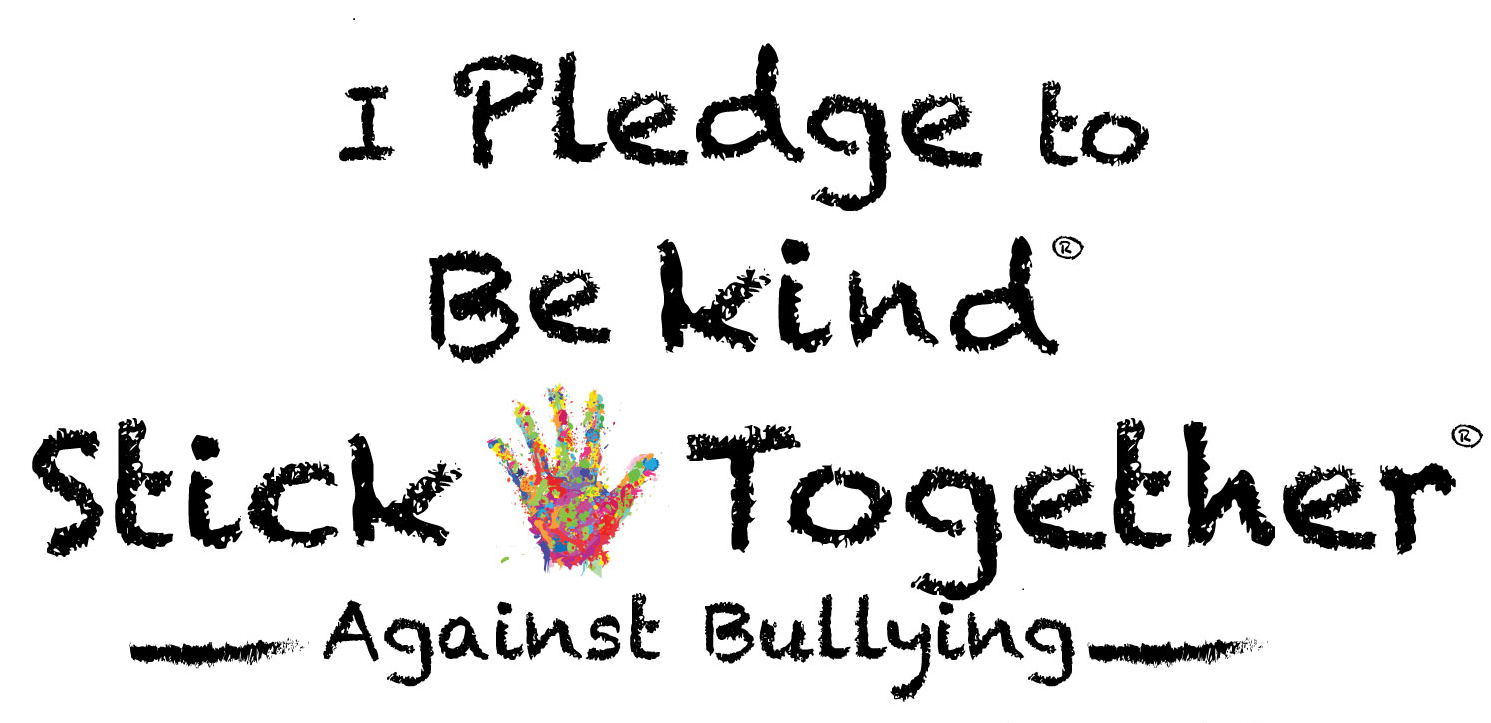
Be Kind® Stick Together®
Help us "Be Kind® Stick Together®" against bullying. Get some tips and resources to help.
-
Take the Pledge
Make your pledge below - Together we can "Be Kind® Stick Together®" against bullying.
-
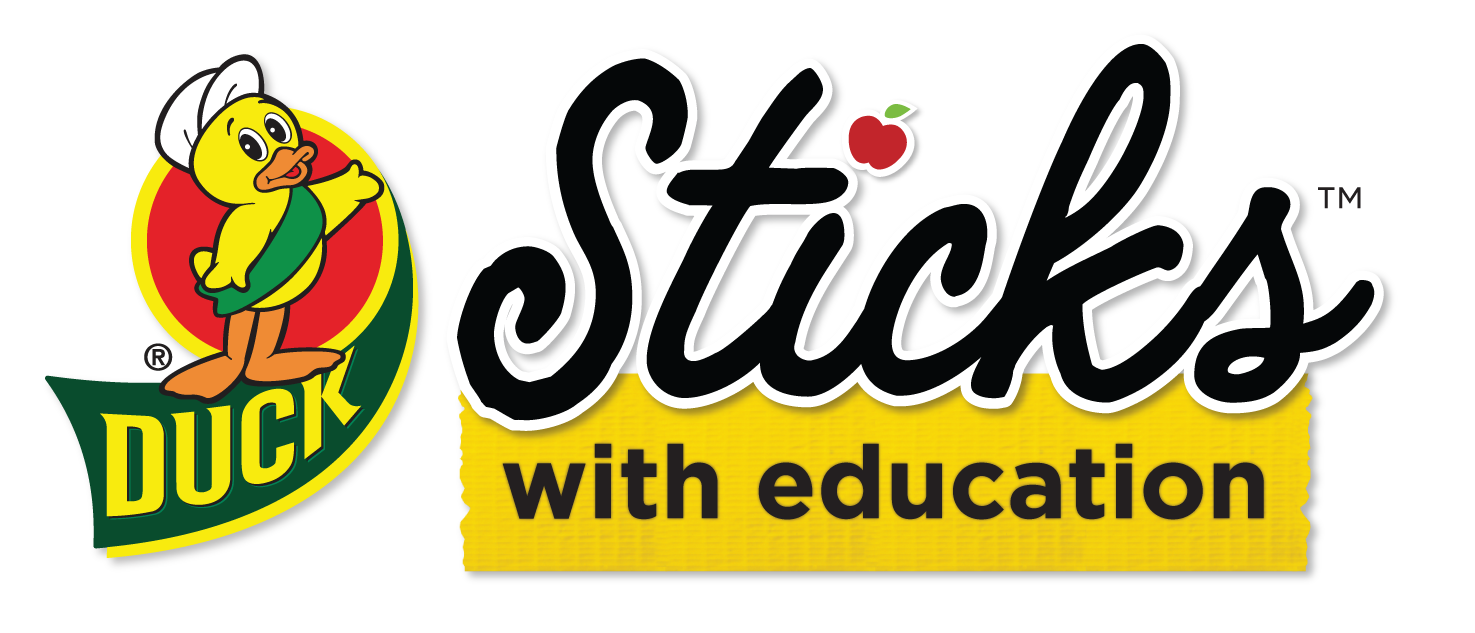
Sticks With Education®
Nominate your favorite teacher for a chance to win! Read the Official Rules.
-

Confused about how to get started? We can help.
Try our Weatherization Project Selector to find out which DIY products match up best to your needs.