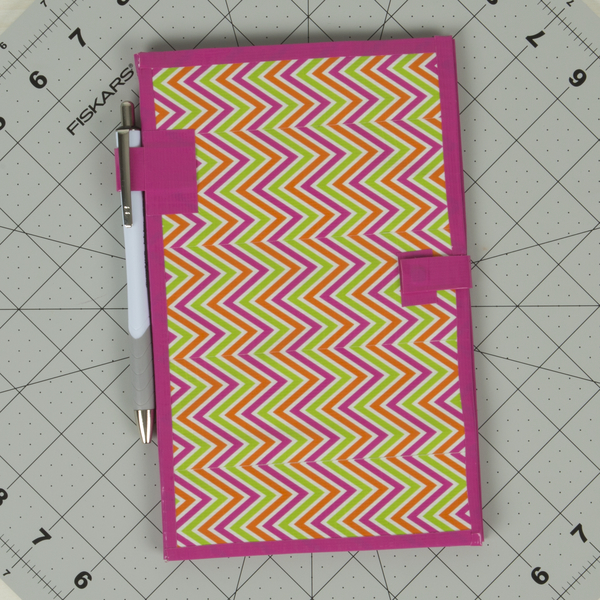
How-To: Duck Tape® Back-To-School Organizer
Supplies & Tools
- Color Duck Tape®
- Printed Duck Tape®
- Duck Tape® Fabric Tutorial
- Scissors
- Notebook
- Small magnets
- Crafting board
- Craft knife
- Ruler
- Small magnets
- Crafting board
7 Steps
1
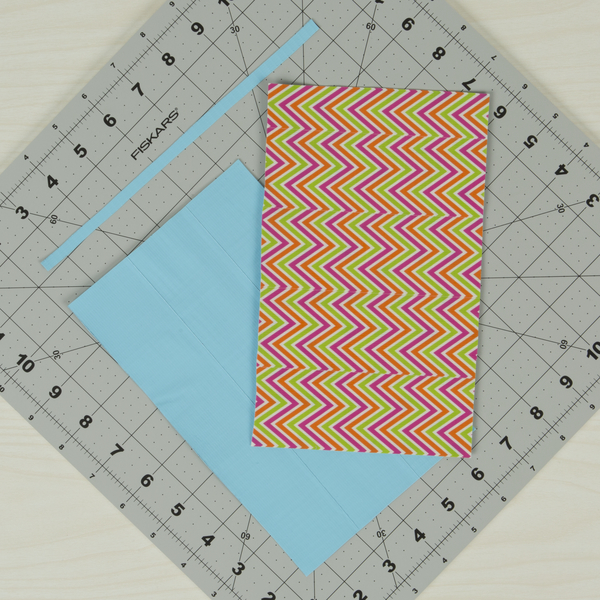
Measure the size of your notebook. Make 2 pieces of Duck Tape® fabric that are the sizes of your notebook and one thin piece that is the same length of your notebook and about .5 in. wide.
2
Tape all 3 pieces from step 1 together to make a cover for your notebook.
3
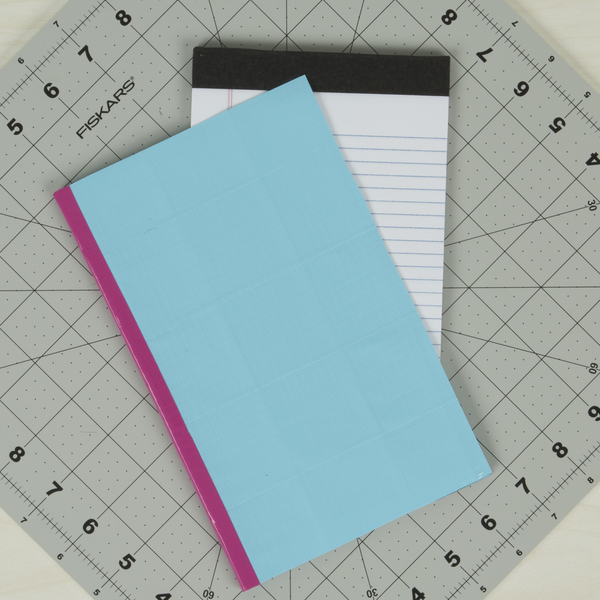
Tape your notebook to the inside of the piece from step 2.
4
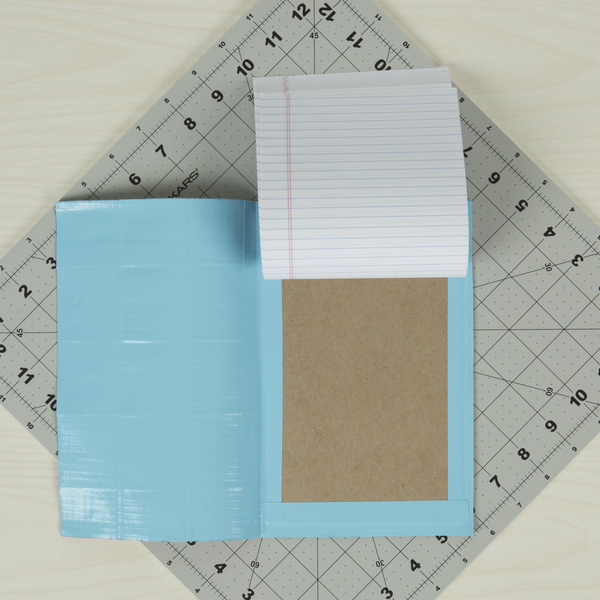
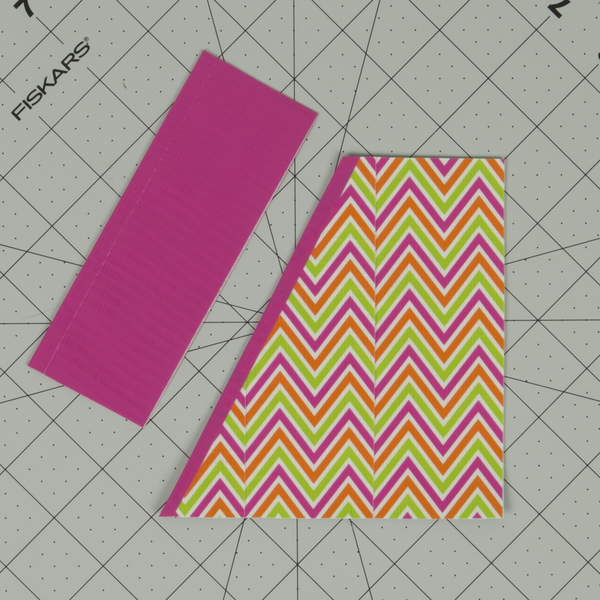
Make pieces of Duck Tape® fabric that are the size and design you want for the inside of your pockets.
5
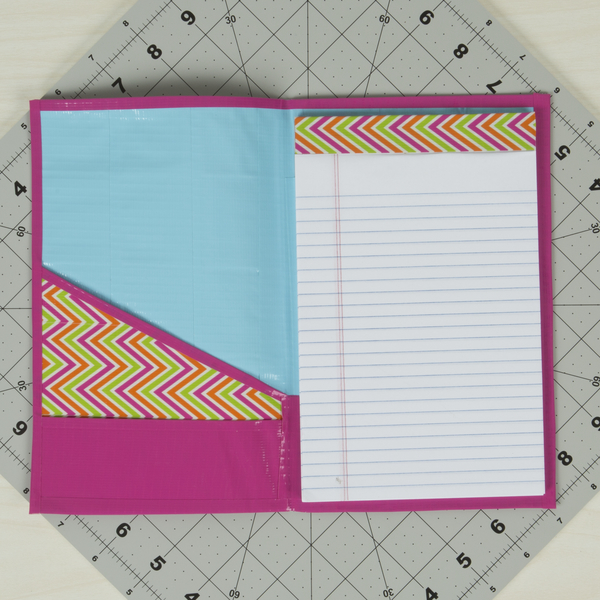
Attach your pockets to the inside of your organizer.
6
Make 2 small, double-sided strips of tape. Add magnets on one of your strips.

7
Attach the strips of tape to the front of your organizer, making one of them to hold your pen or pencil.
