How-To: Duck Tape® Belt
Supplies & Tools
- Duck Tape®
- Belt Buckle
- Scissors or Craft Knife
- Hole Punch
- Crafting Board
9 Steps
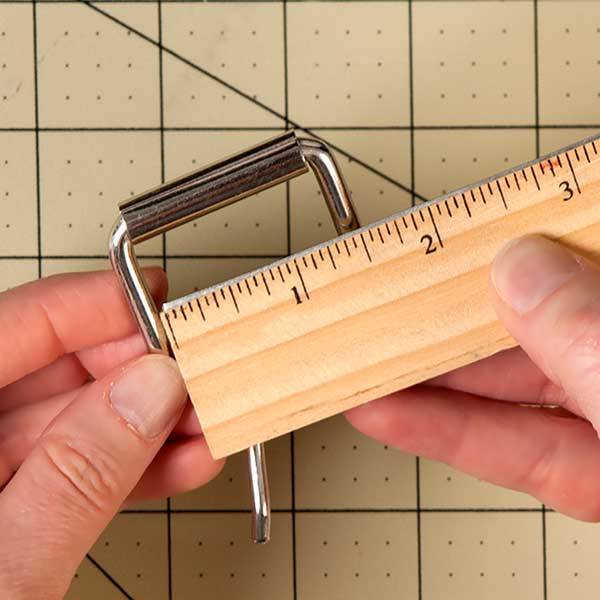
1
Use a buckle that is 1.5 in. long. Set this aside.
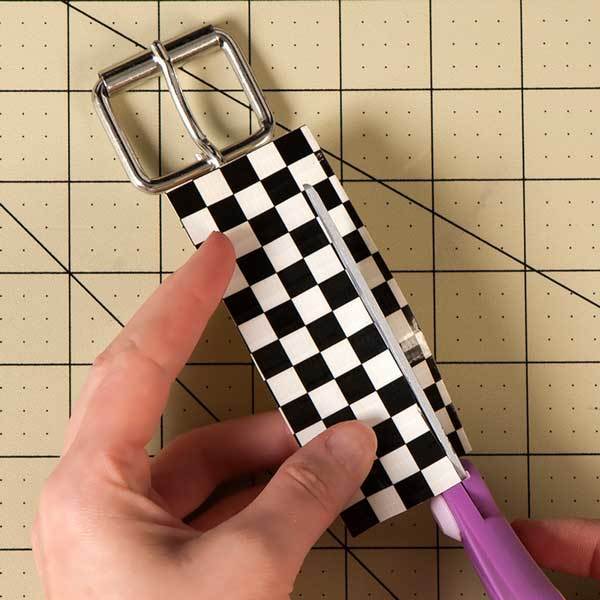
2
Make a double sided strip of Duck Tape® that is 4.5 in. long. Cut it down the middle about halfway up the strip of tape.

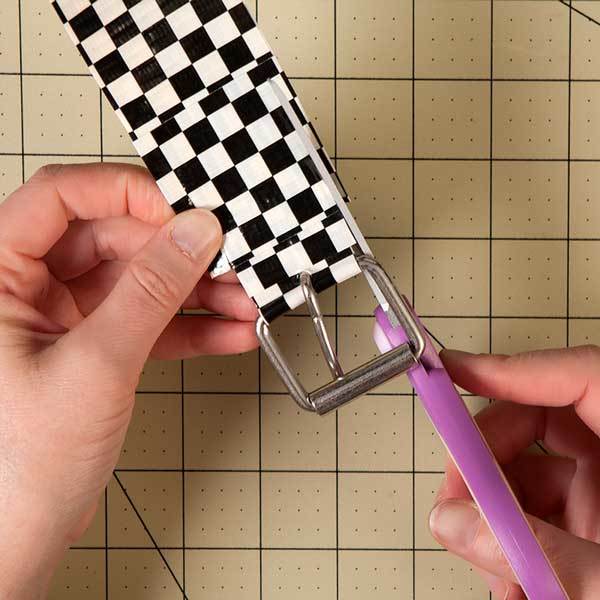
3
Place the buckle in between the slit of the tape.
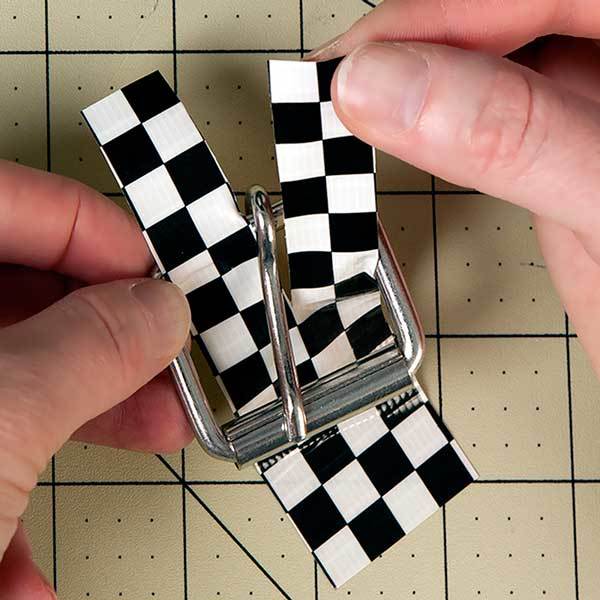
4
Wrap the two strips over the buckle and secure it with a 2.5 in. long strip of Duck Tape®.
5
Trim off any excess tape. Set this aside.
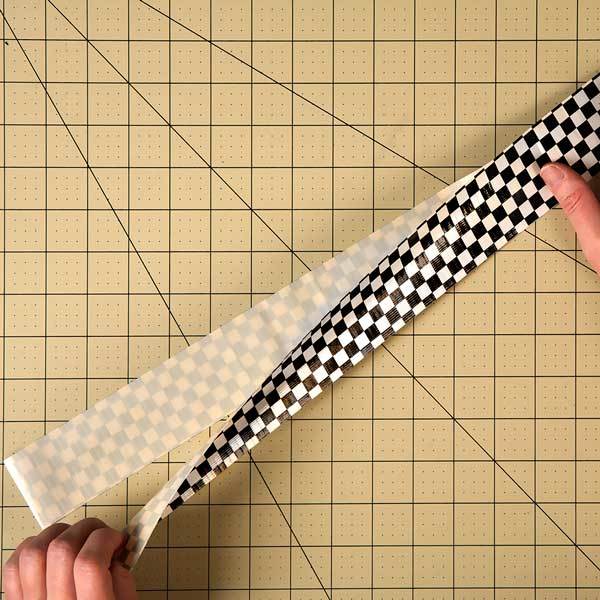
6
For your belt, cut two strips of tape to the length that you want your belt. Place both sides on top of each other, sticky side to sticky side.
7
Cut off any excess tape so your belt is the same width as the buckle piece you made in step 4.
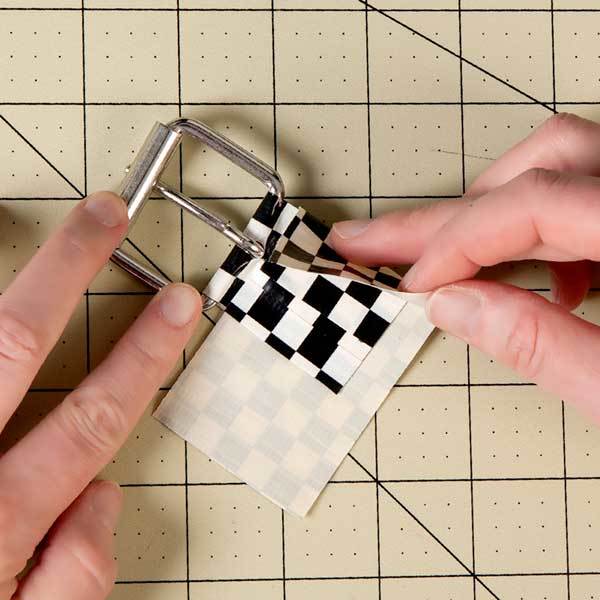
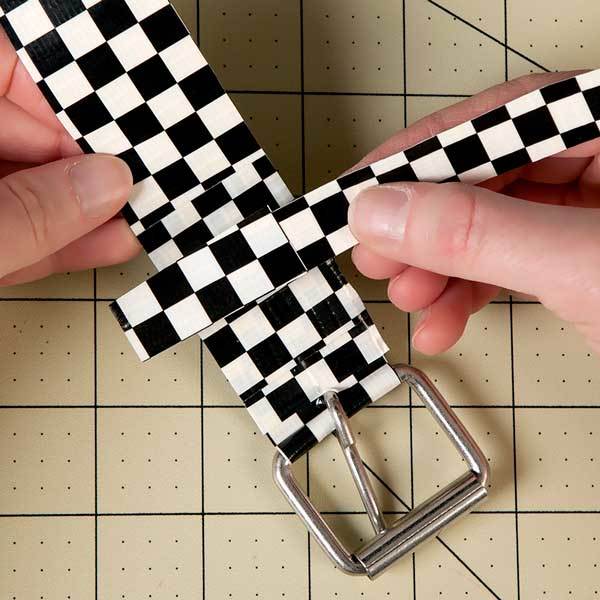
8
Secure the buckle to your belt with a thin strip of tape wrapped around both pieces.
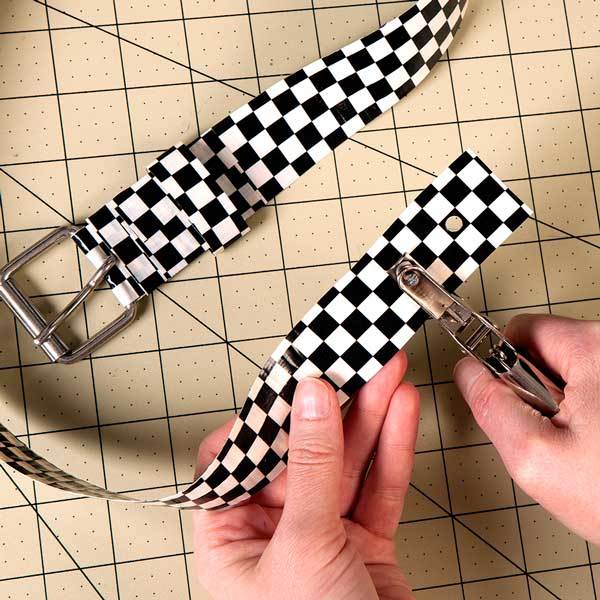
9
Take a hole punch and make holes along your belt.