Facebook Duct Tape, Packaging Tape, Moving, Shipping | Duck Brand

How-To: Duck Tape® Bow Belt

  • 15 Minutes
  • Beginner

Supplies & Tools

  1. Duck Tape®
  2. Scissors
  3. Ruler
  4. Hook & Loop Fasteners
  5. Crafting Board

7 Steps

1

Make a double sided strip of Duck Tape® that is 2-4 in. longer than the length of your waist.
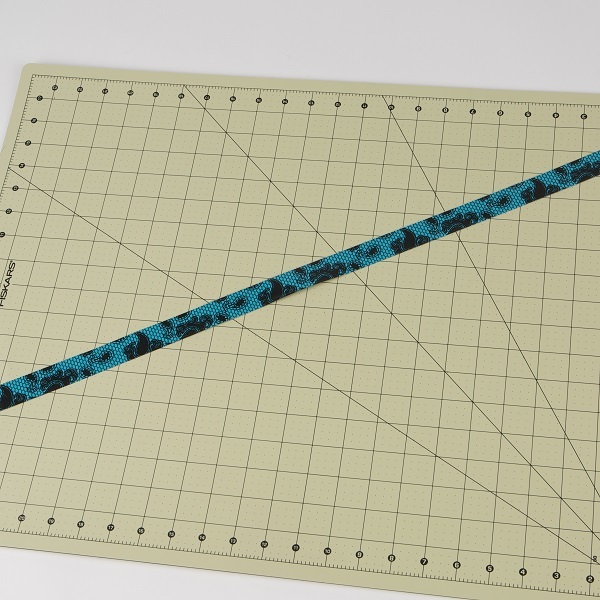
Double sided strip of Duck Tape created by folding a piece of tape over itself

2

For the bow, make a double sided piece of Duck Tape® fabric that is two strips wide. The length depends on how big you want your bow to be.
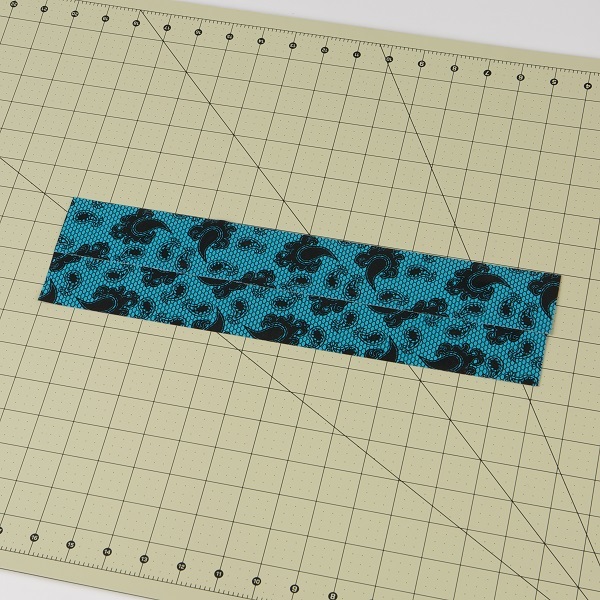
Duck Tape fabric made by laying two pieces of overlapped tape over another set of overlapped pieces

3

Take the fabric from step 2 and form it into a loop. Tape the two ends together.
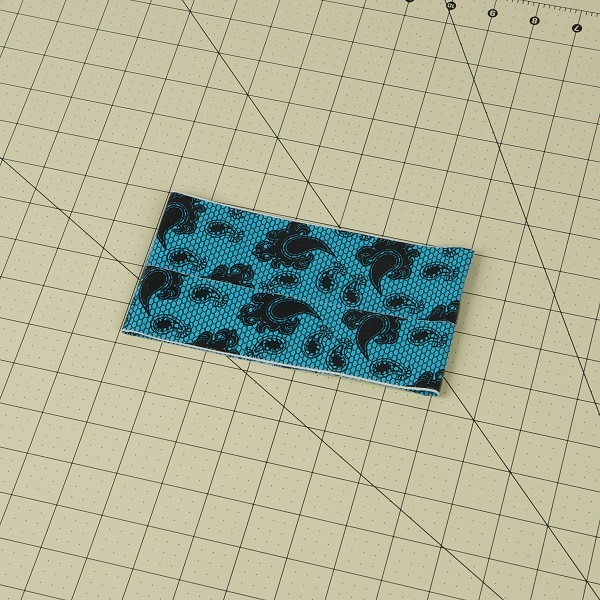
Fabric from previous step folded into a loop and secured at the ends

4

Pinch the middle of your loop and secure it with a strip of Duck Tape® to make your bow.
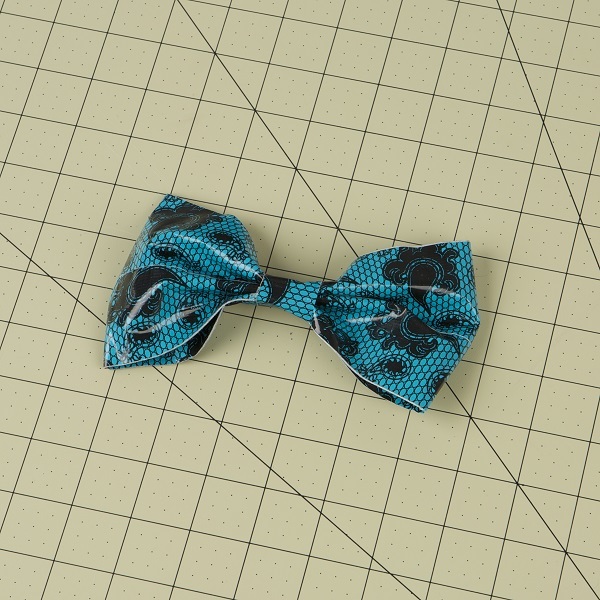
middle of the  loop made in the previous step pinched together to form a bow tie shape. Then secure the middle by wrapping a strip of tape around the center

5

Attach one end of your strip from step 1 to the back of the bow.
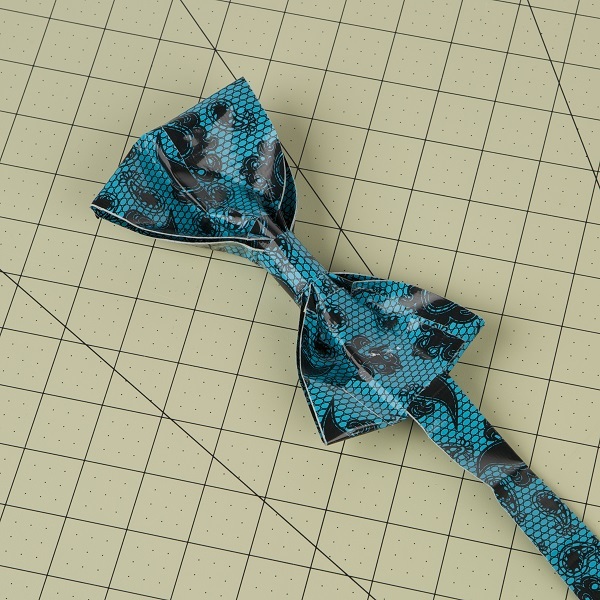
bow made in previous step attached to the end of the double sided strip made in step 1

6

Add a hook and loop fastener to the other end and to the back of your bow so you can take your bow belt on and off.
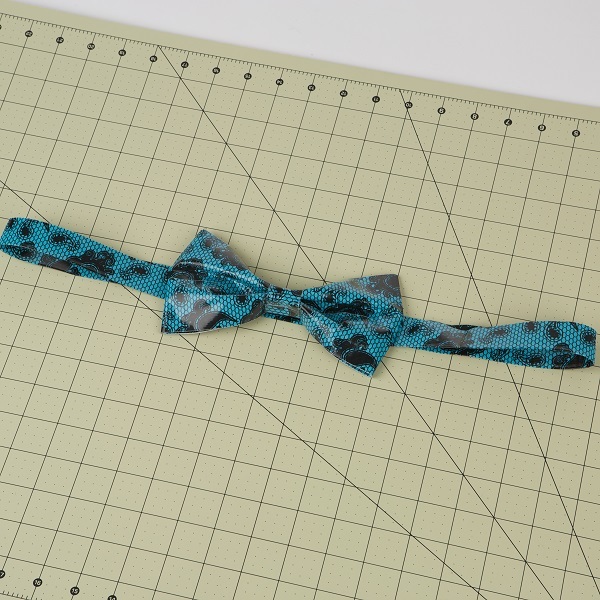
hook and loop fastener attached to the back of the bow and the other end of the strap so that it will secure the belt around your waist

7

You can repeat the steps for the bow to make a matching hair clip, too!

completed Duck Tape bow belt with an optional hair clip