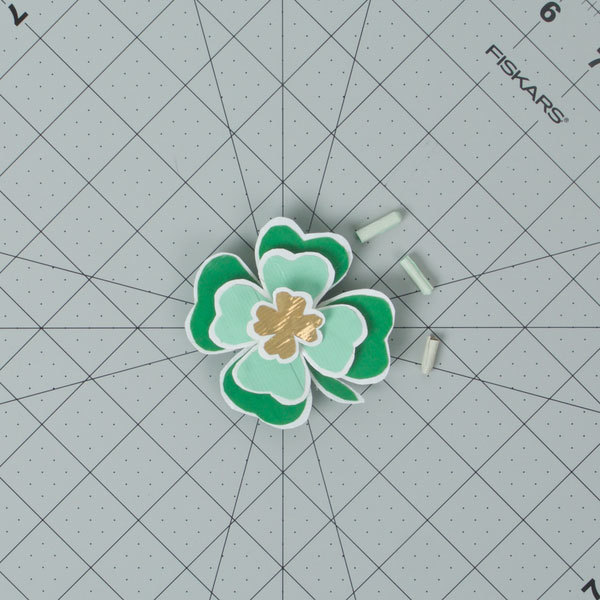
How-To: Duck Tape® Clover Magnet
Supplies & Tools
Supplies & Tools
- 4 colors of Duck Tape®
- Clover Template
- Cutting Mat
- Magnets
- Pen
- Scissors
- Wax Paper
5 Steps
1
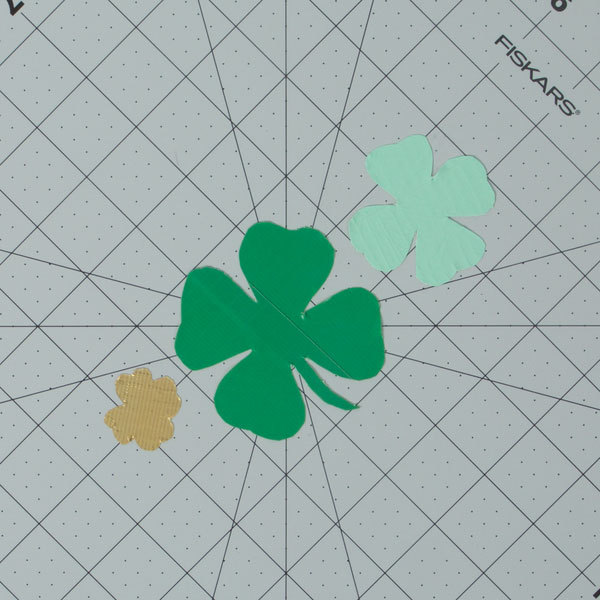
Cover three pieces of wax paper with three colors of Duck Tape. Place your clover template onto the color for your largest clover and cut out the clover shape. Make a medium and small size clover too.
2
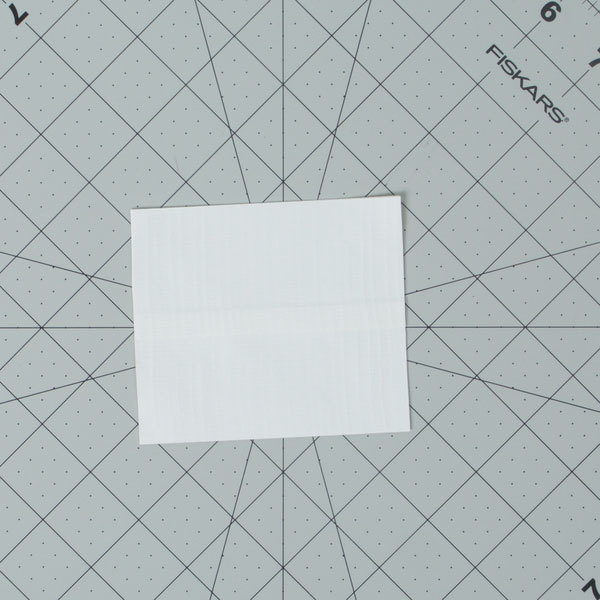
Tear a strip of white Duck Tape and place it on the cutting board. Tear another strip and place it on the first strip, overlapping slightly. Repeat until the sheet is big enough to fit your large clover. Peel the sheet up, flip it over and cover the sticky side with more tape. Make two more pieces of fabric.
3
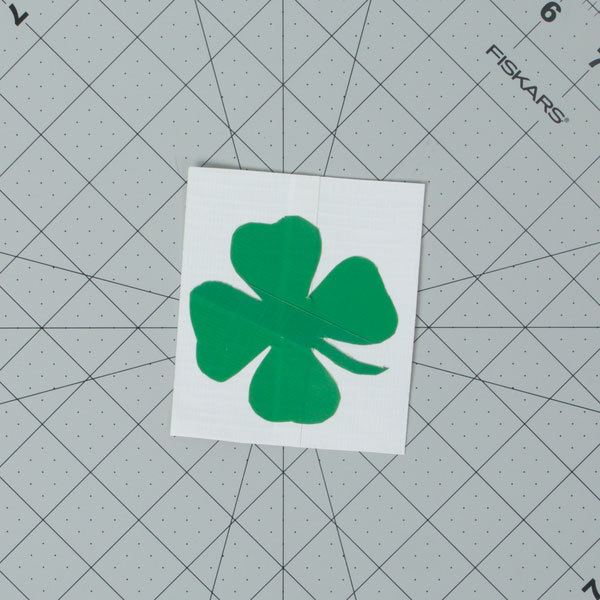
Peel the wax paper off the large clover and stick the clover to a white fabric sheet.
4
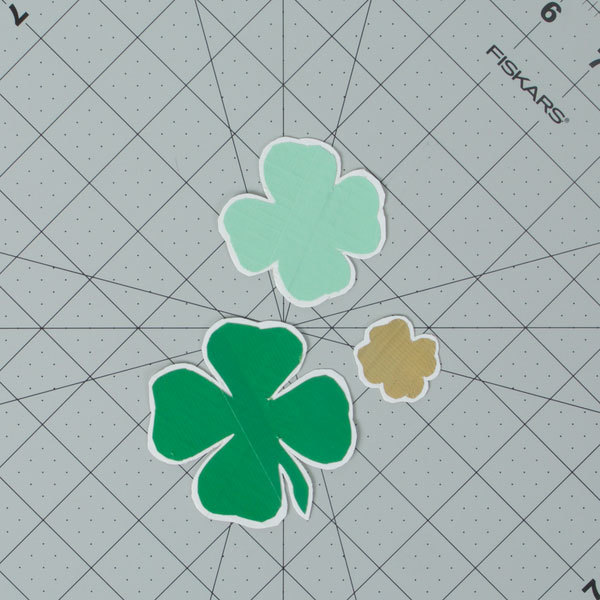
Cut out the large clover on top of the white fabric sheet, leaving a small white border. Repeat the same process for the medium and small clovers.
5
Roll up small pieces of Duck Tape and place on the back of the medium and small clovers. Then secure the different sized clovers to one another. Place your magnet on the back of the completed clover and secure with Duck Tape.
