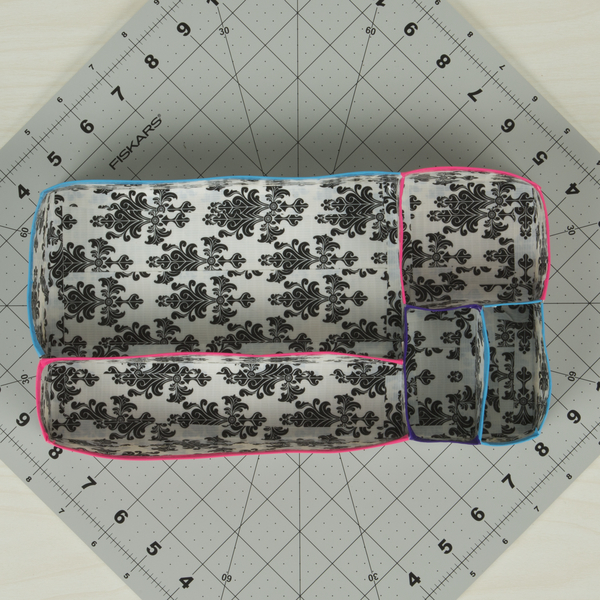
How-To: Duck Tape® Drawer Divider
Supplies & Tools
- Color Duck Tape®
- Printed Duck Tape®
- Duck Tape® Fabric Tutorial
- Scissors
- Crafting board
7 Steps
1
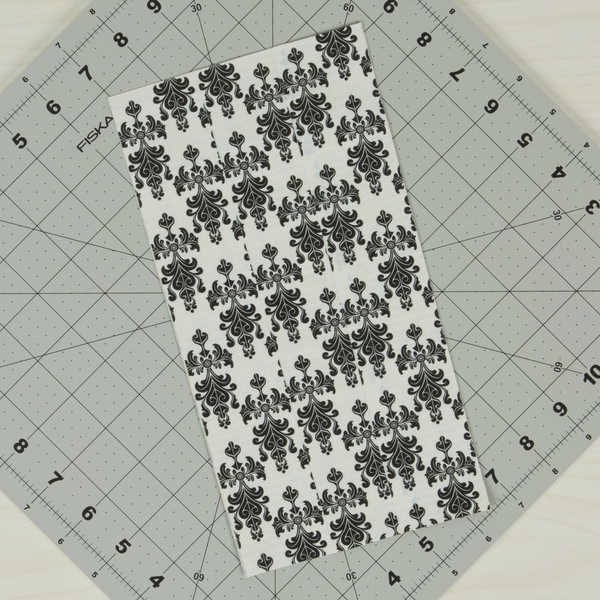
Make a Duck Tape® fabric that is 6 in. long and 4 in. wide.
2
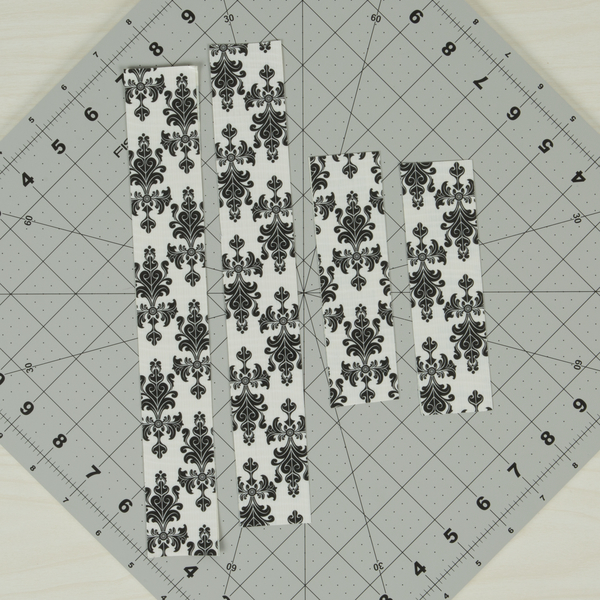
Make 2 Duck Tape® fabrics that are 6 in. long and 2 in. wide and 2 more pieces of fabric that are 4 in. long and 2 in. wide.
3
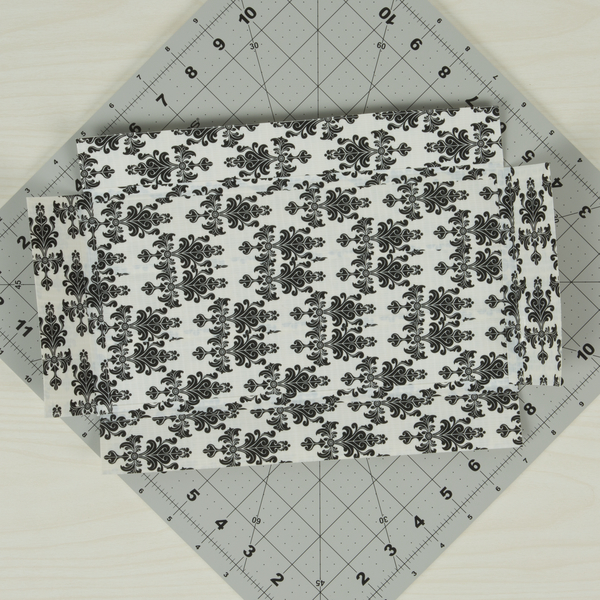
Lay down the side pieces on the edges of the bottom pieces and use pieces of tape to attach them.
4
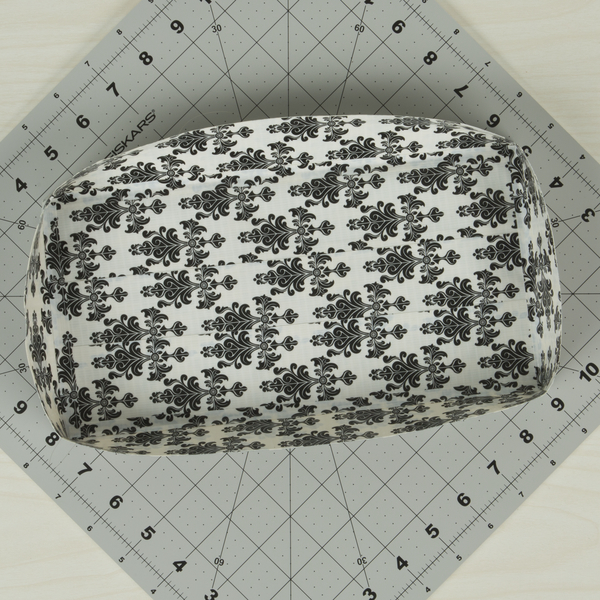
Fold up the side pieces and use squares of Duck Tape® to secure the edges. This will make your box.
5
Tape a double sided strip of Duck Tape® to make your first divider.
6
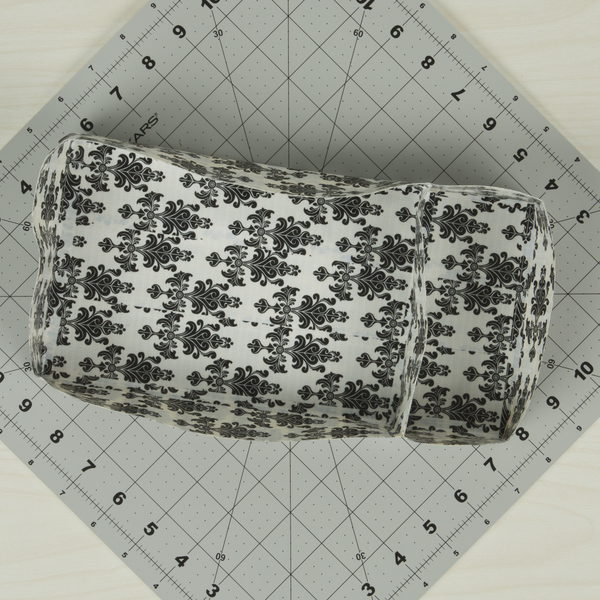
Repeat step 5 to make as many dividers as you want.
7
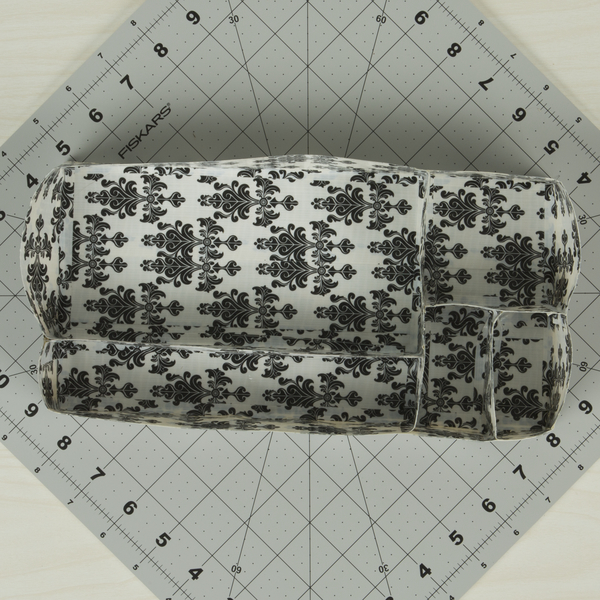
Add strips of tape to the top of your dividers.
