Facebook Duct Tape, Packaging Tape, Moving, Shipping | Duck Brand

How-To: Duck Tape® Easter Cone

  • 30 Minutes
  • Beginner

Supplies & Tools

  1. Duck Tape®
  2. String or Twine
  3. Scissors
  4. Crafting Board

8 Steps

1

Make a double sided half circle and form this piece into a cone shape. Secure with tape.
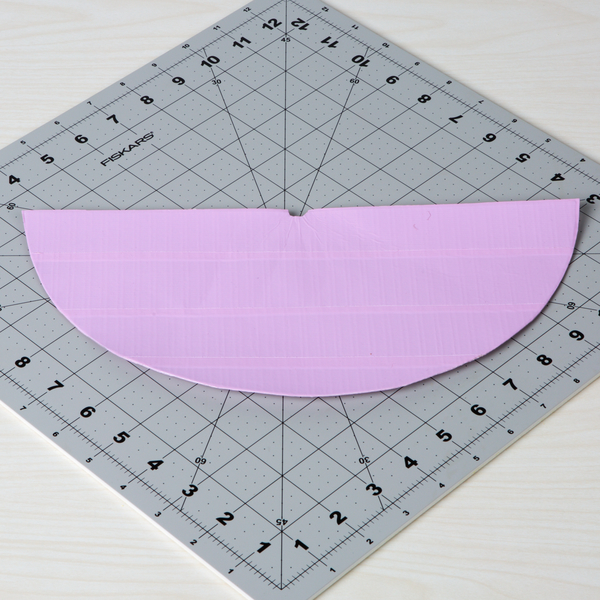
double sided Duck Tape fabric cut into a half circle shape with a small notch cut into the center of the flat side

2

Make ears from a double sided strip of tape.
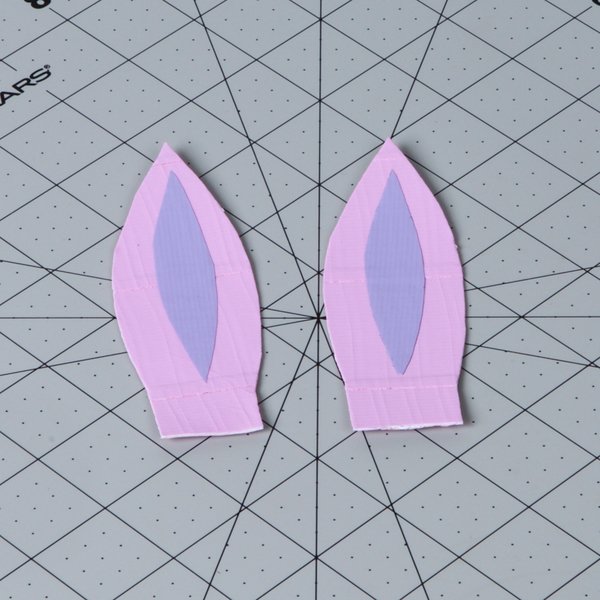
Ears cut out of a piece of Duck Tape fabric

3

Cut out circles and small squares for the eyes and teeth from a strip of tape.
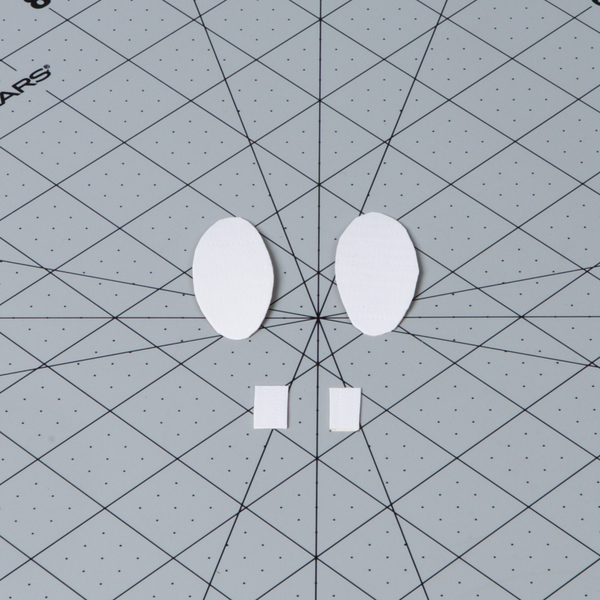
Eyes and teeth cut out of a strip of white Duck Tape

4

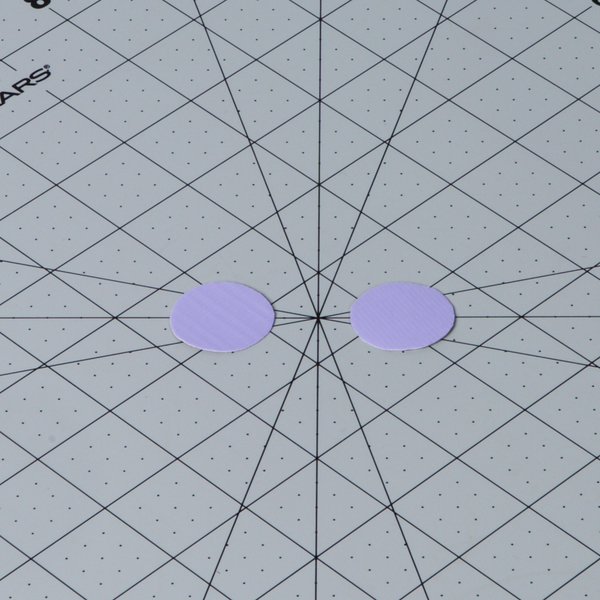
Make 2 circles for the cheeks.

Two small circles of purple Duck Tape to serve as the cheeks of the rabbit

5

Cut out circles for the pupils, a circle for the nose and small strips of tape for the whiskers.
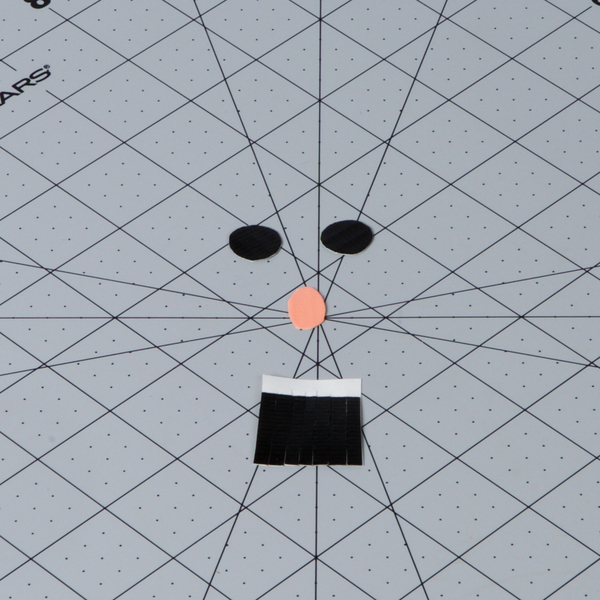
Small black circles to serve as the pupils, a small tan circular piece for the nose and 6 thin strips to serve as the whiskers

6

Place all of the facial features on the front of the cone from step 1.
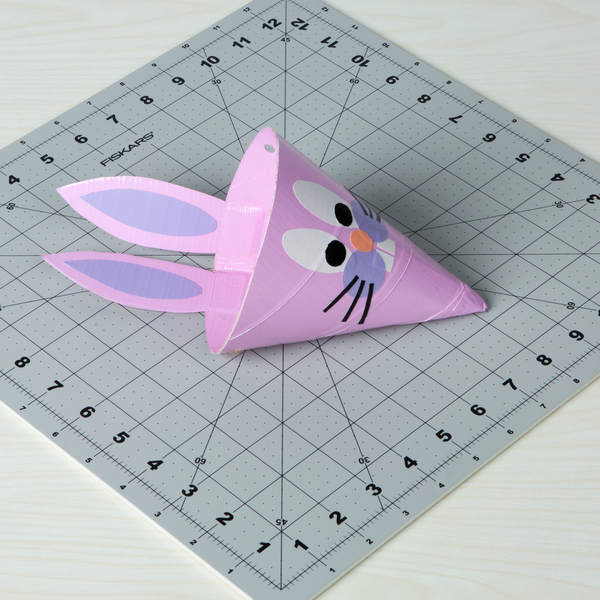
place all facial features on the cone, and attach the ears to the backside of the cone

7

Cut a long piece of string.

long piece of string

8

Cut small circles on either side of the cone, feed the string through each and tie the ends.

small circles cut of the top sides of the cone with string running through the holes and then tied off at the ends