How-To: Duck Tape® Ladybug Card
Supplies & Tools
- Duck Tape®
- Duck Washi® Crafting Tape
- Duck Tape® Sheets
- Scissors
- Ruler
- Pen
- Cardstock
- Brads
- Crafting Board
8 Steps
1
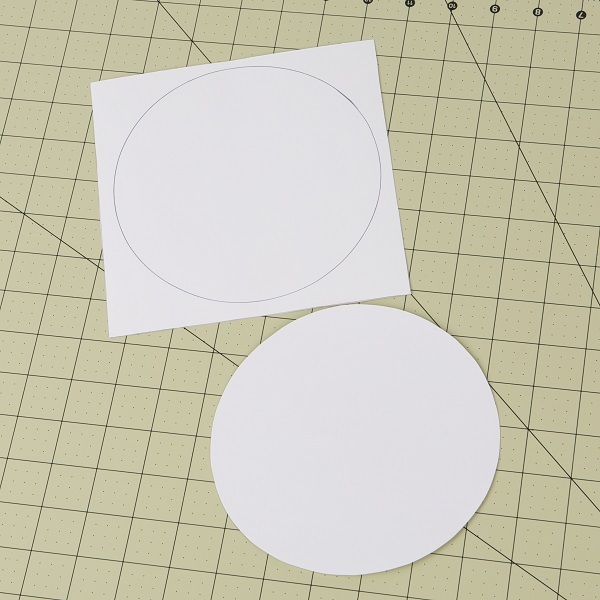
On a piece of card stock, draw two circles that are about 6 in. in diameter. Cut them out.
2
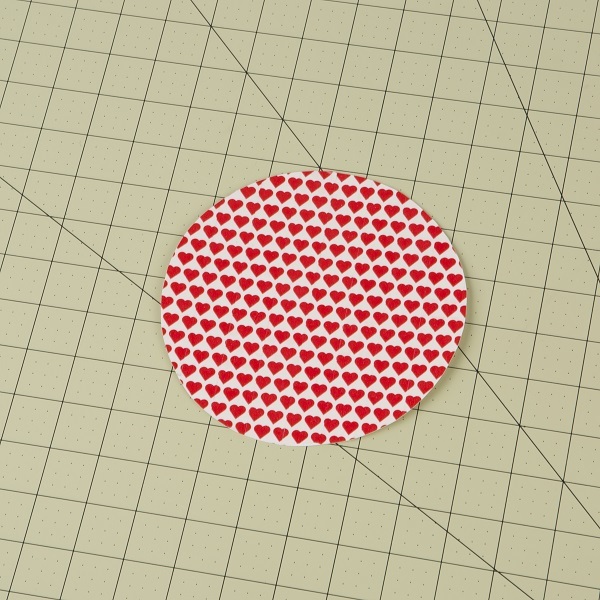
Cover one of your circles in Duck Washi®.
3
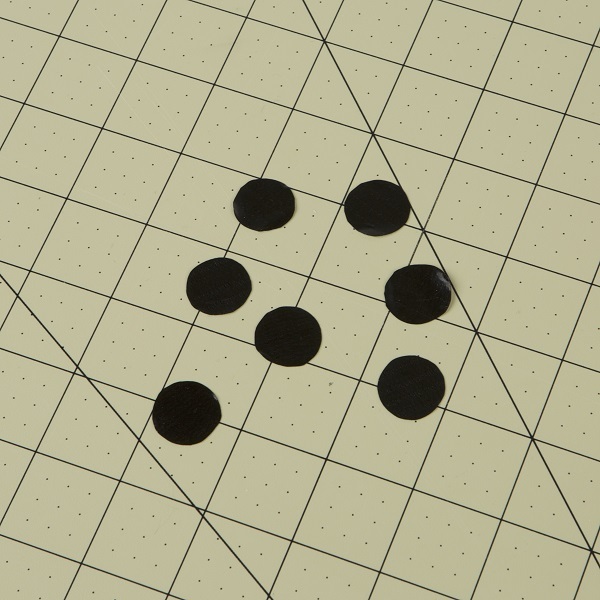
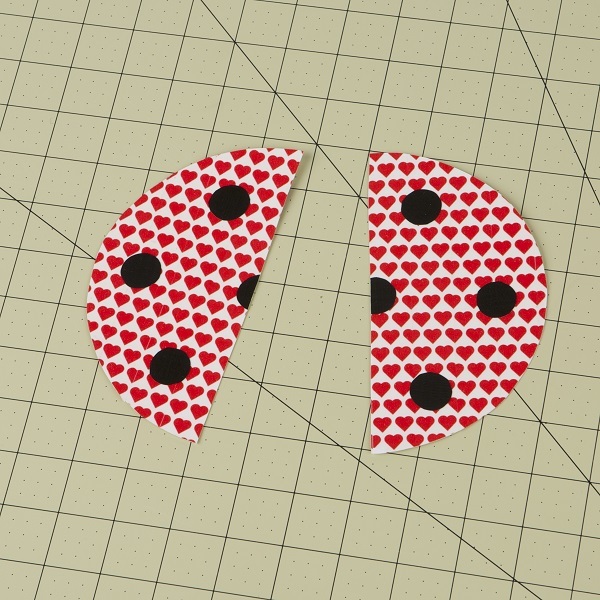
On a Duck Tape® Sheet, cut out small dots for the ladybug spots. You can trace a coin if you want them all to be the same.
4
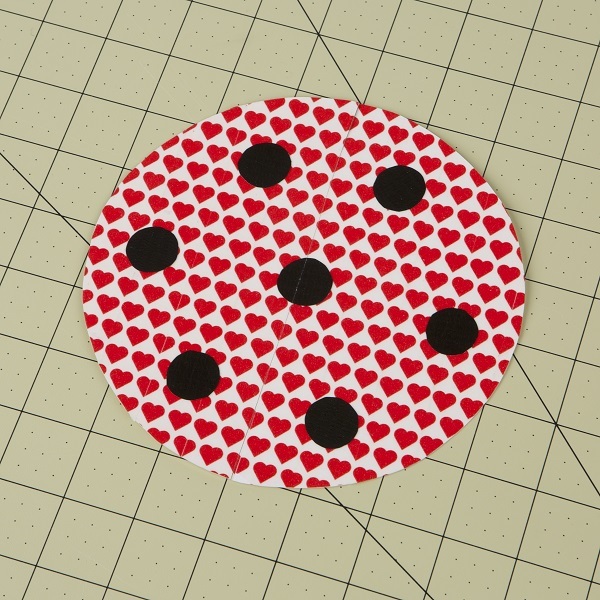
Place the spots on your covered circle from step 3.
5
Cut this circle in half to create the wings.
6
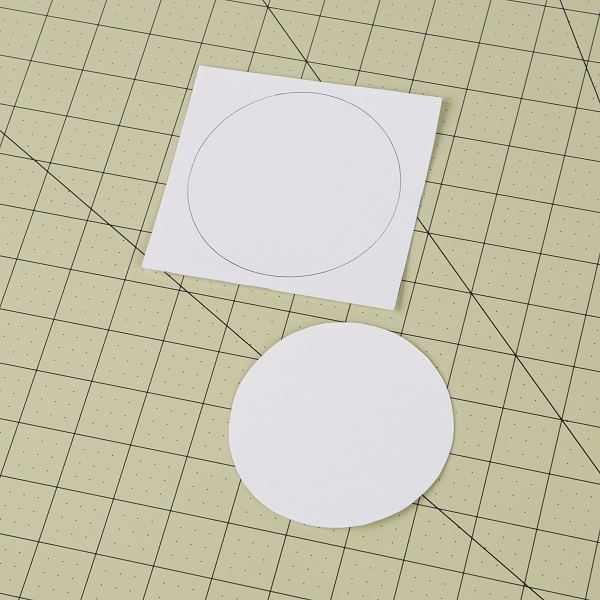
For the head of the ladybug, draw a circle that is about 4 in. in diameter on a piece of card stock.
7
Cover this circle in Duck Tape®.

8
To assemble your card, place the head down first, then the second circle from step 1 and finally the wings on top of the circle. Place a brad through each corner of the wing to attach all 3 pieces together. Write a message inside!
