How-To: Duck Tape® Santa Calendar
Supplies & Tools
- Color Duck Tape®
- Duck Tape® Fabric Tutorial
- Scissors
- Craft Knife
- Ruler
- Pen
- 8 in. Foam Ball
- Crafting Board
15 Steps
1
Cut your foam ball in half. Ask help from an adult if needed.
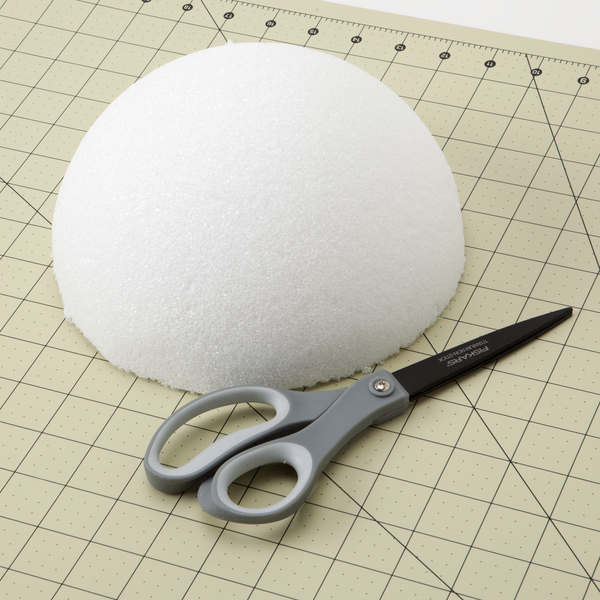
2
Cover your foam ball in Duck Tape®.
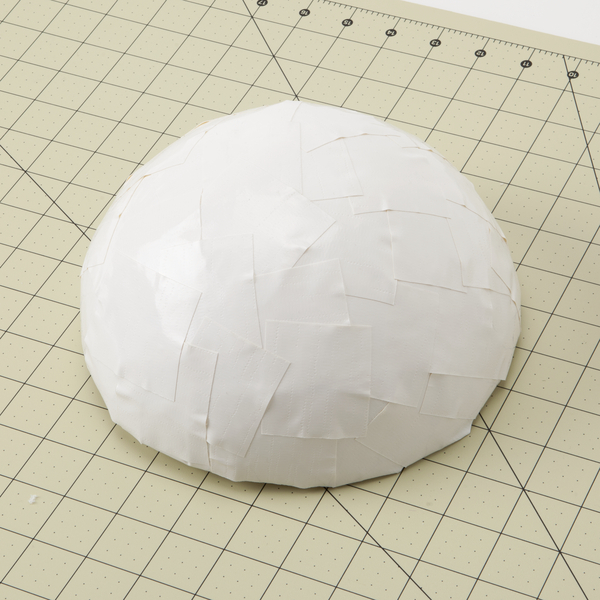
3
Make the features of Santa’s face. Trace a coin for the eyes and nose and cut Santa's face from a 10 in. piece of tape.
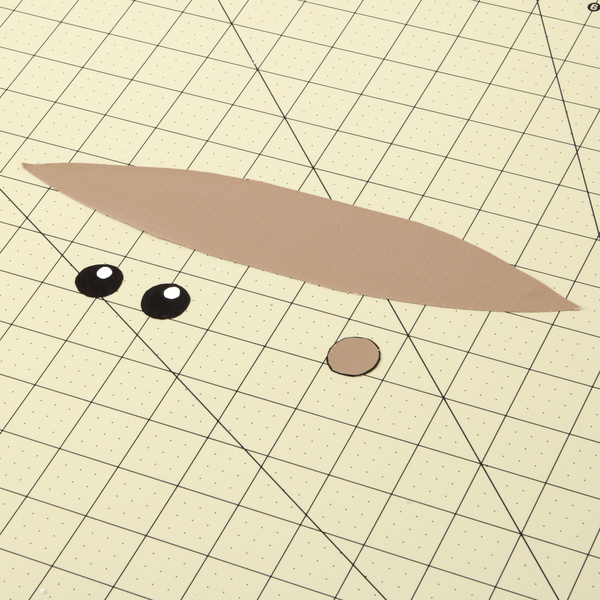
4
Put your Santa's face together.
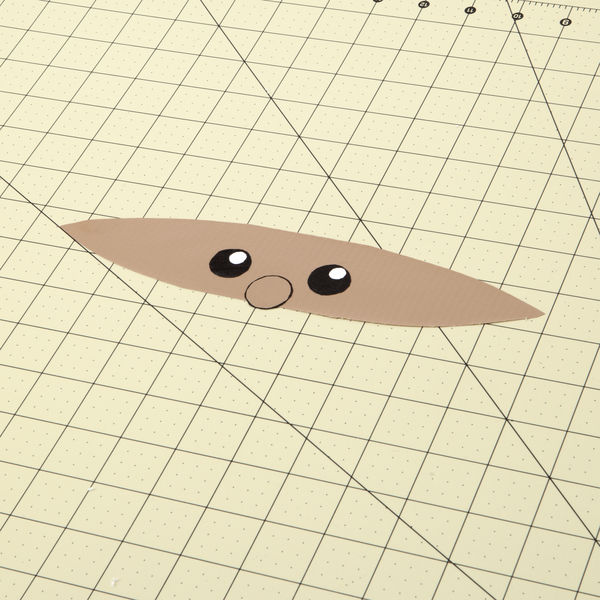
5
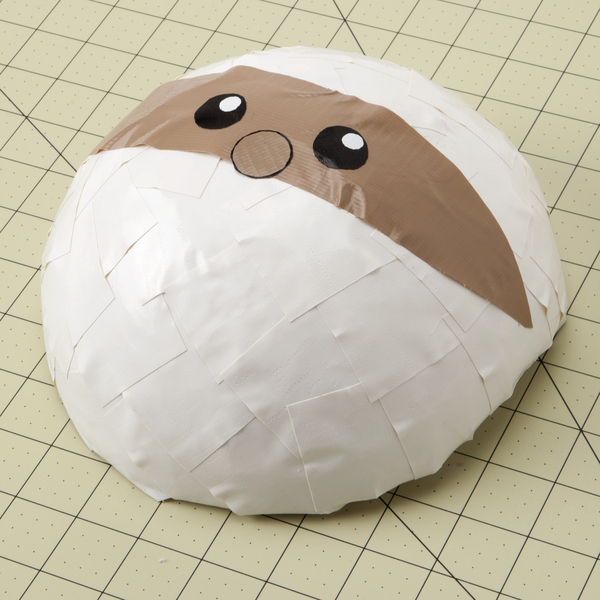
Place Santa's face onto the covered foam ball you made in step 1.
6
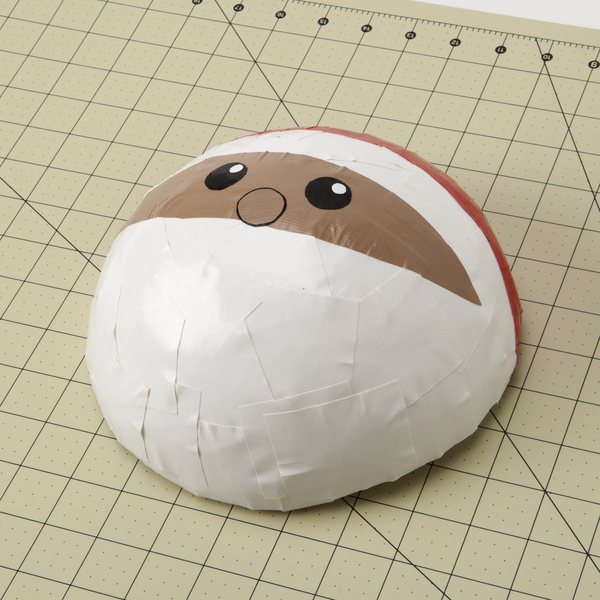
To make the hat, cover the top half in Duck Tape® but leave a 1.5 in. space in between the hat and the face.
7
For Santa’s hat, draw and cut out a cloud shape on a piece of Duck Tape®. Set this aside.

8
Make a piece of Duck Tape® fabric that is 9 in. wide and 10 in. tall.

9
Draw the triangle on your Duck Tape® fabric and cut it out.

10
Attach the cloud shape from step 7 to top of your triangle for the hat and tape the hat to the back of Santa's head.

11
For Santa's beard, cut 4 in. long pieces of Duck Tape® and fold these in half. You will need about 80 pieces.

12
Form your strips into loops and tape it to Santa's face. Make sure to fill up his beard and the area between his hat and face.

13
For the chains that hang from Santa’s beard, cut a 7 in. long piece of Duck Tape®, fold it in half lengthwise and make it into a loop.

14
Repeat step 12 until you have 5 chains with 5 links on each chain.

15
Hang the chains from the bottom of Santa’s beard. These are the links you will cut for each day in December.
