How-To: Duck Tape® School Supply Case
Supplies & Tools
- Printed Duck Tape®
- Color Duck Tape®
- Duck Tape® Fabric Tutorial
- 1 Qt. Zippered Sandwich Bag
- Scissors
- Craft Knife
- Ruler
- Pen
- Crafting Board
9 Steps
1
Cut the zipper part off your sandwich bag. Leave about half inch of bag attached to the zipper part. Do not throw away the rest of the bag.

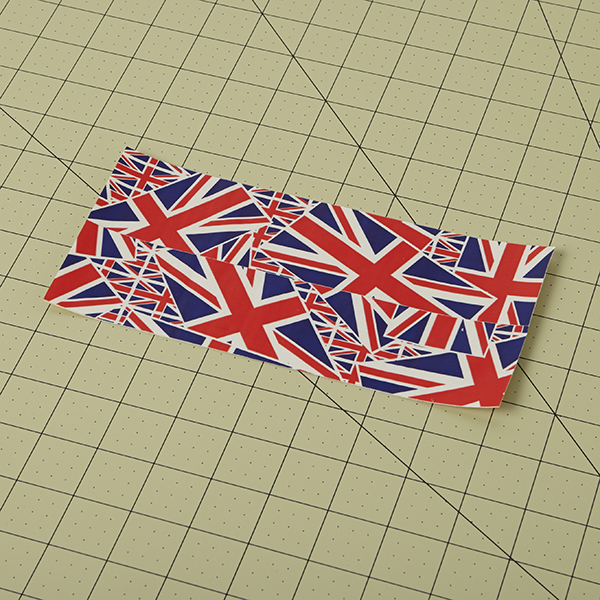
2
Make two pieces of Duck Tape® fabric that measure as wide as your bag and 4 in. tall.
3
Tape the fabric you made in step 2 to the zipper from step 1. Repeat for the other side with your second piece of Duck Tape® fabric.
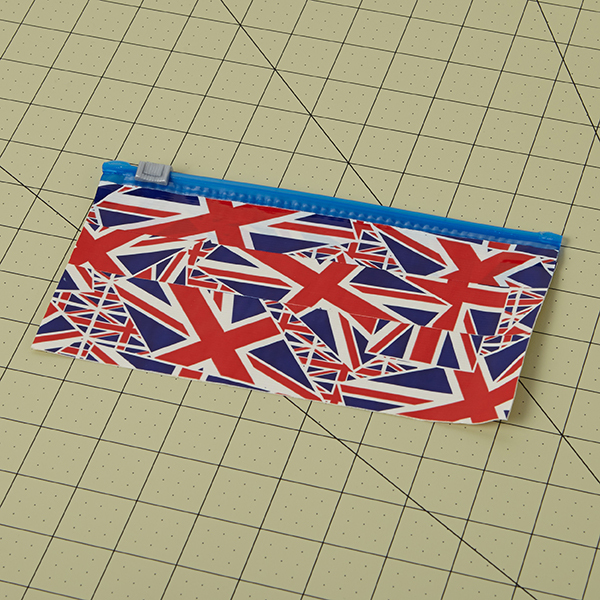
4
Fold a single piece of Duck Tape® over each of the open edges of the supply case to close them up. Trim any excess tape.
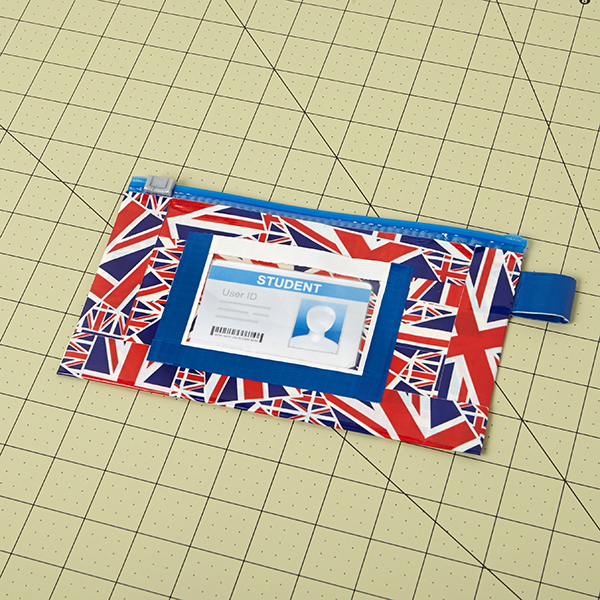
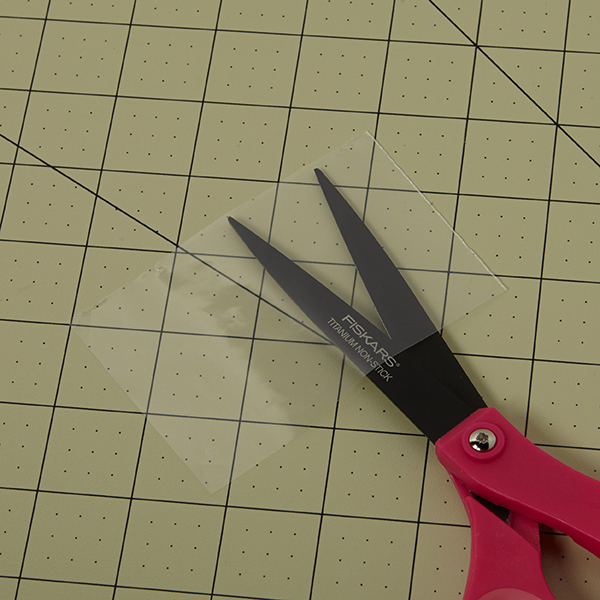
5
For the I.D. holder cut a rectangle out of the remaining plastic bag that measures 2.5 in. tall by 4 in. wide.
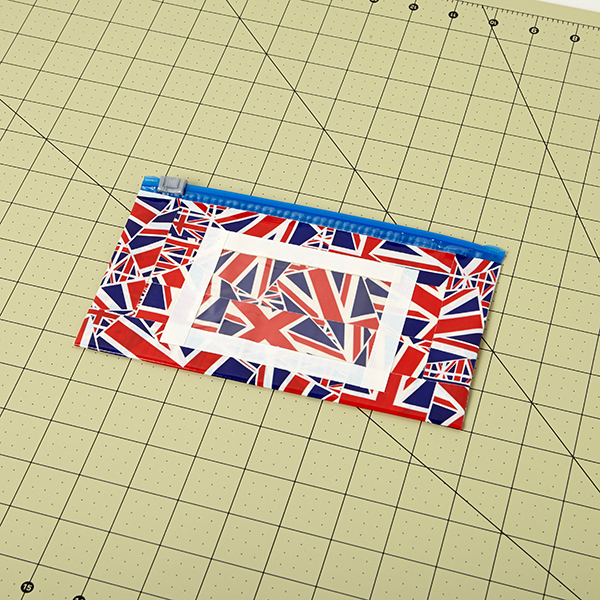
6
Cut a 1 in. tall and 4 in. wide strip of Duck Tape® and fold it over the top of the plastic rectangle from step 5. Use 3 more pieces on the sides and bottom to attach it to your case, keeping the top open
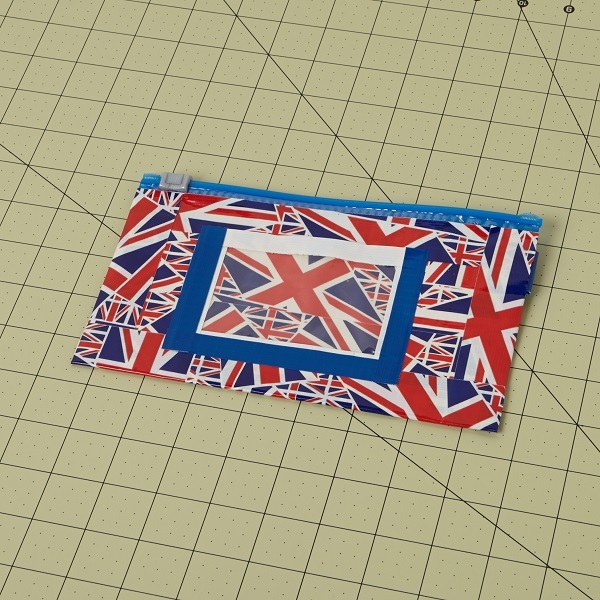
7
Add a second border or design.
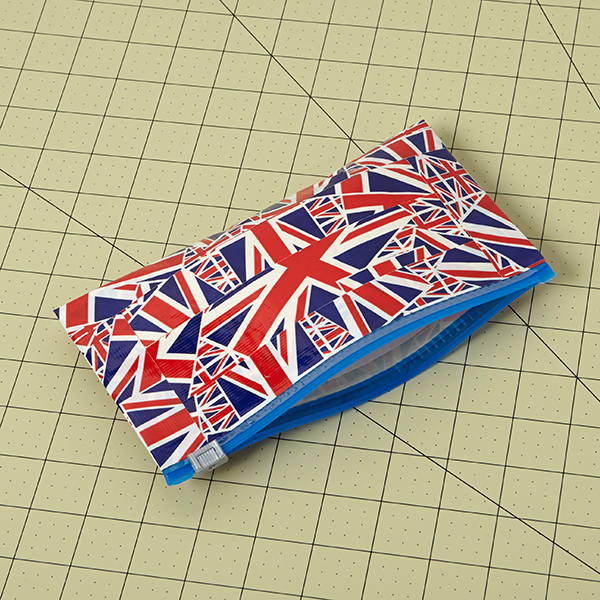
8
Create a tab to add to your supply case by cutting off a 5 in. long piece of Duck Tape®and folding it over on to itself lengthwise.

9
Cut a 1 in. slit in the side of your supply case with a craft knife and insert the tab. Use a small piece of tape on the inside to hold the tab in place.