How-To: Duck Tape® Woven Wallet
Supplies & Tools
- Duck Tape®
- Ducklings® Mini Duck Tape® Rolls
- Scissors
- Ruler
- Hook & Loop Fastener
- Crafting Board
11 Steps
1
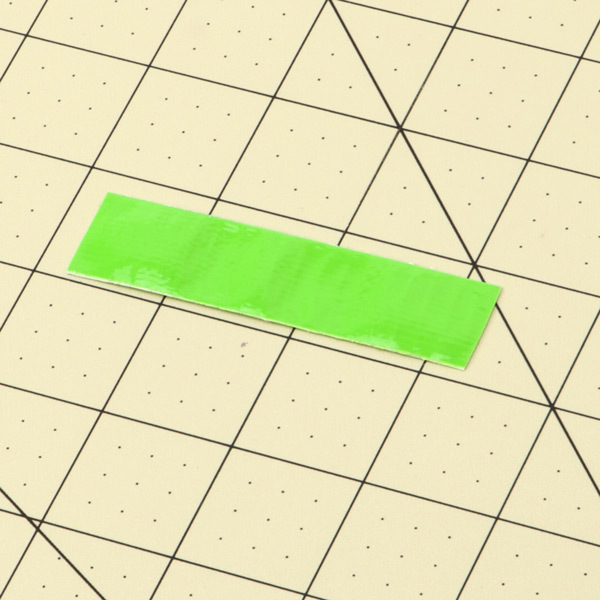
Using a color mini roll, create a piece of fabric one strip wide and 3 in. long. Repeat this step until you have 10 strips.
2
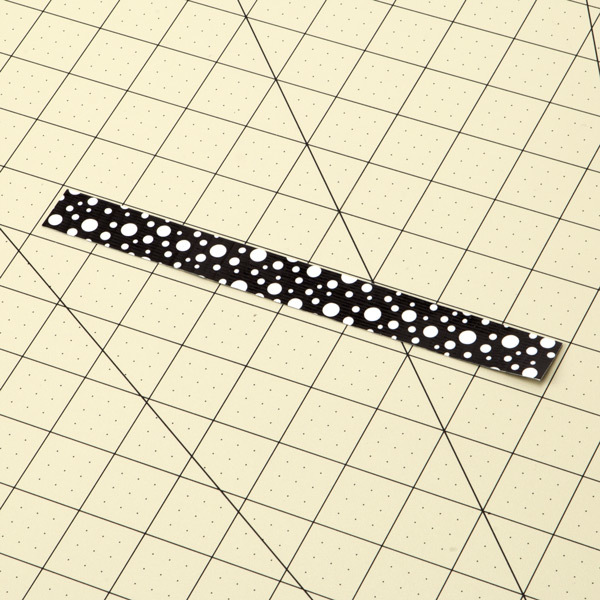
Using a printed or color mini roll, create a piece of fabric that is one strip wide and 8 in. long. Repeat this step until you have four strips.
3
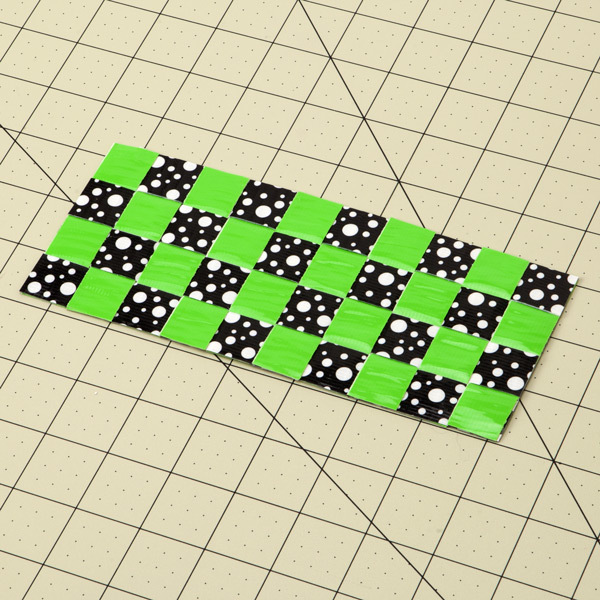
Lay the four printed strips next to each other on your crafting board and weave the 10 smaller strips of solid color tape into them.
4
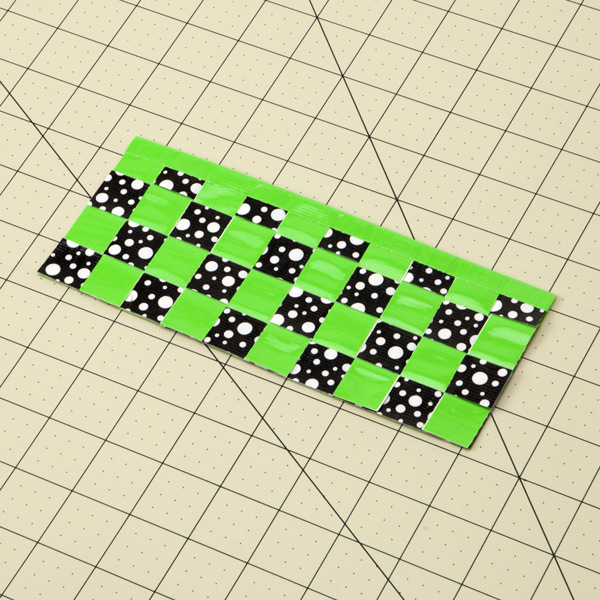
Fold a strip of tape over the top edge. Trim any excess.
5
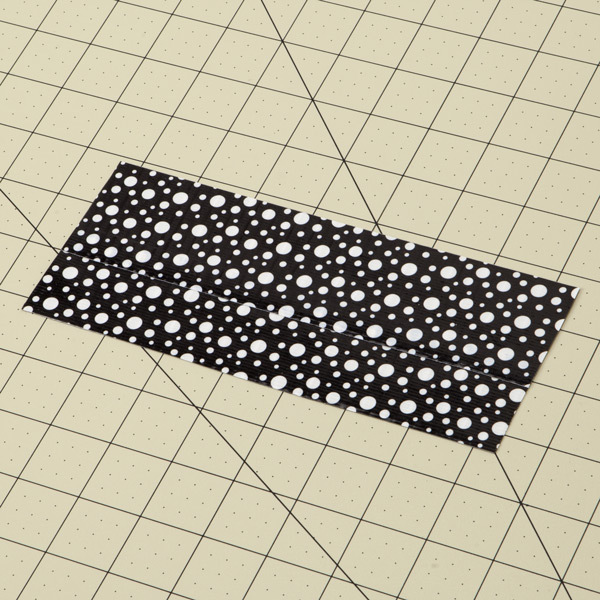
Make a piece of fabric with your mini rolls that measures 3 in. by 8 in.
6
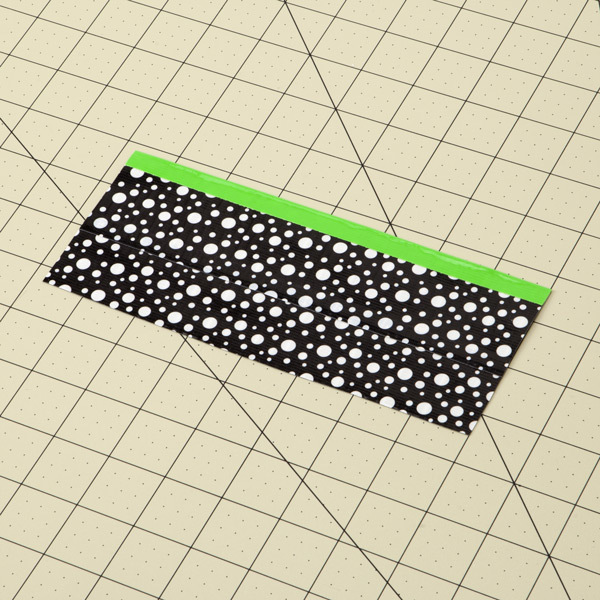
Fold a strip of tape over the top edge of the piece you made in step 5. Trim any excess.
7
Make another piece of fabric with your mini rolls that is approximately 3 strips wide and 8 in. long.

8
Fold a strip of tape over the top edge of the fabric you made in step 7.

9
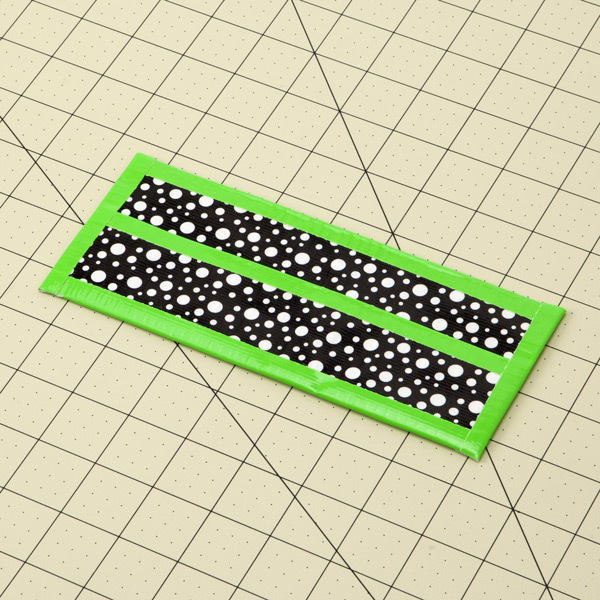
Assemble your wallet. Lay the woven piece down first, then place the piece from step 5 on top and then the fabric from step 7. Fold a strip of tape over the bottom and sides.
10
Cut a piece of tape that is .75 in. wide and 3 in. long. Place this strip down the middle of the inside of the wallet to make 2 card holders.

11
Then add a hook and loop fastener to each side of the inside of your wallet.
