How-To: Duck Tape® 90s Inspired Wallet
How-To: Duck Tape® 90s Inspired Wallet
Tutorial
Intermediate
30 Minutes
Supplies & Tools
- Color Duck Tape®
- Printed Duck Tape®
- Scissors
- Craft knife
- Small magnets
- Crafting board
Scroll down for step-by-step directions.
Disclaimer - If the listed tape type is not available, there's no need to worry. All of our crafts can be adjusted to use whatever tape you have on hand!
Directions
Step 1
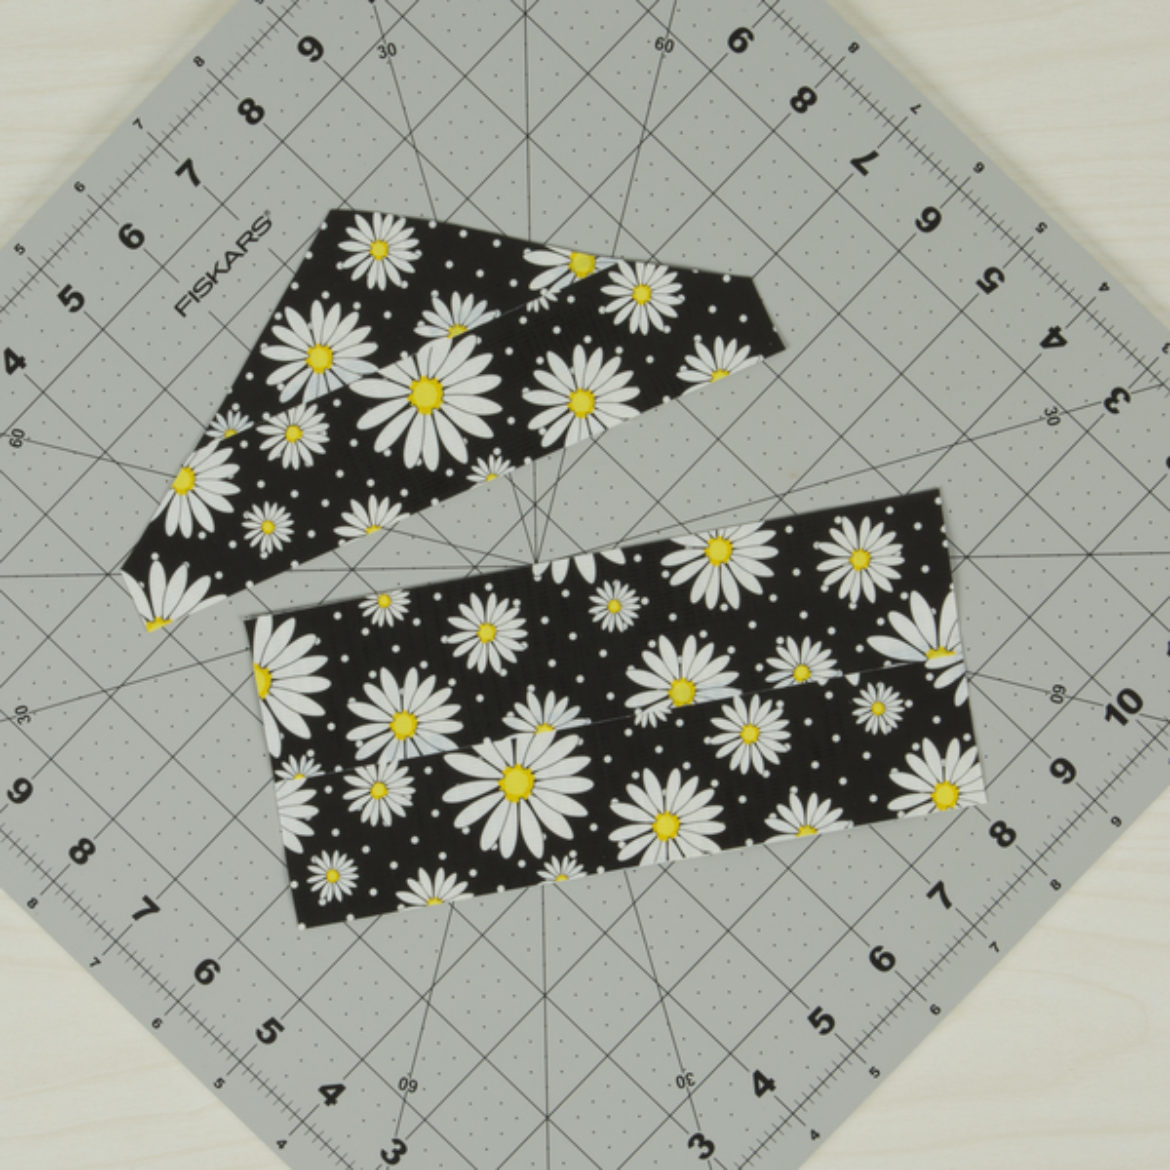
Make 2 pieces of Duck Tape® fabric that is 7 in. long and 3 in. wide. Fold one in half and cut a diagonal line to get the flap of the wallet.
Step 2
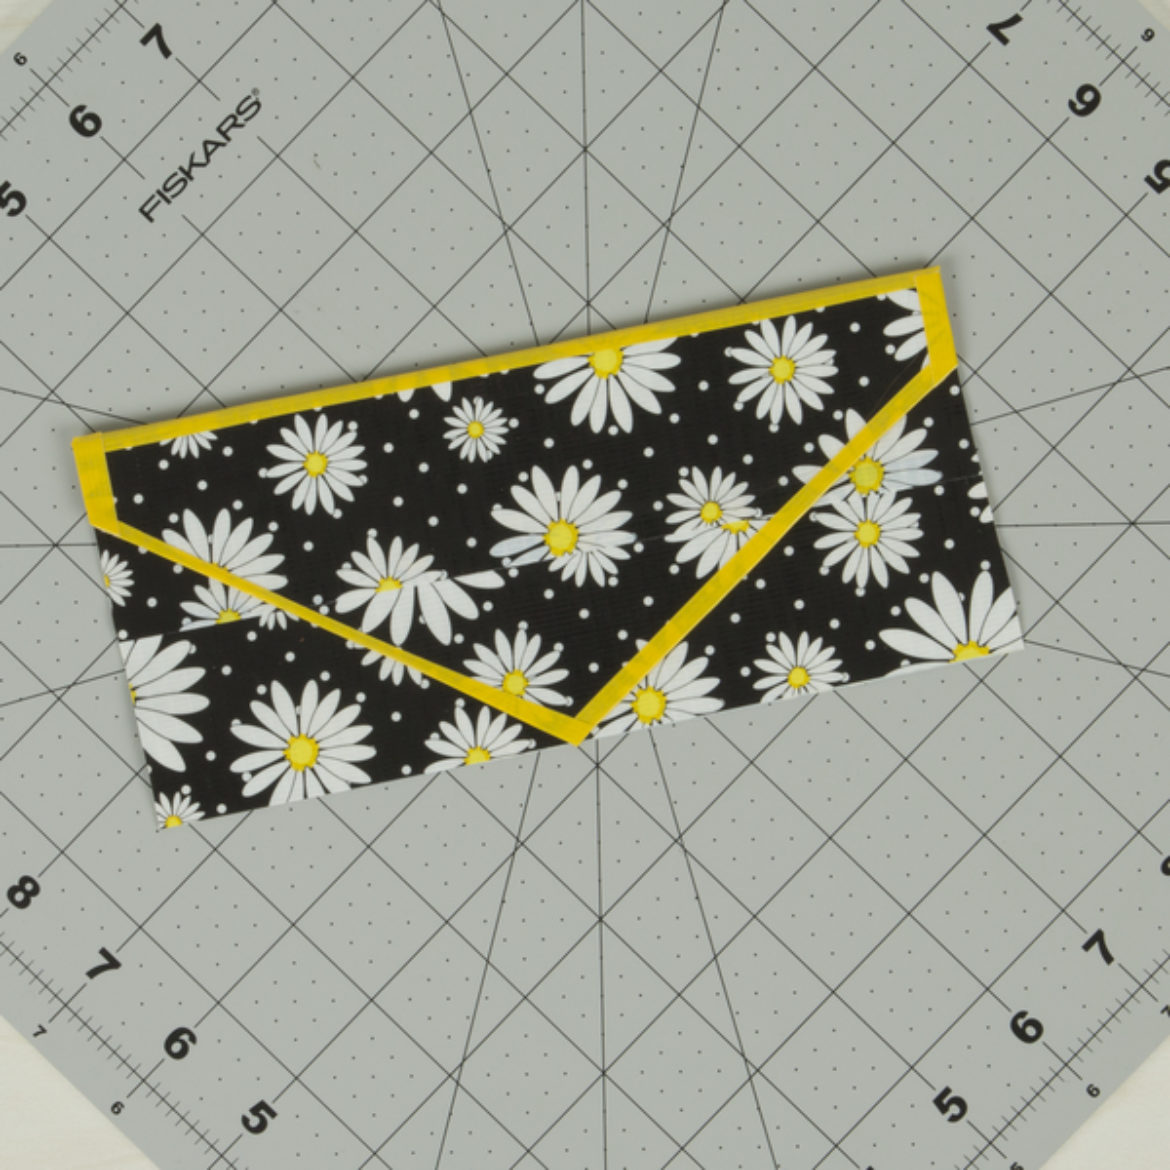
Tape the two pieces from step 1 together to form a wallet. Add a border on the flap of the wallet.
Step 3
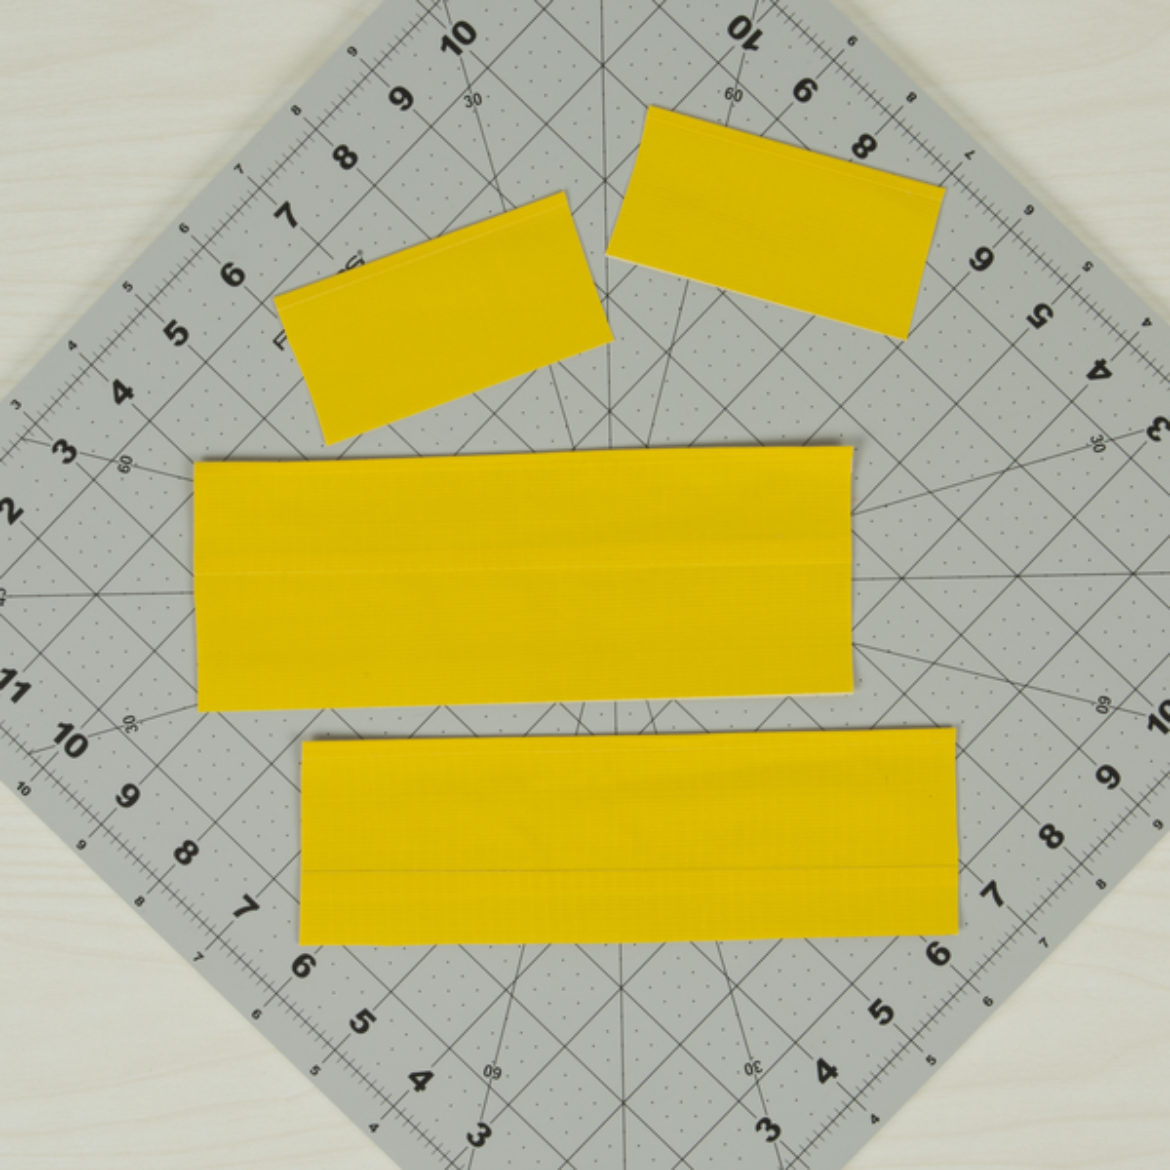
Make 2 pieces of Duck Tape® fabric that is 7 in. long and 2.5 in. wide and 7 in. long and 2 in. wide. Make 2 more pieces of fabric that are slightly larger and wider than your cards. These will be the pockets.
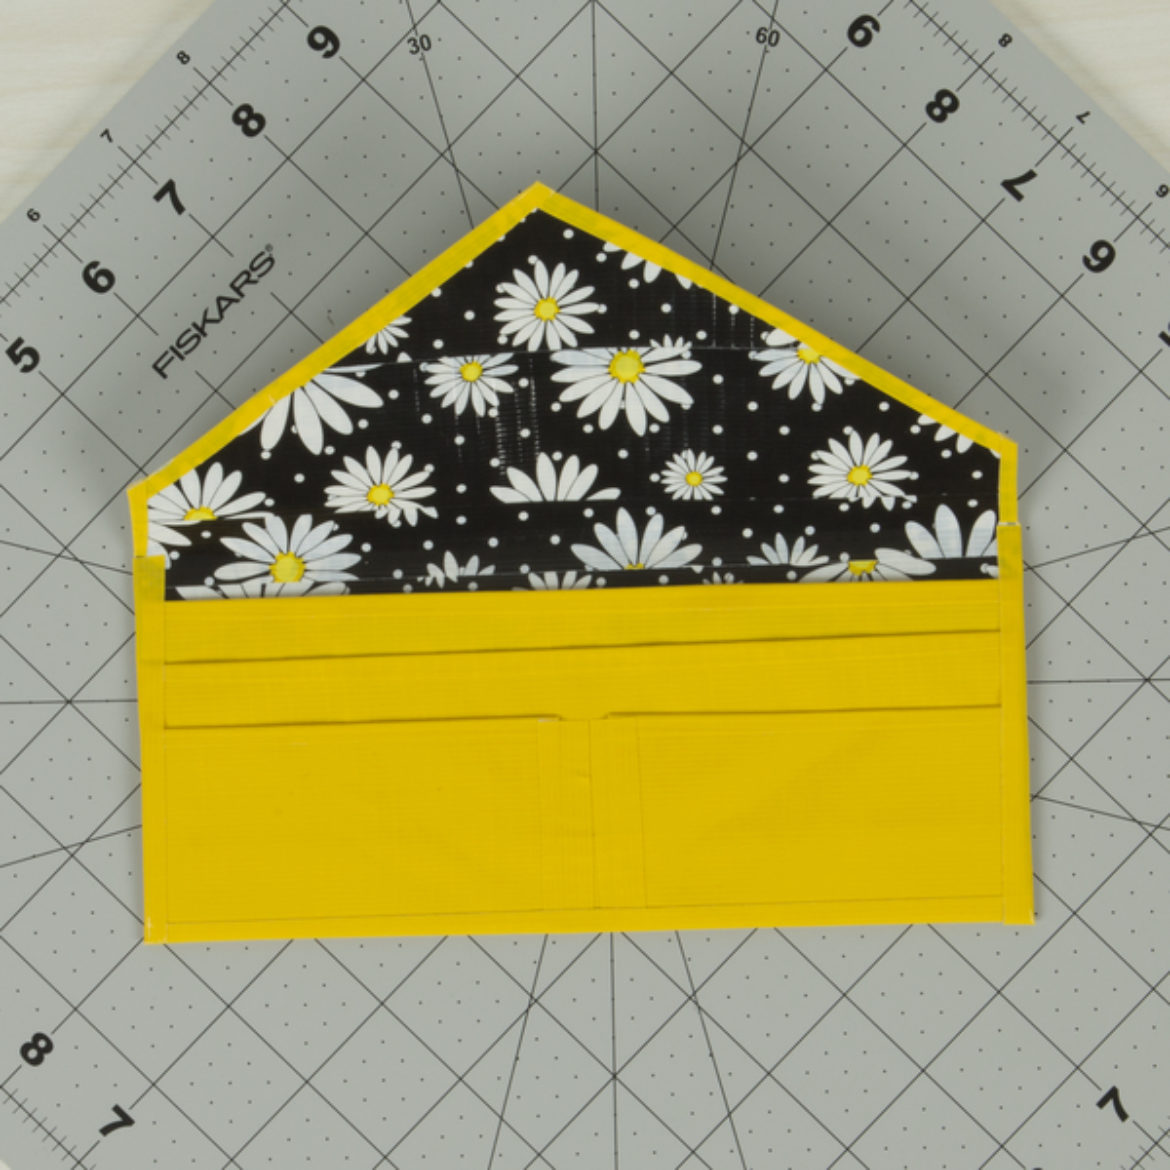
Step 4
Attach your pockets to the inside of your wallet.
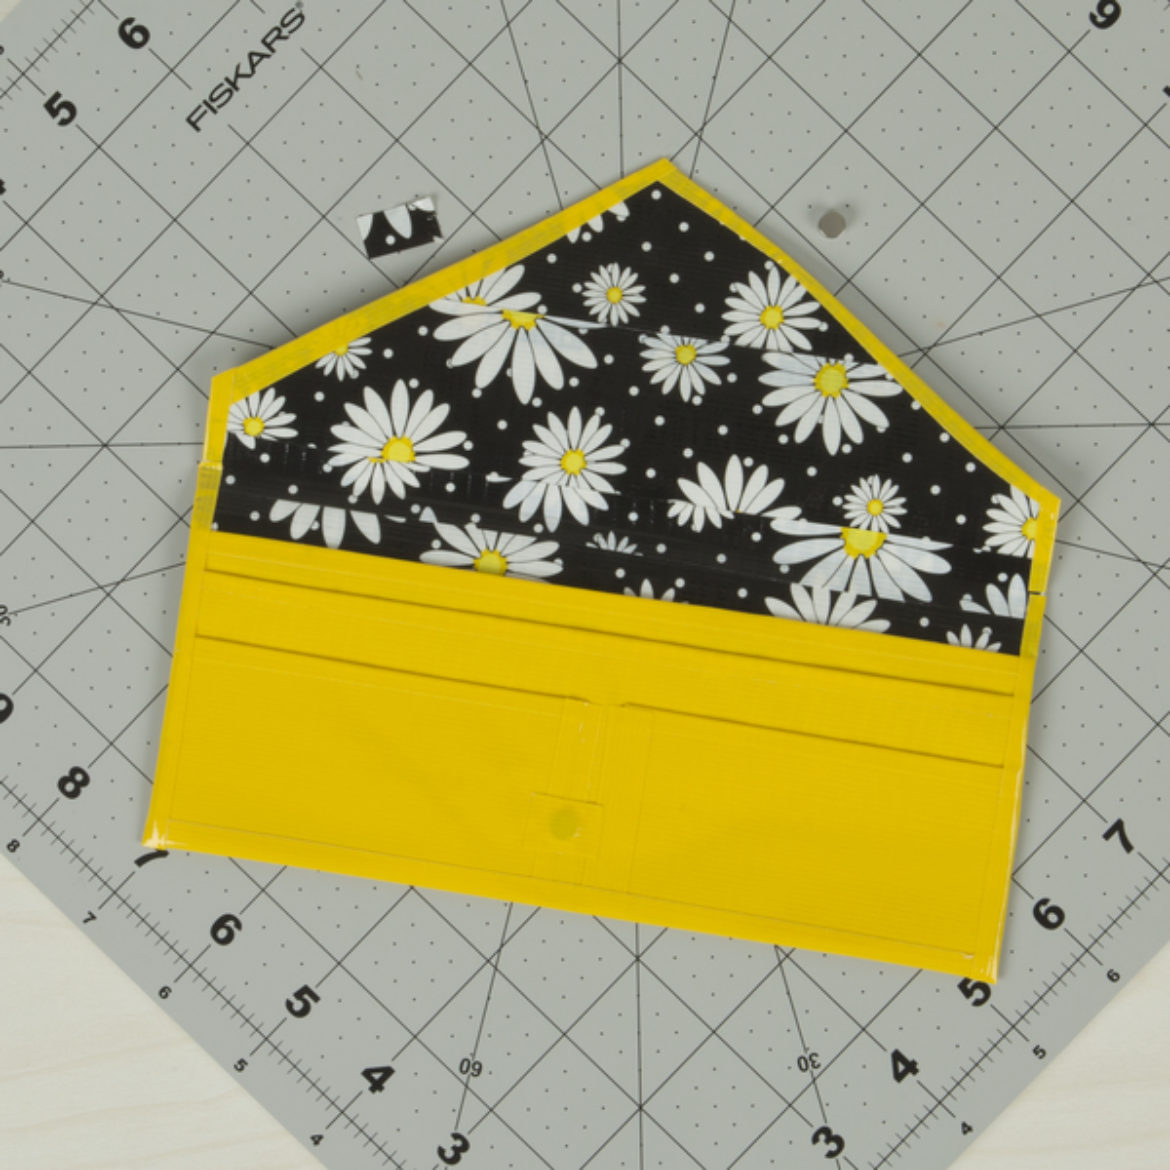
Step 5
Attach magnets to the inside of your flap and the bottom part of your wallet.
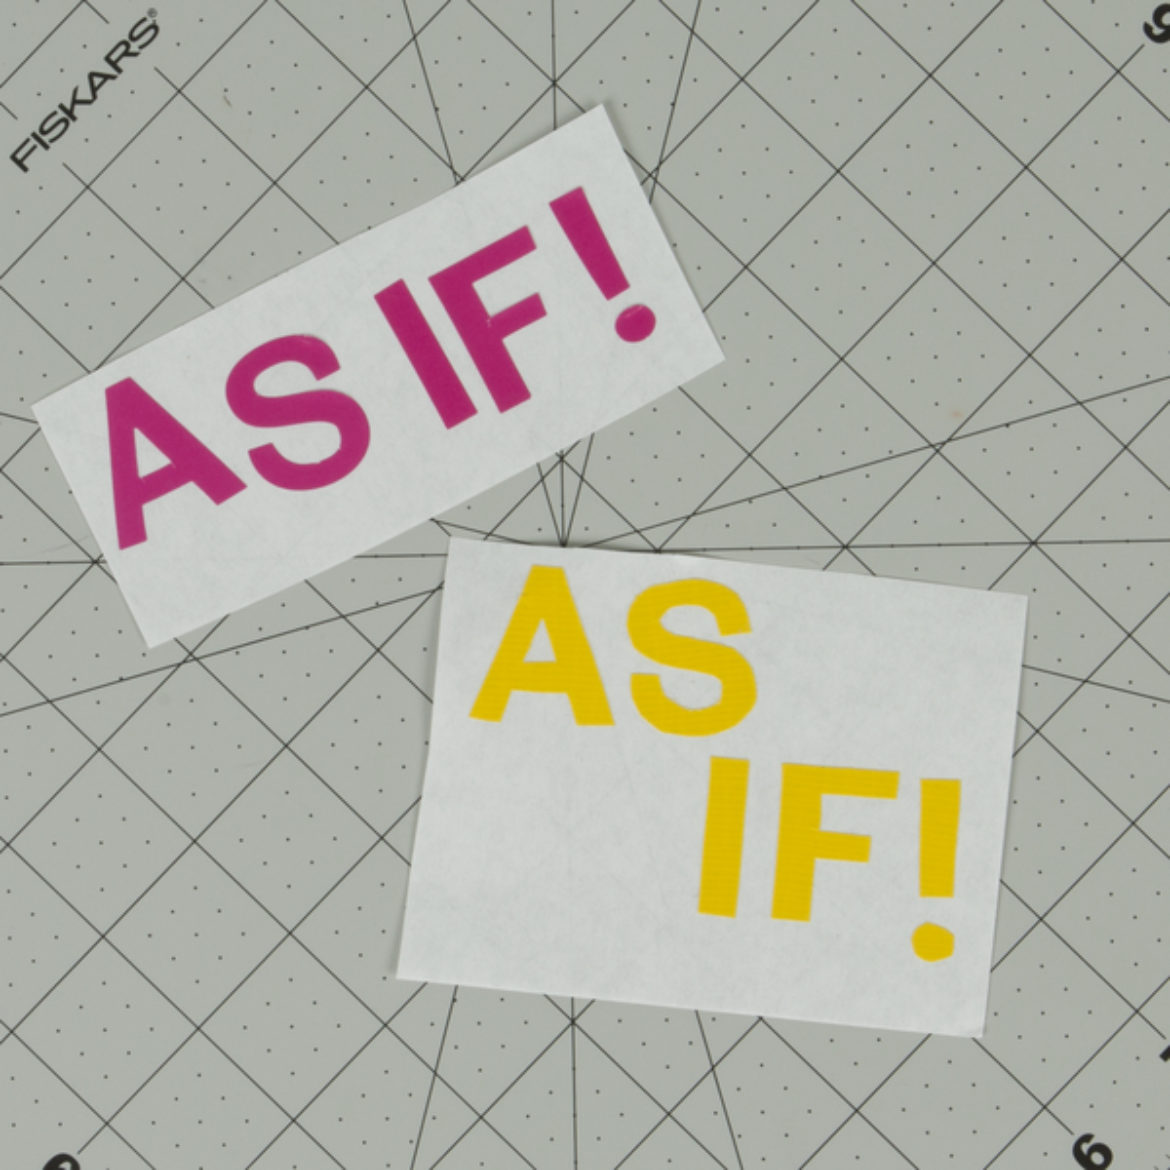
Step 6
Make your Duck Tape® letters. Use a template or stickers as a guide.
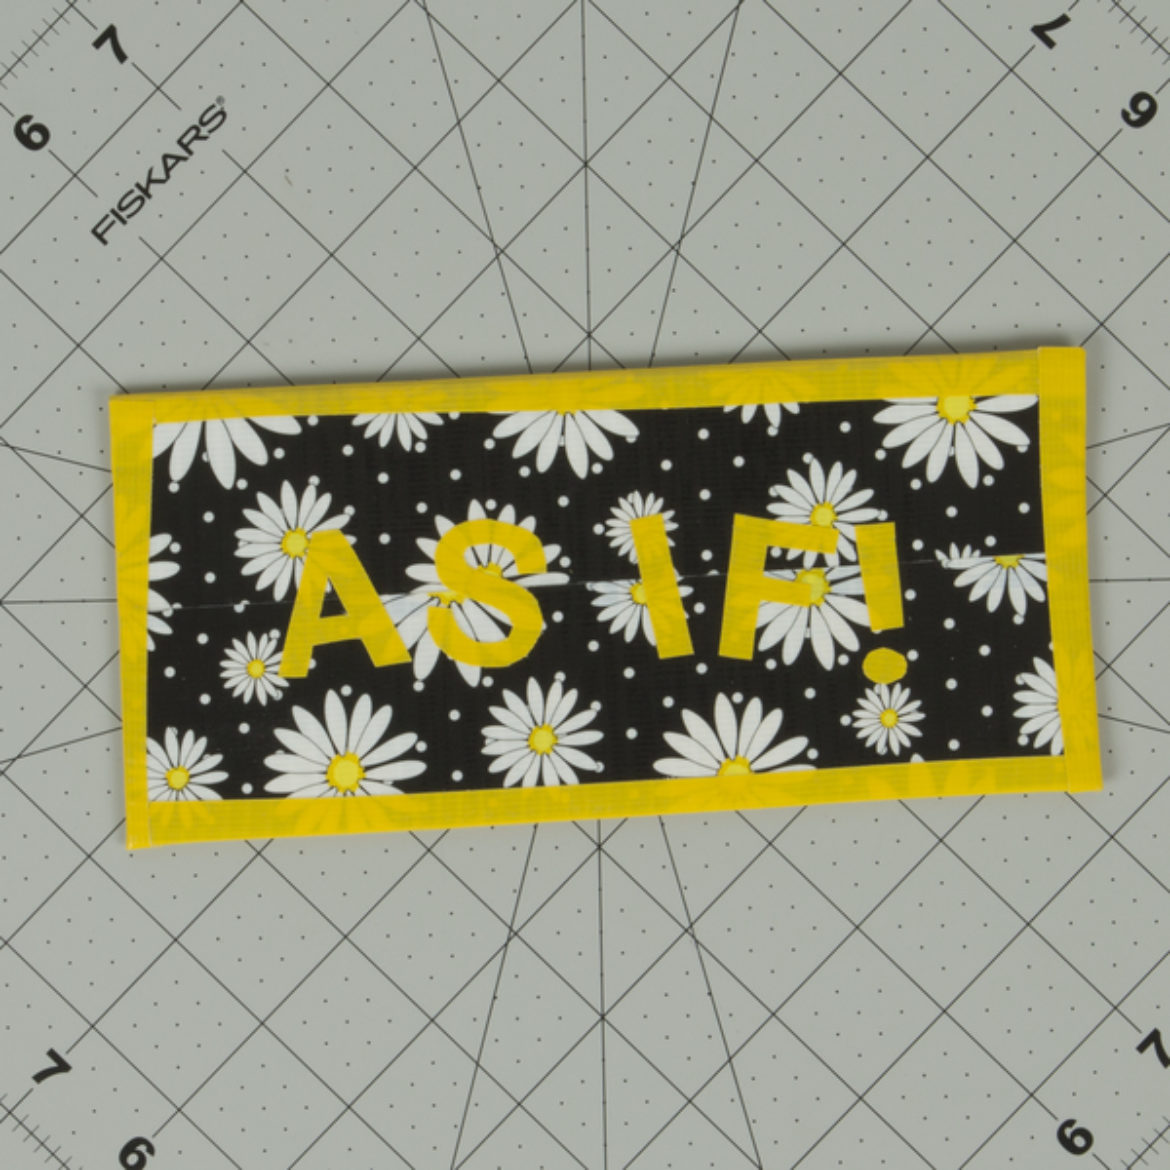
Step 7
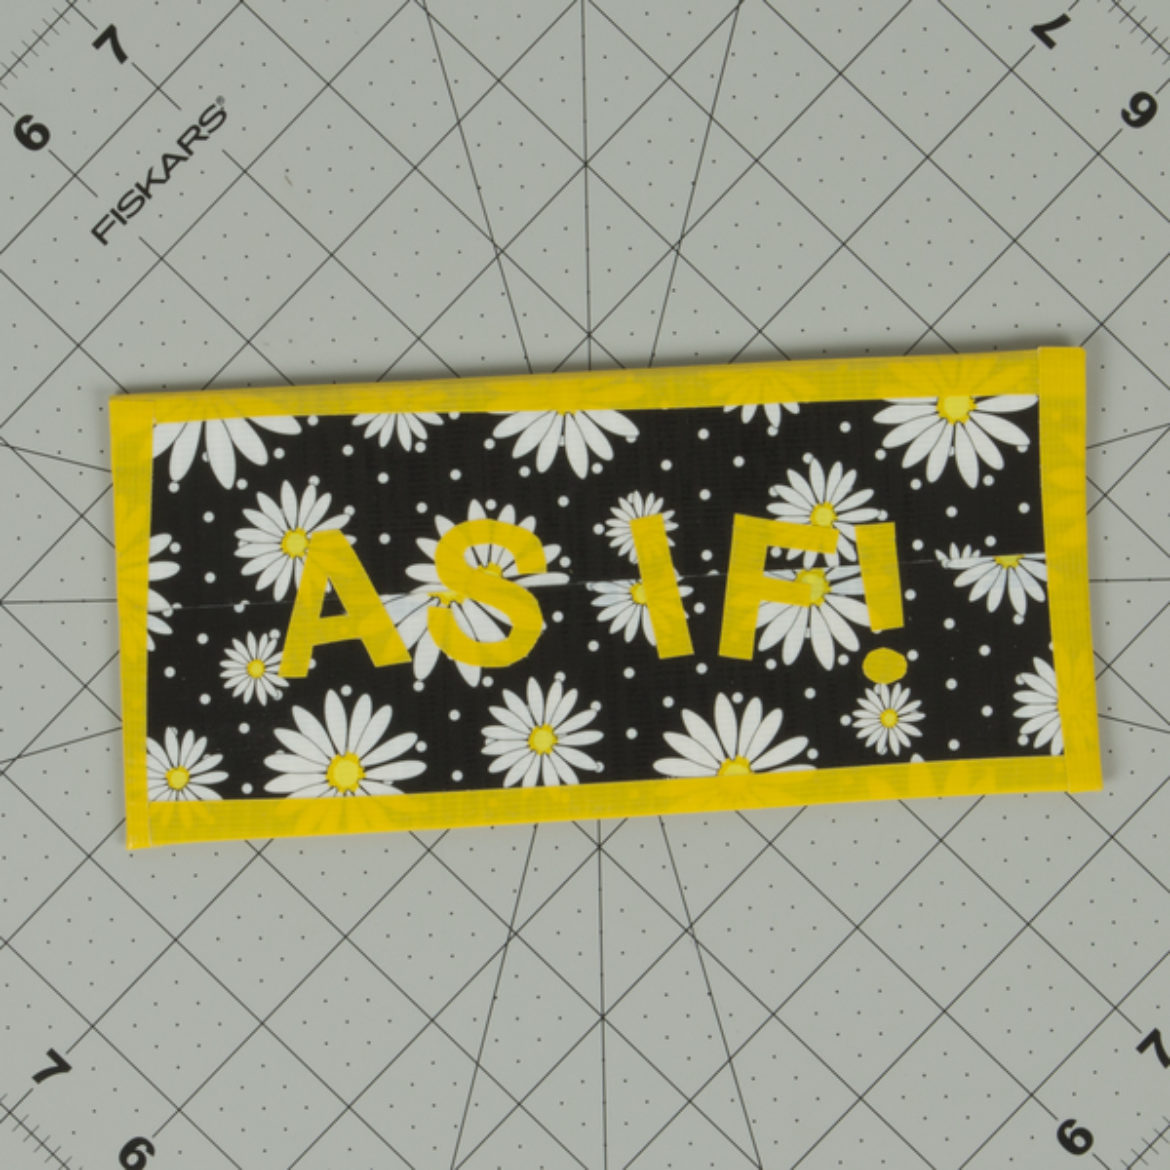
Attach your words to the front of your wallet.
