How-To: Duck Tape® Animal Print Beach Bag
How-To: Duck Tape® Animal Print Beach Bag
Be stylish anywhere you go this summer with Duck Tape®.
Tutorial
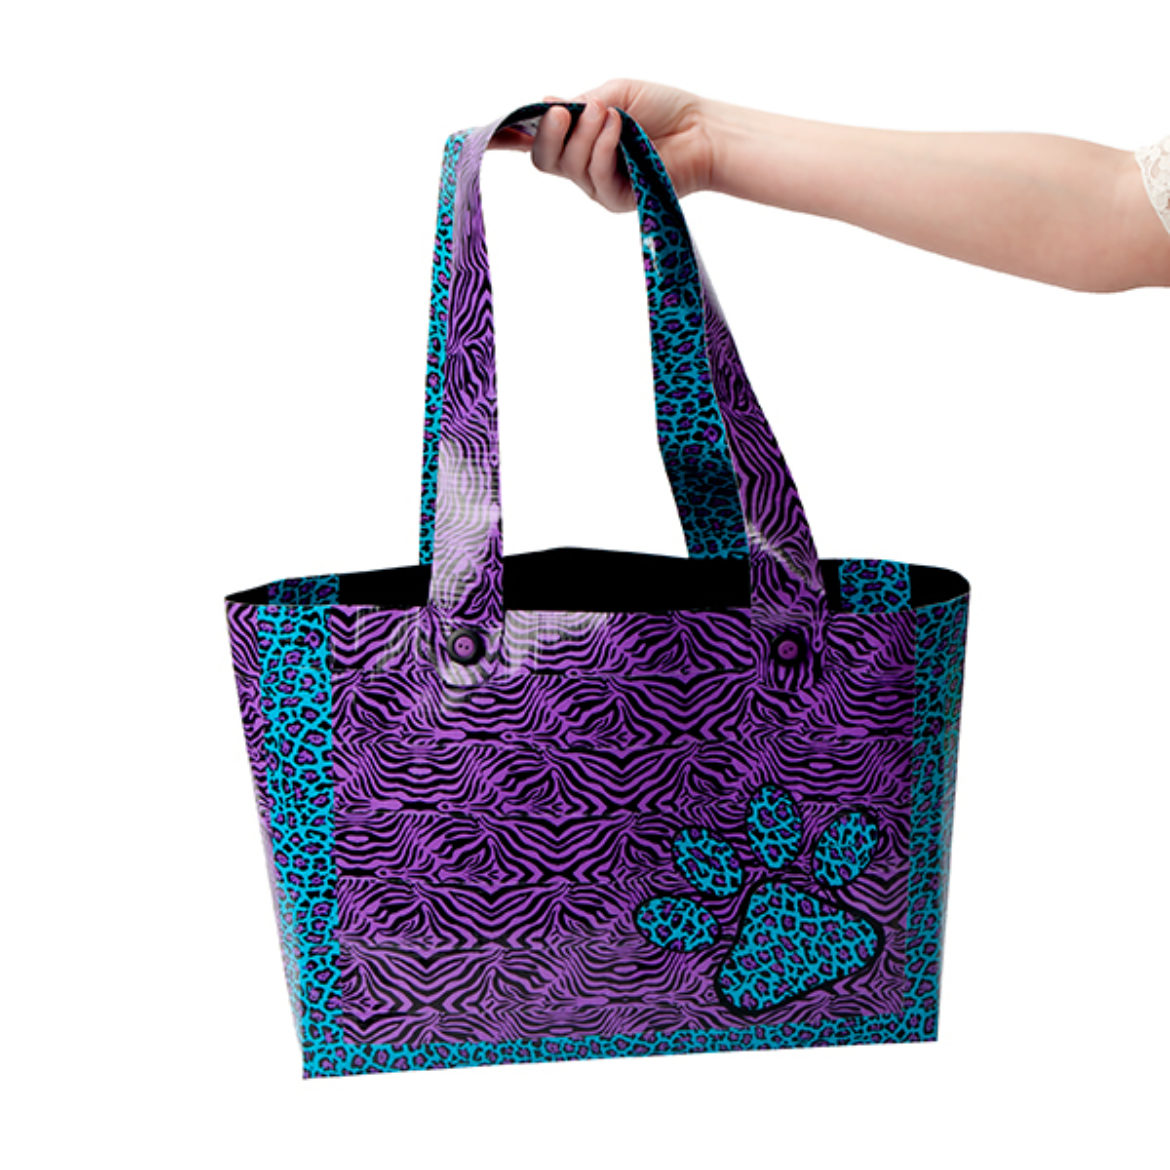
Intermediate
60 Minutes
Supplies & Tools
- Duck Tape®
- Scissors
- Crafting Board
Scroll down for step-by-step directions.
Disclaimer - If the listed tape type is not available, there's no need to worry. All of our crafts can be adjusted to use whatever tape you have on hand!
Directions
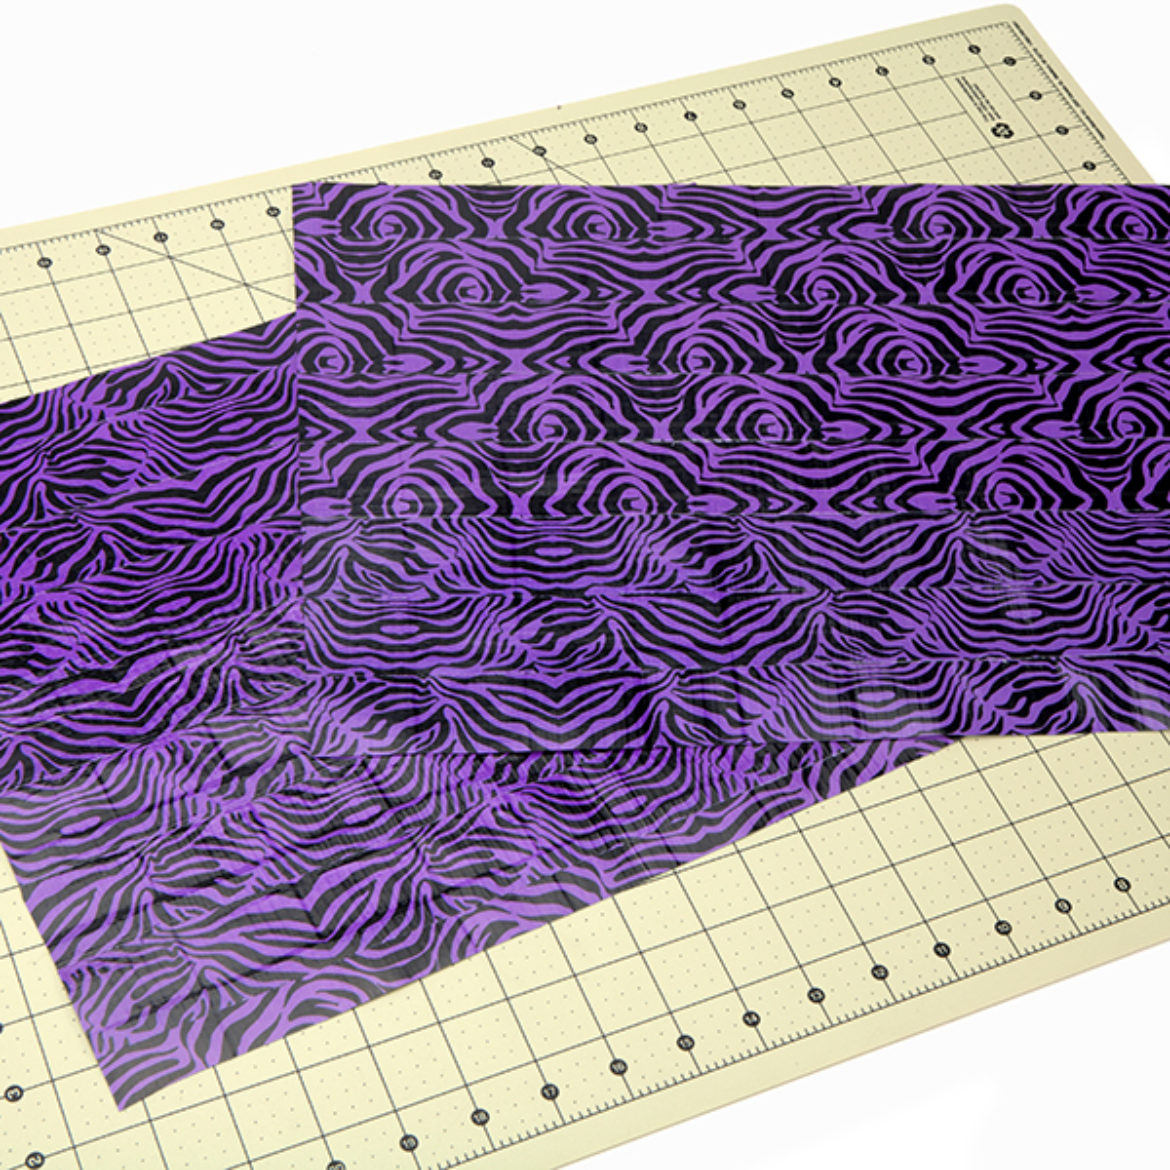
Step 1
Make 2 pieces of Duck Tape® fabric that are 16 in. long and 12 in. wide.
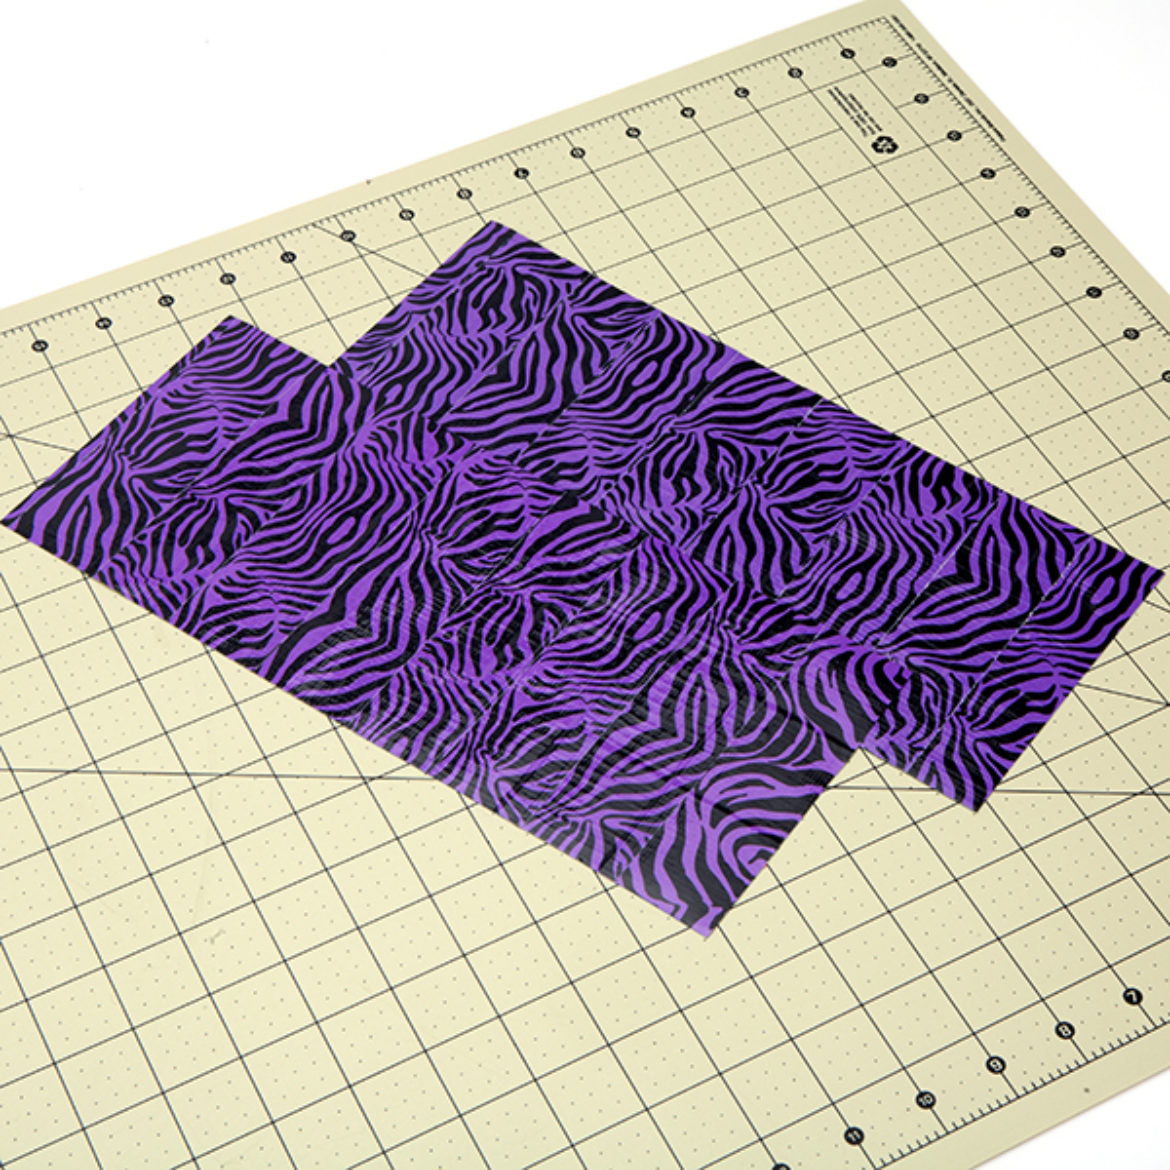
Step 2
For your side pieces, make 2 more pieces of Duck Tape® fabric that are 12 in. long and 5 in. wide. Set these aside.
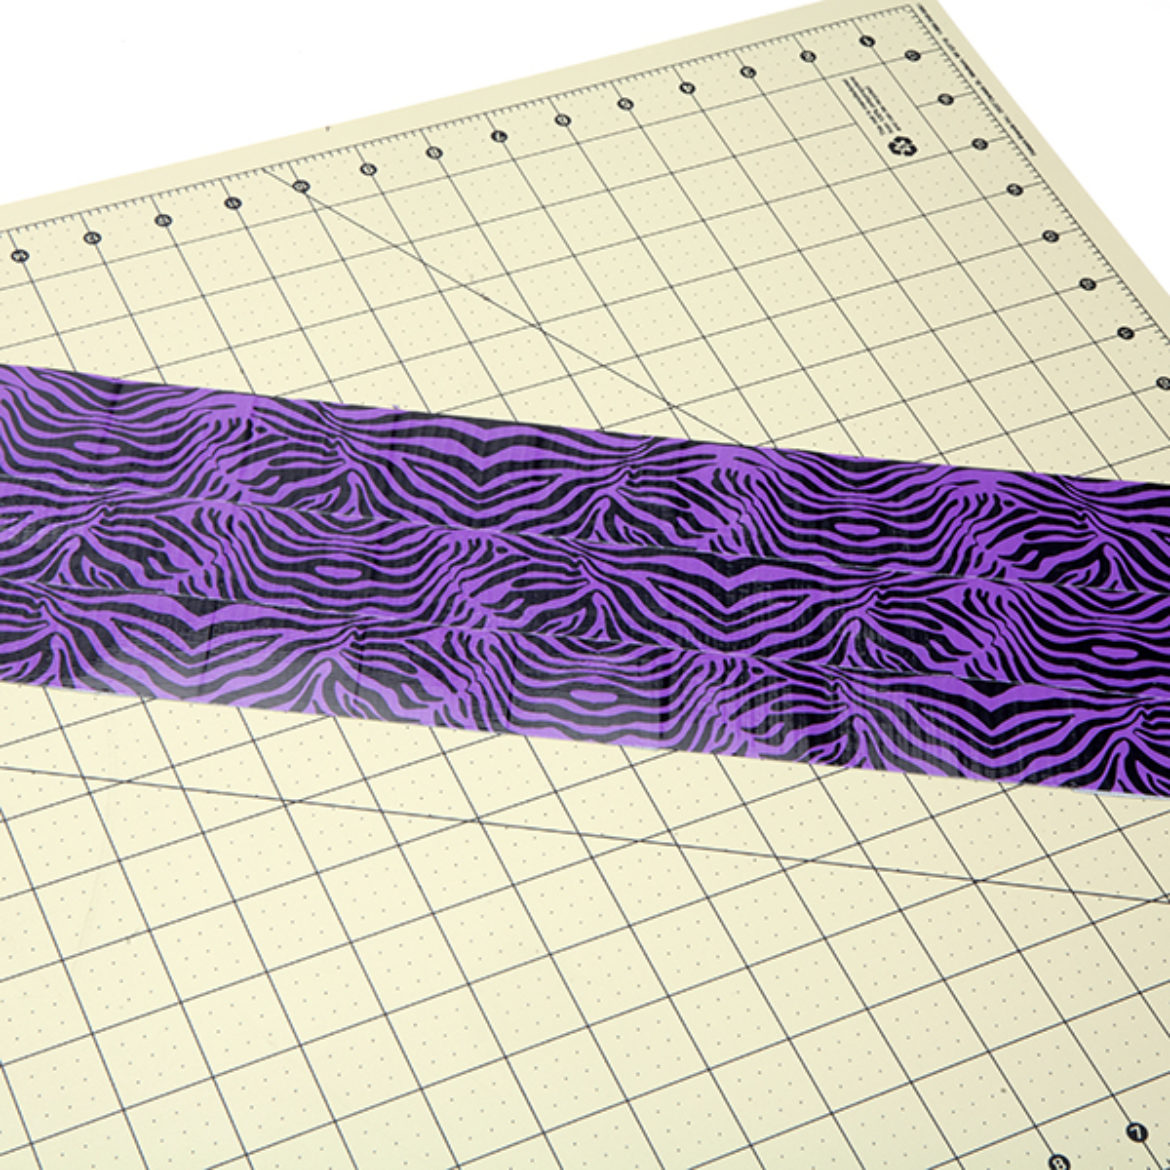
Step 3
Make another Duck Tape® fabric that is 16 in. long and 5 in. wide. This will be the bottom of the purse. Set this aside.
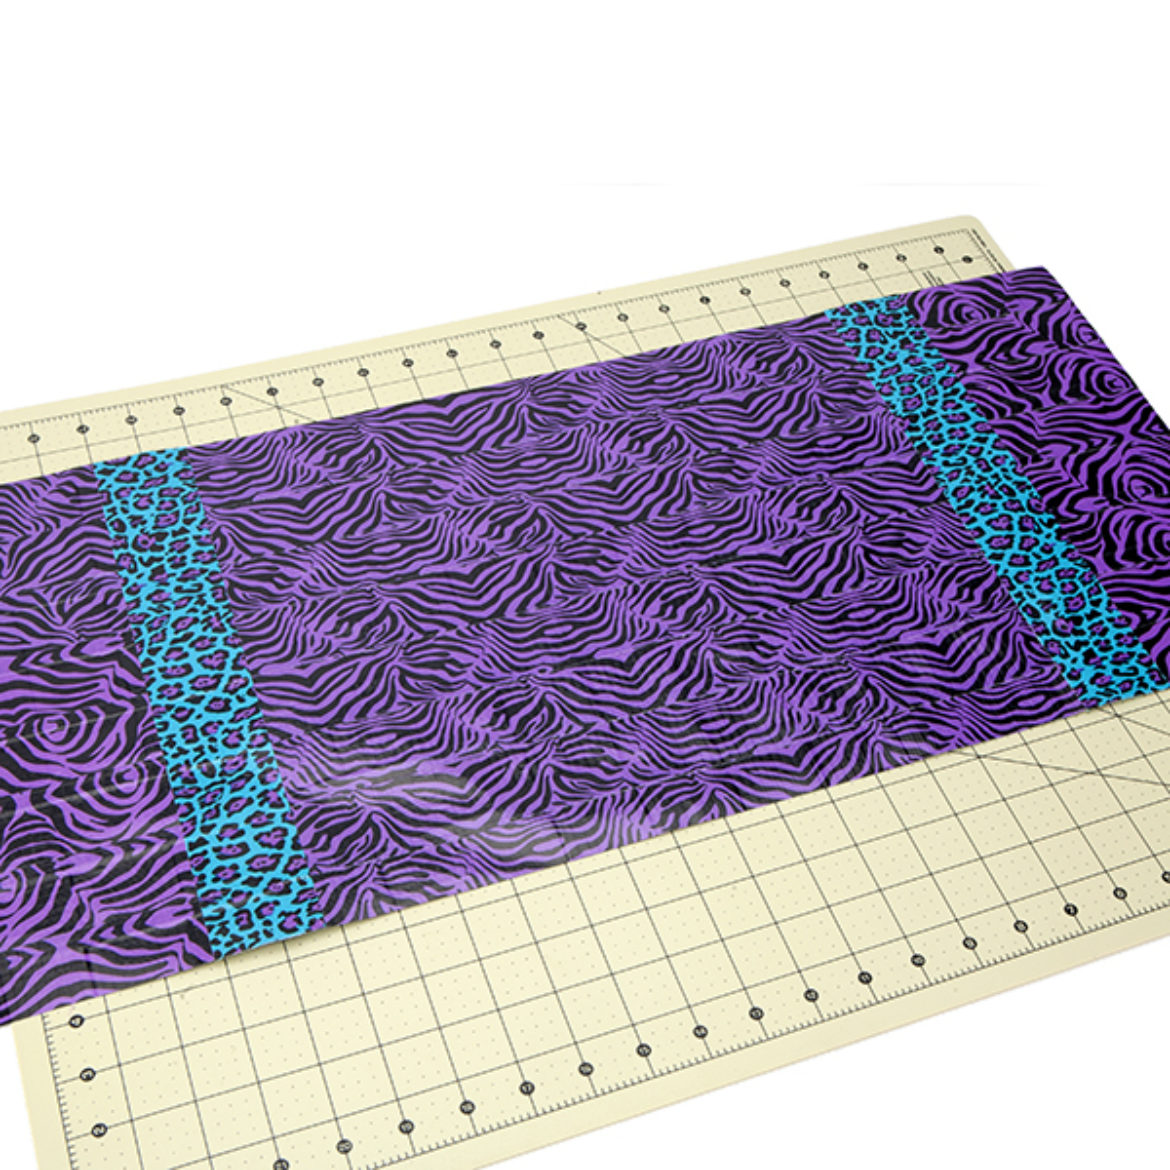
Step 4
Lay out the 2 side pieces from step 2 with one of the pieces from step 1. Use 12 in. strips of Duck Tape® to attach them together on both sides. This will be the front and sides of your bag. Set this aside.
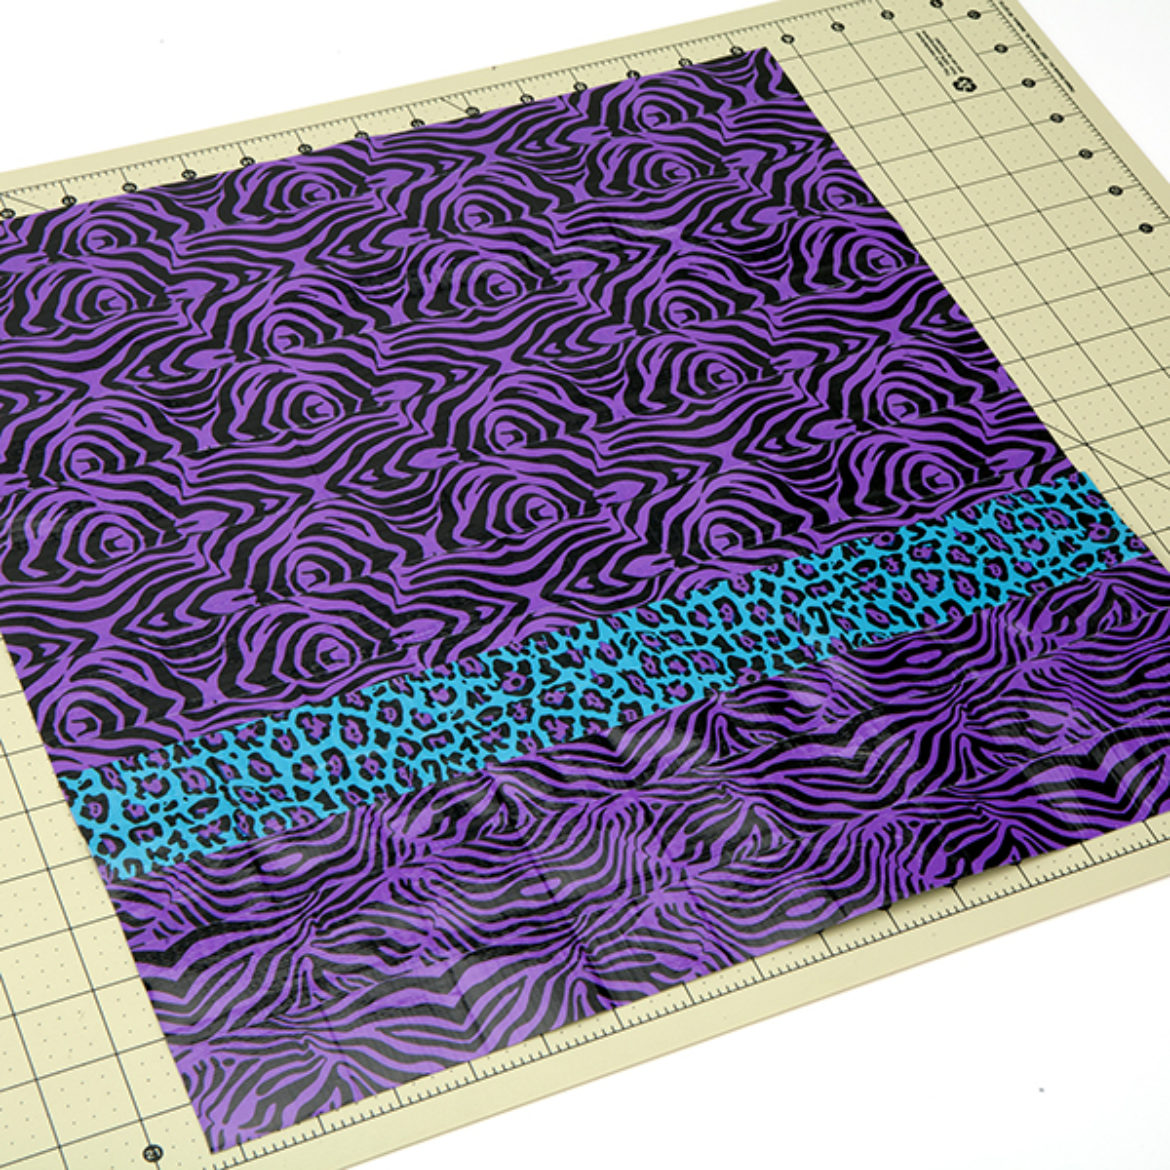
Step 5
Lay out the second piece from step 1 and the piece from step 3. Use a 16 in. strip of Duck Tape® to attach them together on both sides. This will be the back and bottom of your bag.
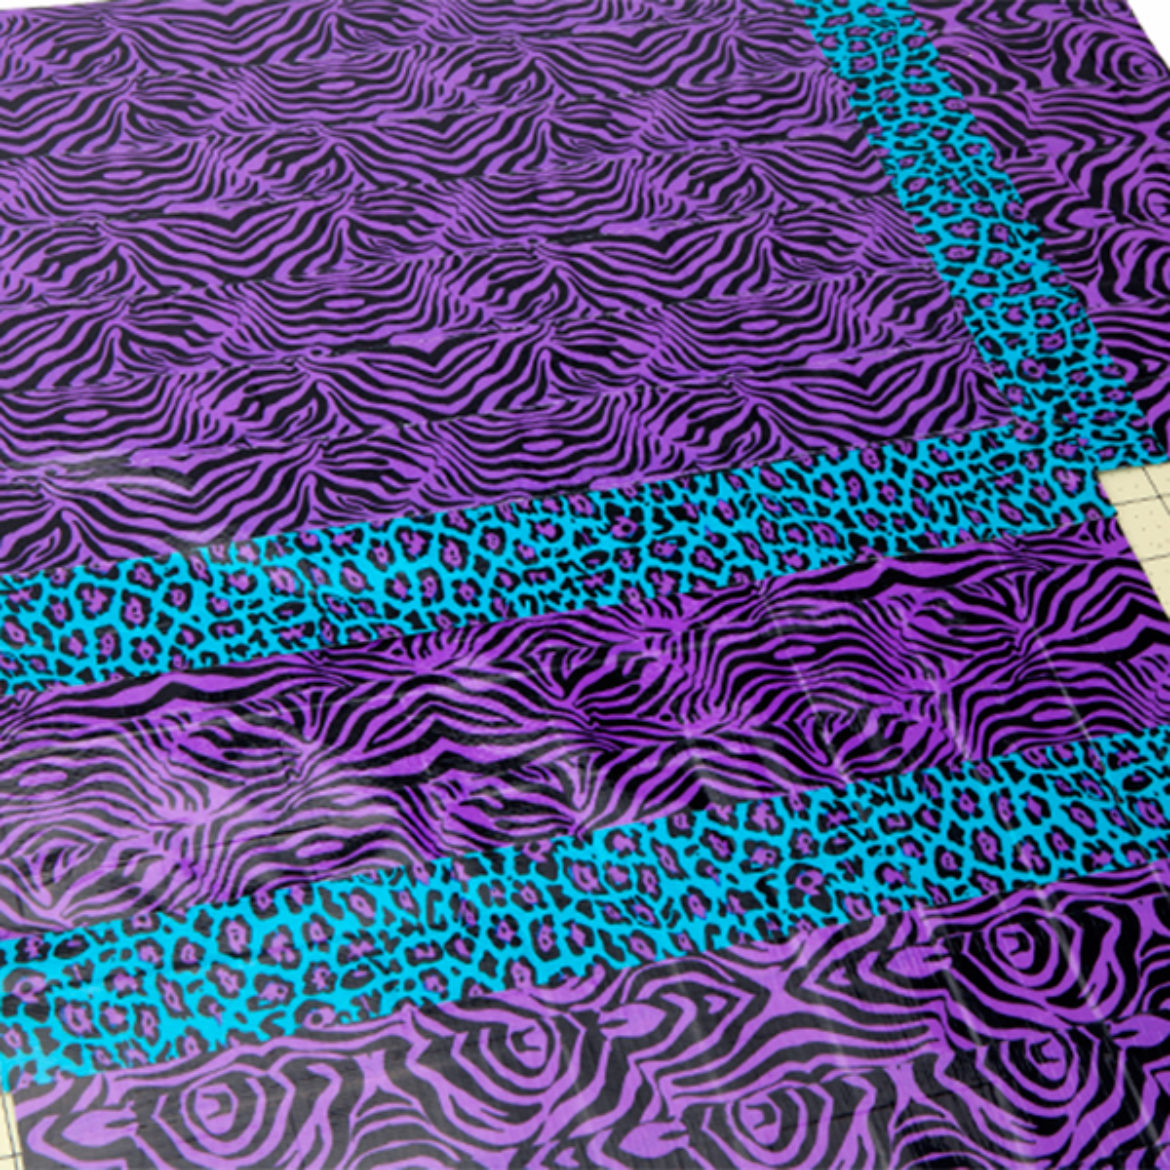
Step 6
Lay out the bottom piece from step 5 in between the front and back piece. Use a 16 in. strip of Duck Tape® to attach them on both sides.

Step 7
Fold all the sides up to create your bag and tape all the remaining seams inside and out.

Step 8
For your straps, make 2 double sided strips of Duck Tape® that are 24 in. long. Round off the edges if desired.
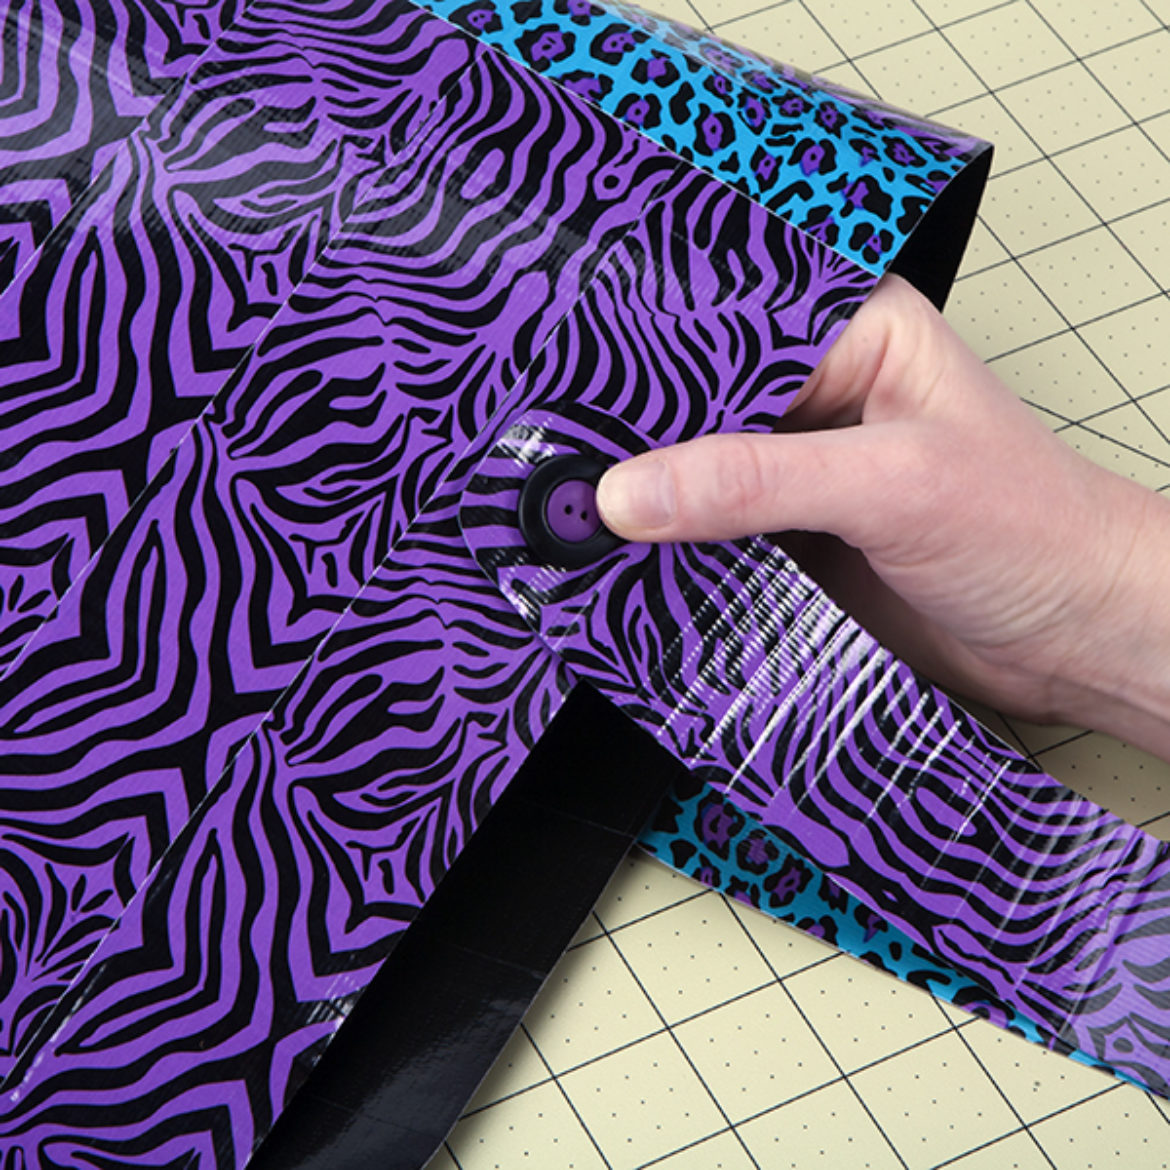
Step 9
Connect the straps to the front and back of your bag with strips of Duck Tape®. Add other accessories or material to decorate.
