How-To: Duck Tape® Drawer Divider
How-To: Duck Tape® Drawer Divider
Kick the clutter and make your own organizer out of your favorite Duck Tape® print or color.
Tutorial
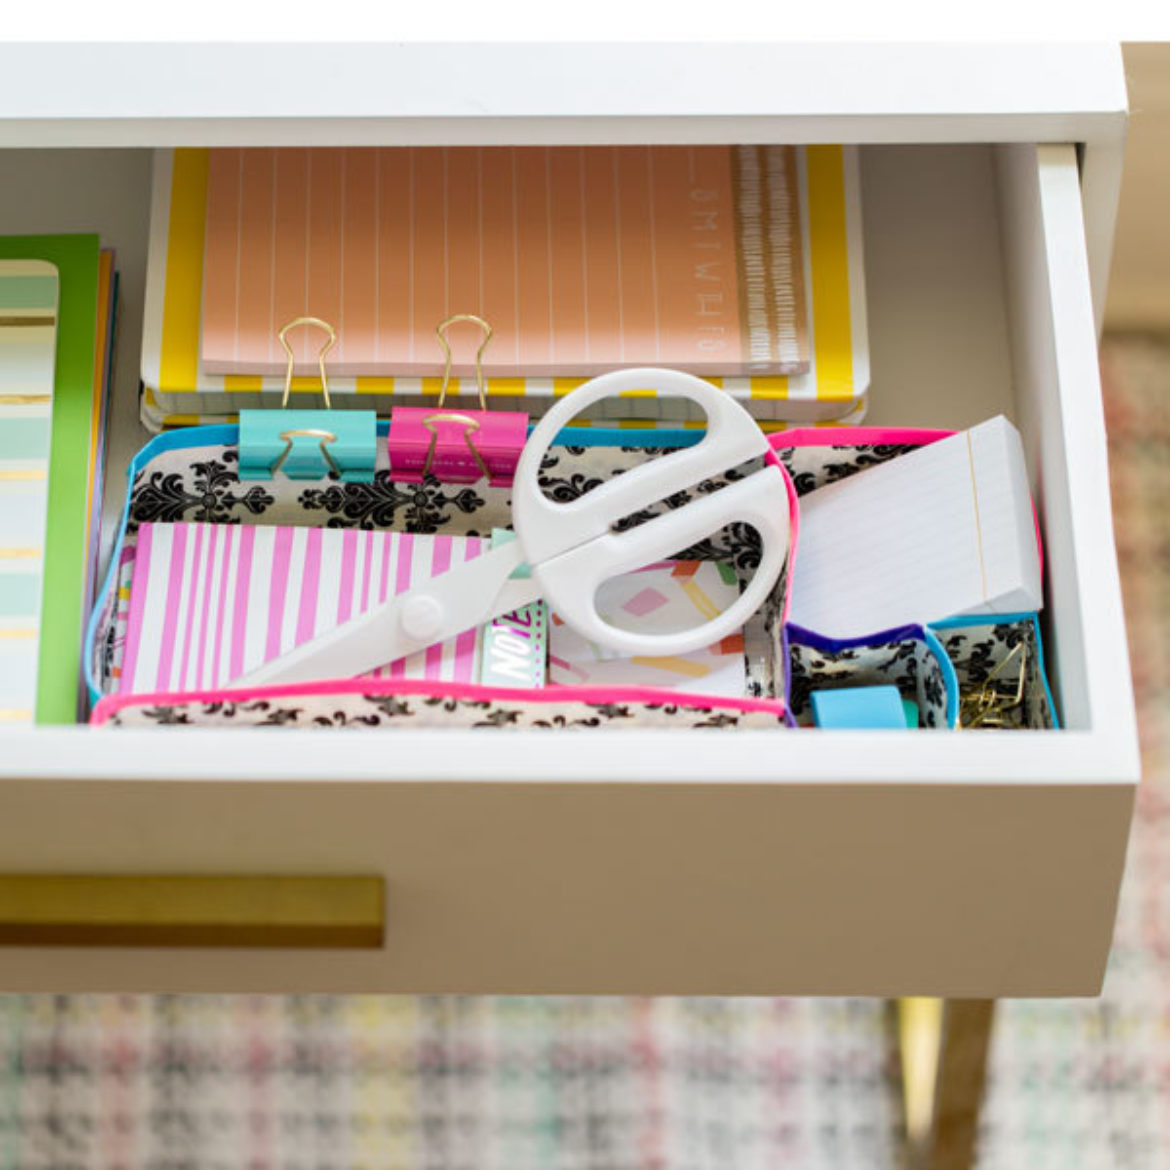
Intermediate
30 Minutes
Supplies & Tools
- Color Duck Tape®
- Printed Duck Tape®
- Duck Tape® Fabric Tutorial
- Scissors
- Crafting board
Scroll down for step-by-step directions.
Disclaimer - If the listed tape type is not available, there's no need to worry. All of our crafts can be adjusted to use whatever tape you have on hand!
Directions
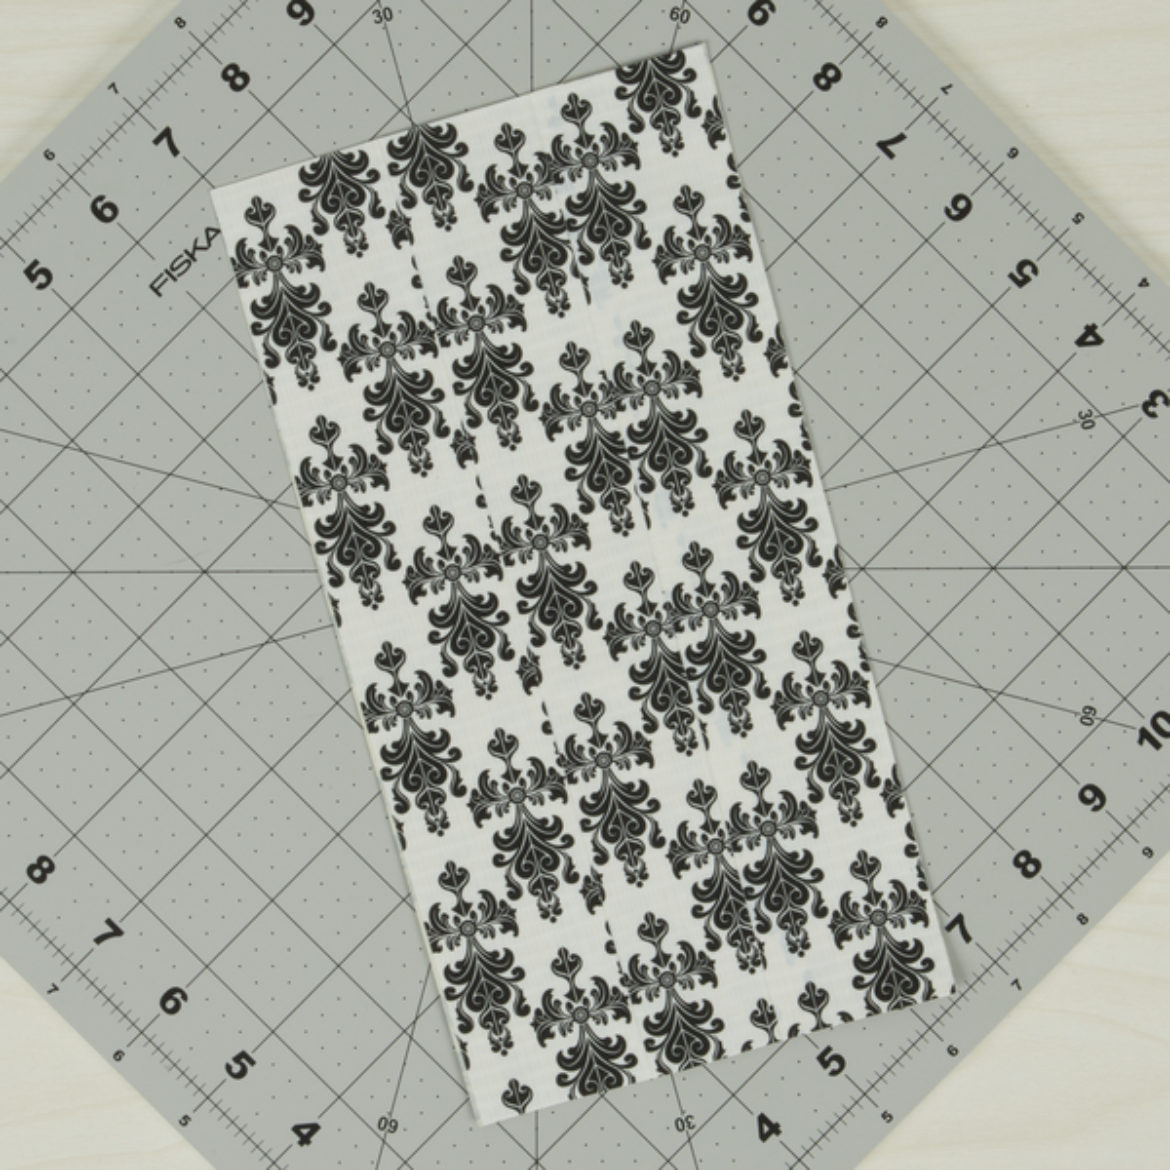
Step 1
Make a Duck Tape® fabric that is 6 in. long and 4 in. wide.
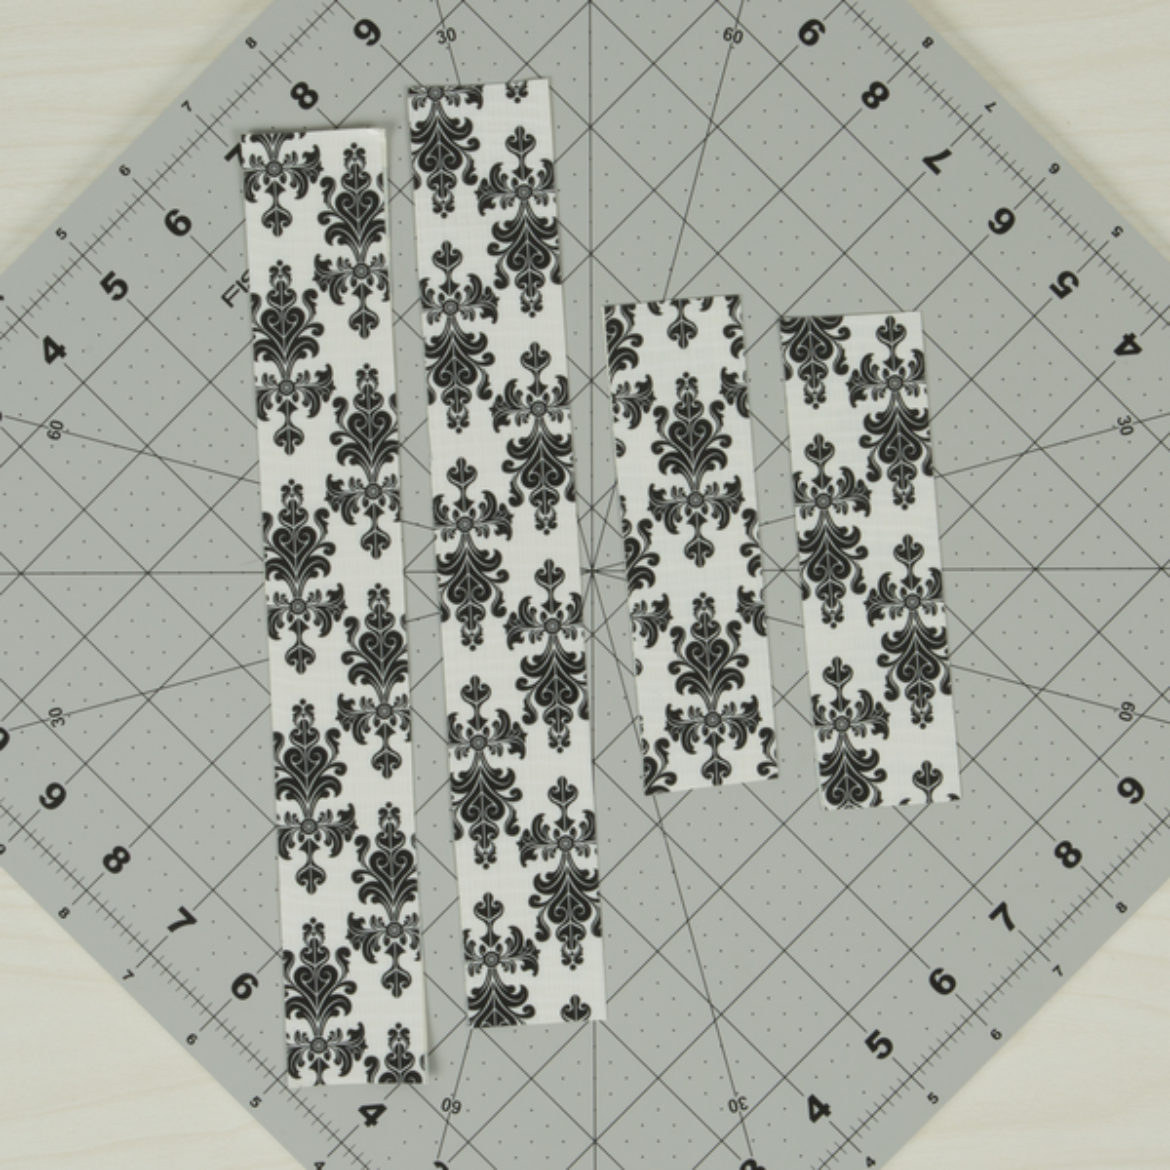
Step 2
Make 2 Duck Tape® fabrics that are 6 in. long and 2 in. wide and 2 more pieces of fabric that are 4 in. long and 2 in. wide.
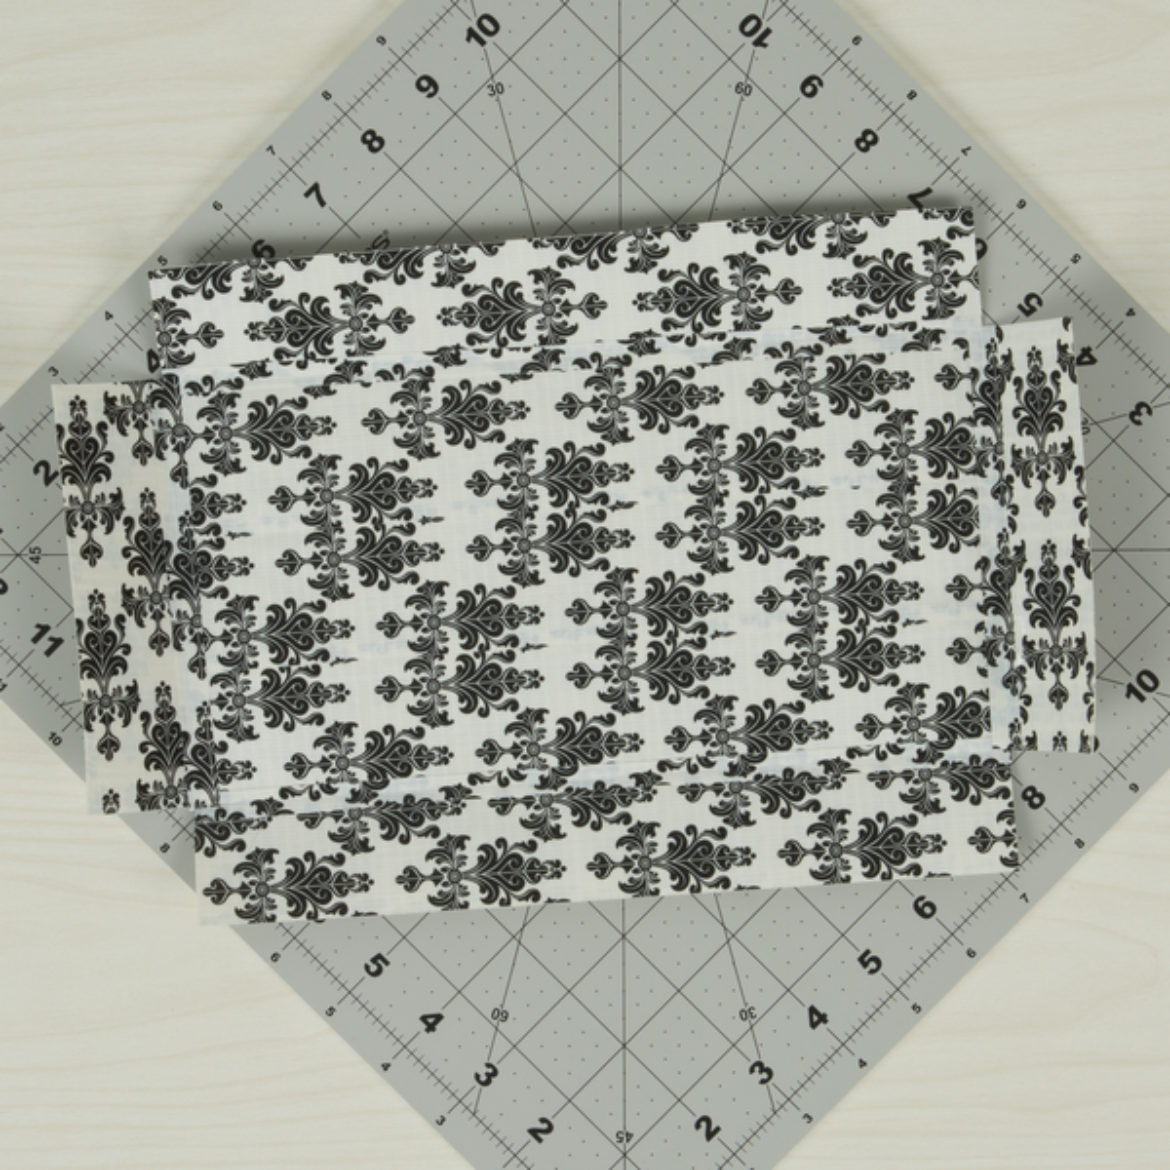
Step 3
Lay down the side pieces on the edges of the bottom pieces and use pieces of tape to attach them.
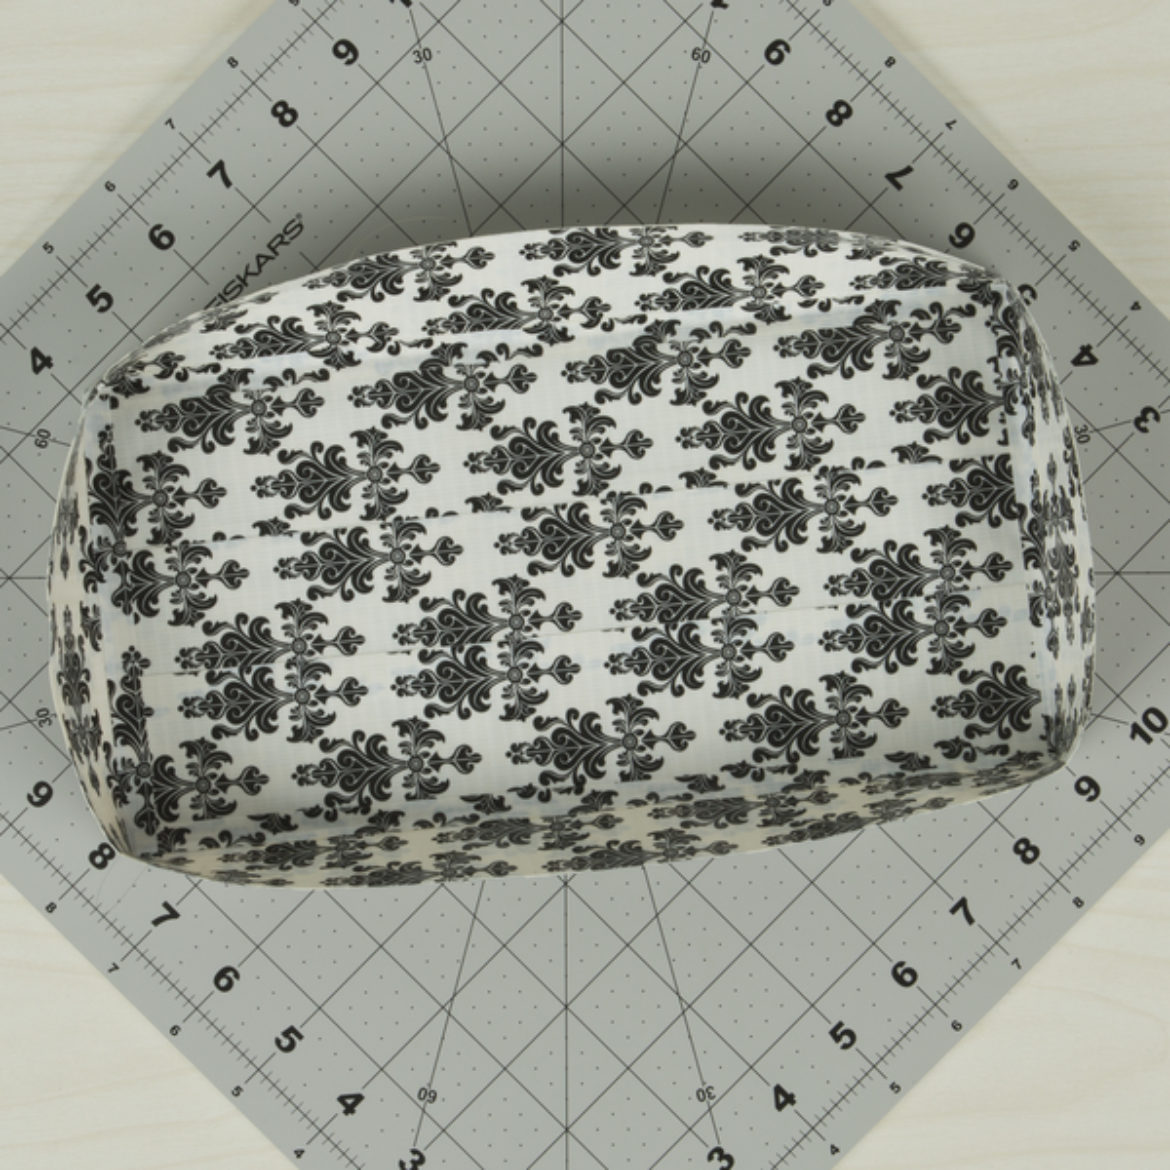
Step 4
Fold up the side pieces and use squares of Duck Tape® to secure the edges. This will make your box.
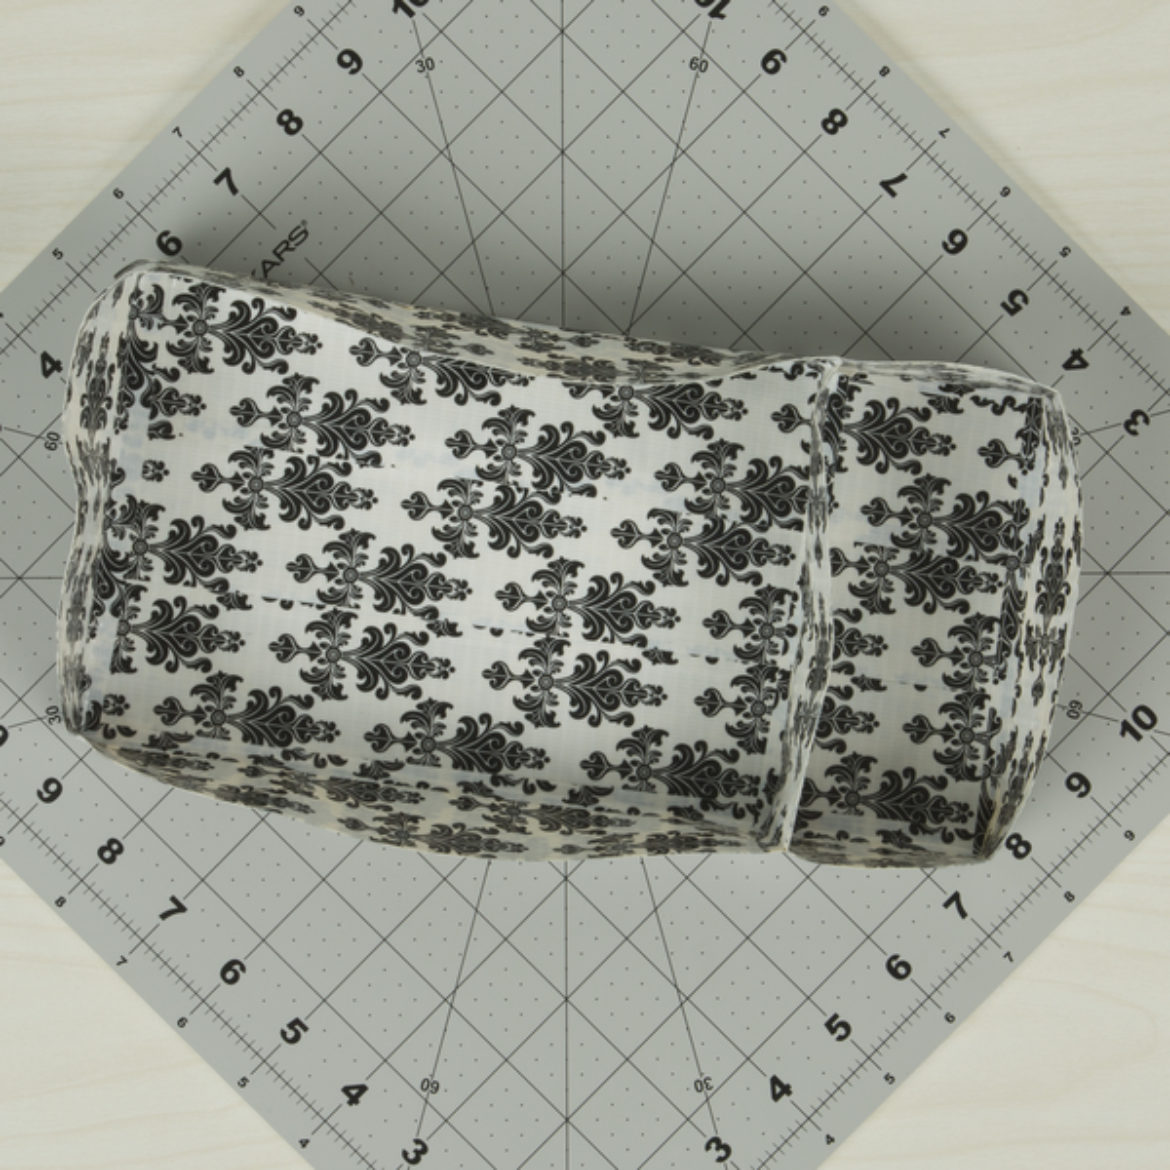
Step 5
Tape a double sided strip of Duck Tape® to make your first divider.
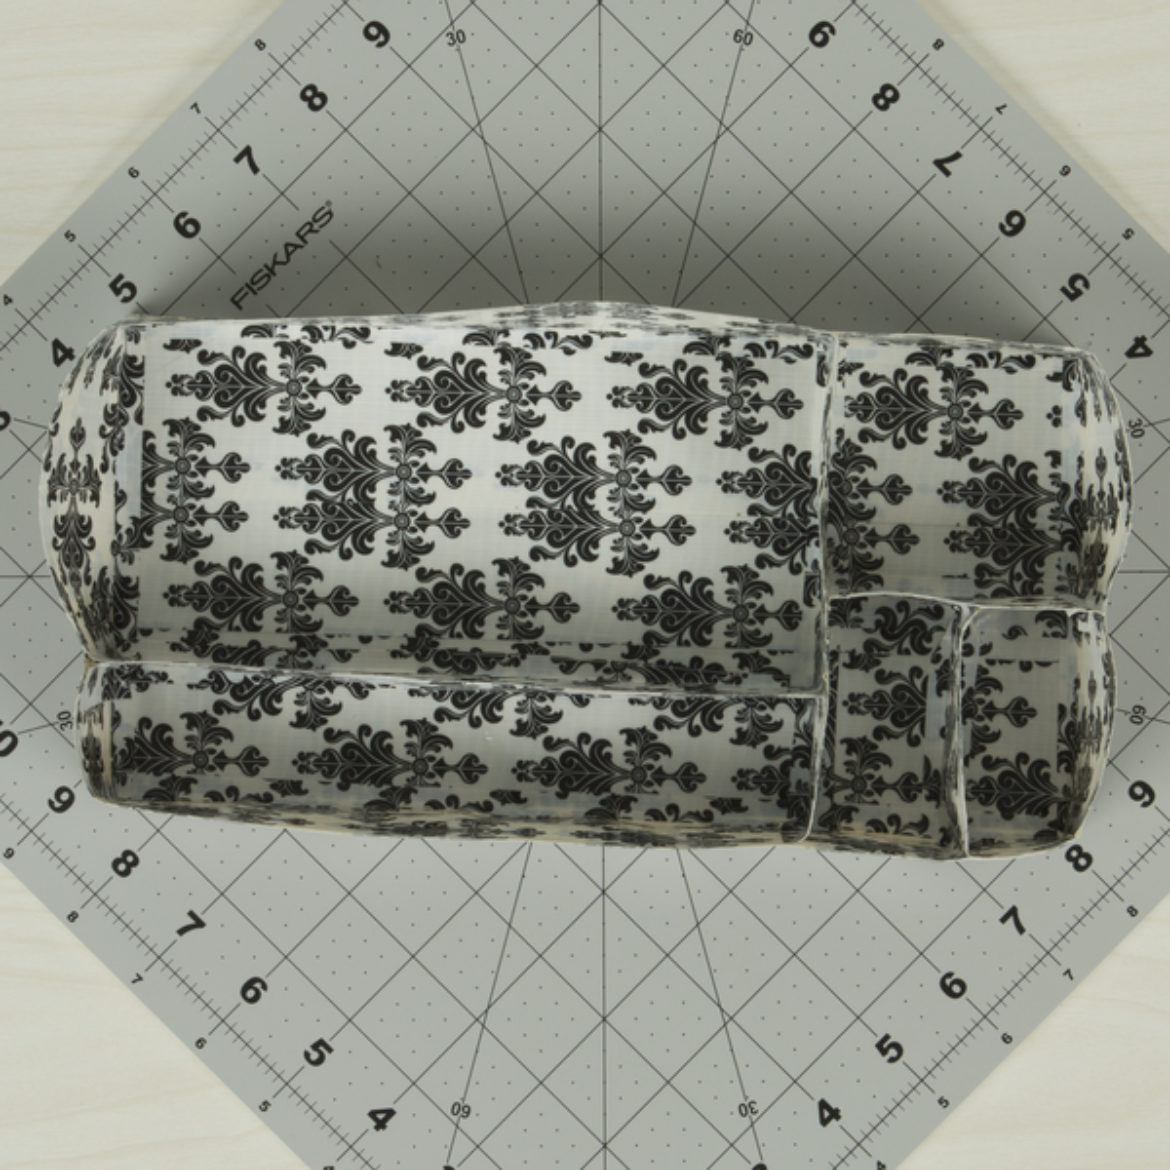
Step 6
Repeat step 5 to make as many dividers as you want.
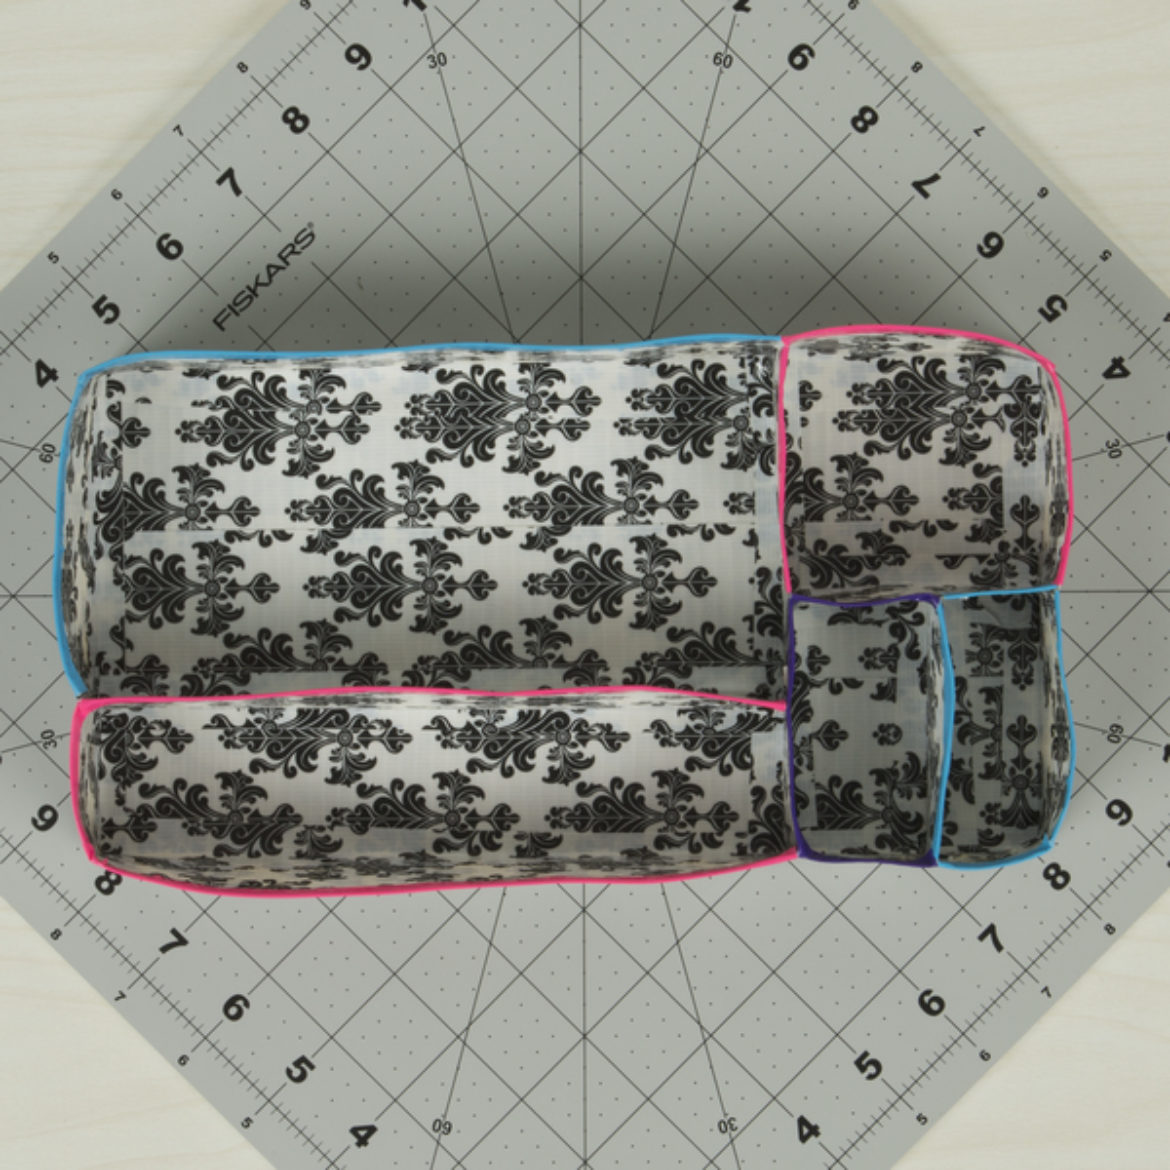
Step 7
Add strips of tape to the top of your dividers.
