How-To: Duck Tape® Easter Cone
How-To: Duck Tape® Easter Cone
Tutorial

Beginner
30 Minutes
Supplies & Tools
- Duck Tape®
- String or Twine
- Scissors
- Crafting Board
Scroll down for step-by-step directions.
Disclaimer - If the listed tape type is not available, there's no need to worry. All of our crafts can be adjusted to use whatever tape you have on hand!
Directions
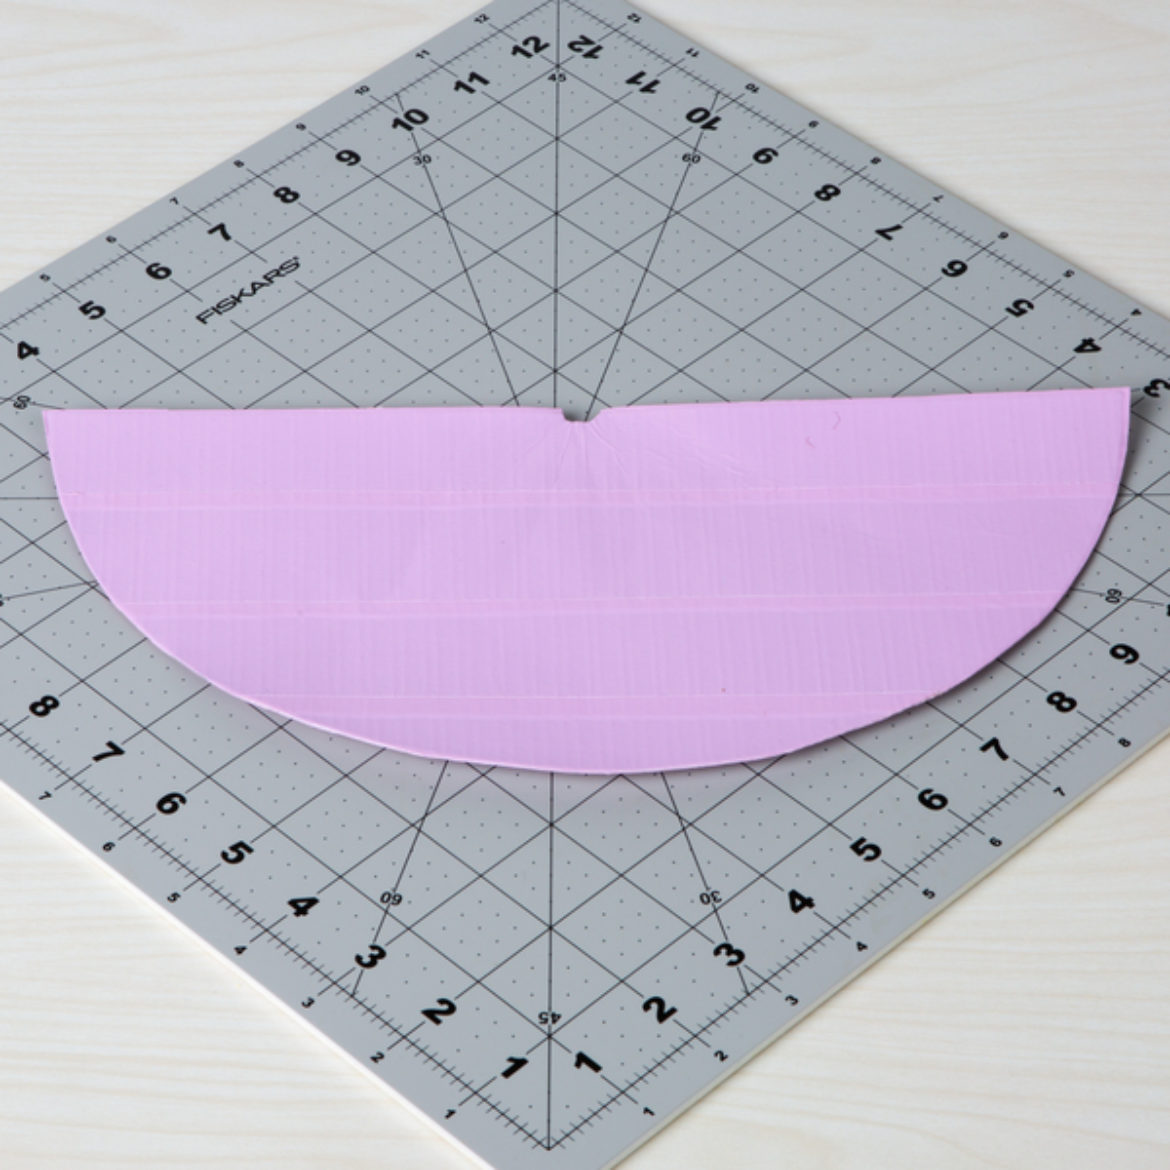
Step 1
Make a double sided half circle and form this piece into a cone shape. Secure with tape.
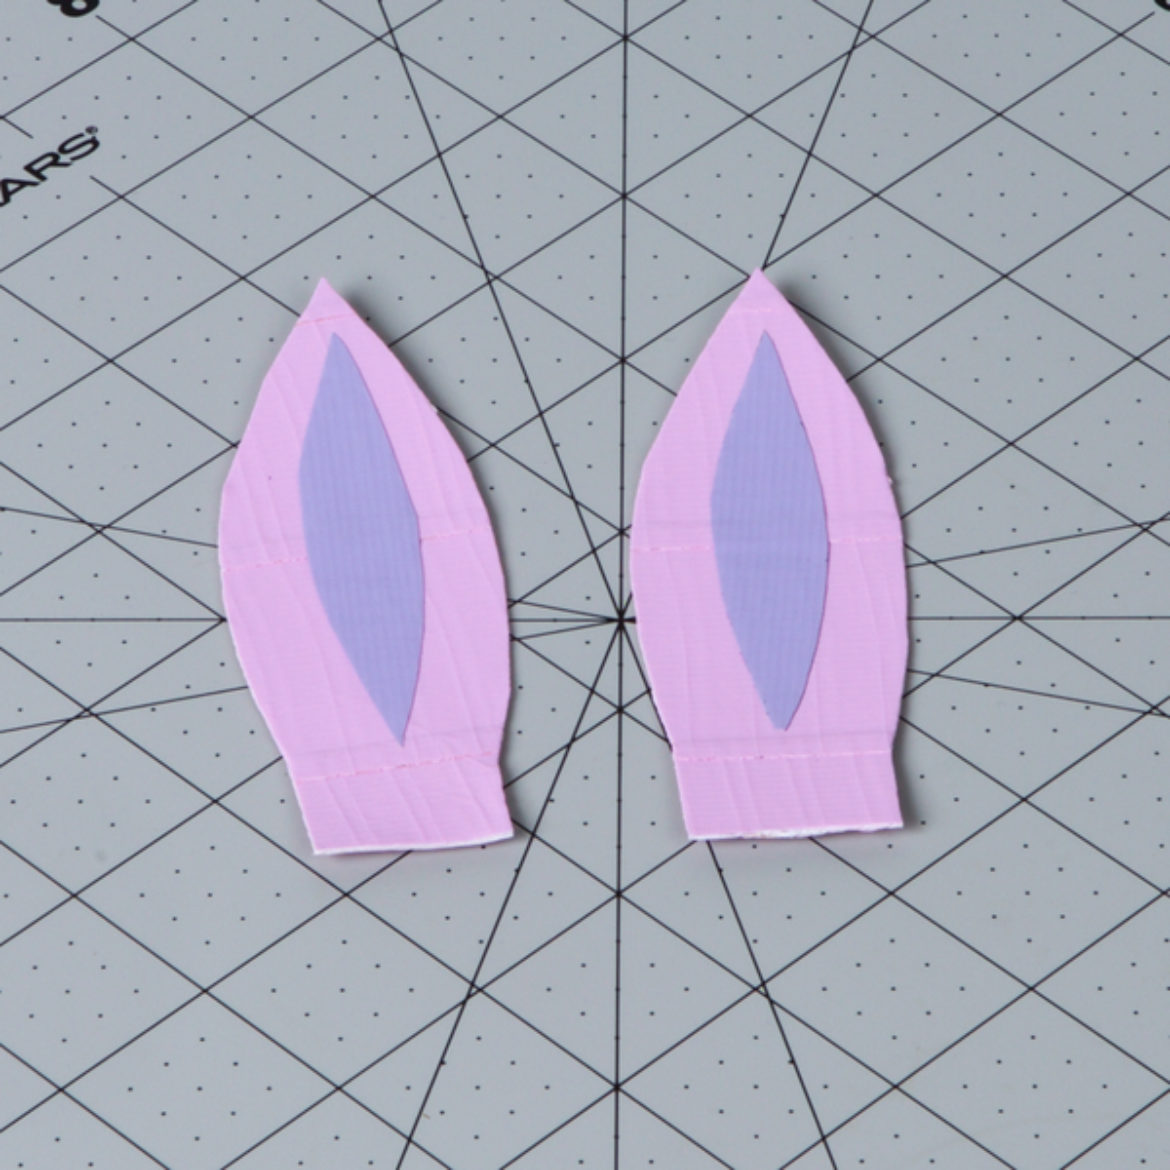
Step 2
Make ears from a double sided strip of tape.
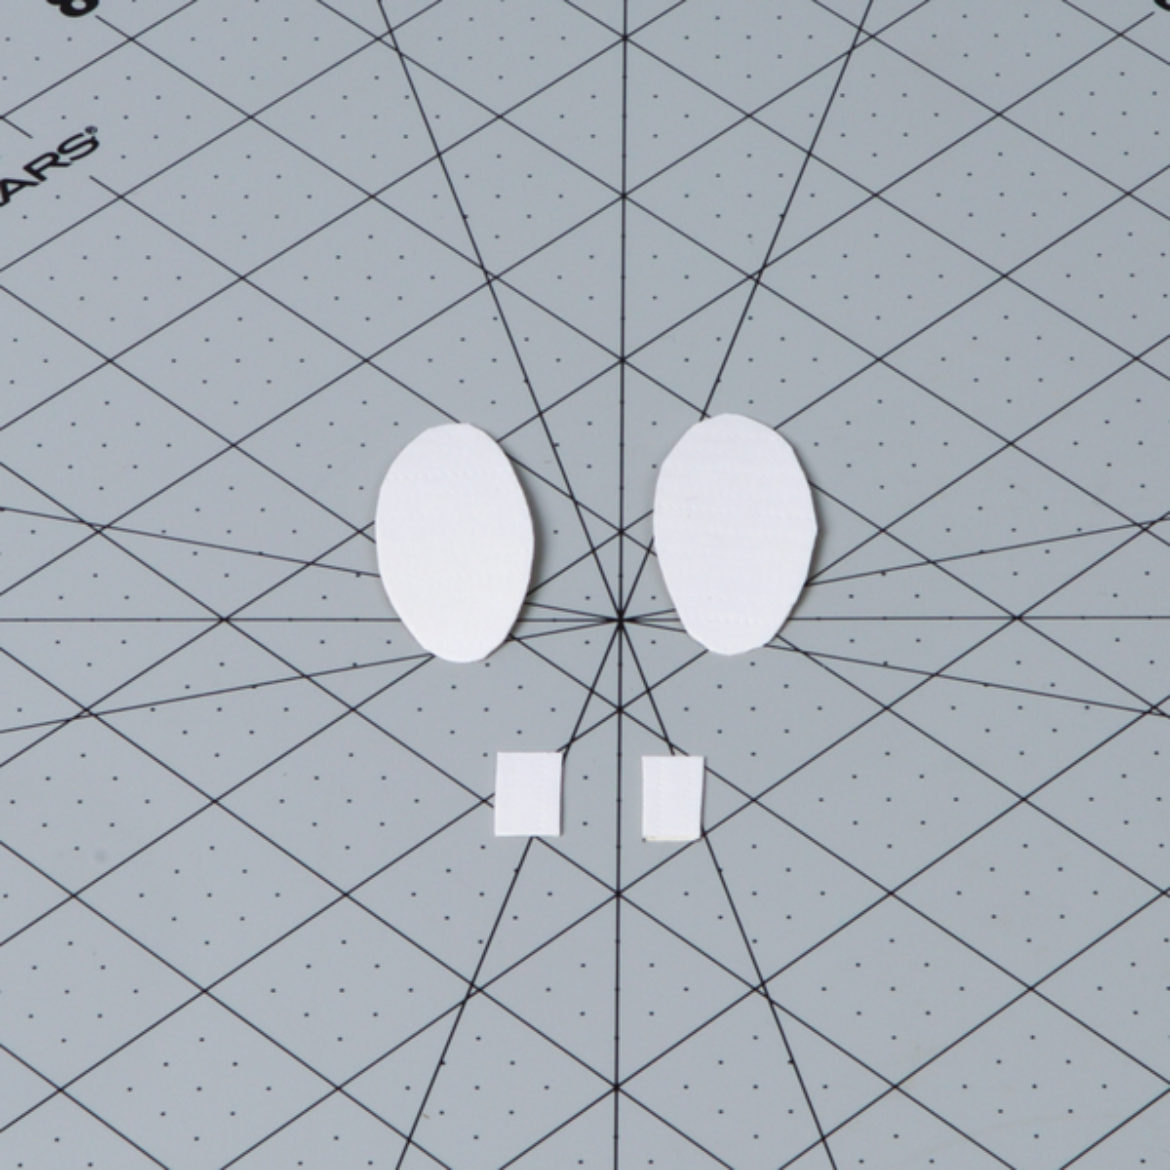
Step 3
Cut out circles and small squares for the eyes and teeth from a strip of tape.
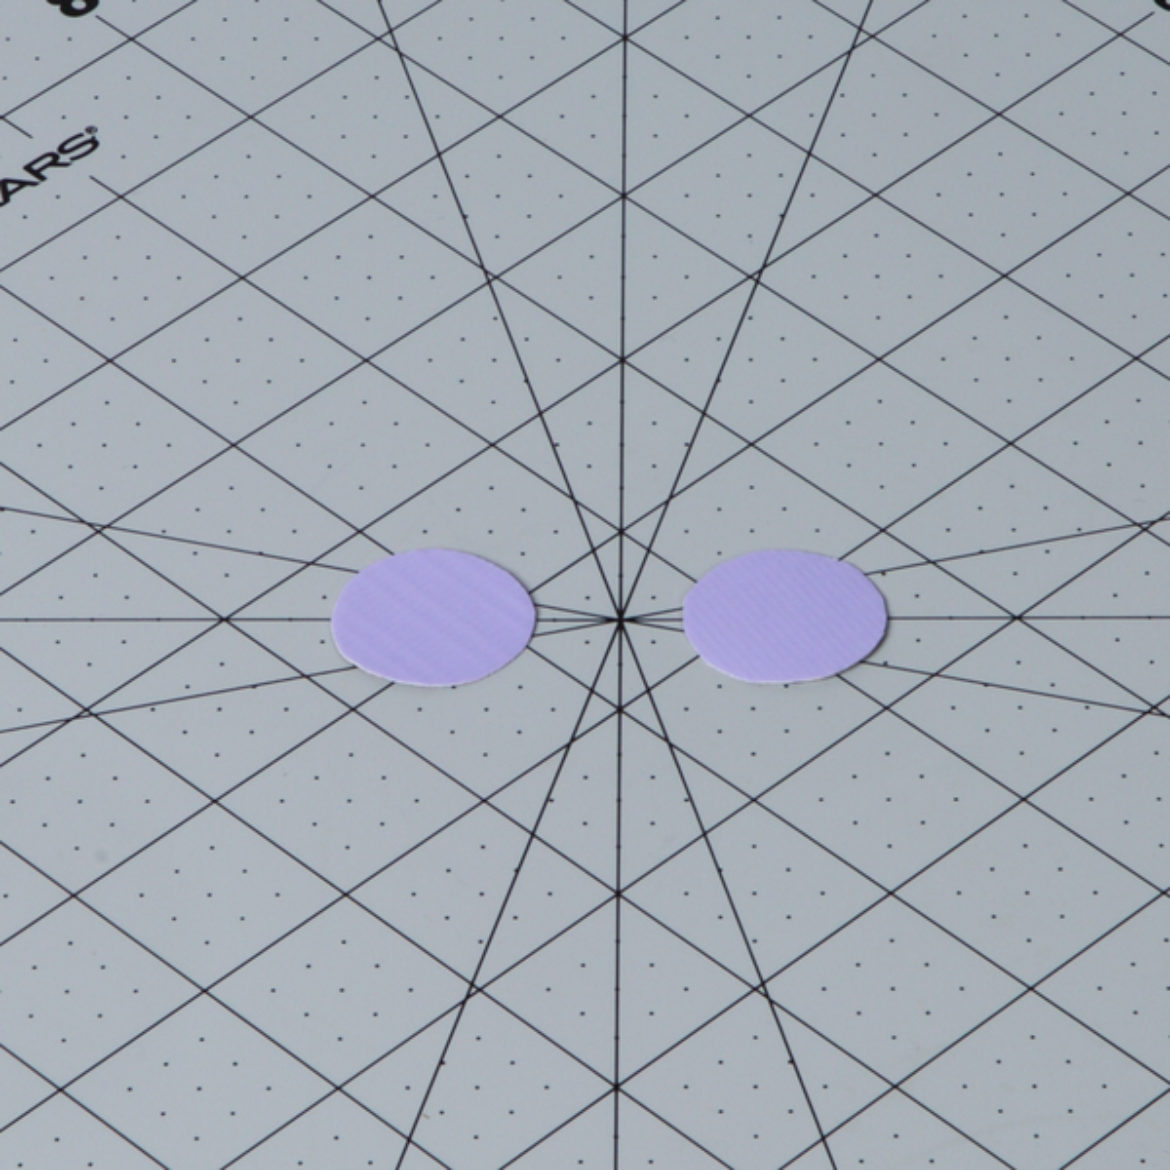
Step 4
Make 2 circles for the cheeks.
Step 5
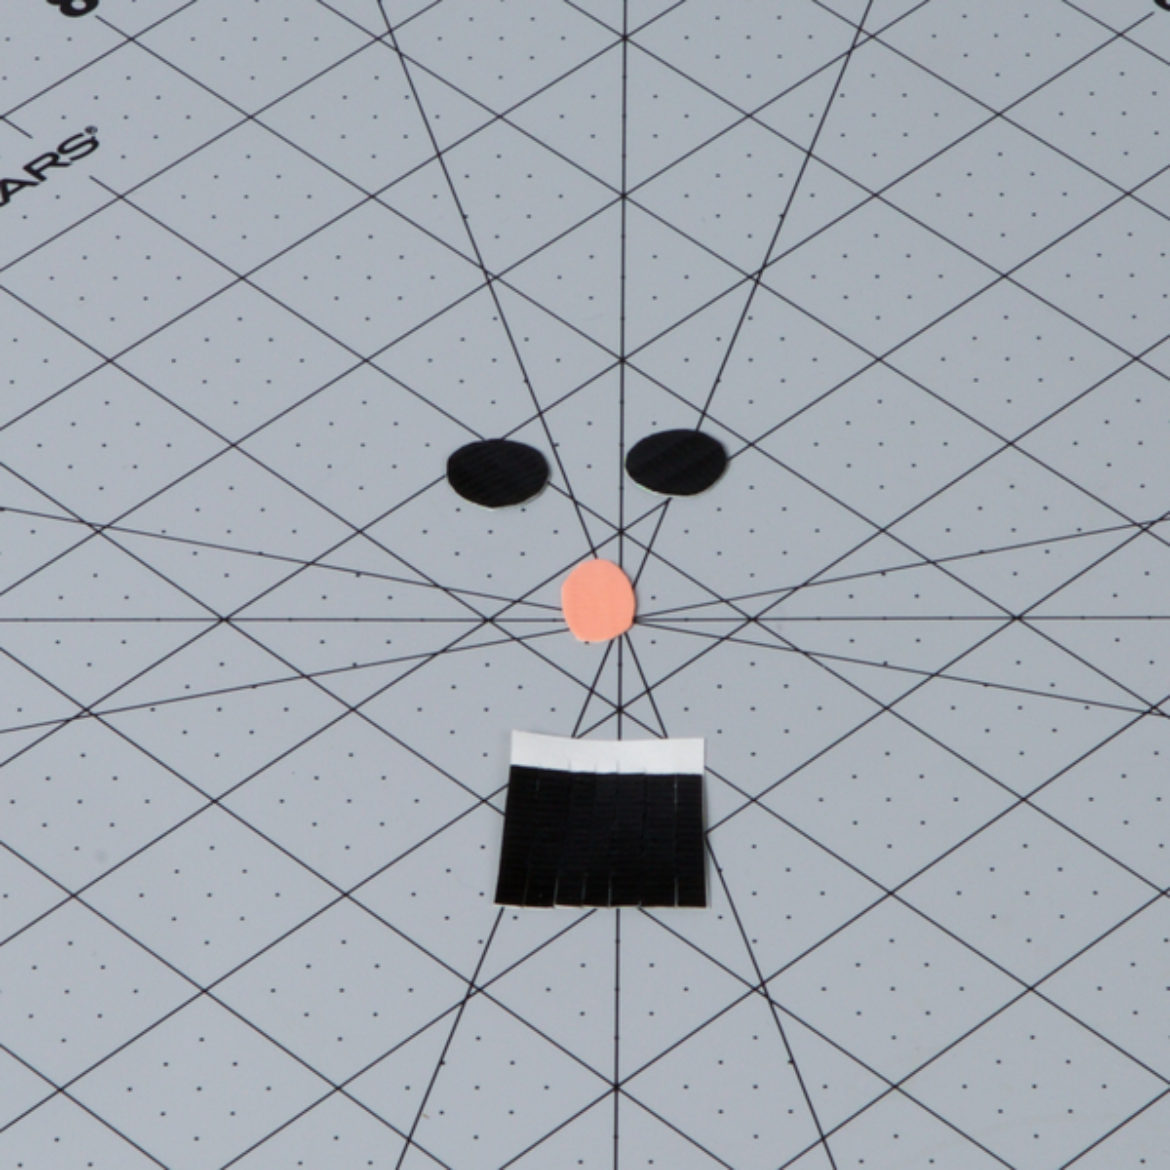
Cut out circles for the pupils, a circle for the nose and small strips of tape for the whiskers.
Step 6
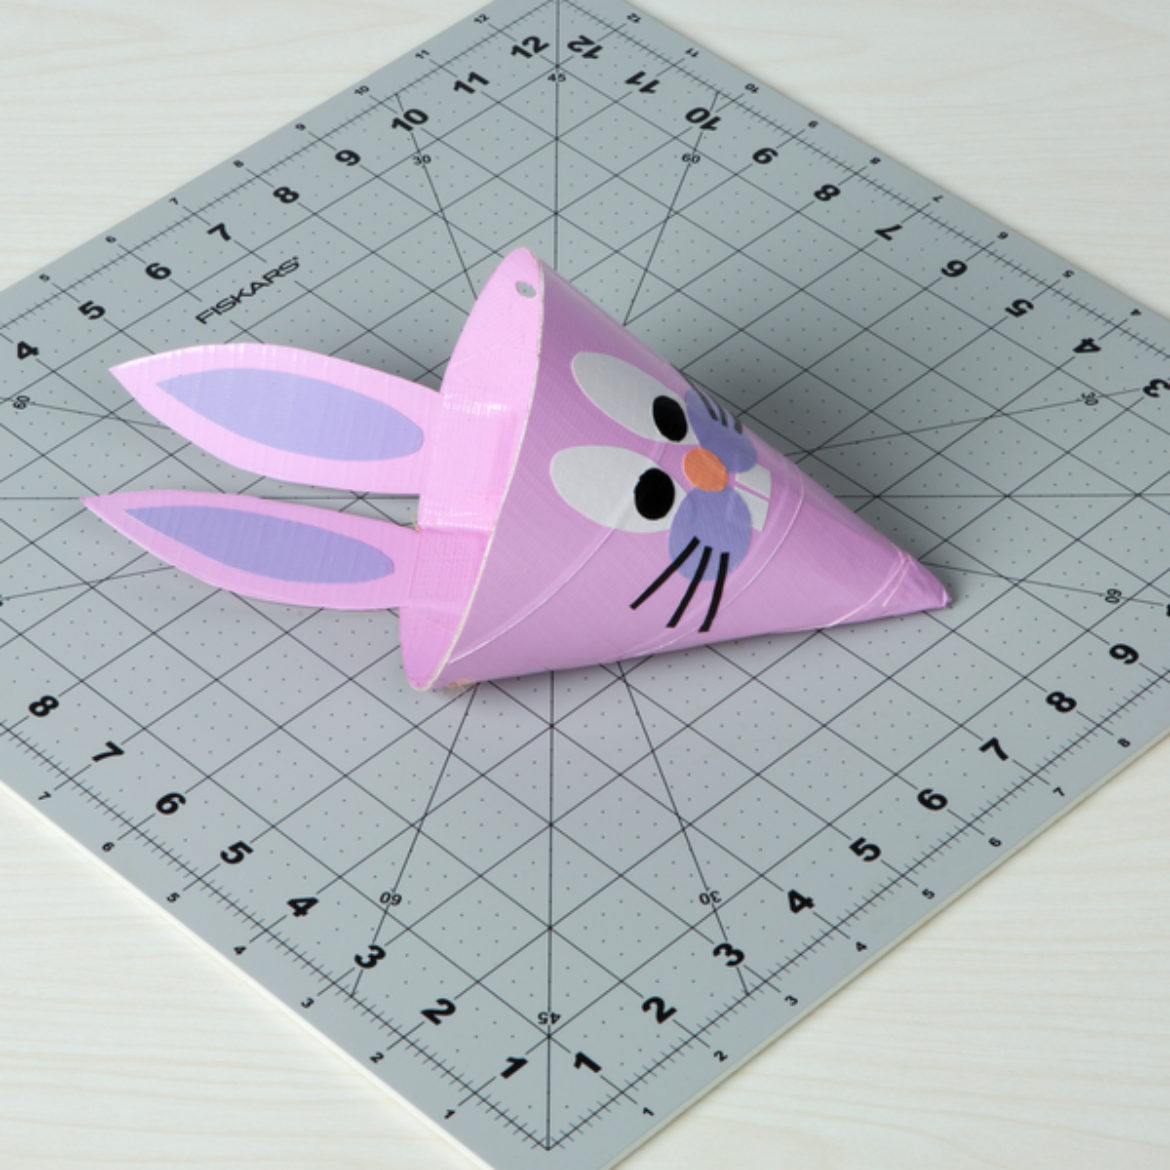
Place all of the facial features on the front of the cone from step 1.

Step 7
Cut a long piece of string.

Step 8
Cut small circles on either side of the cone, feed the string through each and tie the ends.
