How-To: Duck® Glitter Jar
How-To: Duck® Glitter Jar
Want the glitz and glam without the mess? Stick with Duck Glitter® Crafting Tape and transform an ordinary jar into a stunning decoration.
Tutorial

Advanced
30 Minutes
Supplies & Tools
- Duck Glitter® Crafting Tape
- Wire
- Wire Cutters
- Pleirs
- Craft Knife
- Jark
- Wax Paper
- Crafting Board
Scroll down for step-by-step directions.
Disclaimer - If the listed tape type is not available, there's no need to worry. All of our crafts can be adjusted to use whatever tape you have on hand!
Directions
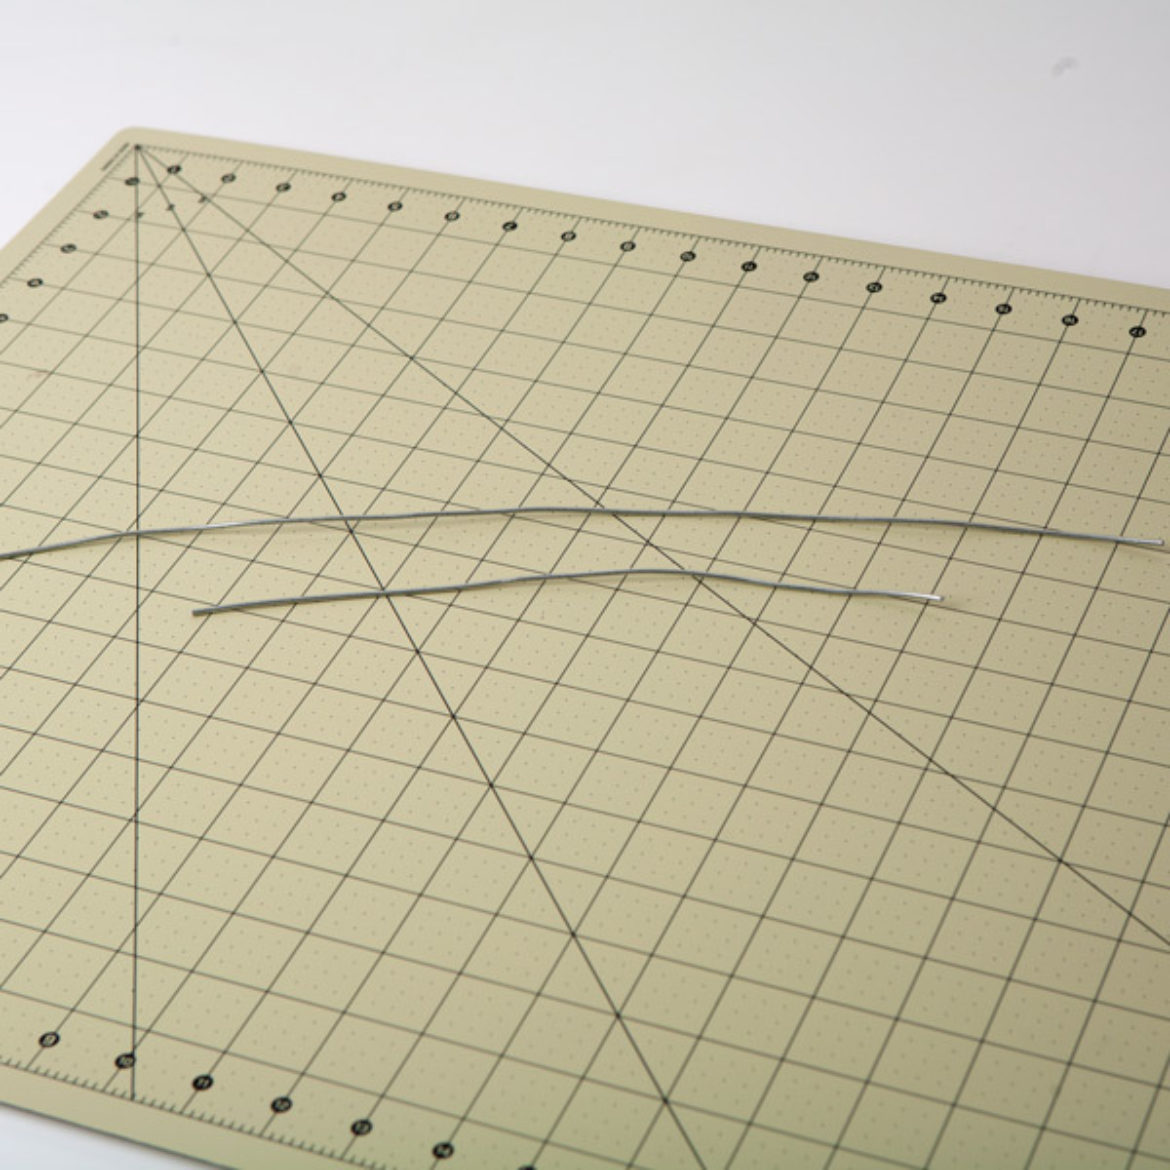
Step 1
Cut two pieces of wire, one measuring 10.5 in. long and the other 16 in. long.
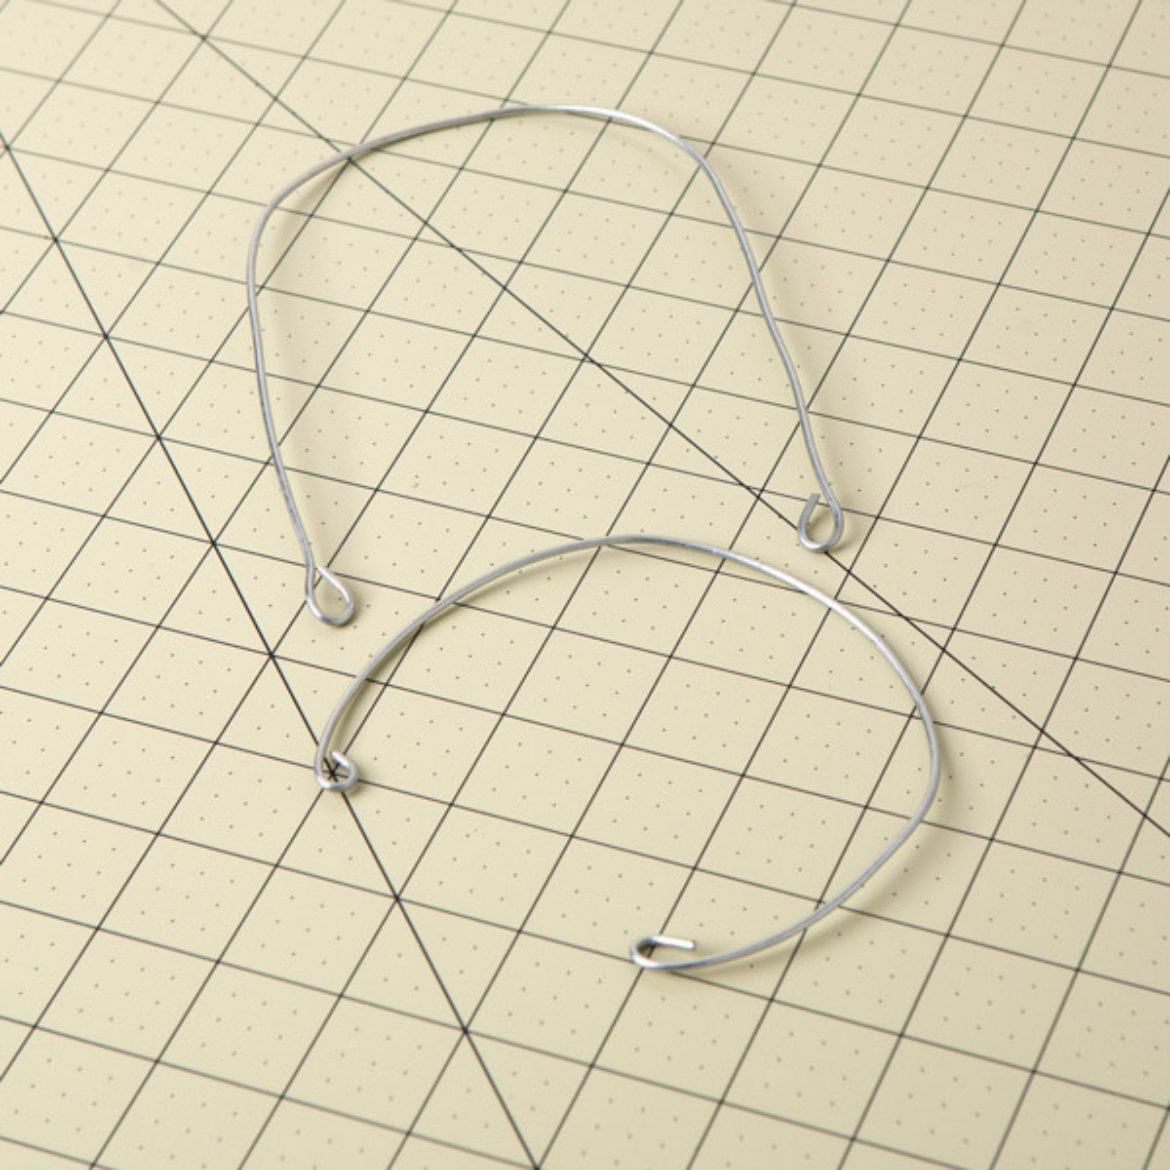
Step 2
Using pliers, bend the ends of the wire into loops. Form the 10.5 in. long piece into a circle and the larger piece into a "U" shape. You may need help from an adult with this step.
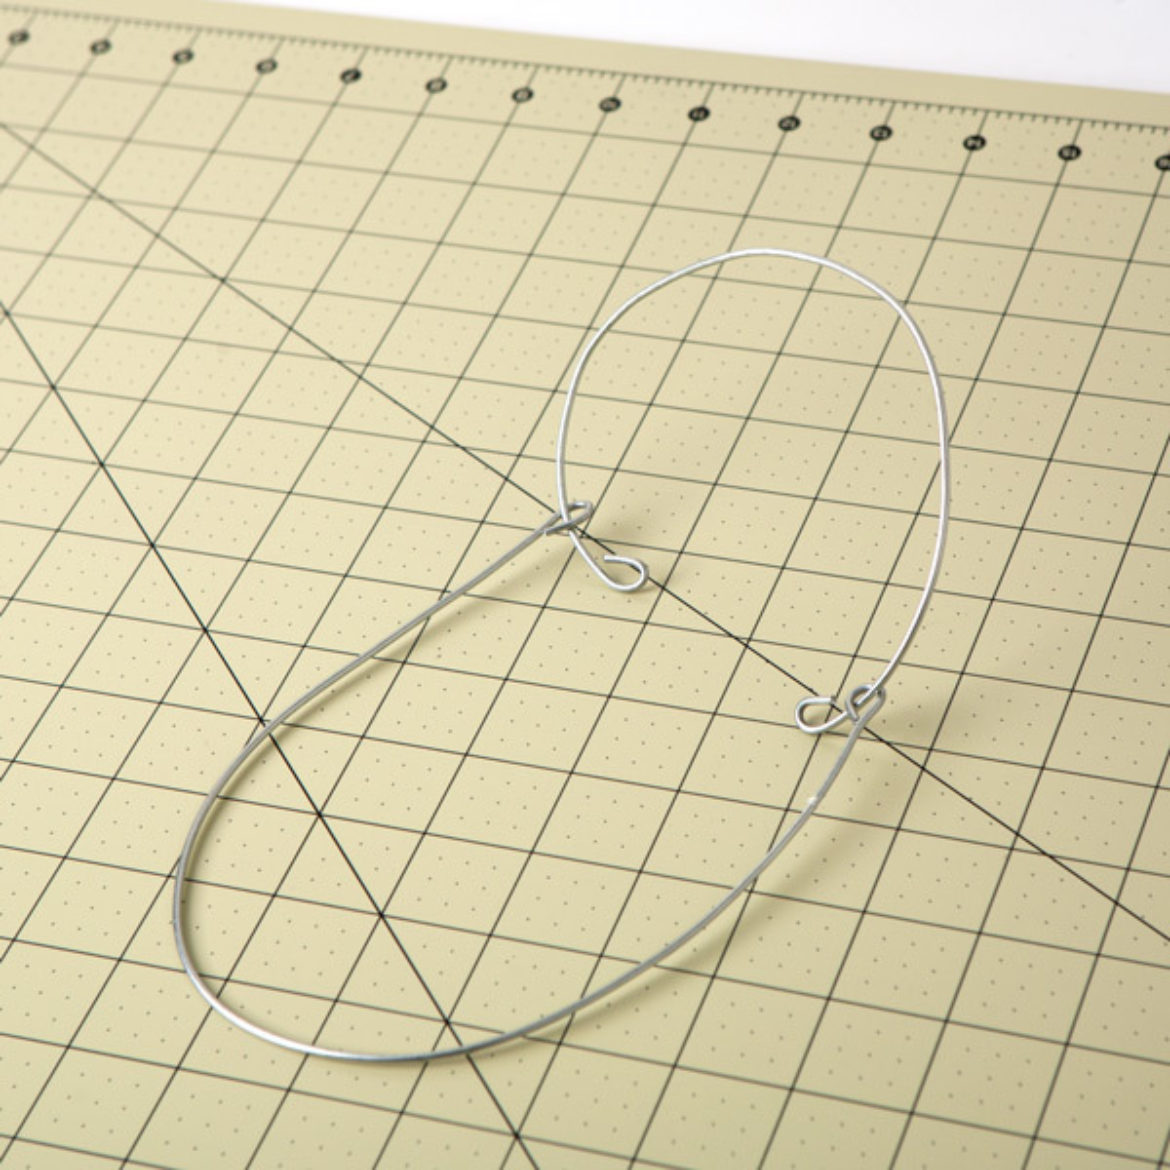
Step 3
Thread the "U" shaped wire into the circular piece of the circular wire.
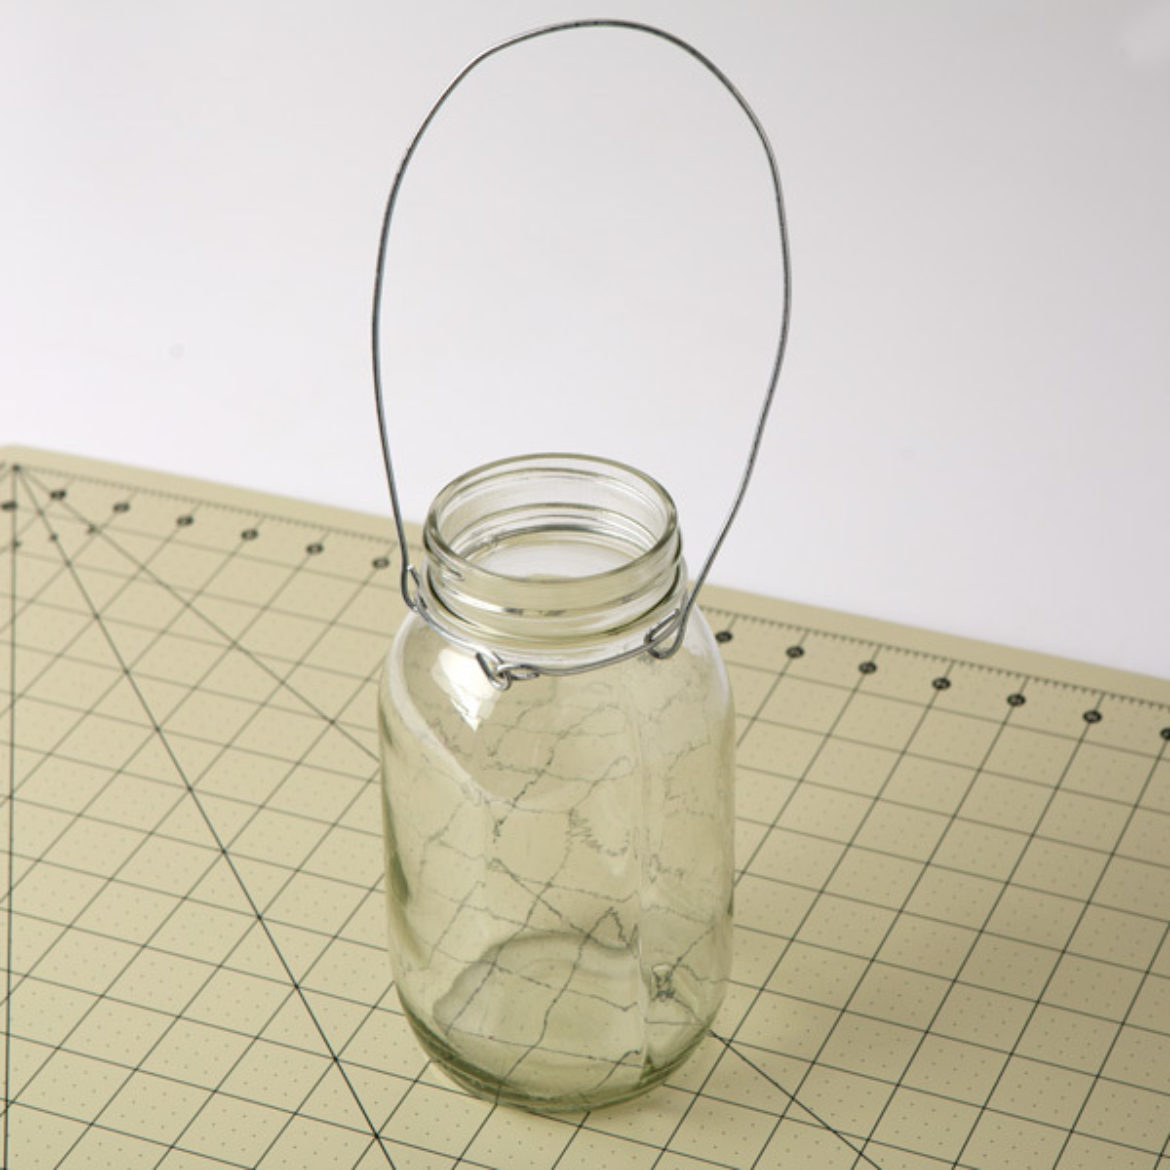
Step 4
Place the circular piece of wire around the neck of the jar.
Step 5
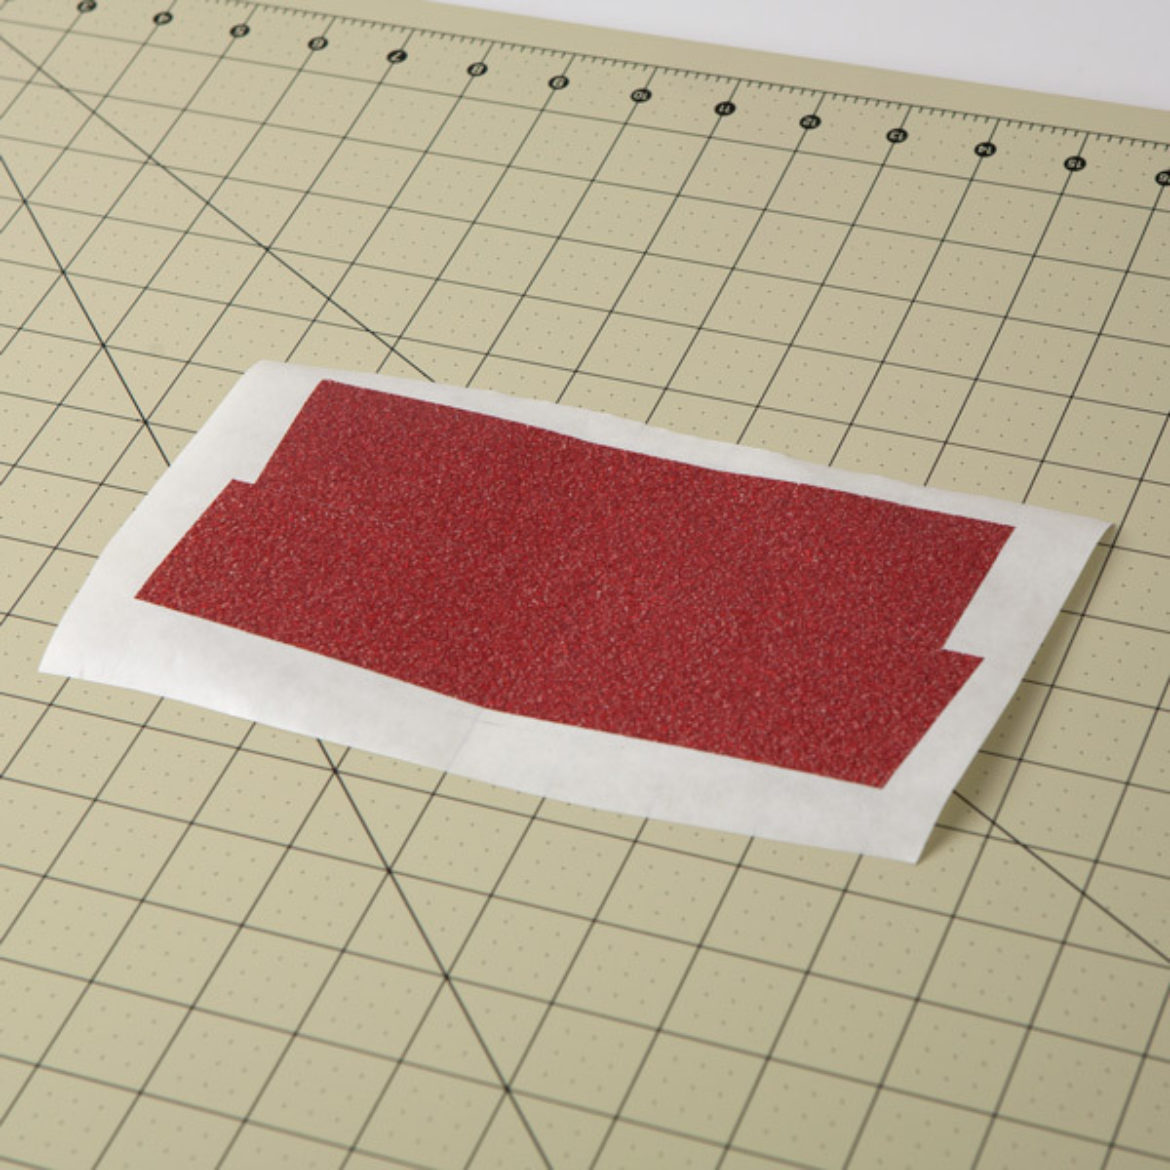
Lay out two pieces of Duck Glitter® tape, slightly overlapping, on a piece of wax paper.
Step 6
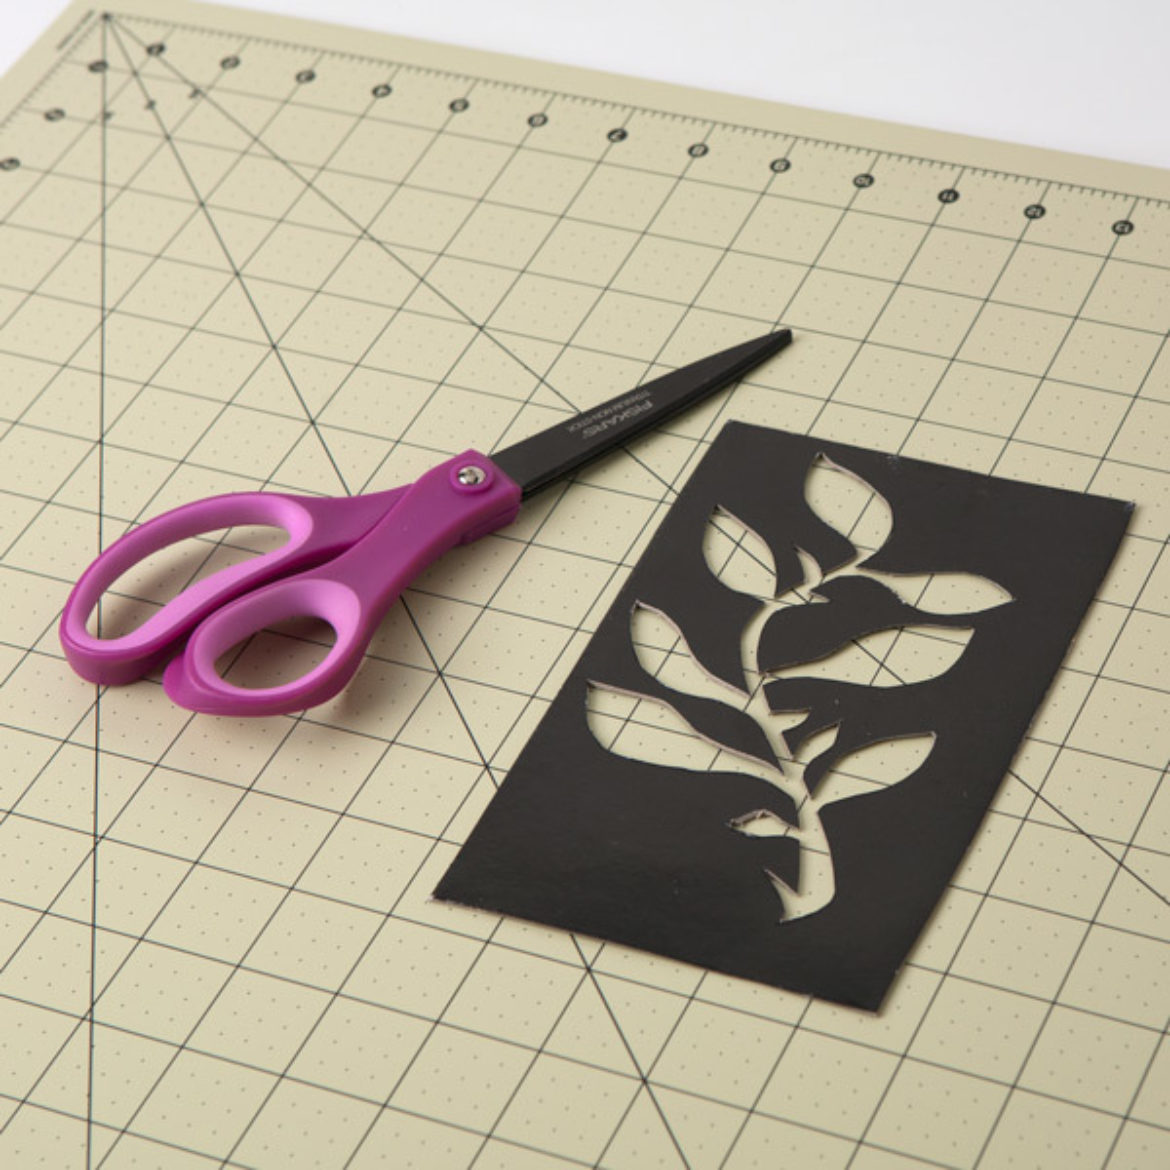
Draw or trace a floral design and cut it out. This will be your template.

Step 7
Using your template, trace your floral design onto your piece from step 5.

Step 8
Using a craft knife, cut out your floral design.

Step 9
Place your design on the front of your jar one piece at a time.

Step 10
Continue until you are happy with your design.
