How-To: Duck Tape® Christmas Tree Ornaments
How-To: Duck Tape® Christmas Tree Ornaments
Tutorial
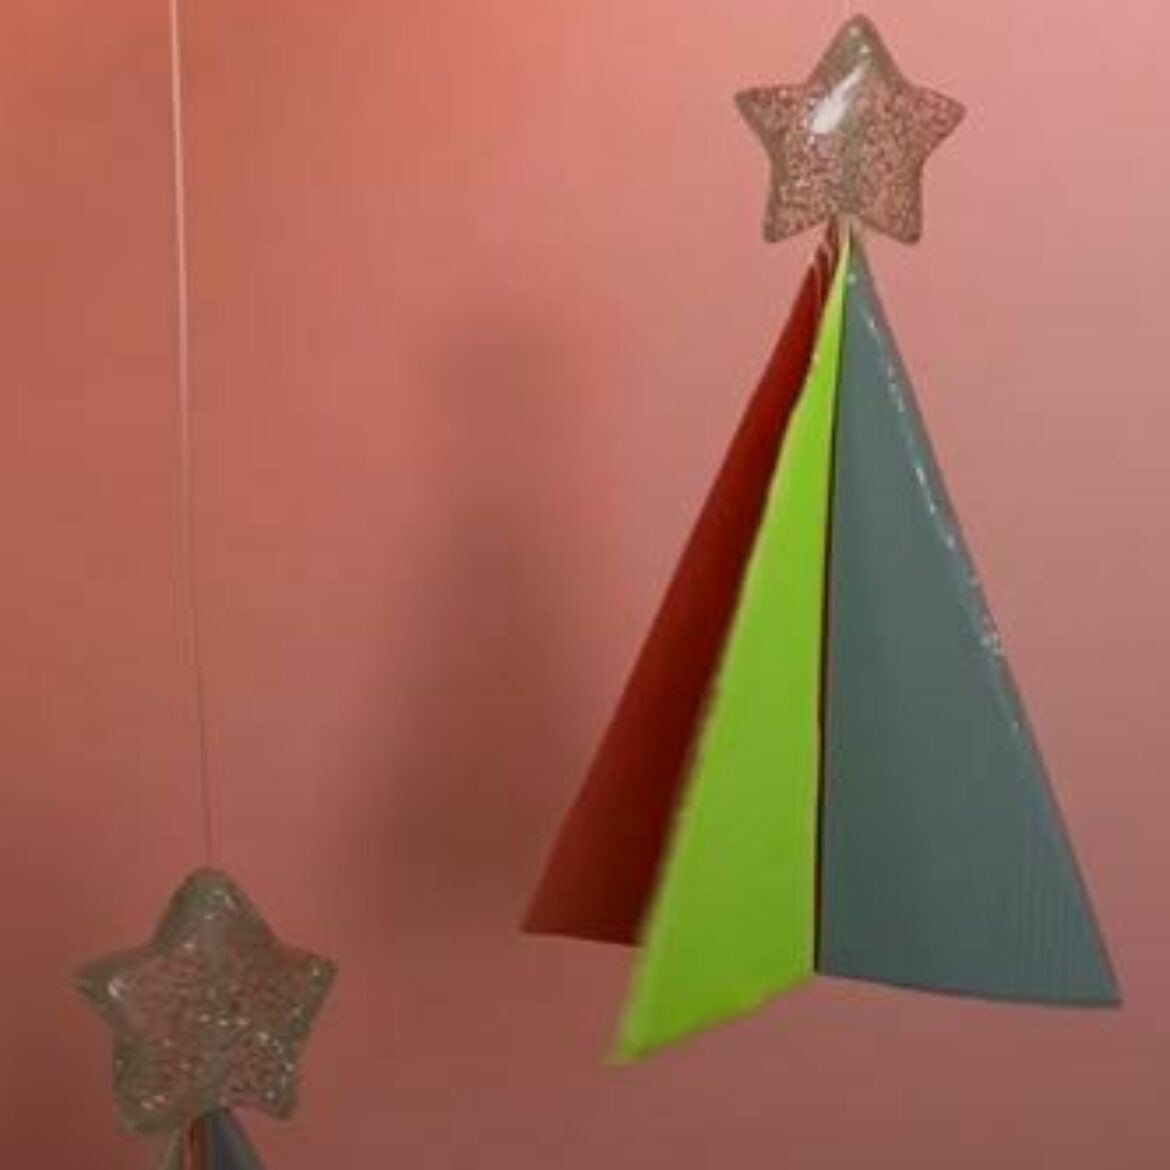
Beginner
15 Minutes
Supplies & Tools
- Large plastic container, such as a laundry detergent bottle
- Duck Tape®
- String
- Star bead
- Scissors
Scroll down for step-by-step directions.
Disclaimer - If the listed tape type is not available, there's no need to worry. All of our crafts can be adjusted to use whatever tape you have on hand!
Directions
Step 1
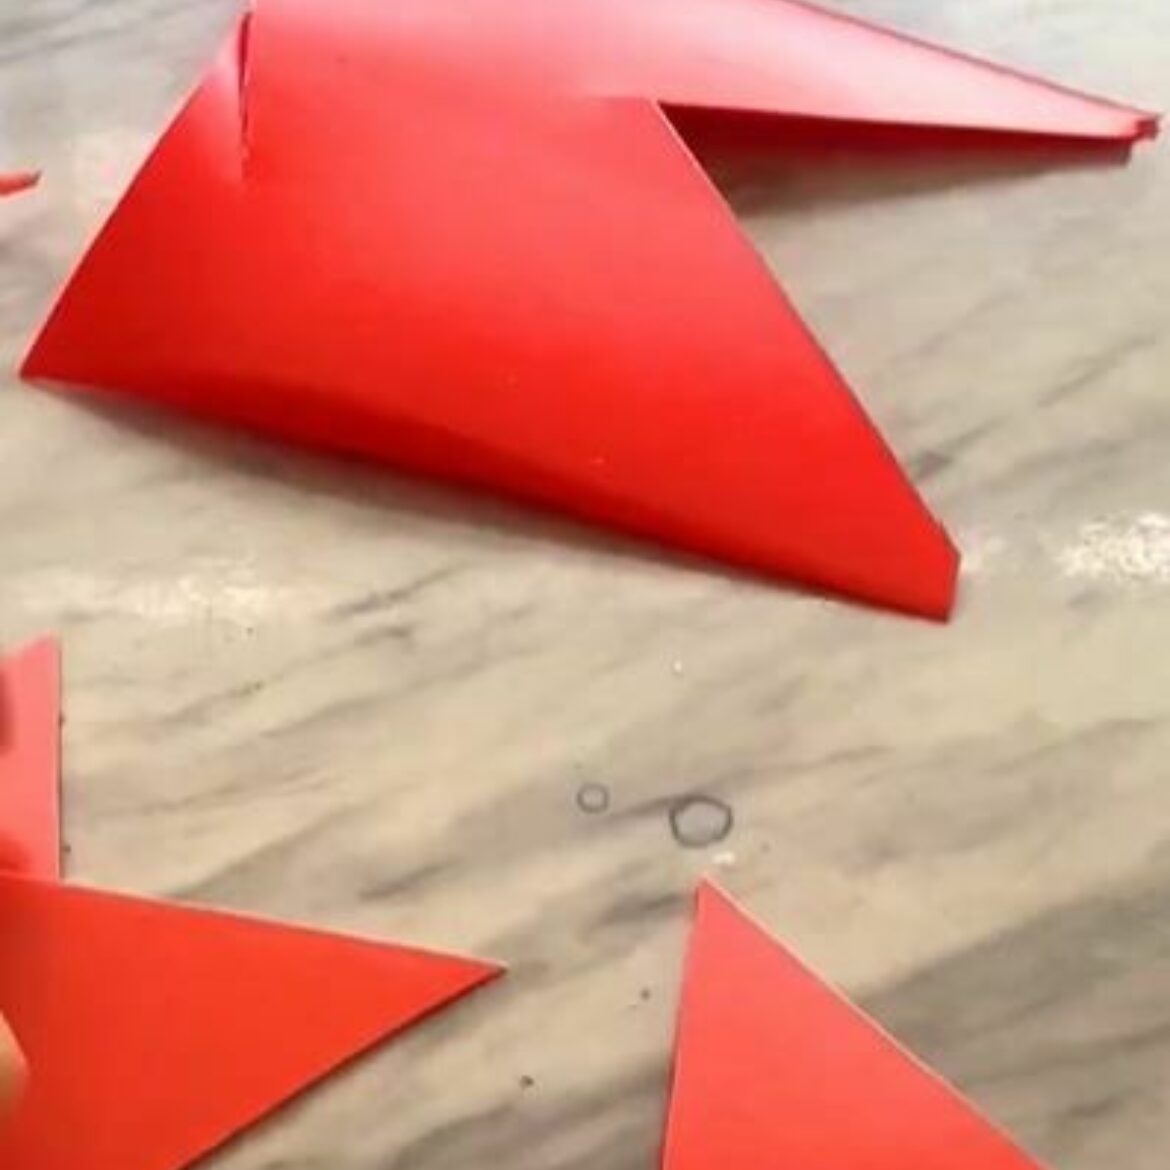
Start by cleaning your chosen container with soap and water. Once completely dry, use scissors to carefully cut the flattest side of the container into a sheet.
Step 2
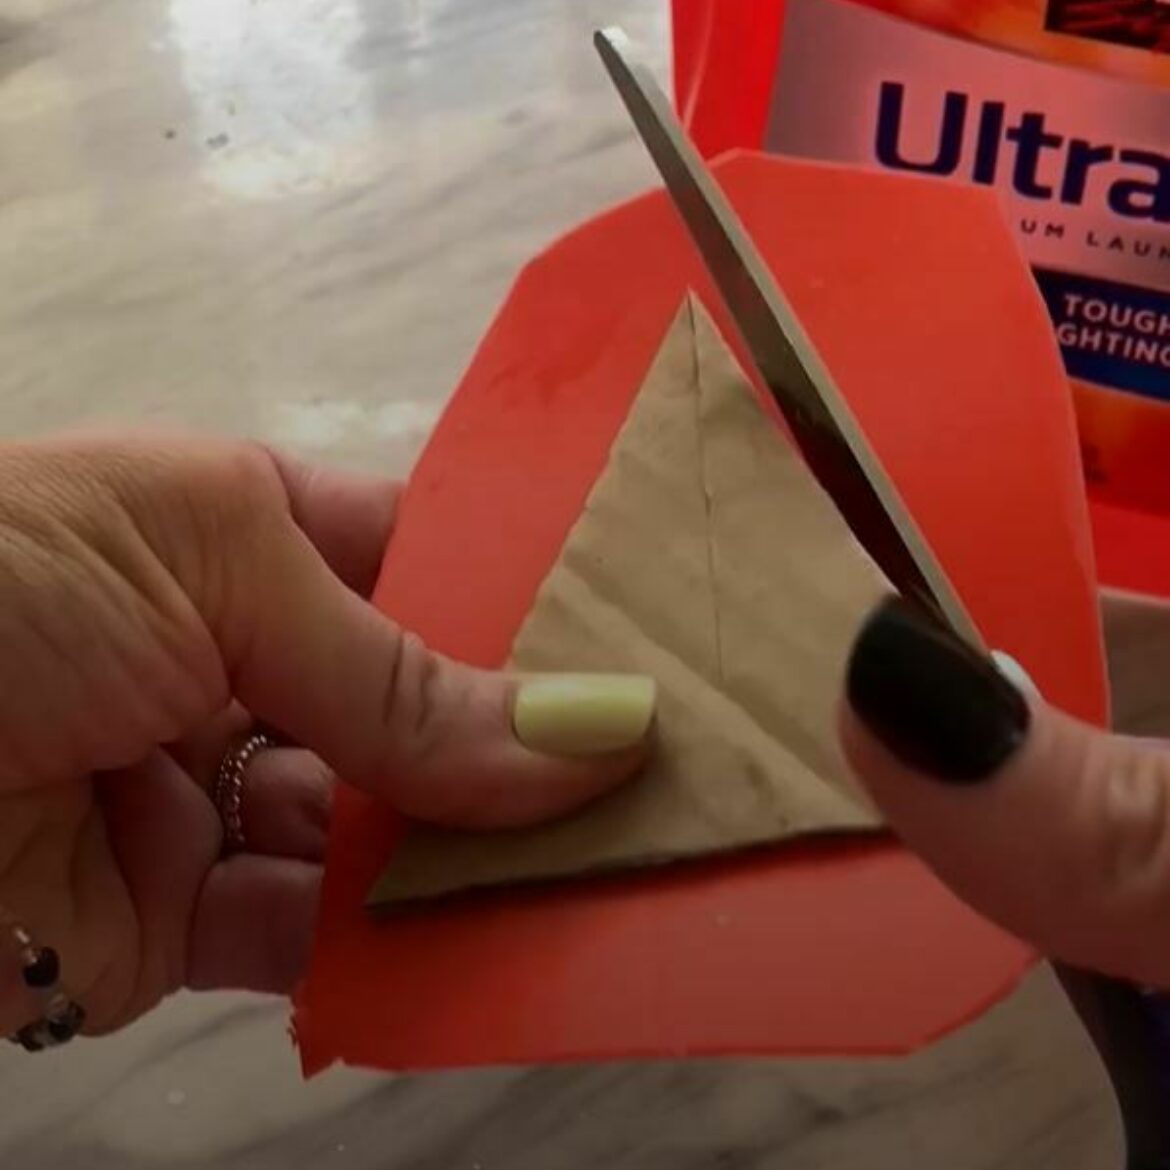
Cut about 3 in. tall triangles from the plastic sheet. You'll need two triangles of the same size for each ornament. Then, cut a slit in the center of one of the triangles from the bottom about 3/4 of the way up, and cut a slit in the center of the other triangle from the top to about 3/4 of the way down. The triangles should be able to fit together to make a 3-D tree shape.
Step 3
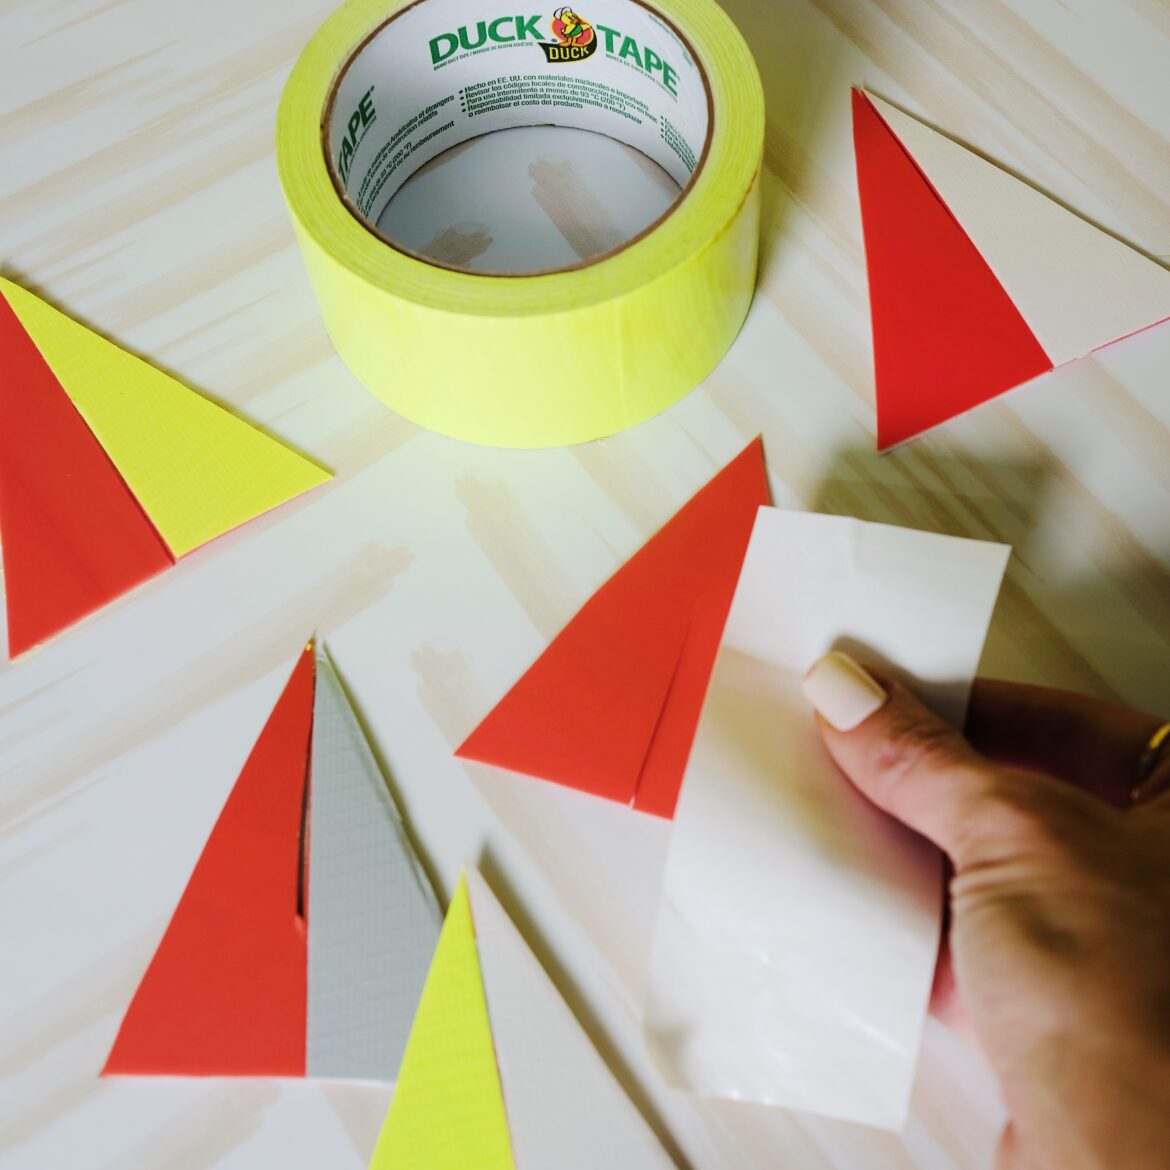
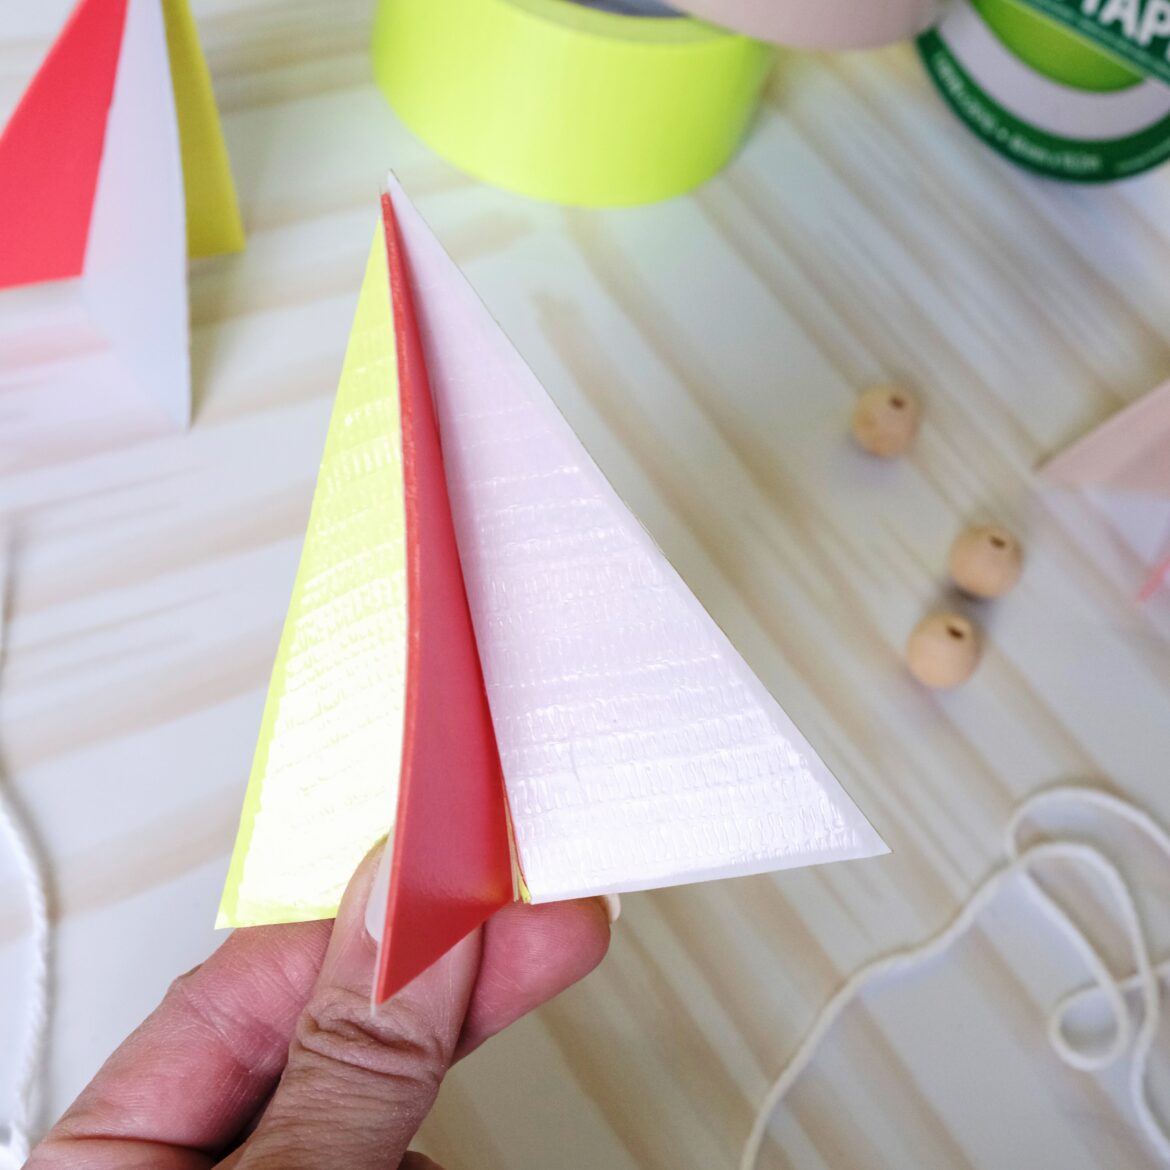
It's time to add Duck Tape®! Cut a strip of duct tape slightly longer than the triangle. Apply it to one side, using the slit as a guide, and be sure to smooth out any bubbles. Then, trim any excess tape hanging over the plastic. Repeat this step for each side of the triangles until all but one has been covered with tape.
Step 4
On the remaining tapeless triangle side, attach a string for hanging the ornament to the tape before applying. Using scissors, cut around the triangle to remove excess tape, being careful to not cut the string.
Step 5
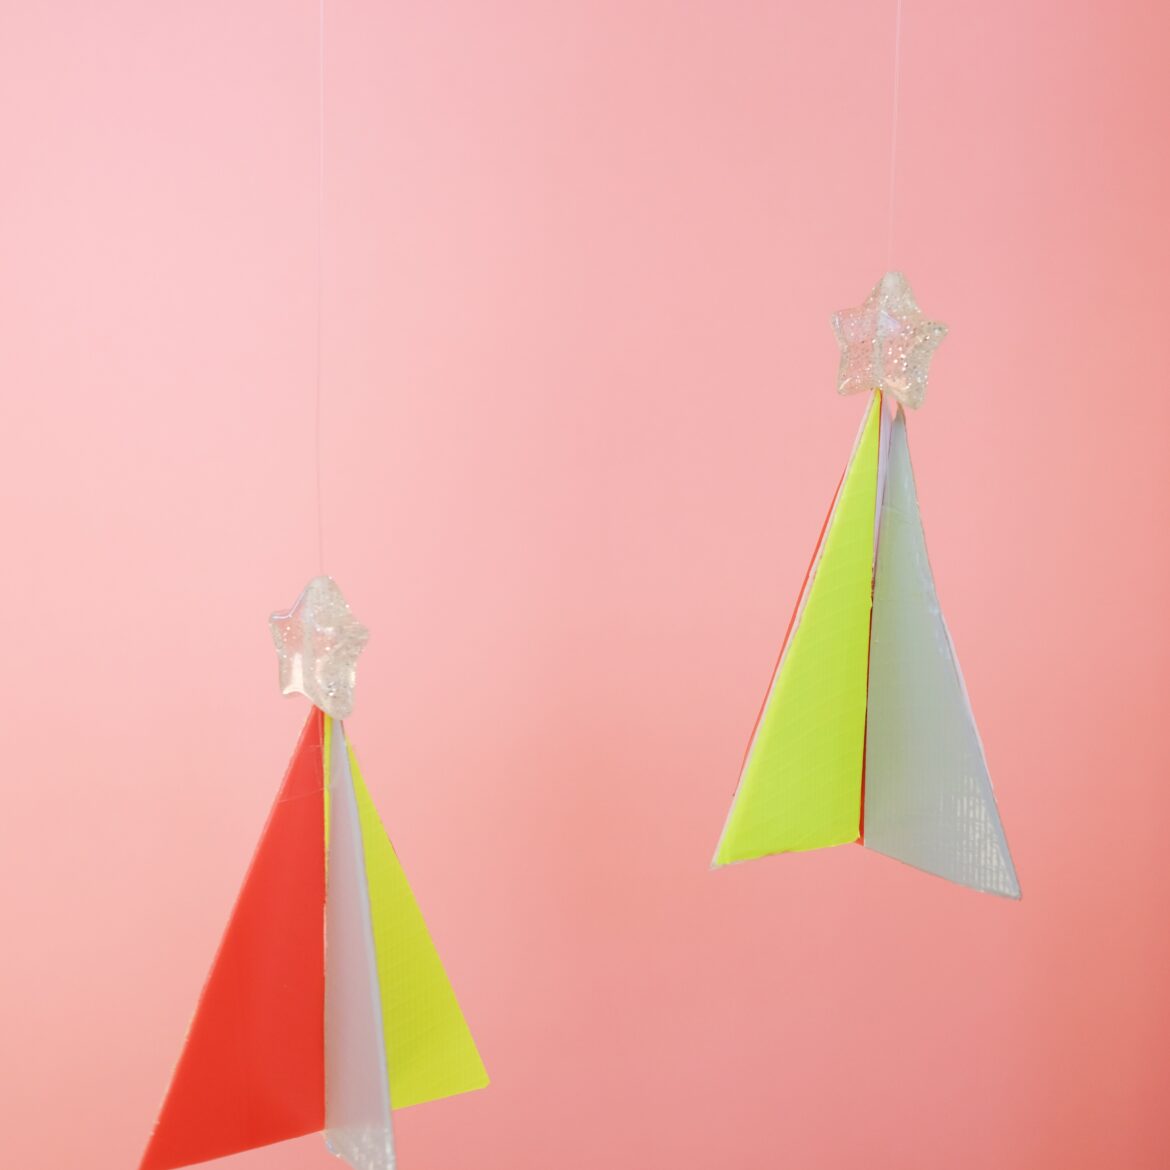
Finally, slide the triangles together to make the colorful tree shape and add a star bead to the top before hanging.
