How-To: Duck Tape® Play Tent
How-To: Duck Tape® Play Tent
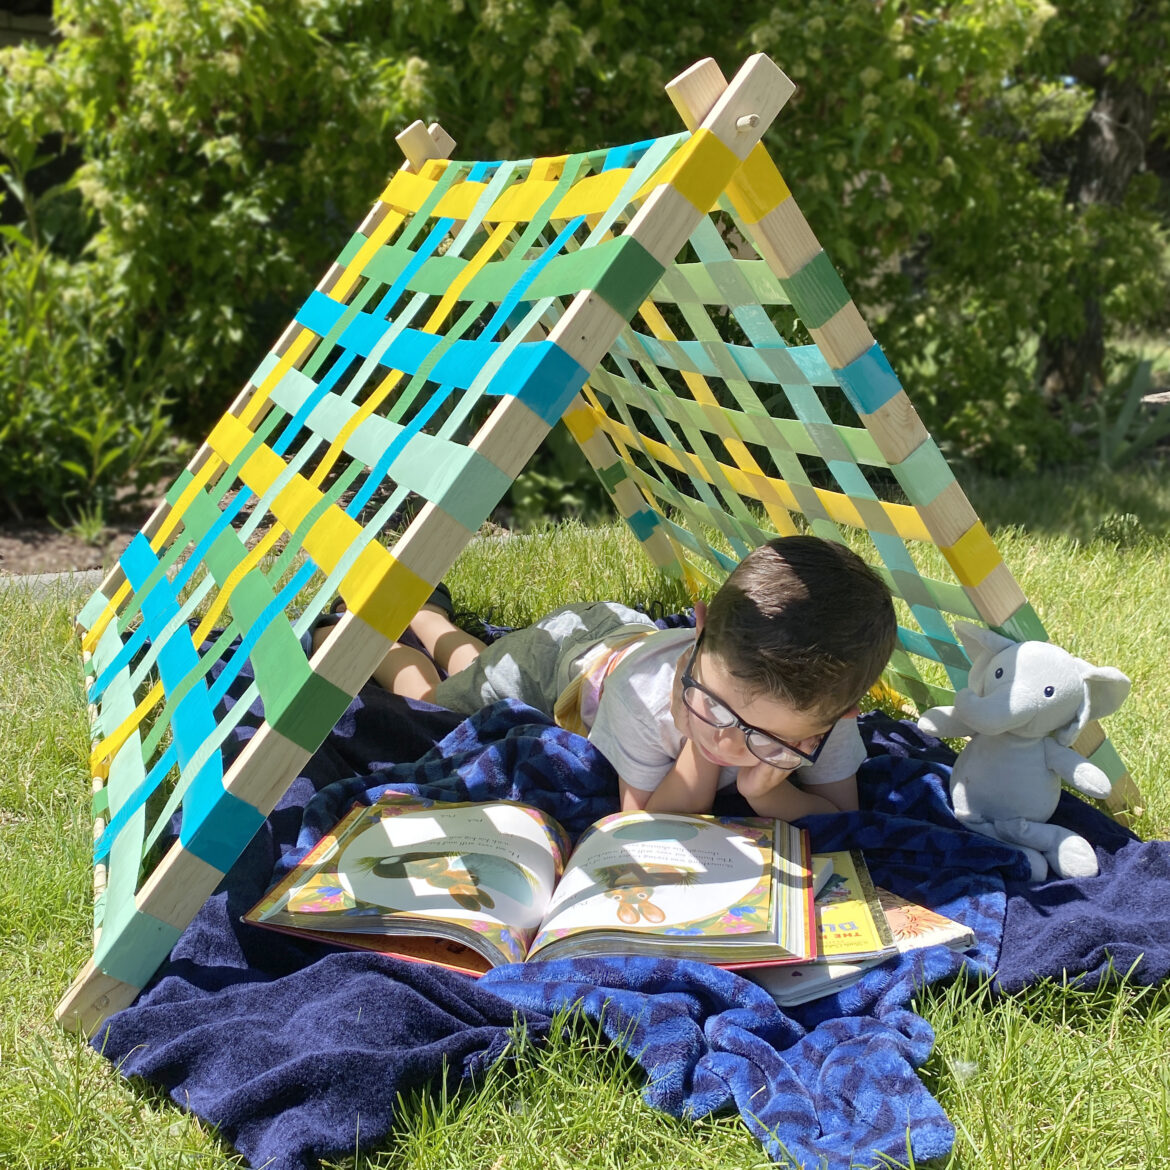
The perfect "rainy day" summer activity! Learn how to create a simple, sturdy and cute play tent with Duck Tape®.
Tutorial
Intermediate
45 Minutes
Supplies & Tools
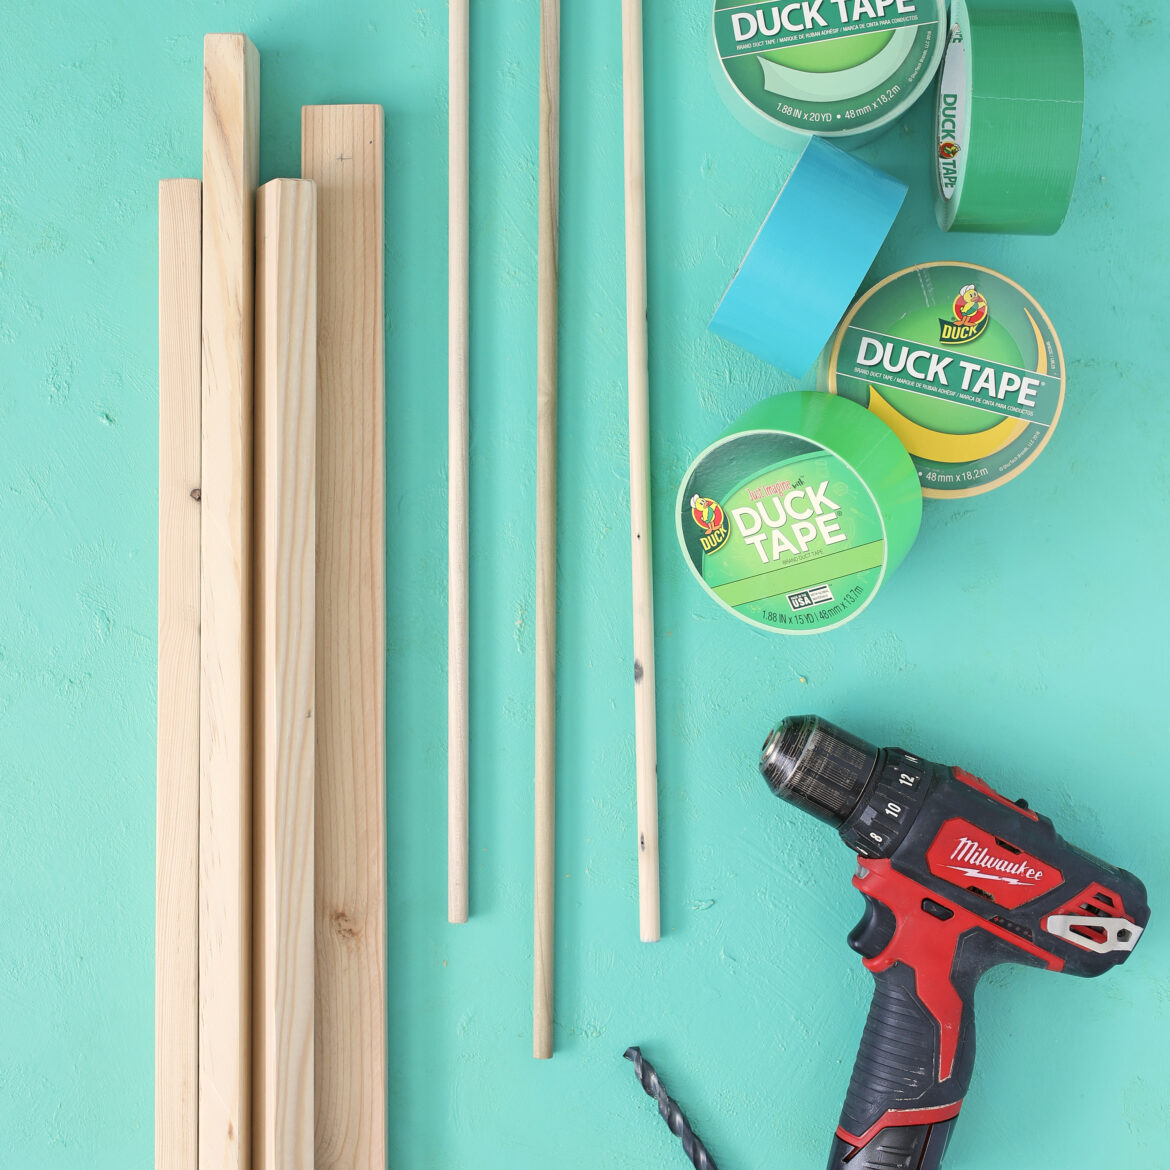
Color Duck Tape® and/or Printed Duck Tape®
Clear EasyLiner® Adhesive Shelf Liner
4 wood boards
3 wood dowels
Power drill and drill bit
Scissors
Scroll down for step-by-step directions.
Disclaimer - If the listed tape type is not available, there's no need to worry. All of our crafts can be adjusted to use whatever tape you have on hand!
Directions
Step 1
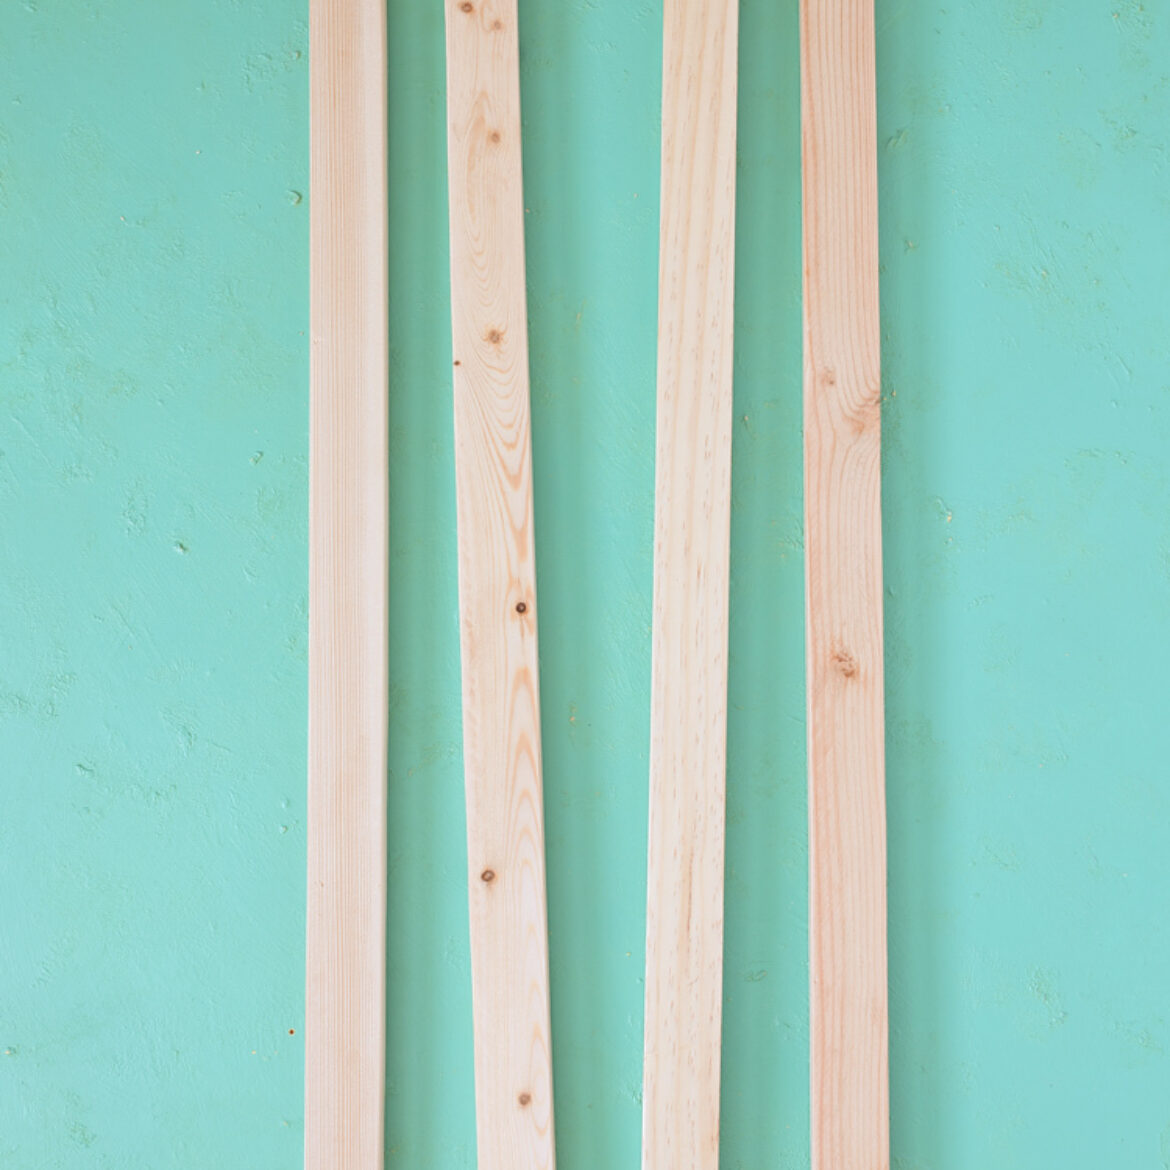
First, cut the wood boards down to desired length. This tent's wood boards measure 33 in. long, but can be left longer for a larger tent. All measurements are customizable for the desired tent size!
Step 2
Next, mark each wood board 2 in. from one end and 1 in. from the opposite end. Carefully drill holes with a drill bit the same size as your wood dowels at each of these marks. The 2 in. side will be the top of the tent and the 1 in. side will be the bottom.
Step 3
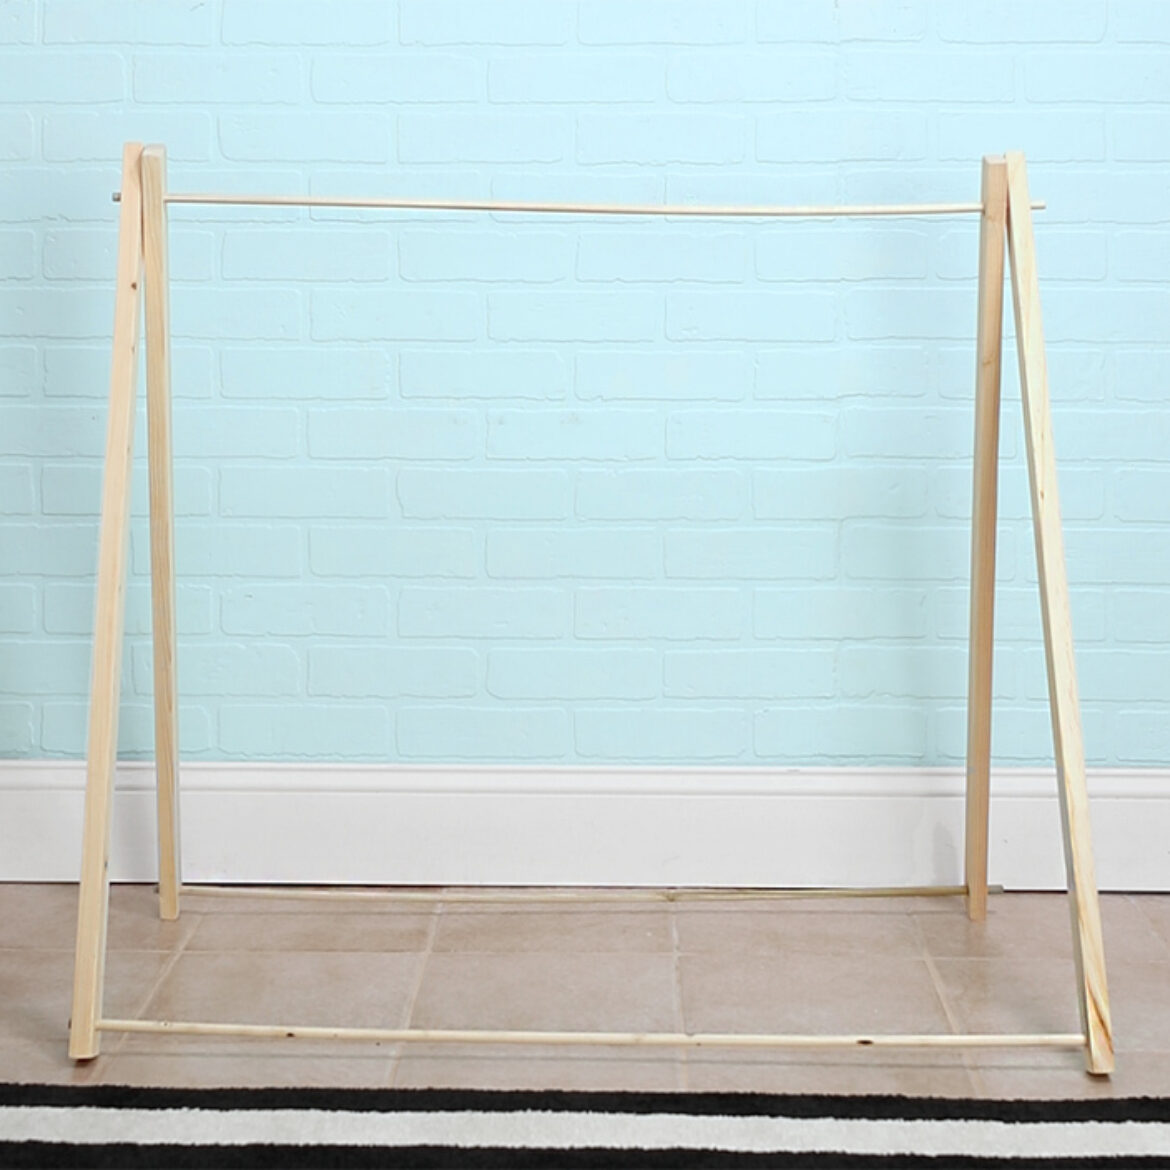
Then, slip a wood dowel through the top hole of two (2) wood boards. Repeat on the other side of the wood dowel with remaining two (2) wood boards and slip the remaining two (2) dowels through the holes at the bottom of each leg. Now you have your tent frame!
Step 4
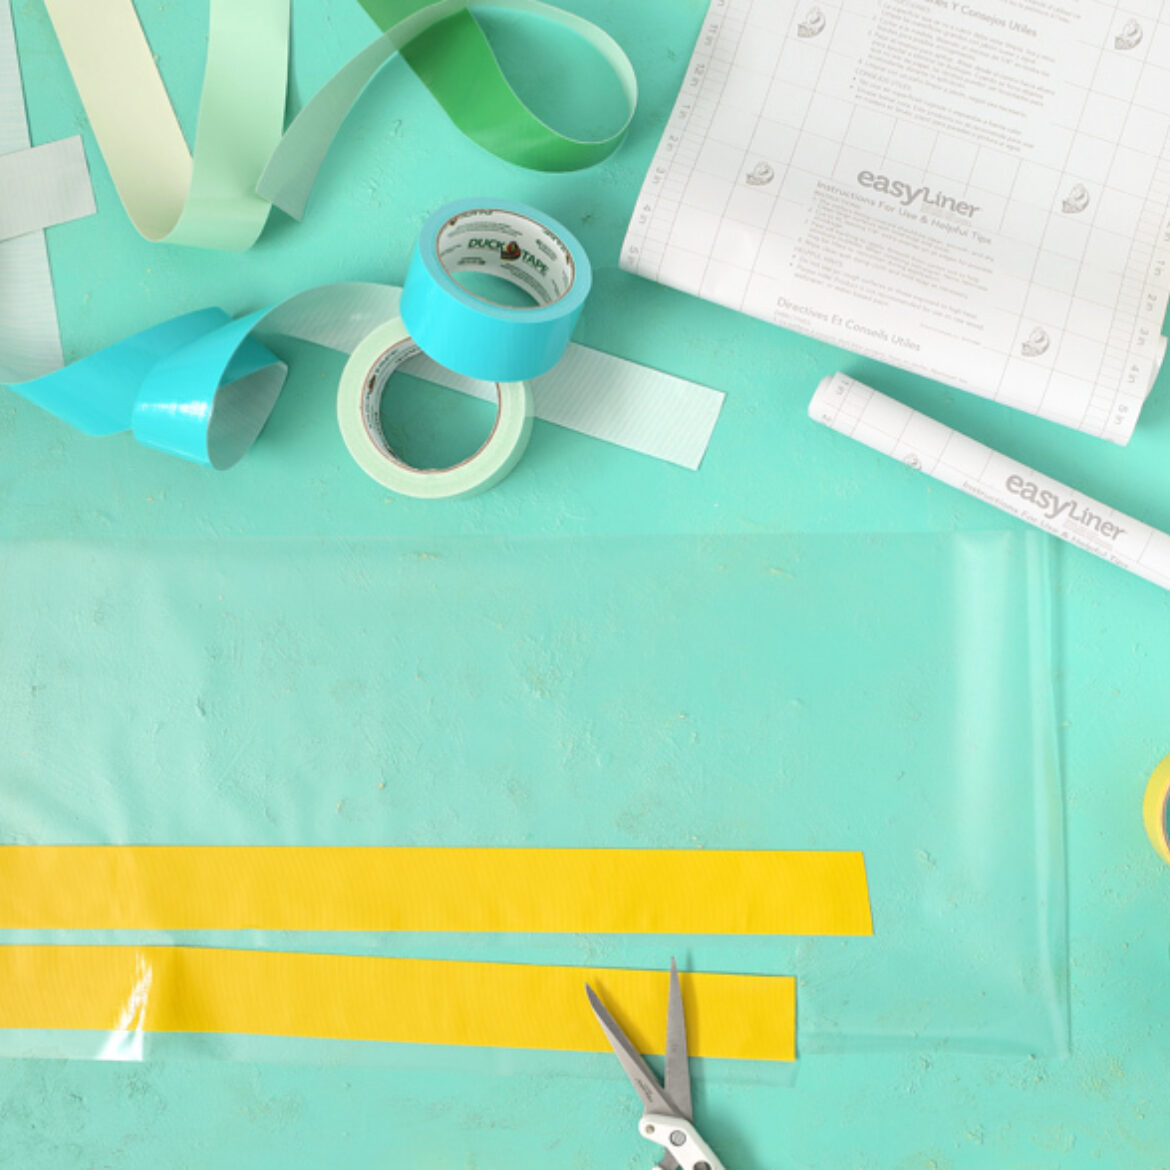
Time for Duck Tape®! Cut 16, 36 in. strips (vertical pieces) and 16, 40 in. strips (horizontal pieces) of duct tape. Then, stick them to the sticky side of EasyLiner® Adhesive Laminate and cut them out.
Step 5
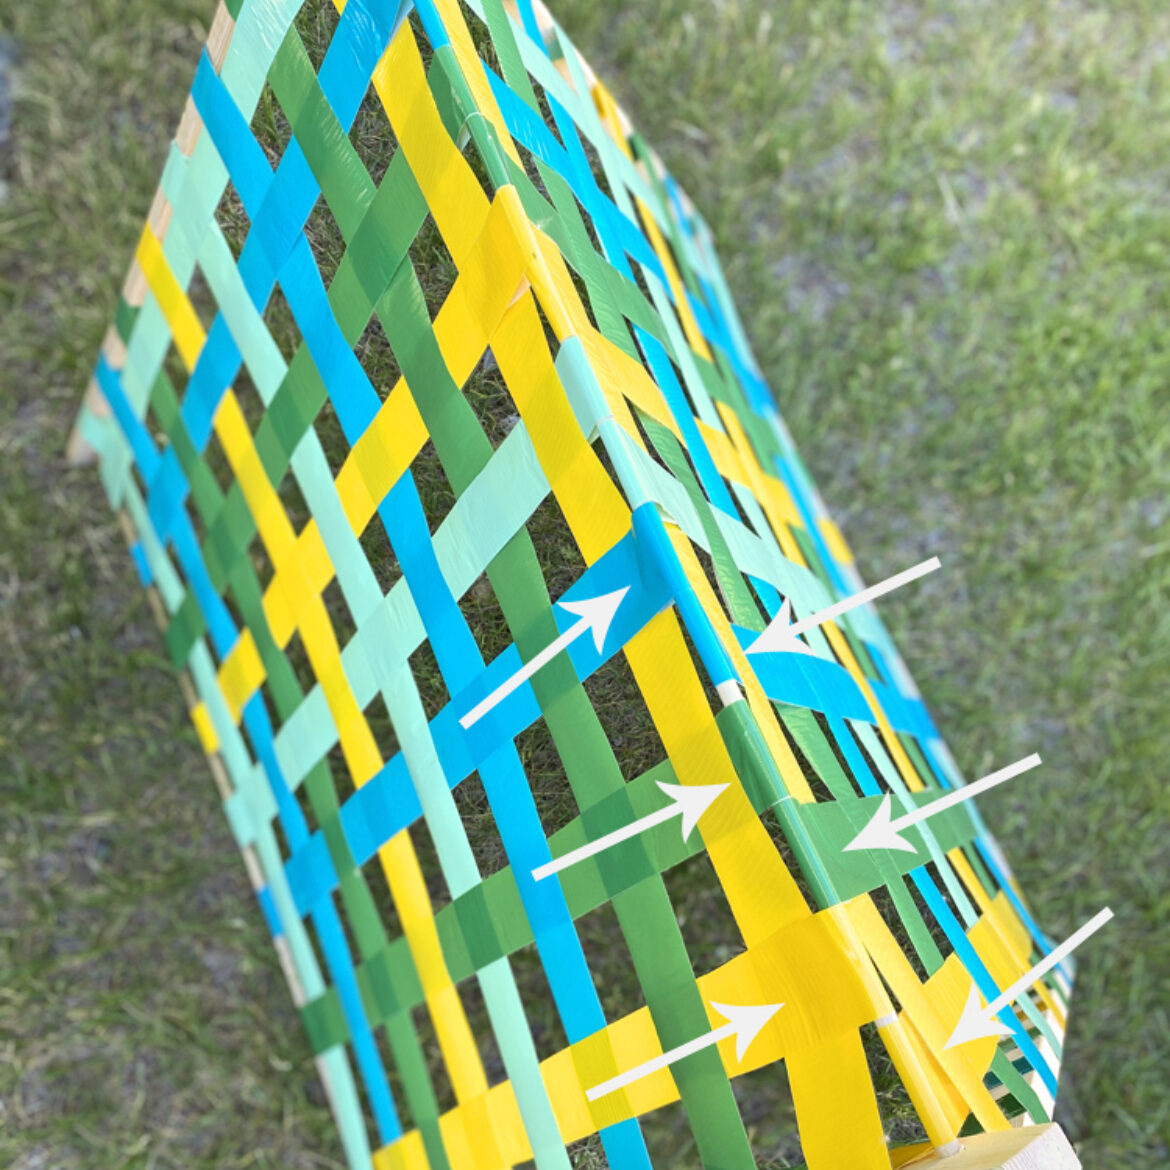
Finally, attach the horizontal Duck Tape® strips to one of the wood boards, then weave the strip over and under the vertical strips and attach to the other wood board. Make sure to switch your weaving with the following strips. And there you have it, your very own Duck Tape® play tent!
