How-To: Fall Leaves Placemats
How-To: Fall Leaves Placemats
It's fall, y'all! Get ready to spruce up your Thanksgiving table with these Fall Leaves Placemats.
Project provided by Jennifer from The Craft Patch, creator of recipes, crafts, DIY and more.
Tutorial
Intermediate
15 Minutes
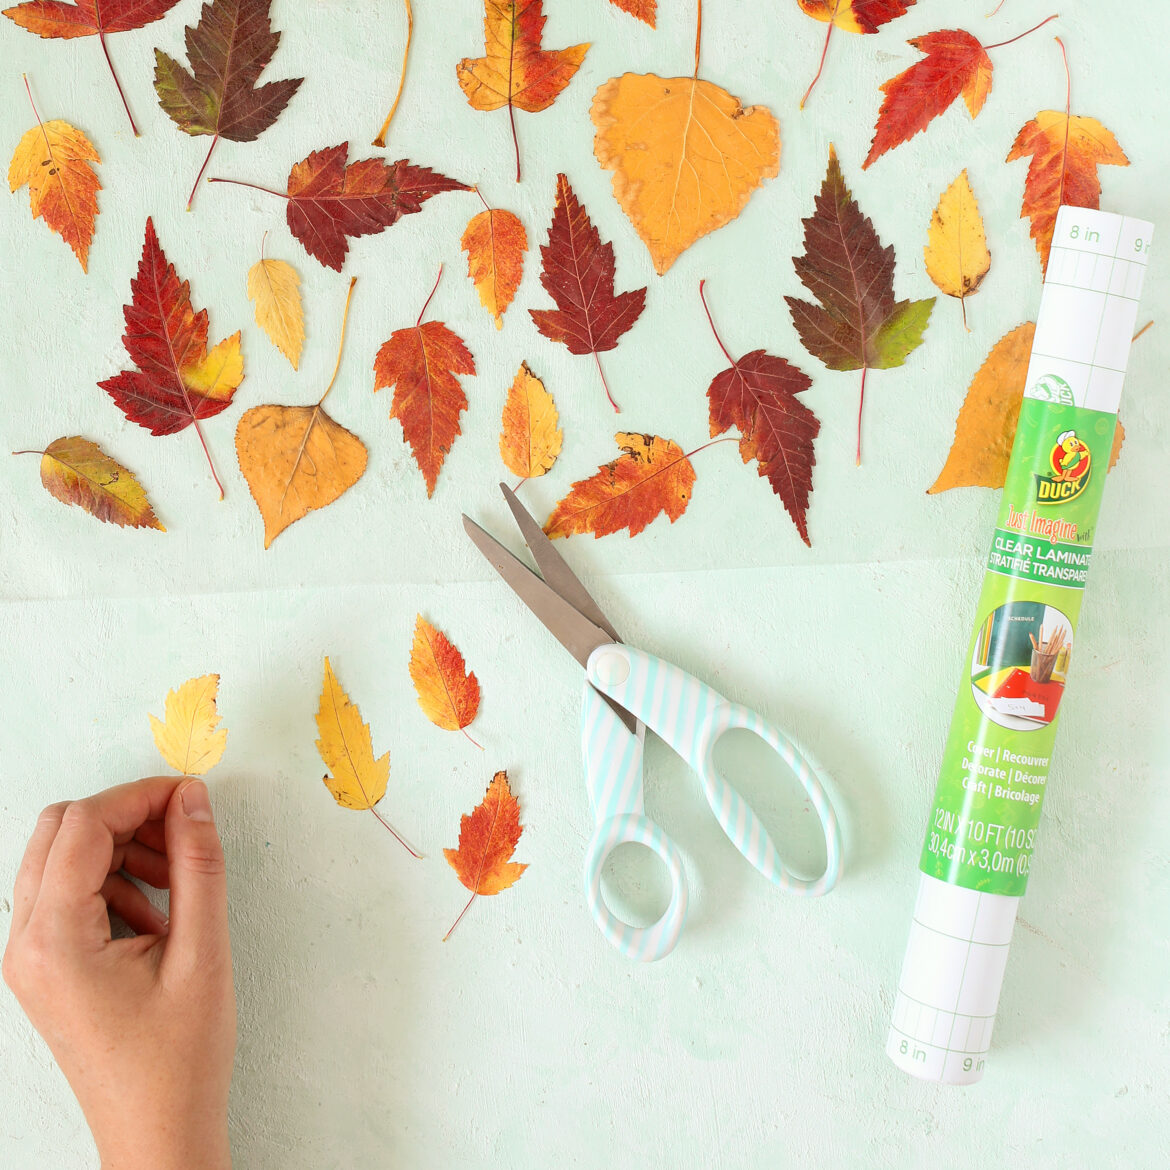
Supplies & Tools
Scroll down for step-by-step directions.
Disclaimer - If the listed tape type is not available, there's no need to worry. All of our crafts can be adjusted to use whatever tape you have on hand!
Directions
Step 1
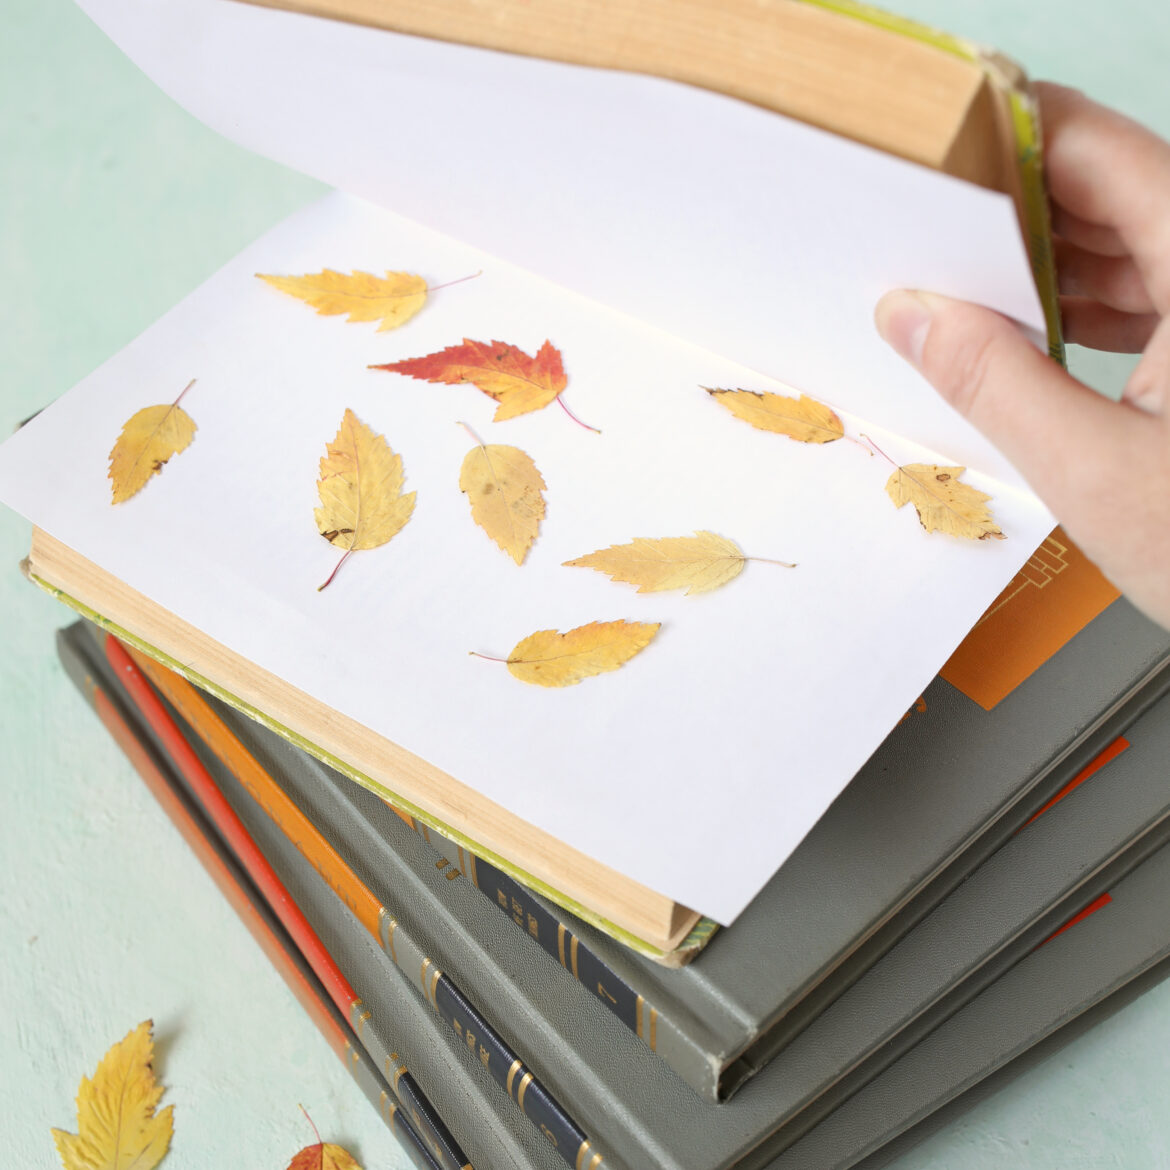
To get started, collect a few fall leaves and place them in the pages of a heavy book to preserve them. Keep the leaves in the book for about a week, or until completely dry.
Tip: Line the book with paper to keep the leaves from damaging the pages.
Step 2
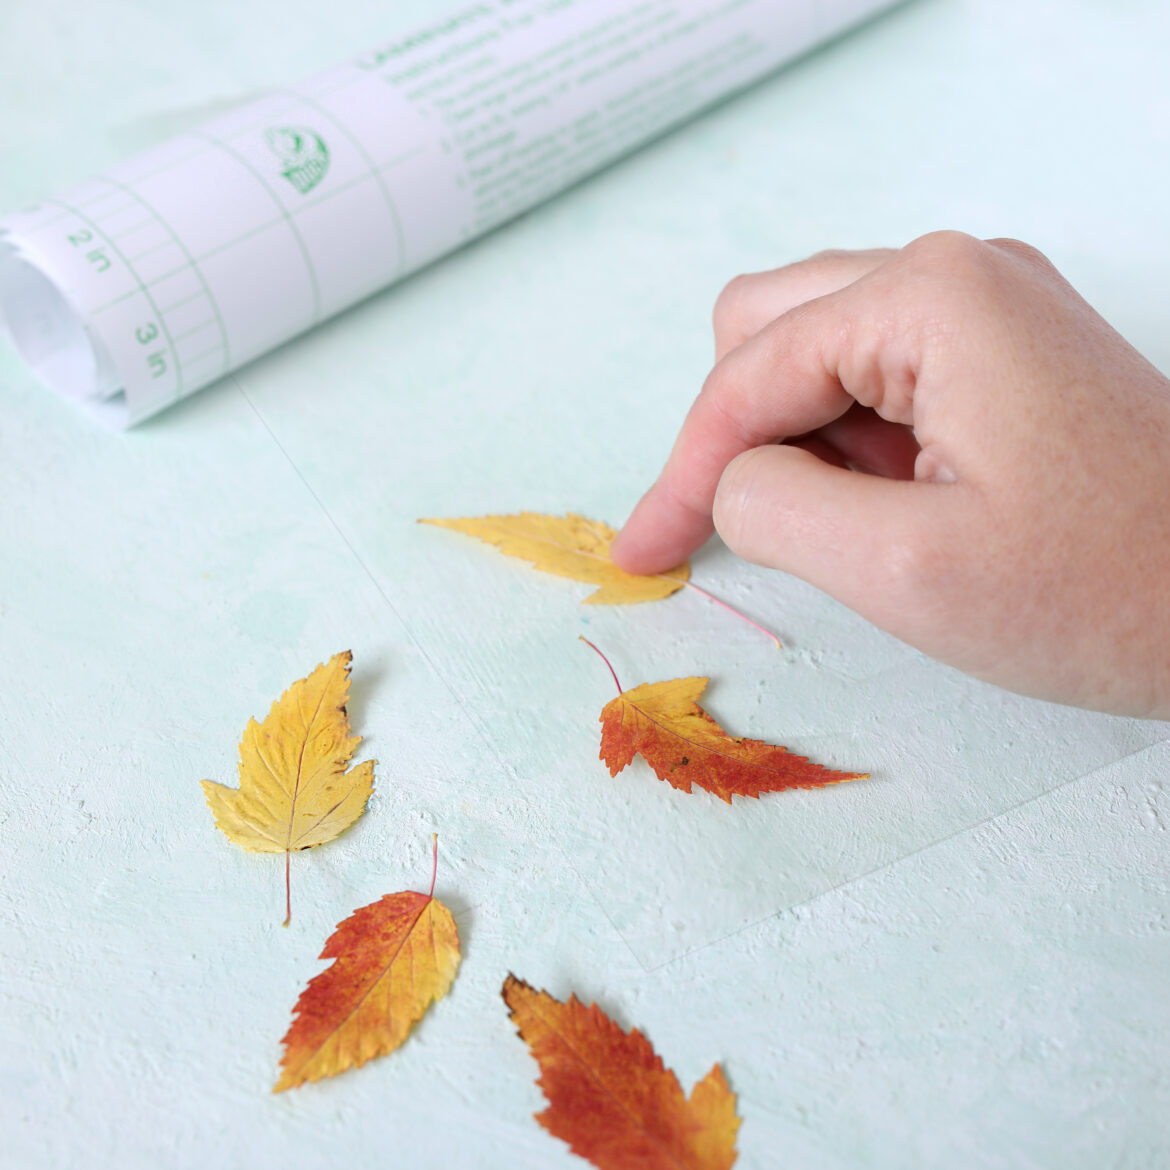
Now that your leaves are dry to the touch, use the grid on the backing of the Craft Adhesive Laminate to easily measure and cut two 18 in. pieces.
Step 3
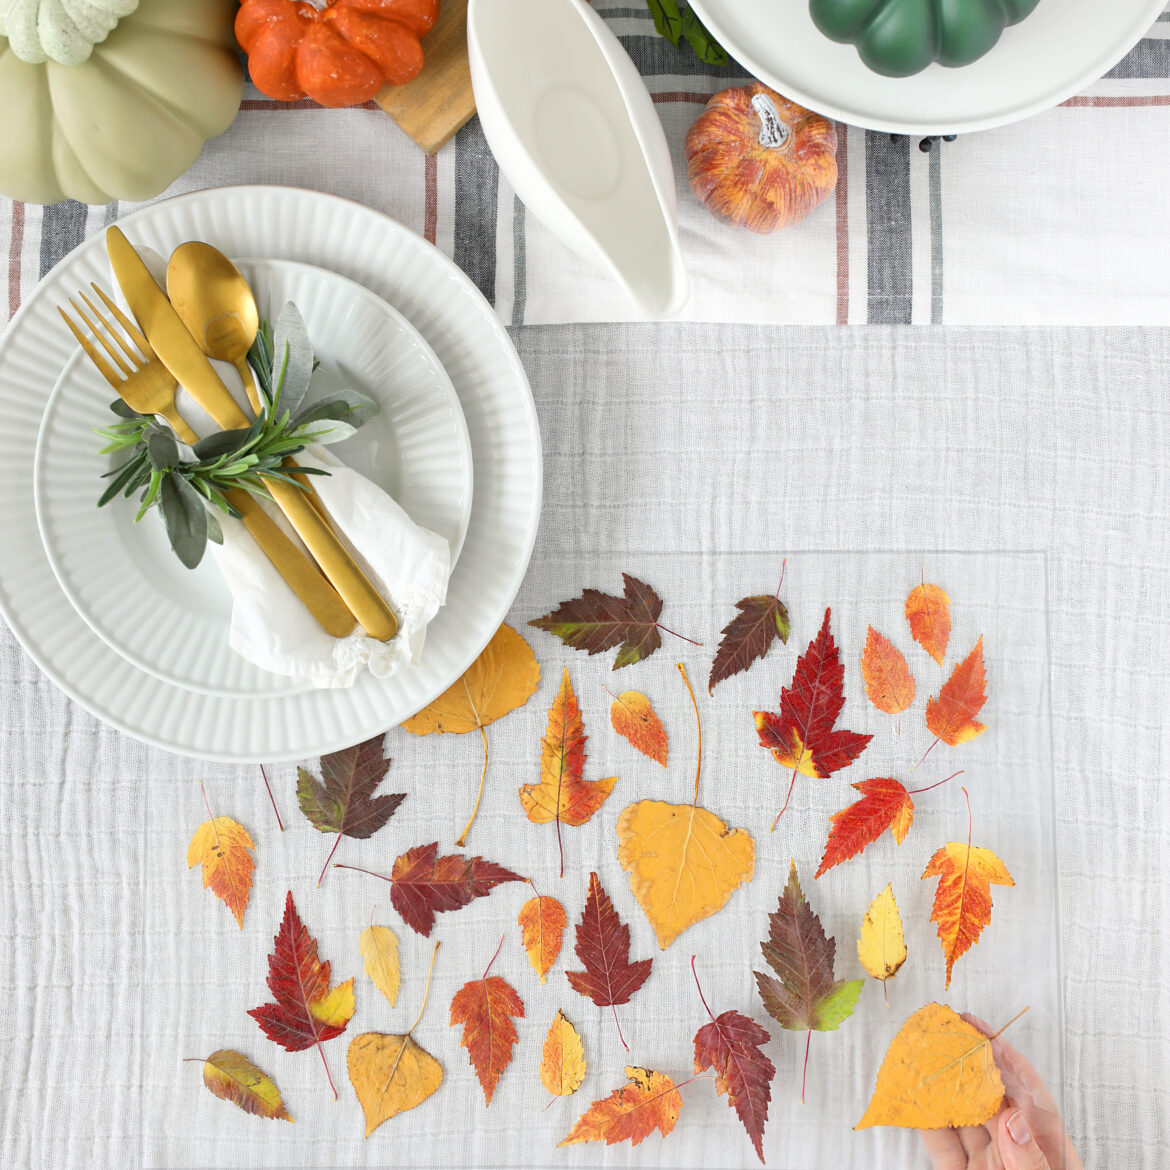
Next, remove the paper backing from one piece of laminate. Place it sticky side up on your work surface, then start arranging the leaves in your own unique design.
Step 4
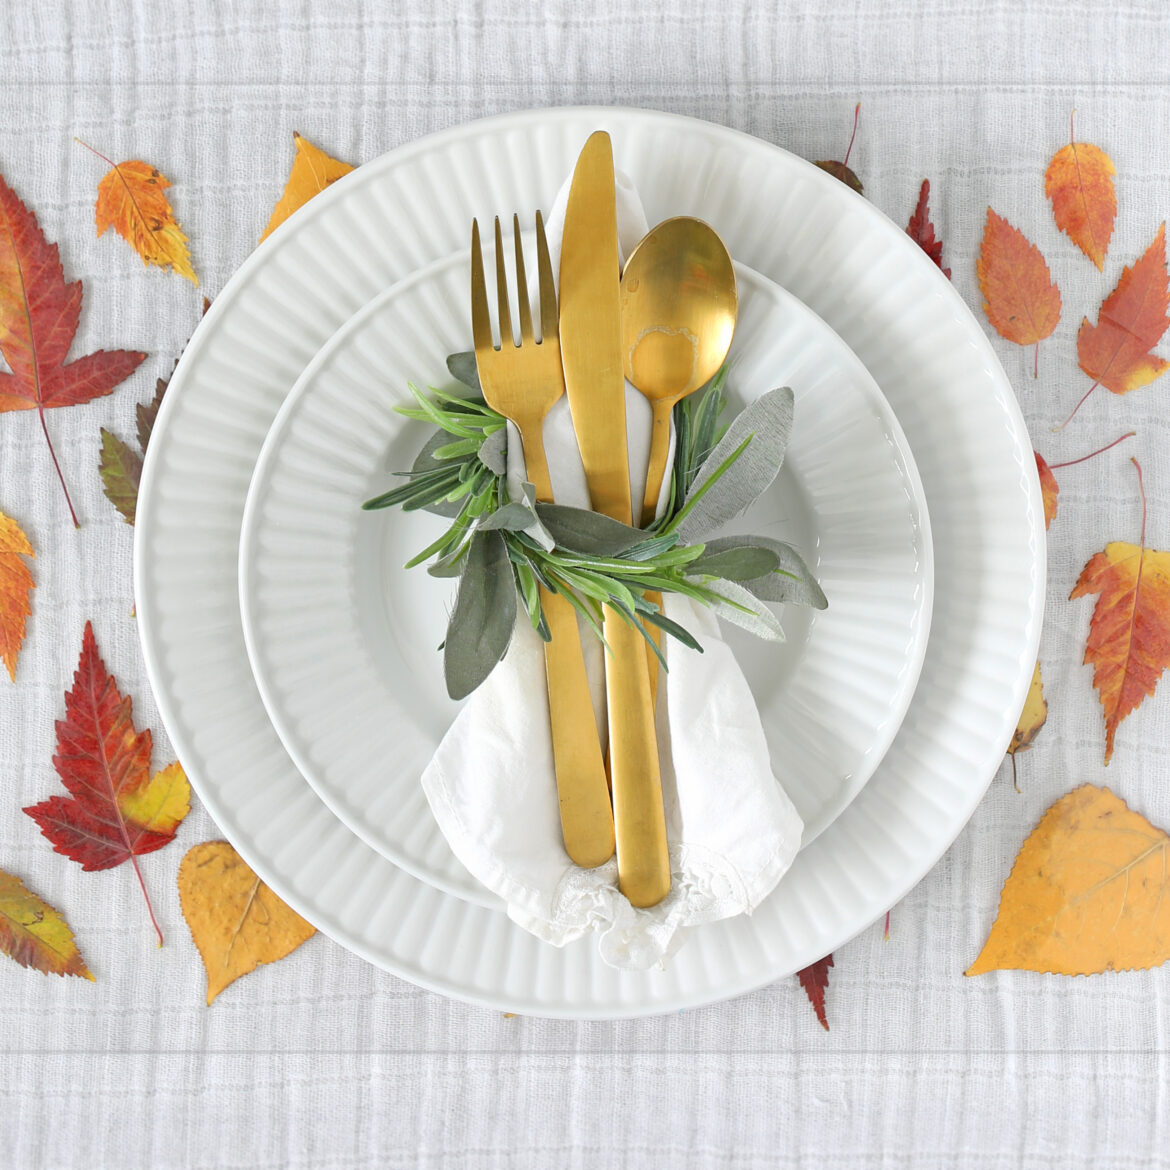
Finally, remove the paper backing from the second sheet of laminate and carefully center it over the other sheet and press the two together. Smooth it out and press firmly, then trim off any excess parts around the edges so that none of the sticky surface remains.
Step 5
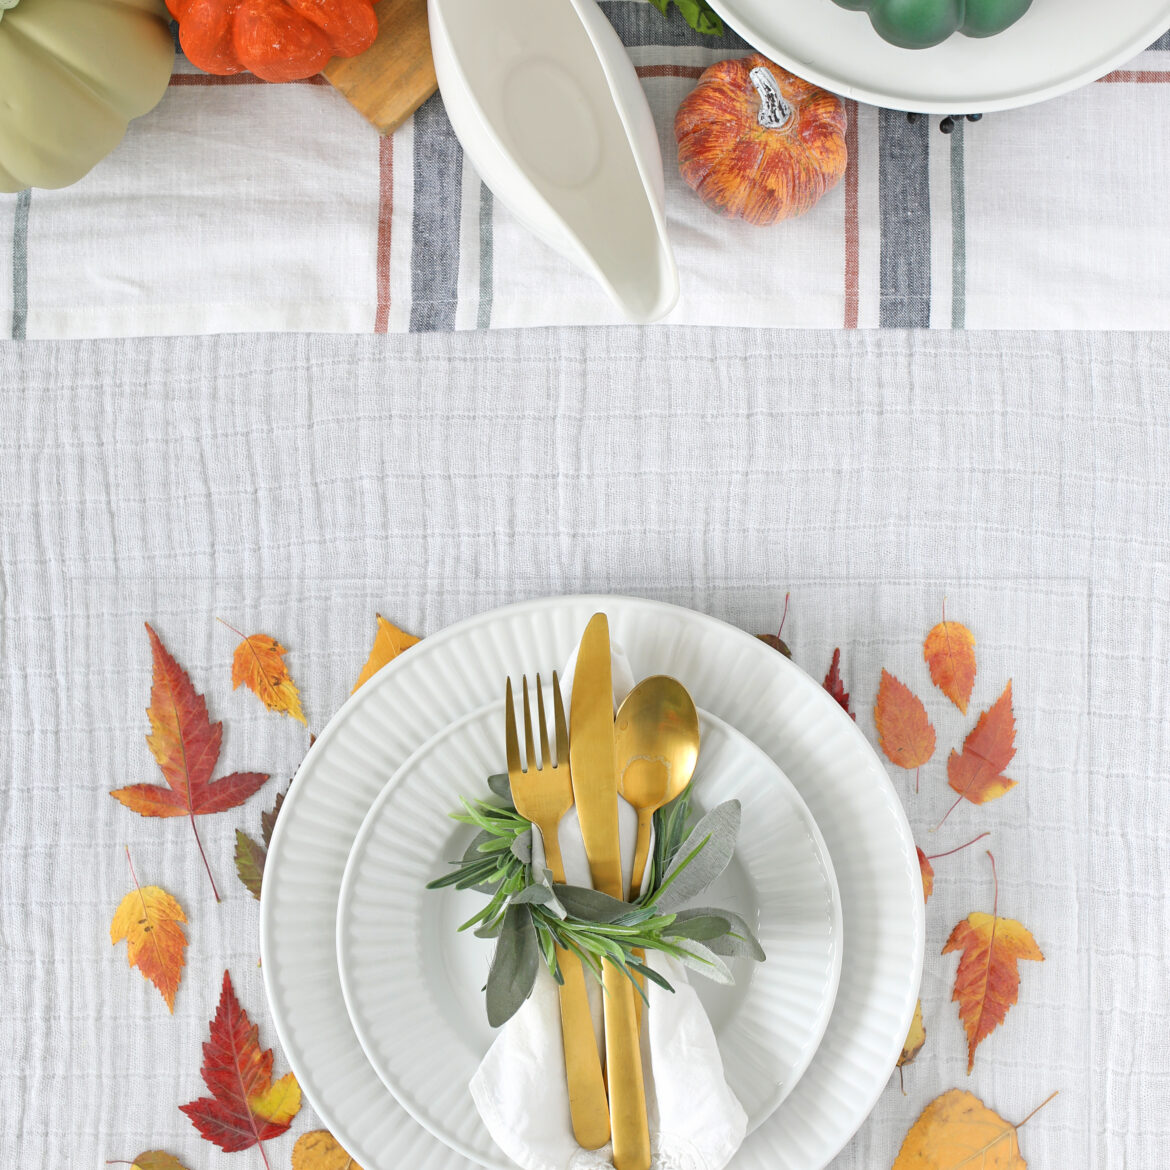
Now you are ready to set the table and feast with your family on these festive placemats!
