How-To: Pressed Flower Cards Using EasyLiner®
How-To: Pressed Flower Cards Using EasyLiner®
Find out how to use EasyLiner® to create beautiful pressed flower cards. Perfect for letting your best bud know you appreciate them.
Tutorial
Intermediate
30 Minutes
Supplies & Tools
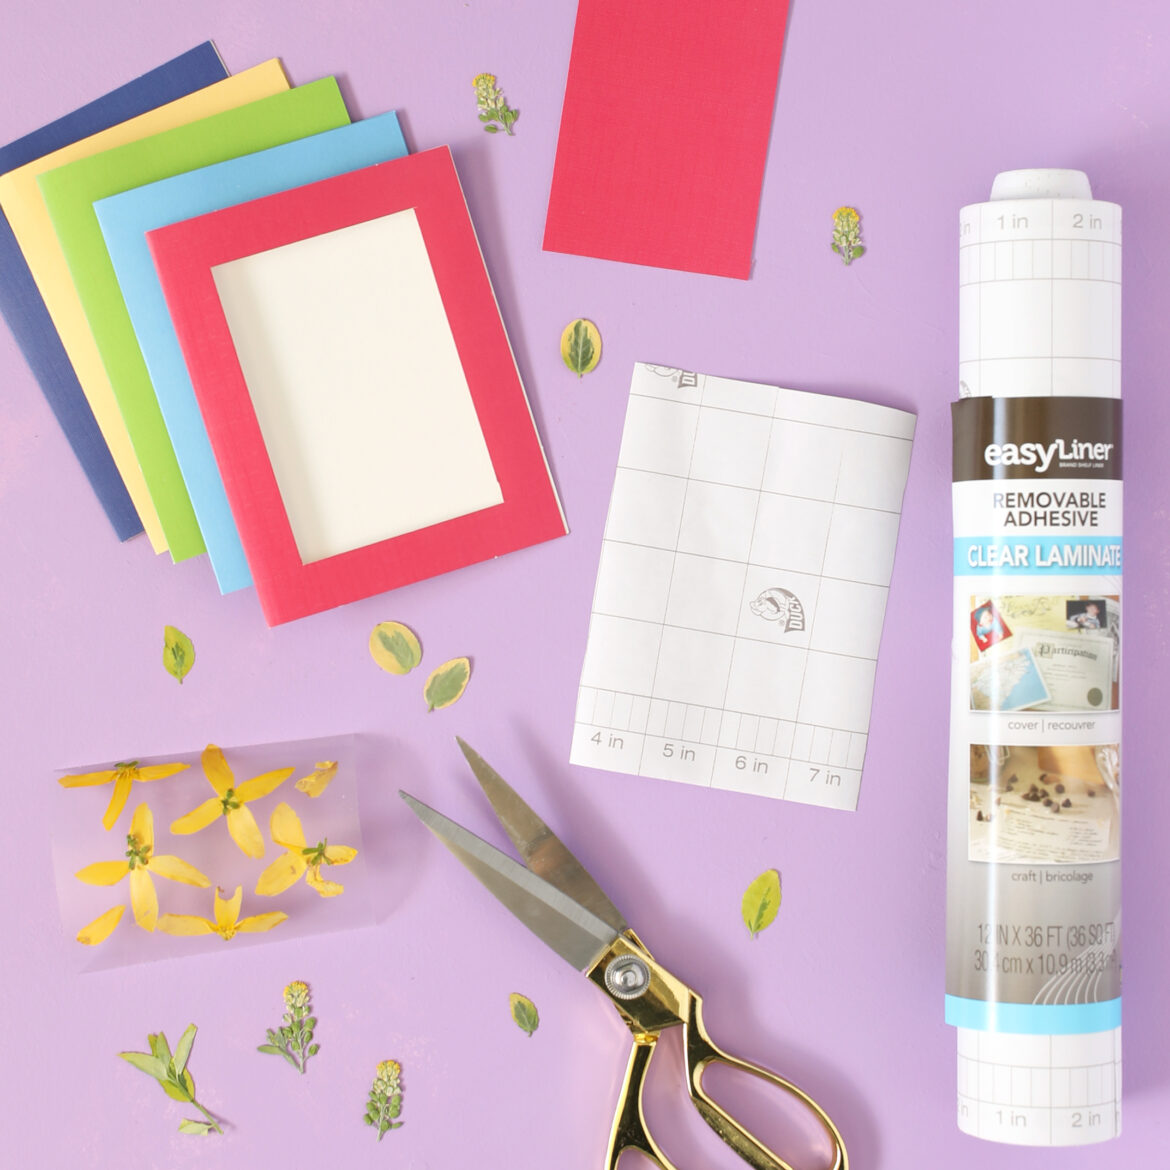
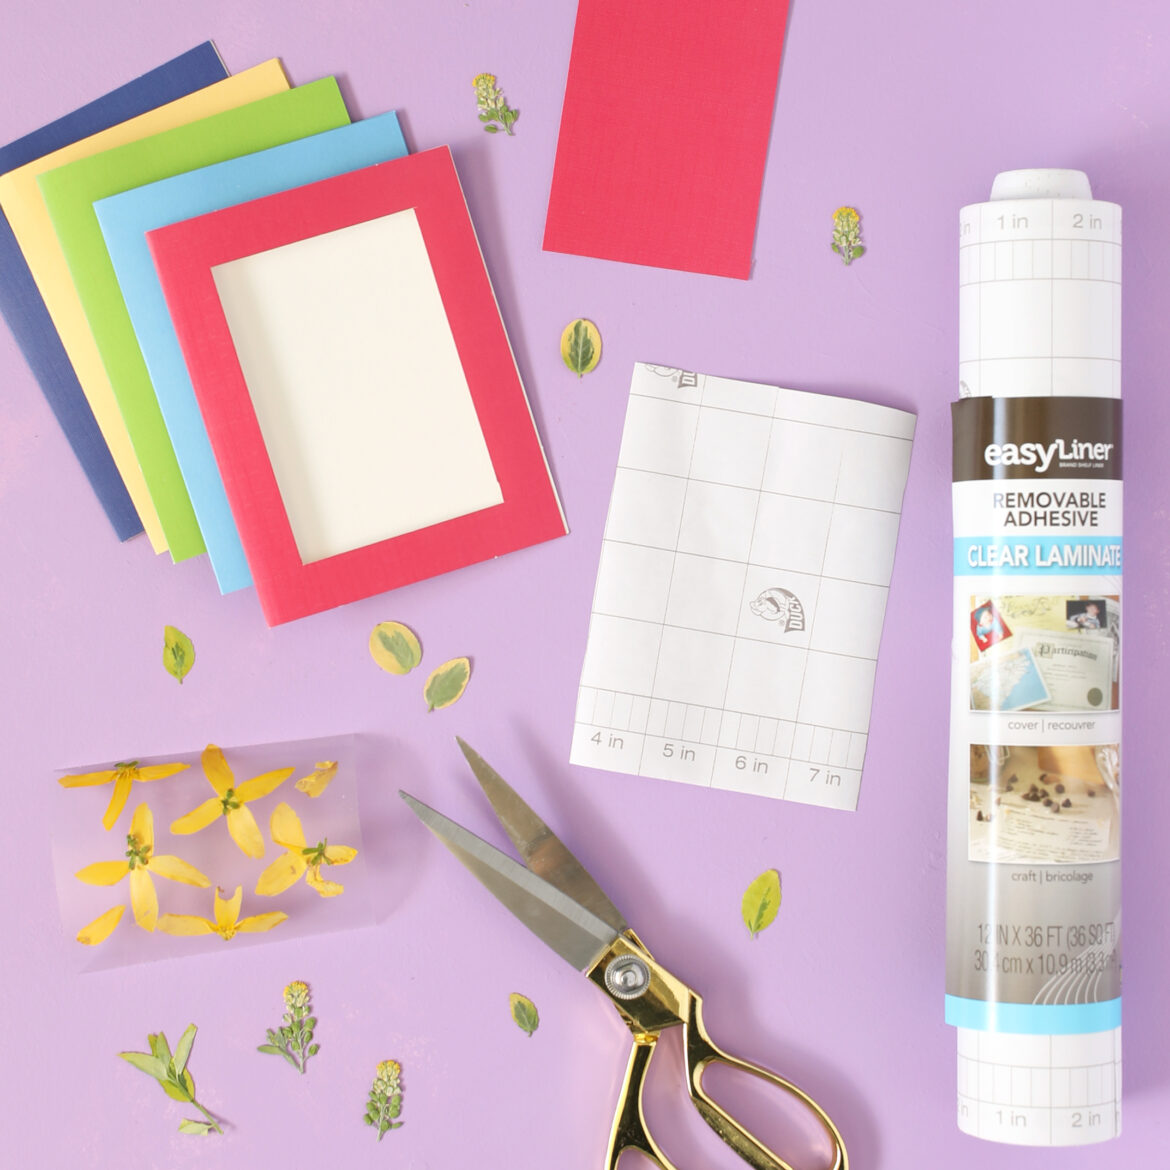
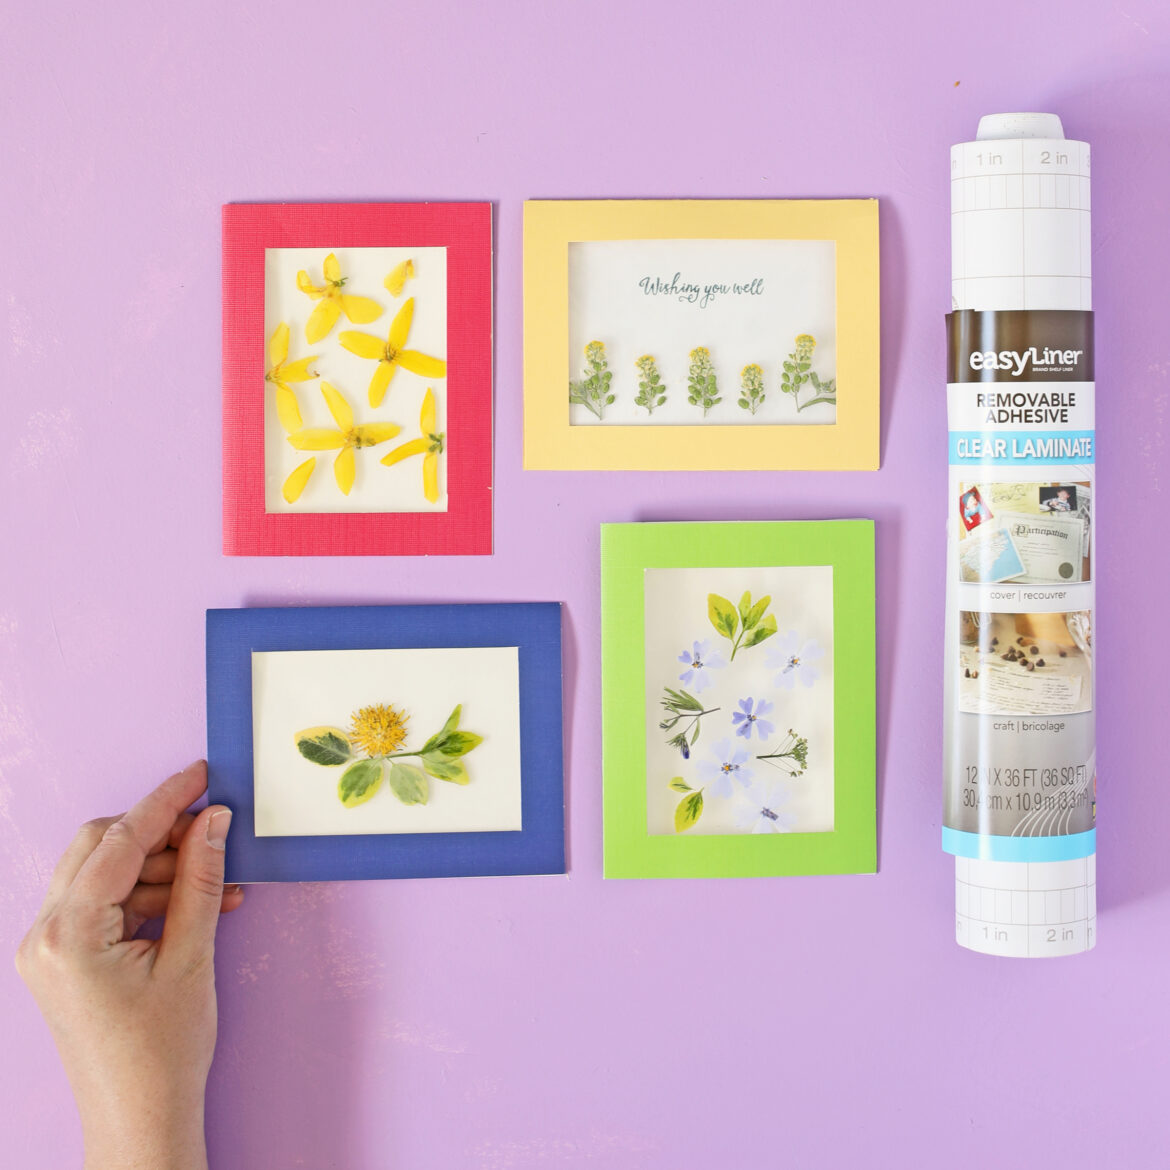
- EasyLiner® Adhesive Laminate - Clear
- Scissors
- A Ruler
- White Paper
- Cardstock
- A Heavy Book
- Small Flowers
Scroll down for step-by-step directions.
Disclaimer - If the listed tape type is not available, there's no need to worry. All of our crafts can be adjusted to use whatever tape you have on hand!
Directions
Step 1
To get started, gather a few small flowers or leaves from outside and preserve them by pressing them in between the pages of a heavy book. Leave the flowers in the book for about a week, or until completely dry.
Tip: Line the book with white paper to protect from stains.
Step 2
When the flowers are dry, you're ready to go! Cut a window in the front piece of folded cardstock that's about 3.25 in. x 4.5 in. in size to leave about a 1-inch border around.
Step 3
Next, cut one piece of EasyLiner® slightly larger than the window and cut another piece slightly smaller than the card.
Step 4
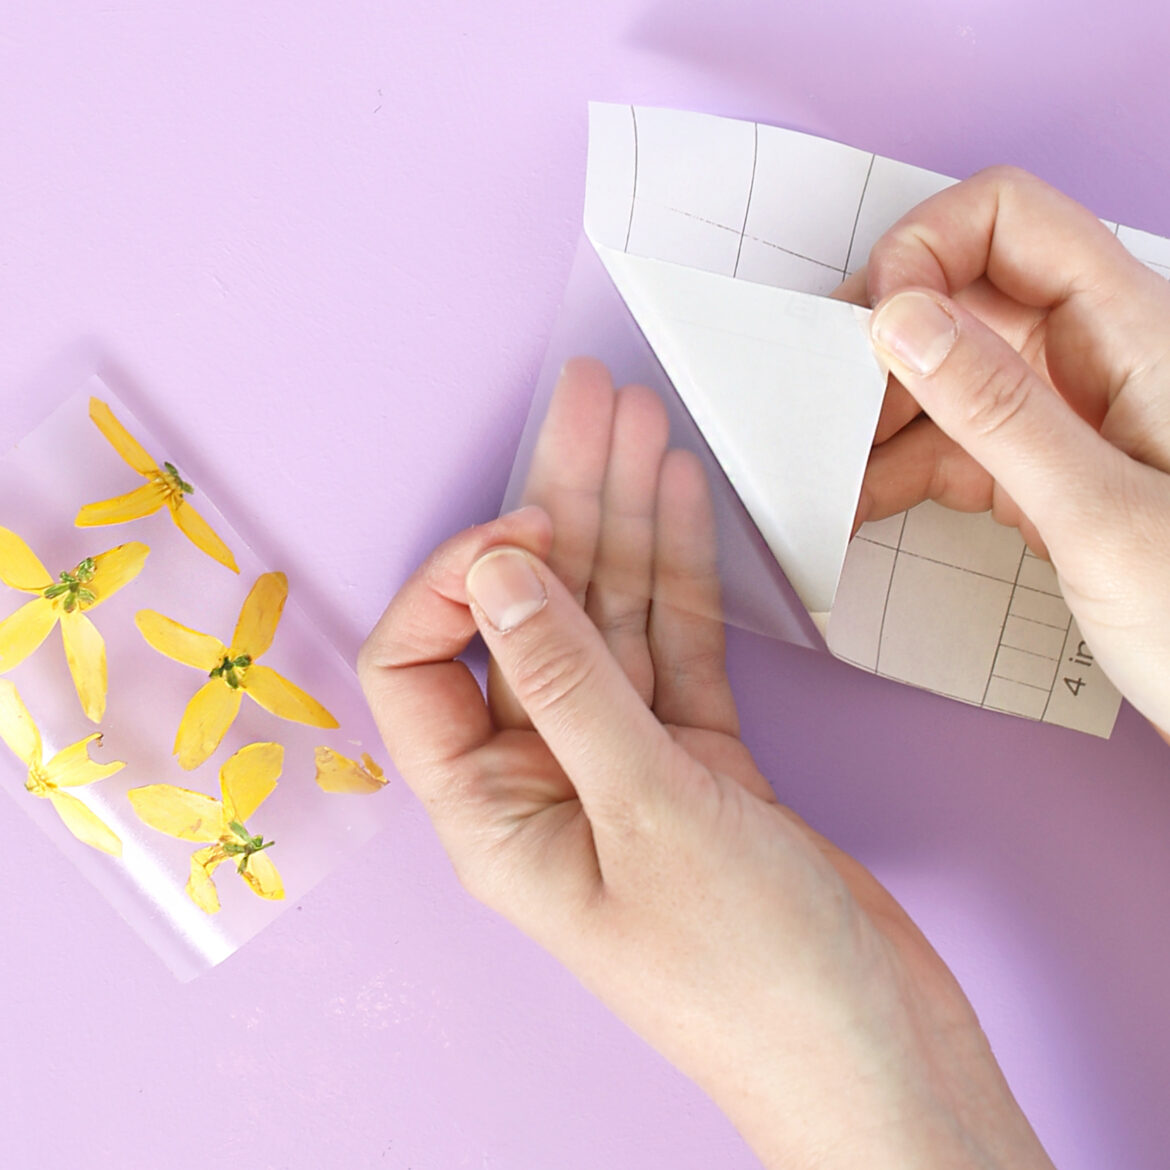
Once you have your pieces of EasyLiner® cut, remove the paper backing of the smaller piece and lay it down sticky side up. Place your pressed flowers down in your own unique design with the front of the flower facing down.
Step 5
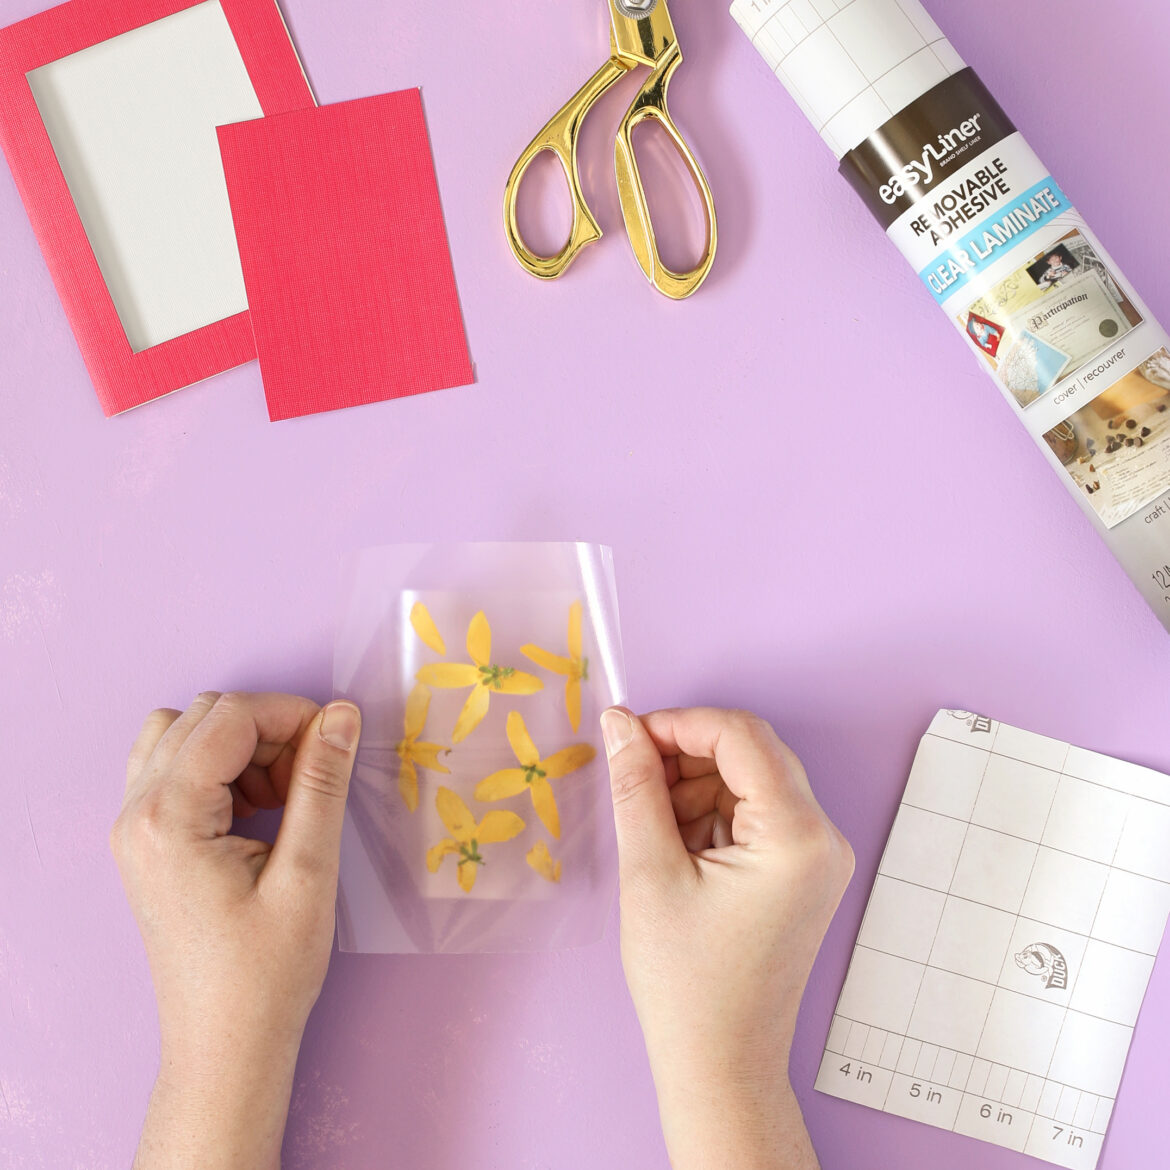
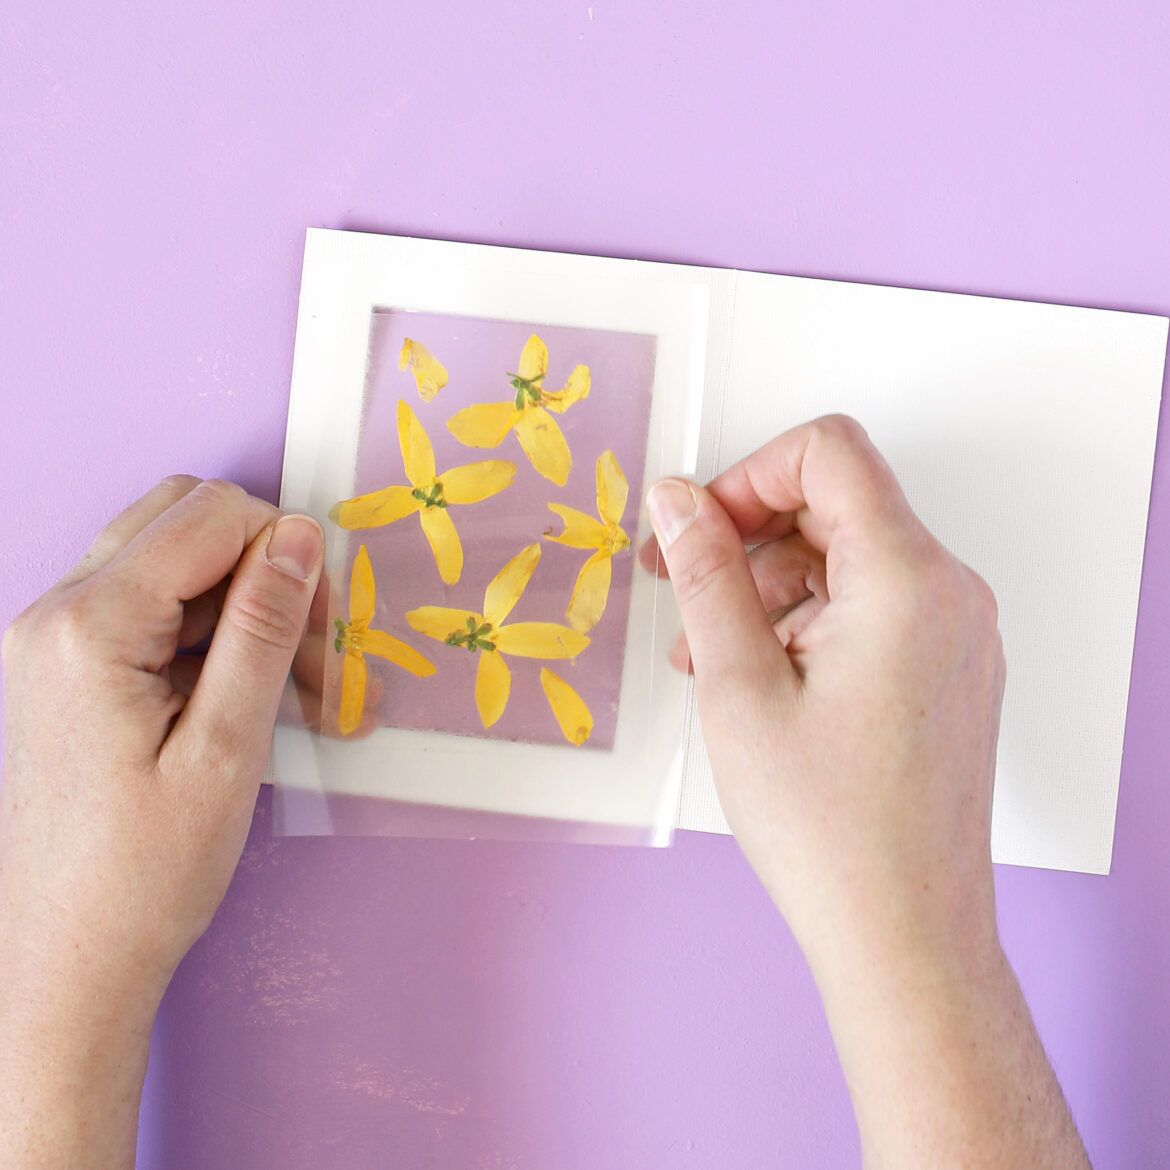
After that, take the second, larger piece of EasyLiner® and remove the paper backing. This should allow you to stick it to the smaller piece, sandwiching the flowers in and leaving a small, sticky border around the edges.
Step 6
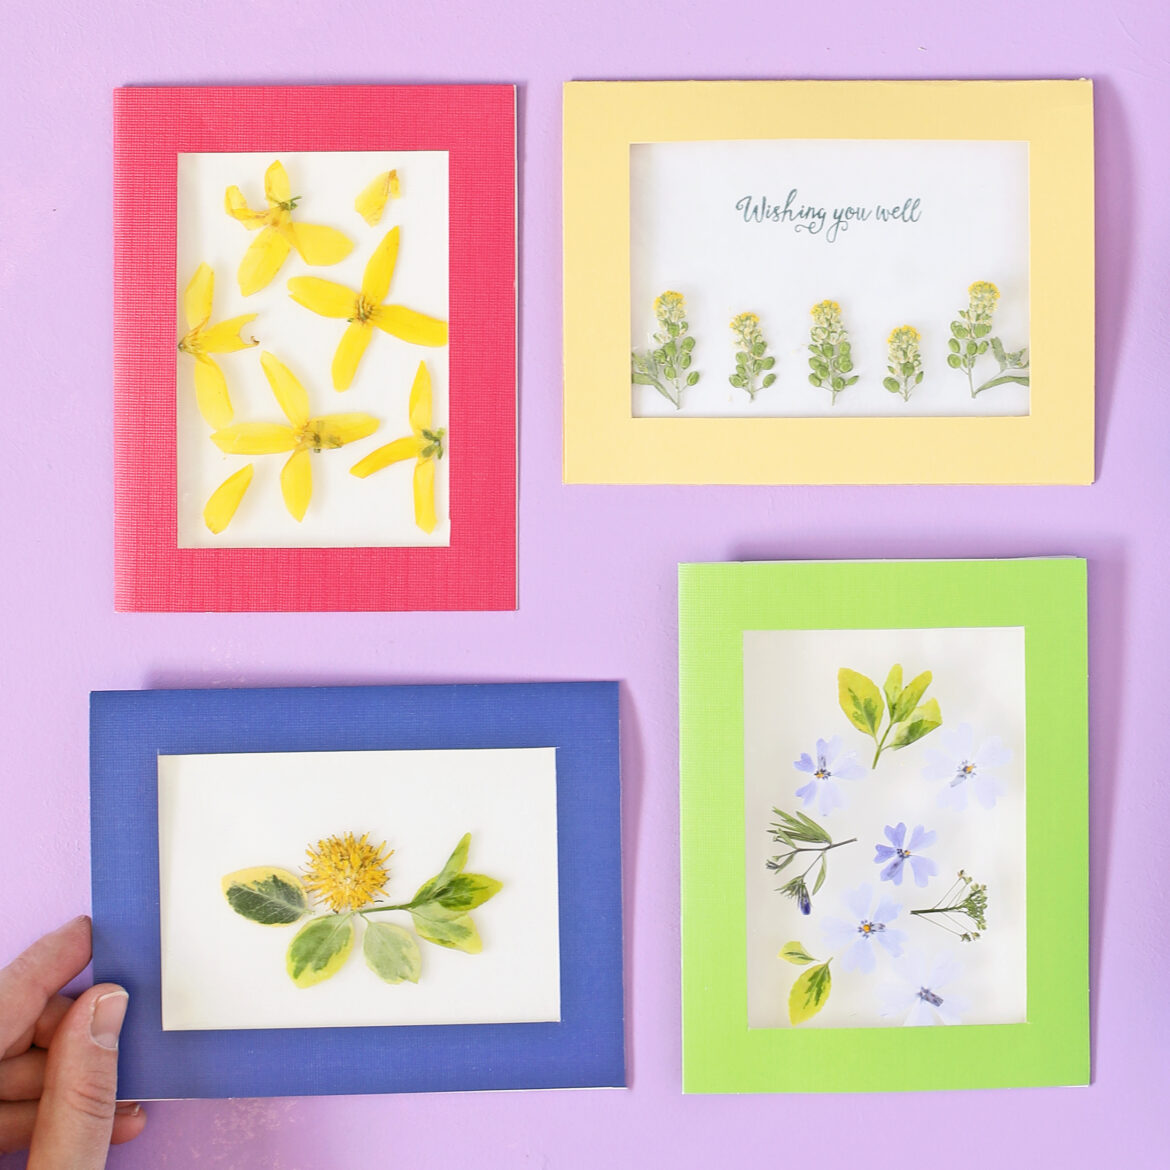
Now, you will be able to open the card and line up your flowers with the window. Carefully attach the flowers to the card using the sticky border.
Step 7
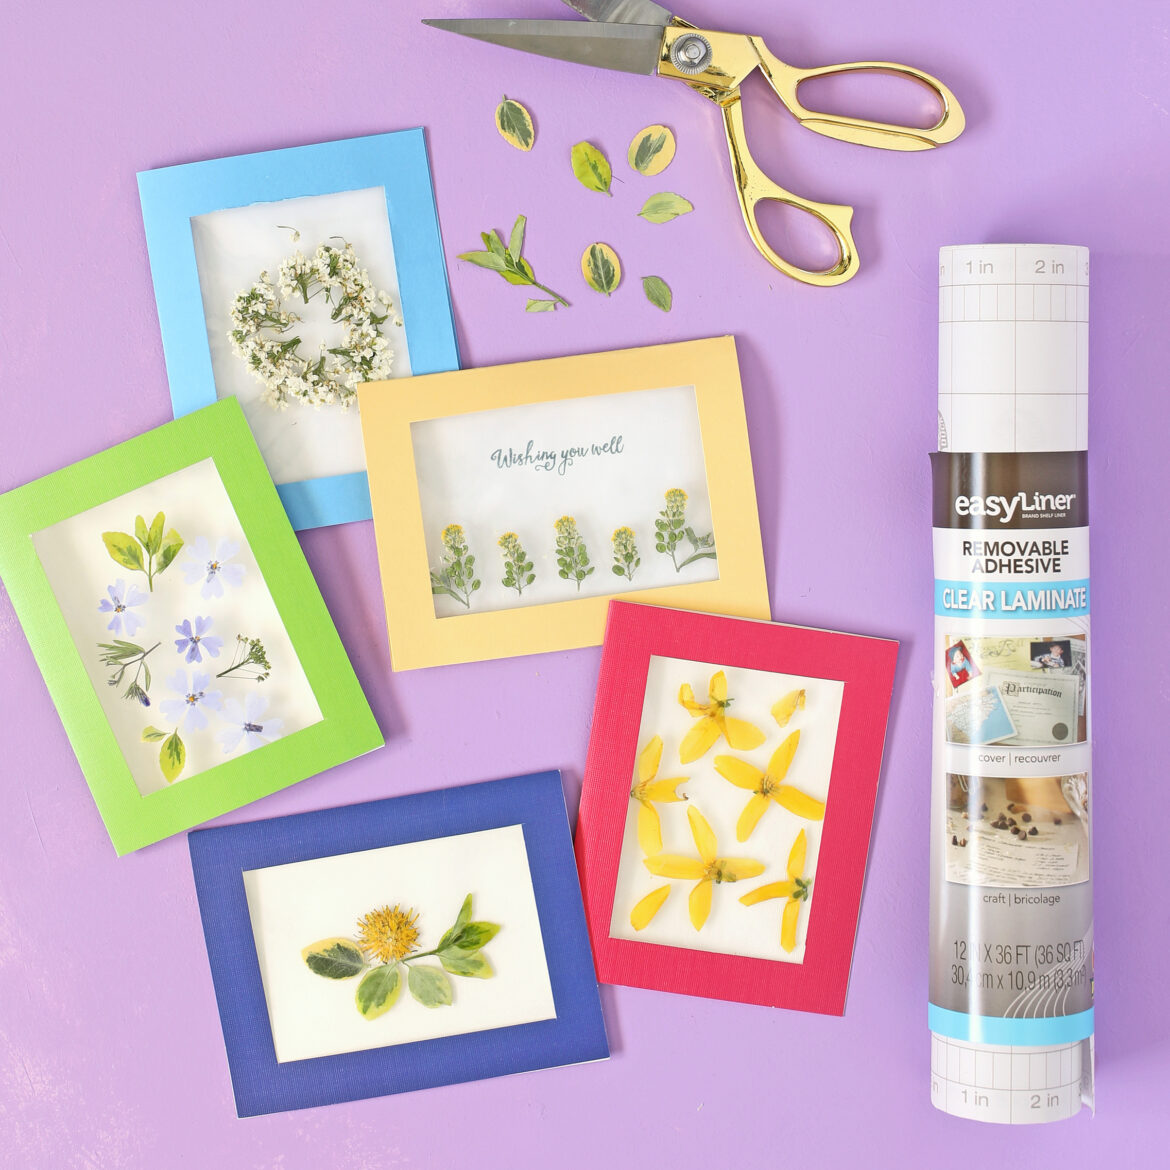
Finally, write a special message inside and send your card to a family member or friend!
