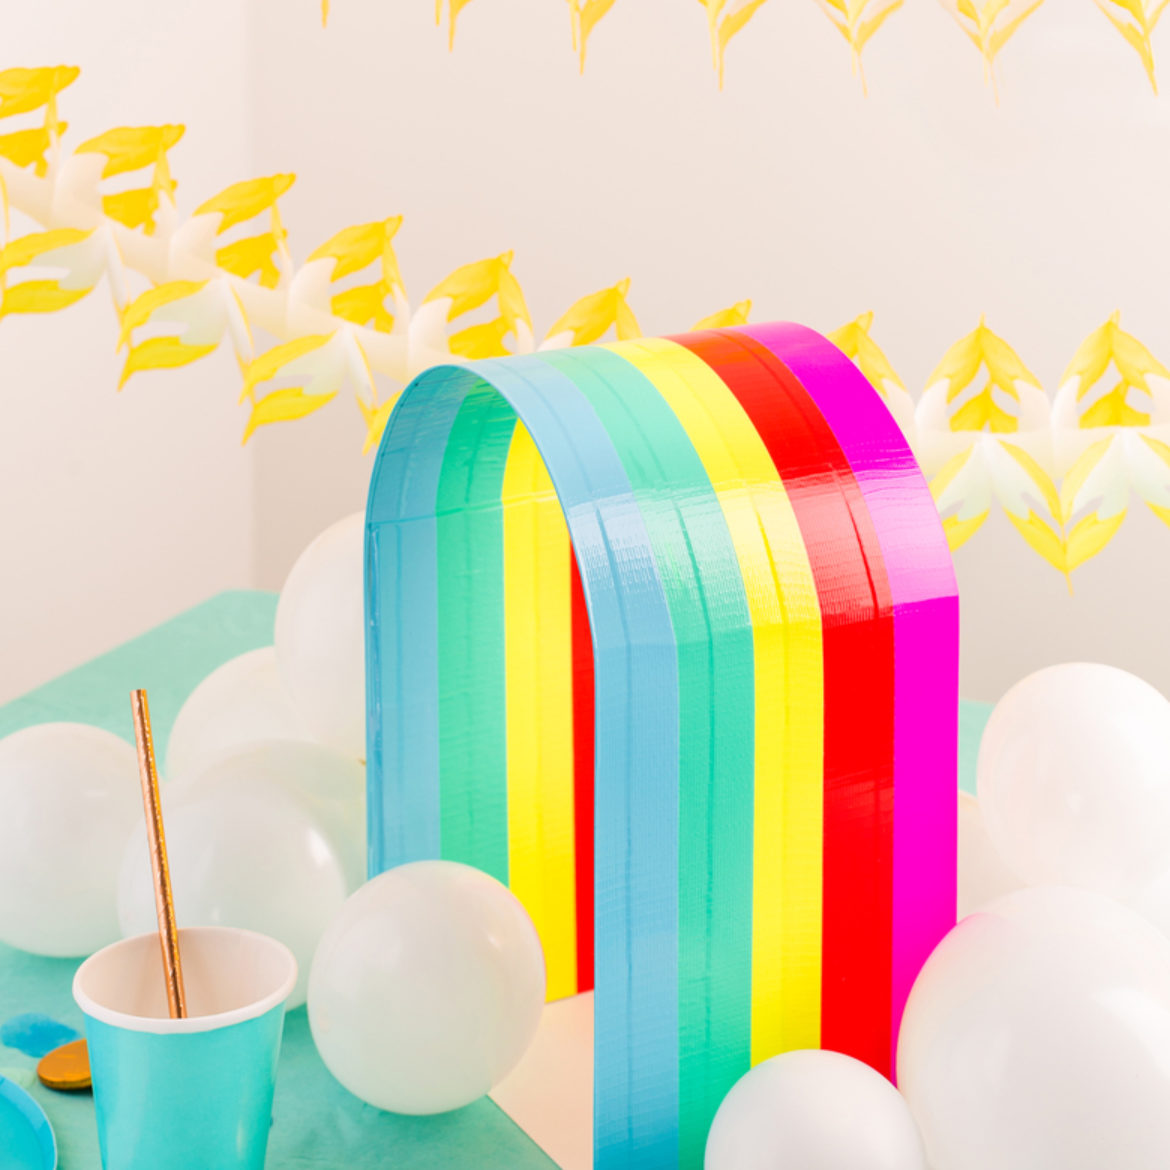
How-To: Rainbow Centerpiece with Duck Tape®
How-To: Rainbow Centerpiece with Duck Tape®
A little Duck Tape® goes a long way to craft this colorful rainbow from Oh Happy Day—the perfect centerpiece to brighten up your table or desk!
Tutorial

Beginner
30 Minutes
Supplies & Tools
- Poster board
- Matboard or thin cardboard
- Duck Tape® in 5 colors
- 5 in. white balloons
- Low-temp hot glue gun
- Scissors
- Ruler
- Pencil
- Bone folder (optional)
Scroll down for step-by-step directions.
Disclaimer - If the listed tape type is not available, there's no need to worry. All of our crafts can be adjusted to use whatever tape you have on hand!
Directions

Step 1
Cut a 26 in. x 6.25 in. rectangle from poster board.

Step 2
Cover one side of the poster board with Duck Tape® to create a rainbow pattern. Layer each tape color, leaving 1.25 in. of each showing, and wrap excess tape around the edges of the poster board.

Step 3
Cut two 8.5 in. x 5.5 in. rectangles from matboard, and secure to the reverse side of the poster board with tape. Apply tape on only 3 sides of each piece of matboard, taking care to leave the short sides on the ends, un-taped.

Step 4
Cover the reverse side of the poster board with strips of Duck Tape to create a rainbow pattern, taking care to create a mirrored reflection of the first side. Cut away excess tape instead of wrapping around the edges and leave two open pockets on the shorter sides of the rectangle—these pockets will enable you to attach the base in Step 6.

Step 5
Create the base of the rainbow by cutting a rectangle measuring 5 in. x 11 in. from the remaining poster board. Score and fold 2 in. from each of the shorter sides as shown.

Step 6
Insert folded poster board base into the pockets on the ends of the rainbow to stand it up.

Step 7
Create balloon clouds using 4 balloons. Inflate two balloons and tie together. Repeat with a second set of balloons, and twist the 2 pairs together.

Step 8
Repeat Step 7 to create additional clouds if desired and secure to rainbow with hot glue.
