How-To: Rubber Band Rocket
How-To: Rubber Band Rocket
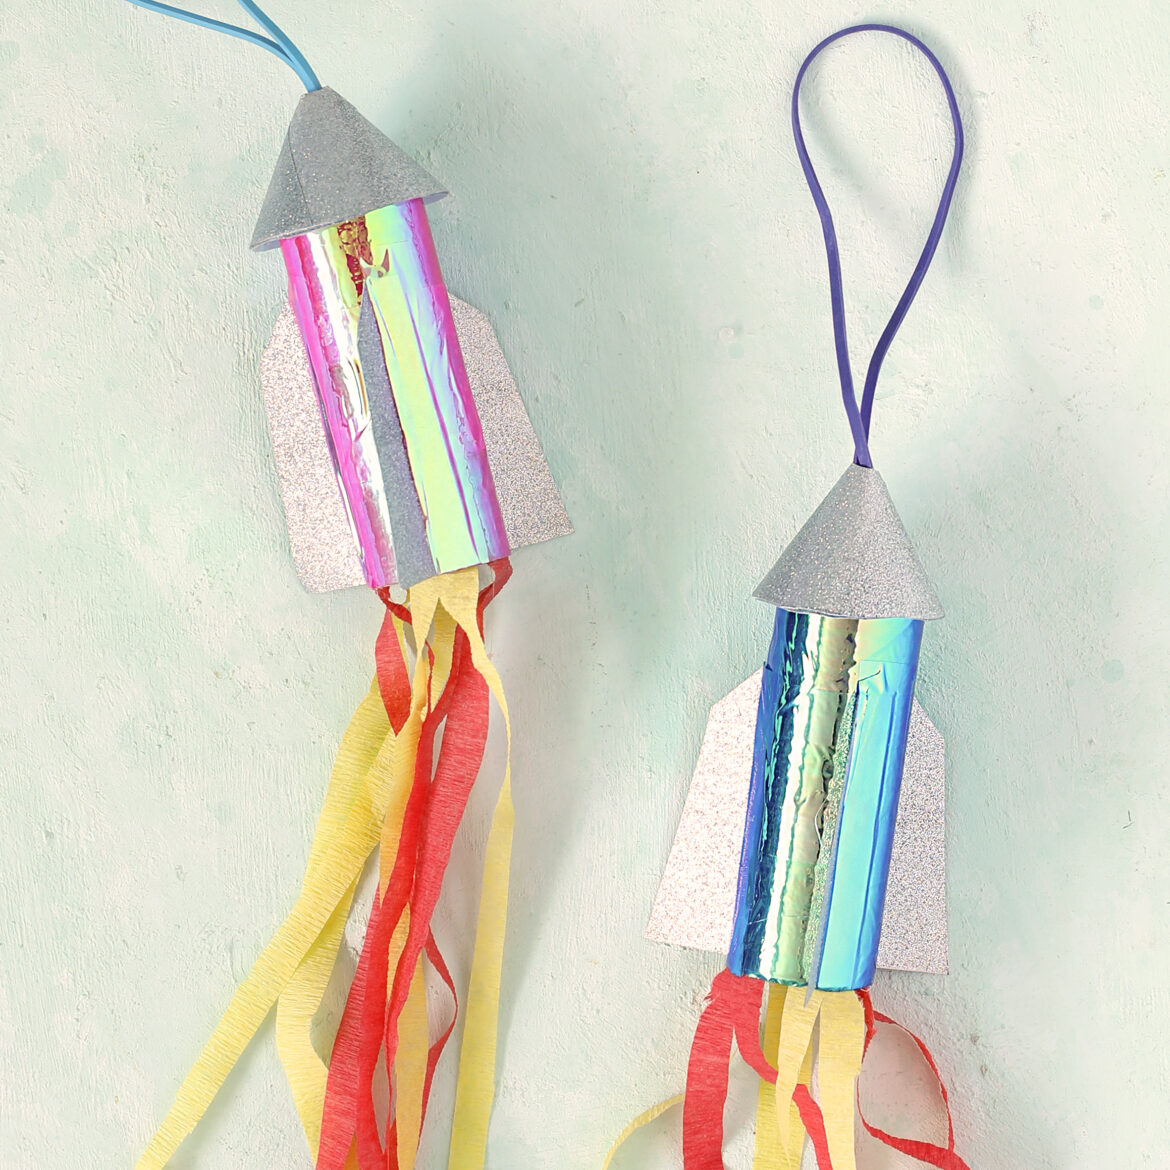
Check out this Duck Tape® rubber band rocket for fun that is out of this world!
Tutorial
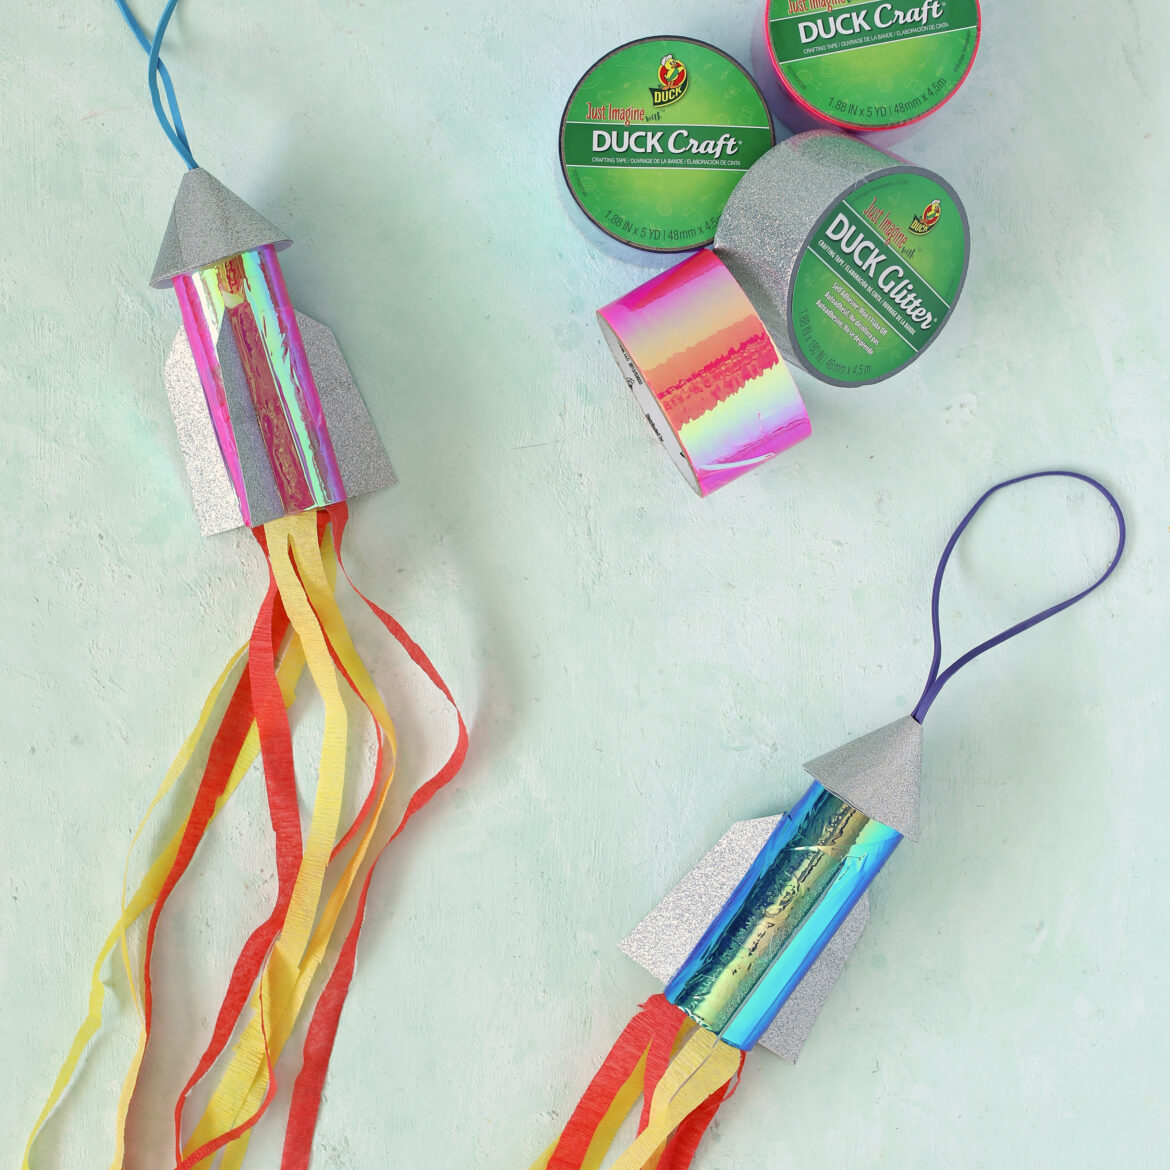
Intermediate
45 Minutes
Supplies & Tools
Cardboard Tube
Large Rubber Band
Party Streamers
Printable Template on Cardstock*
Scissors
Glue
Scroll down for step-by-step directions.
Disclaimer - If the listed tape type is not available, there's no need to worry. All of our crafts can be adjusted to use whatever tape you have on hand!
Directions
Step 1
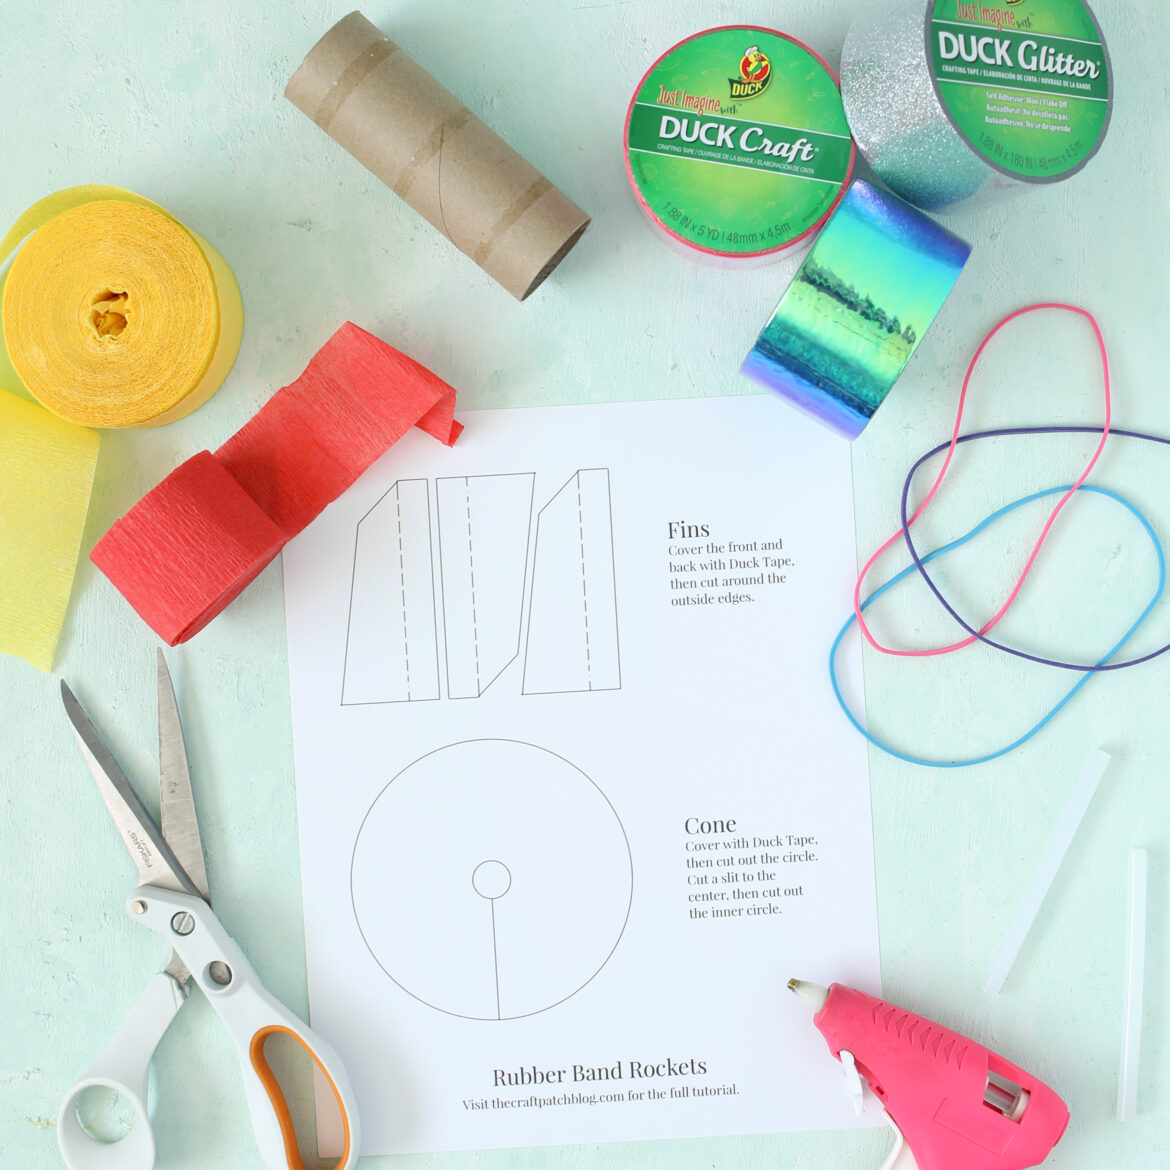
To get started, take the cardboard tube and wrap it with your favorite color of Duck Mirror® Crafting Tape.
Step 2
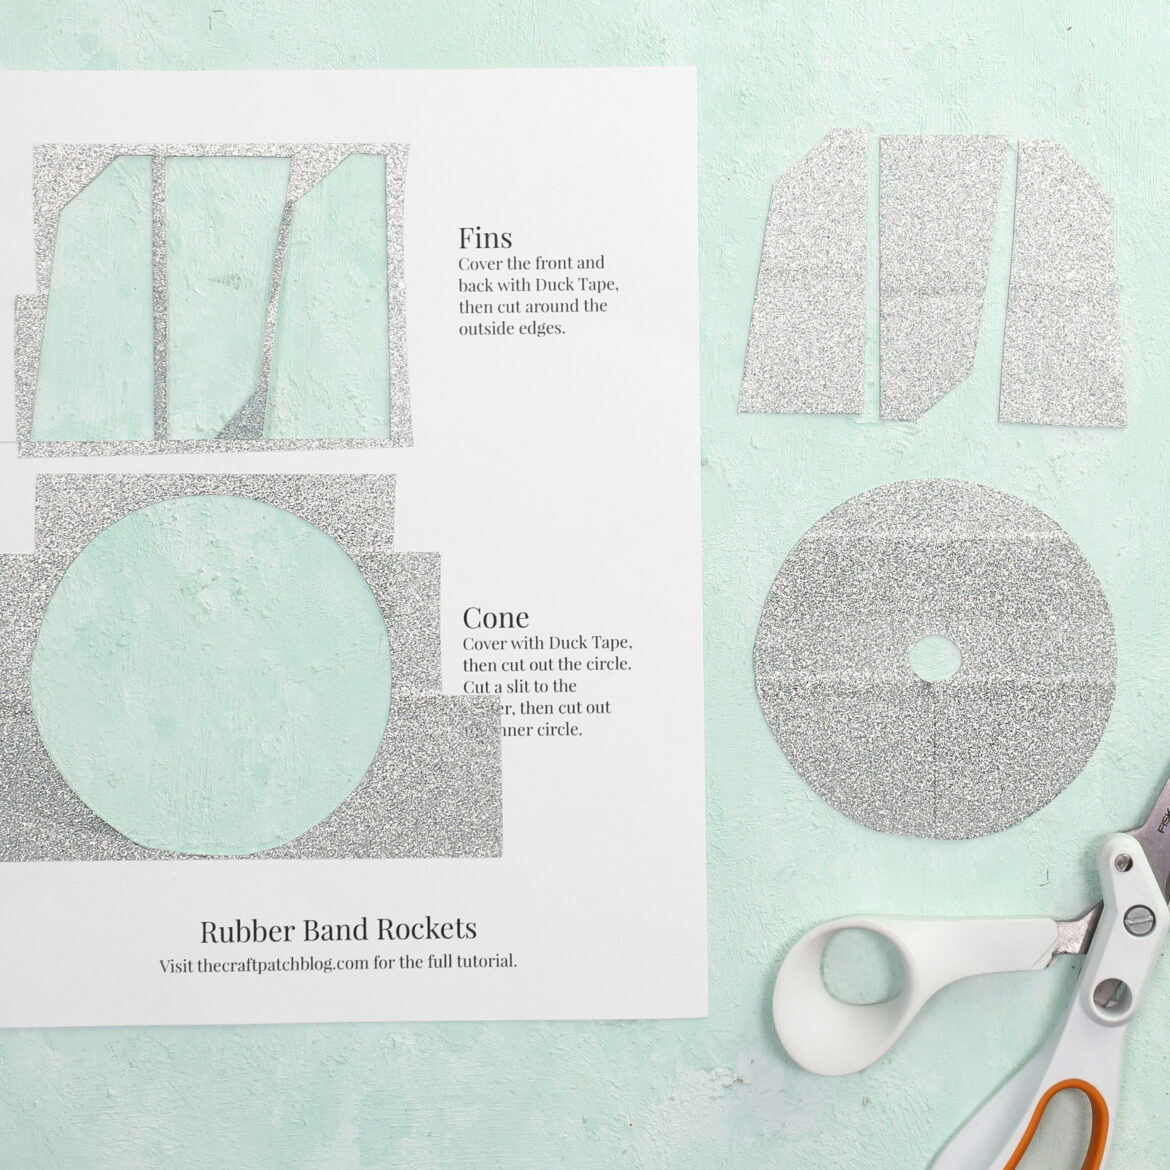
Next, cover the cone template piece with Duck Glitter® Crafting Tape. Using the template guides, cut out the circle, a slit to the center, then cut out the smaller center circle.
Step 3
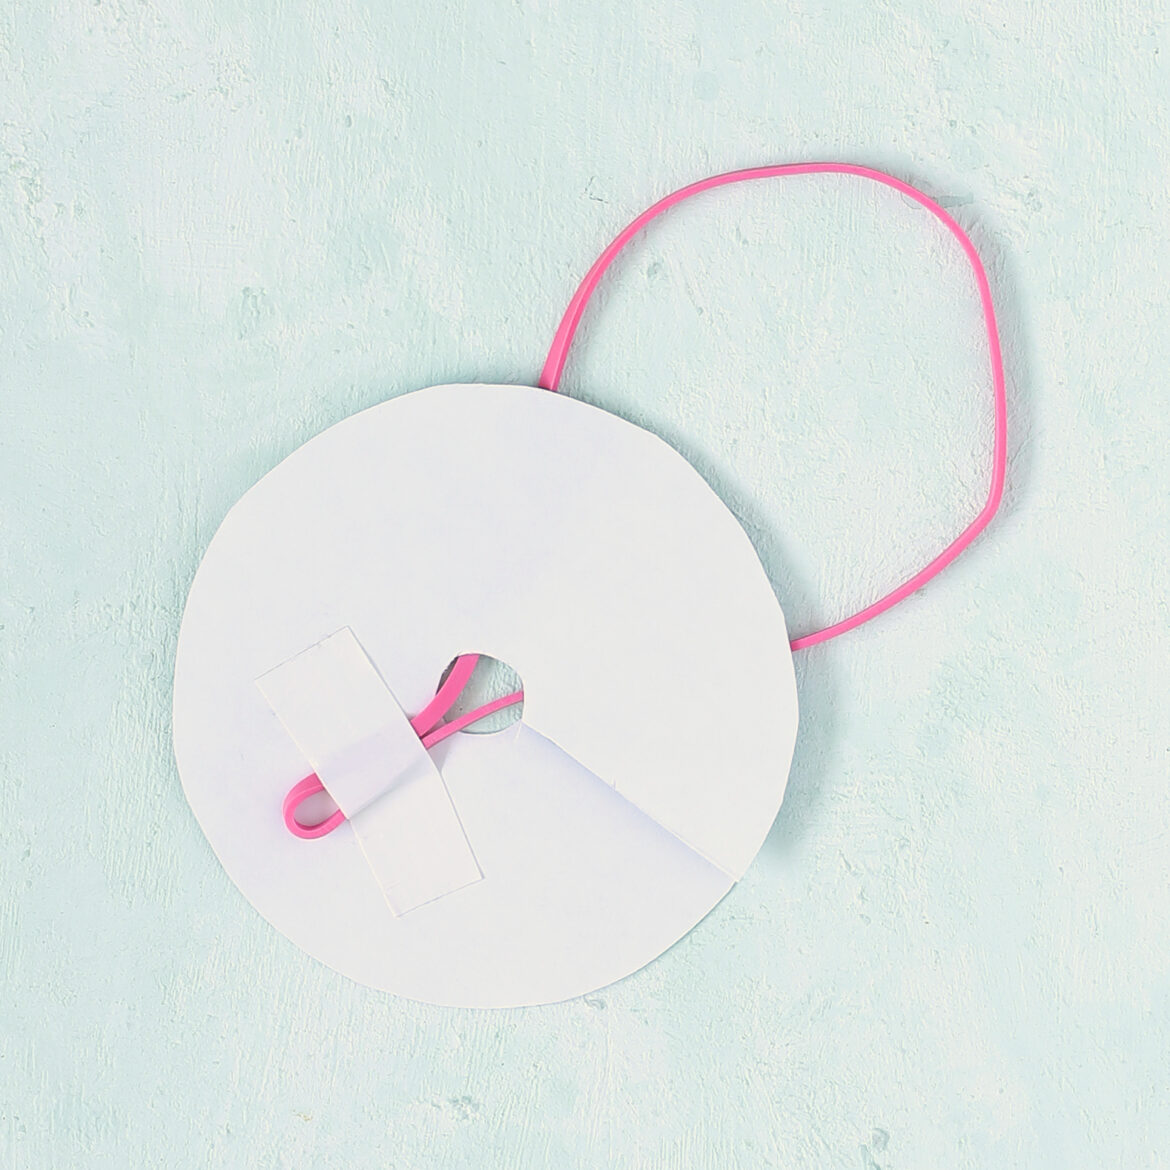
Then, slip the rubber band through the center hole and attach the end to the backside with a piece of Duck Tape®. Roll the circle into a cone shape and secure with glue.
Step 4
After that, attach the cone to one end of the cardboard tube using a generous amount of glue to create the base of your rocket.
Step 5
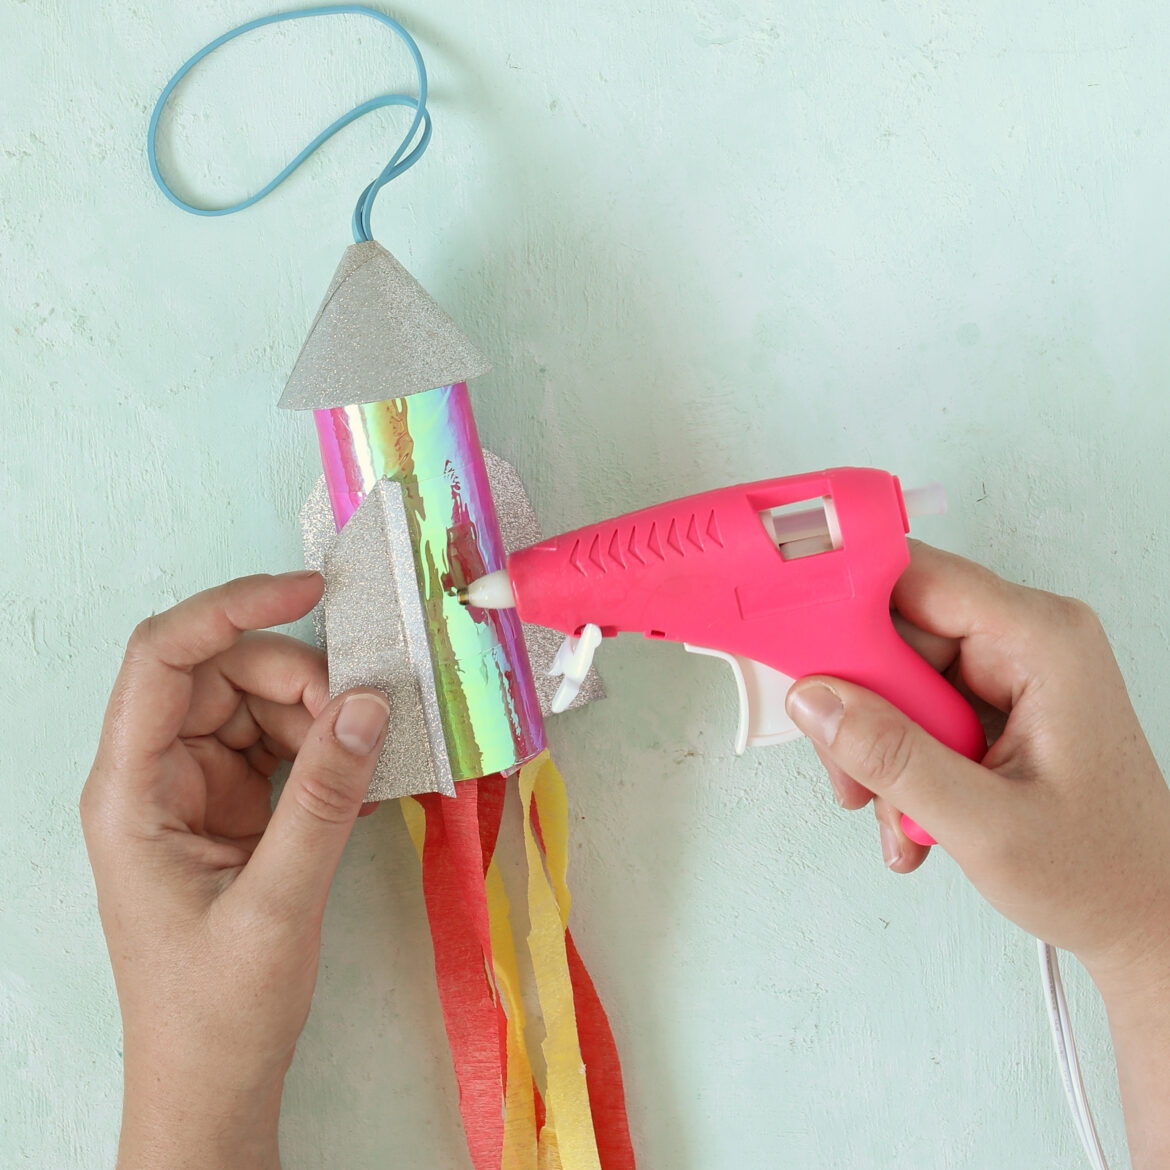
Next, cover both sides of the fin shapes on the printed template with Duck Glitter® Crafting Tape. Cut them out and fold along the dotted line. Attach the fins to the sides of the cardboard tube by using some glue. Make sure they are evenly spaced.
Step 6
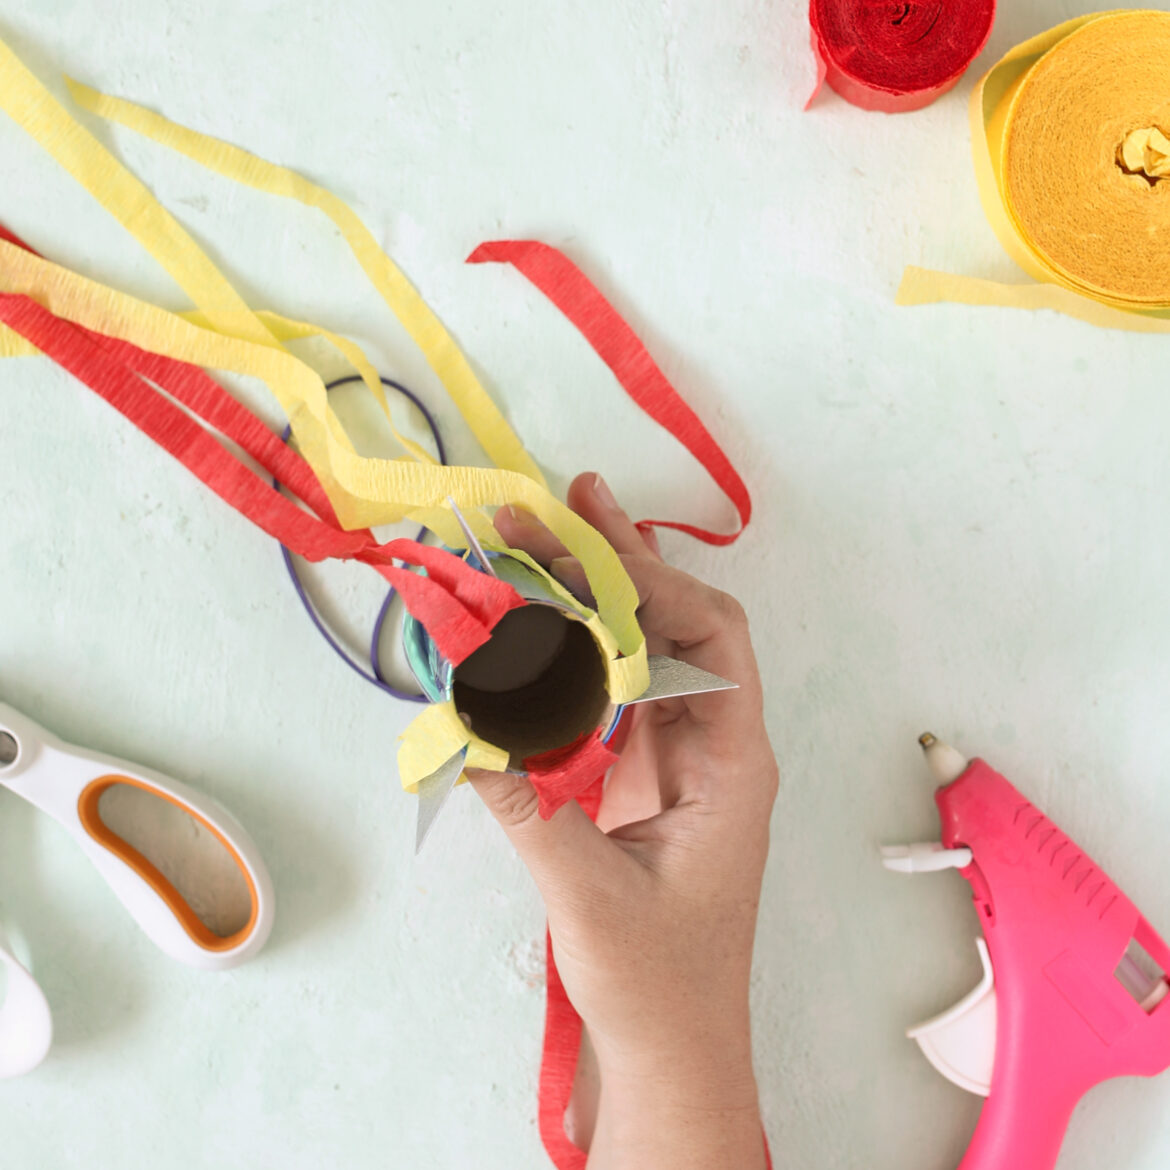
Finally, cut long pieces of streamer, and carefully attach them inside the open end of the cardboard tube with glue.
Step 7
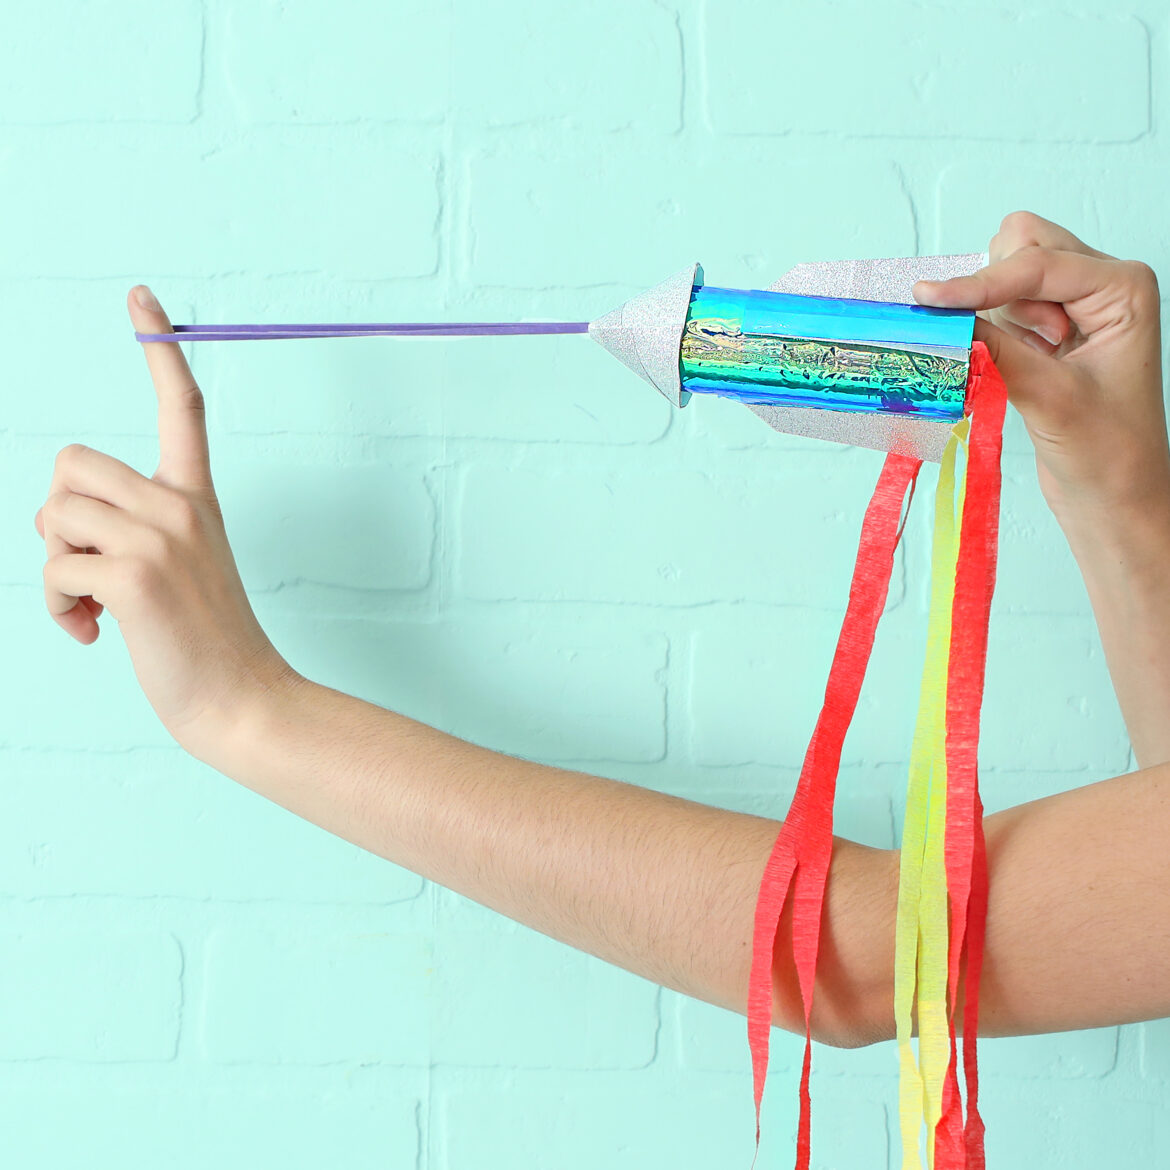
To make your Duck Tape® rocket fly, pull the rubber band tight with one finger while holding on to the rocket with the other hand. Let go of the rocket and watch it soar!
