How-To: Teacher Gift Card Holder with Duck Tape®
How-To: Teacher Gift Card Holder with Duck Tape®
Learn how to make this DIY gift card holder your teacher is sure to love with a little help from Sarah Hearts®.
Tutorial
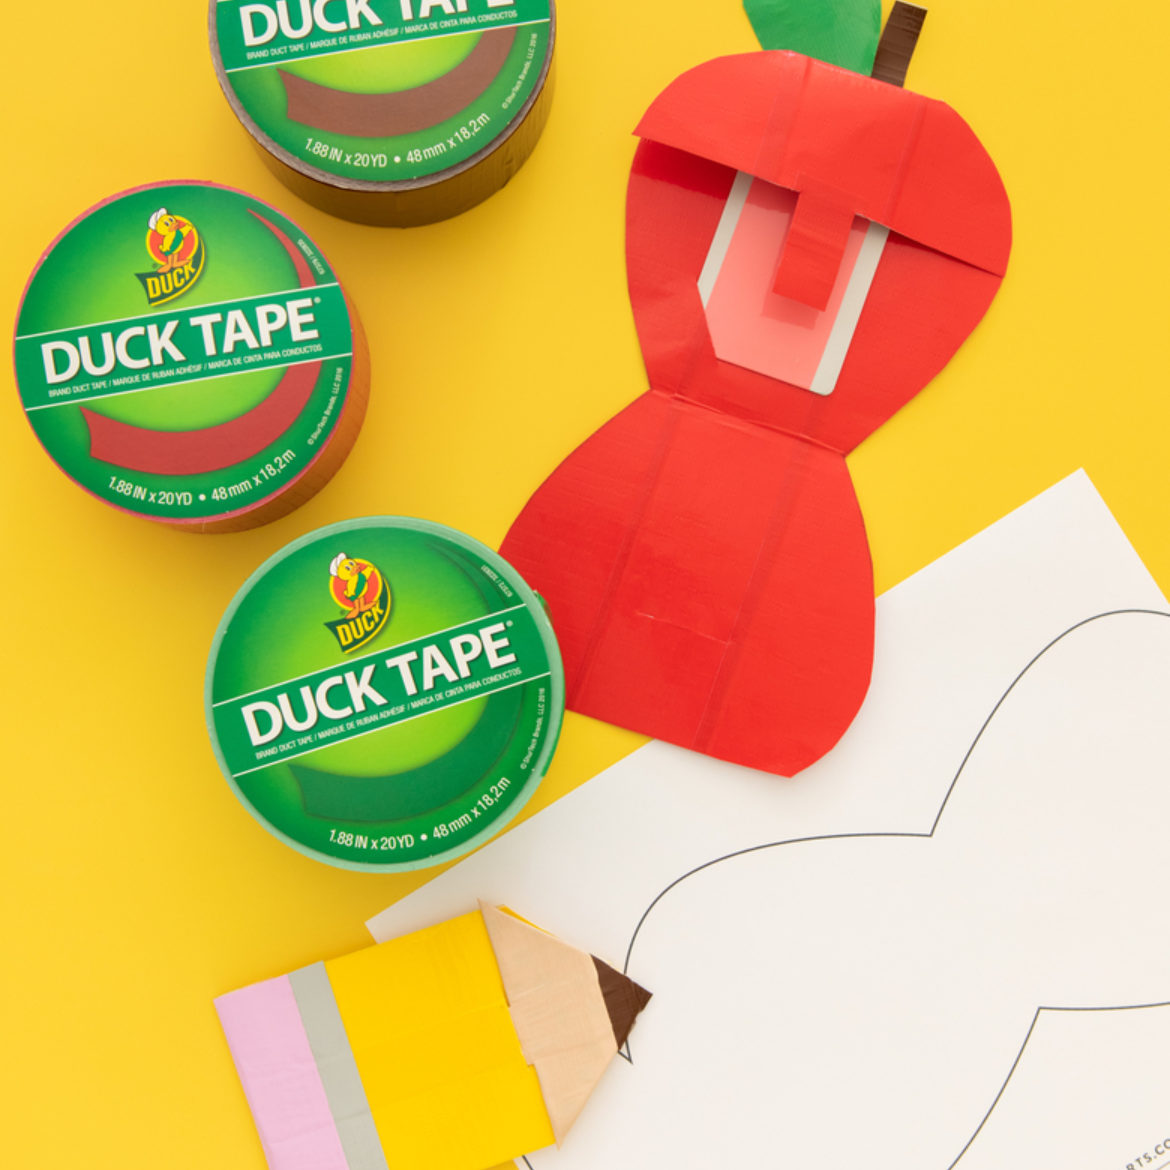
Intermediate
30 Minutes
Supplies & Tools
- Color Duck Tape®
- Printed Duck Tape®
- Scissors
- Template
- Crafting board
Scroll down for step-by-step directions.
Disclaimer - If the listed tape type is not available, there's no need to worry. All of our crafts can be adjusted to use whatever tape you have on hand!
Directions
Step 1
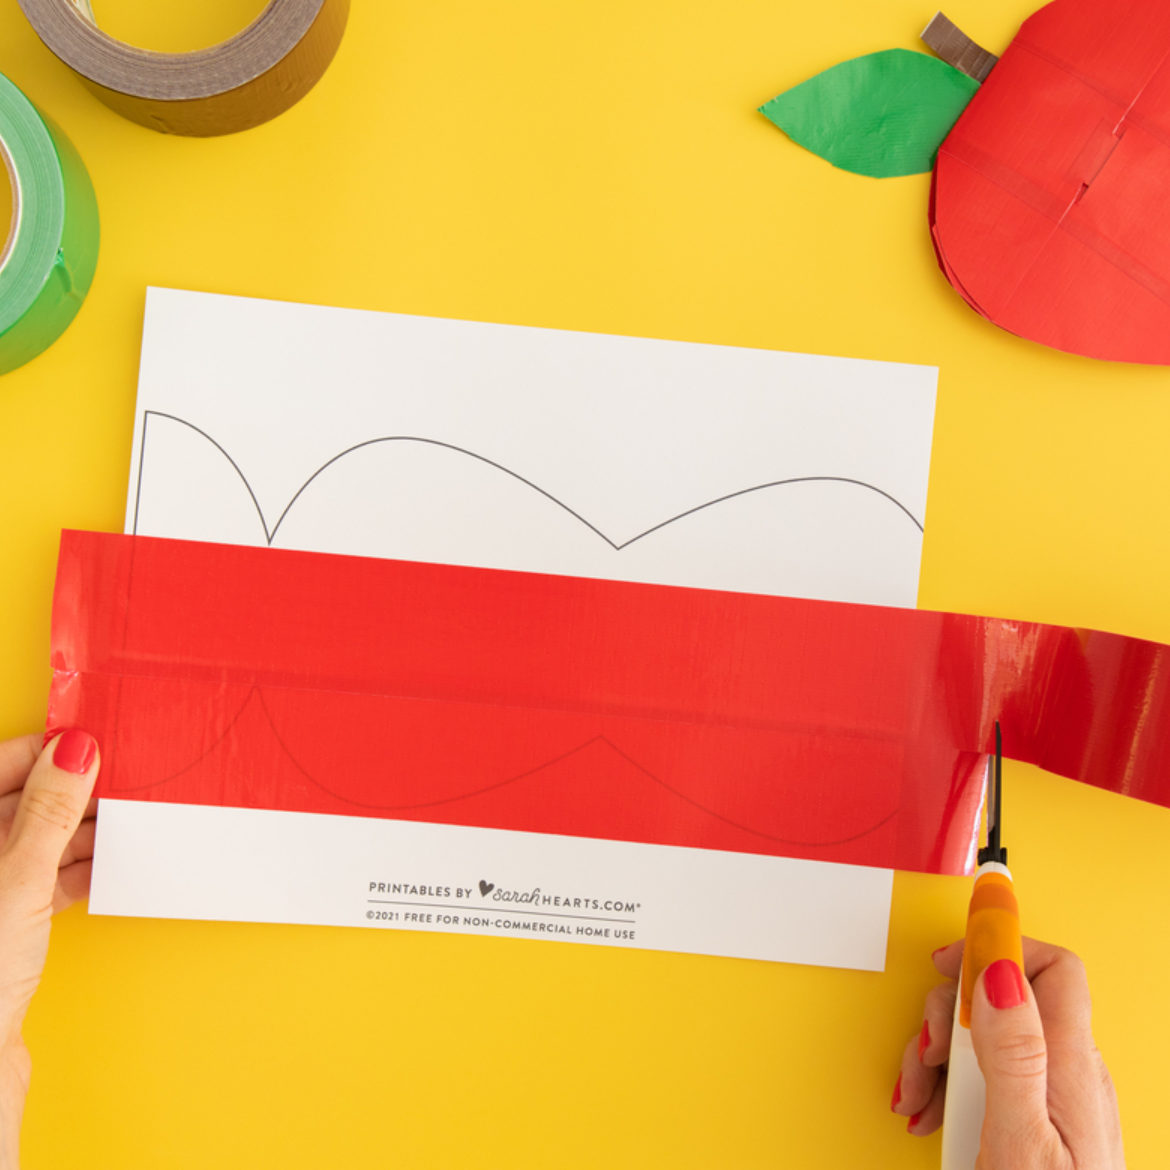
Print the template and choose the shape you would like the holder to be. In this tutorial, the apple shape is being used. Cover the shape completely by placing colored Duck Tape® on both the front and back of the template.
Step 2
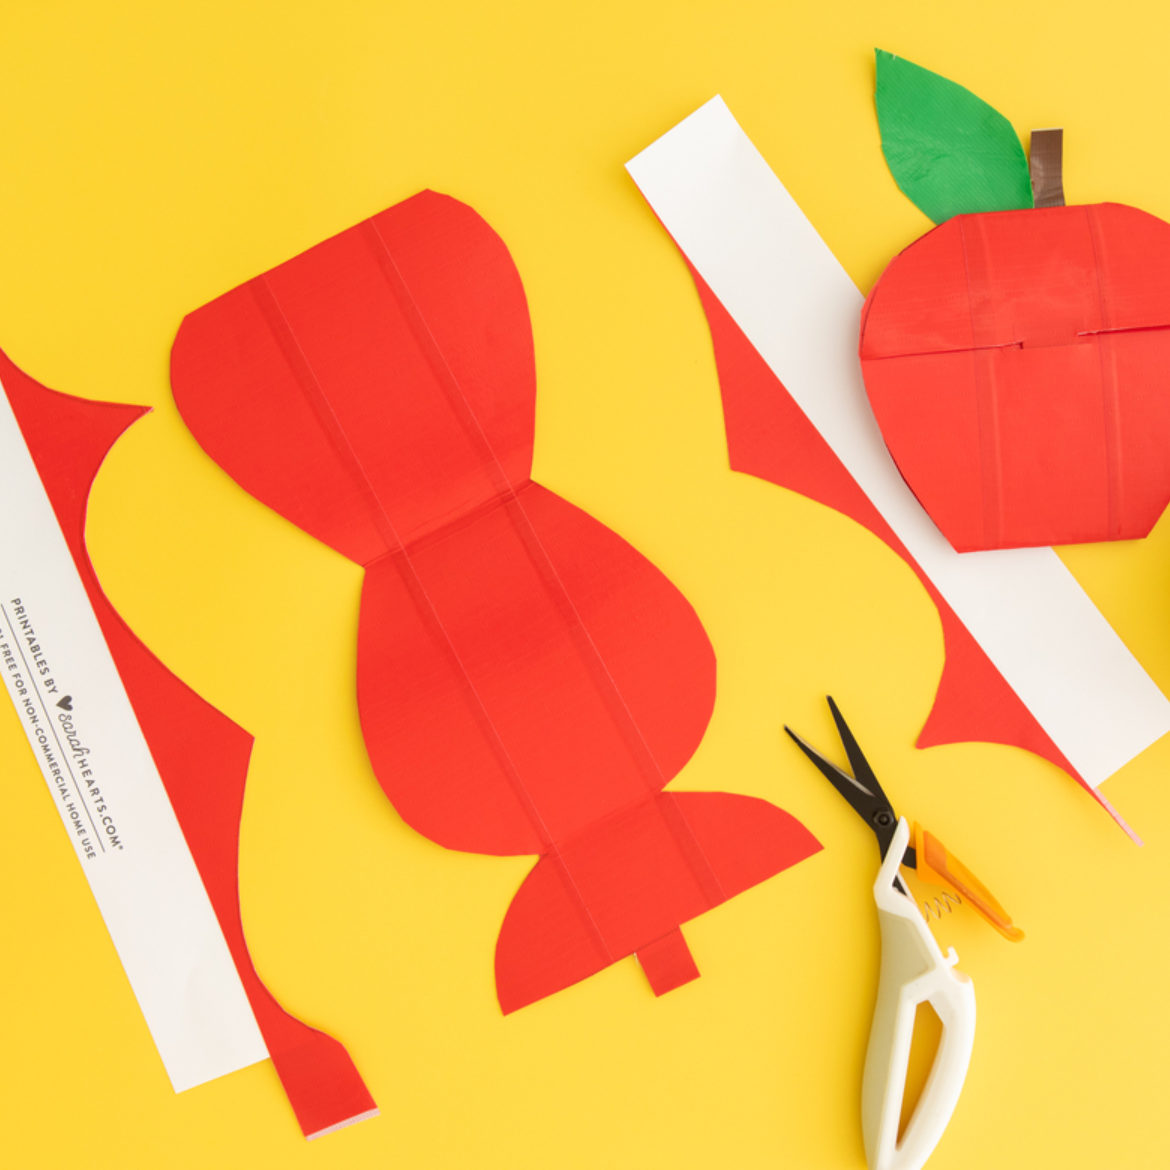
Use scissors to cut the shape out. Create a small tab with tape and add it to the top of the apple.
Step 3
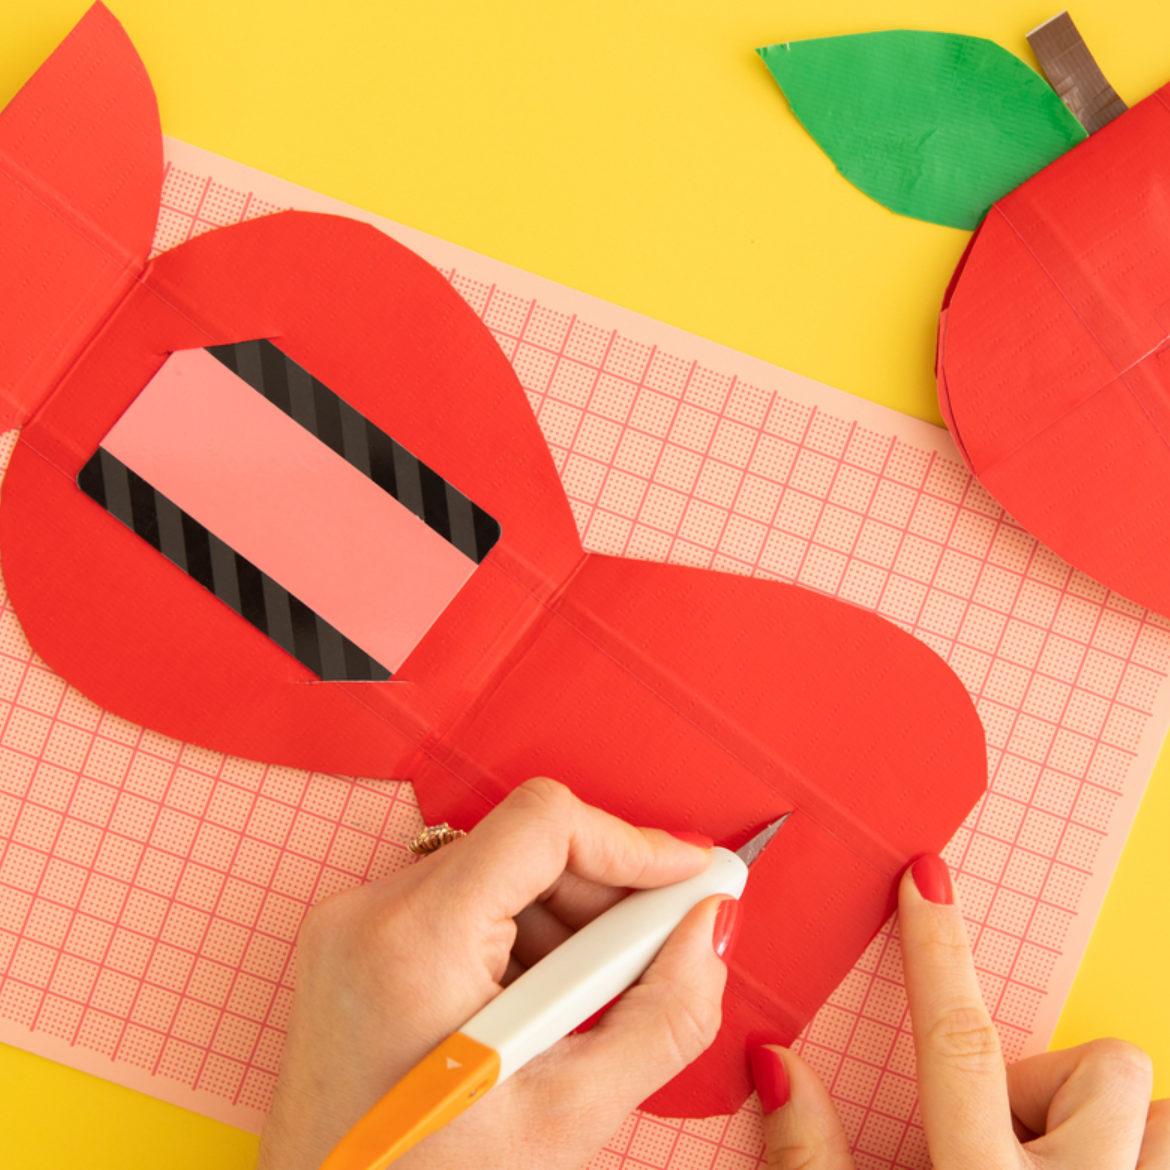
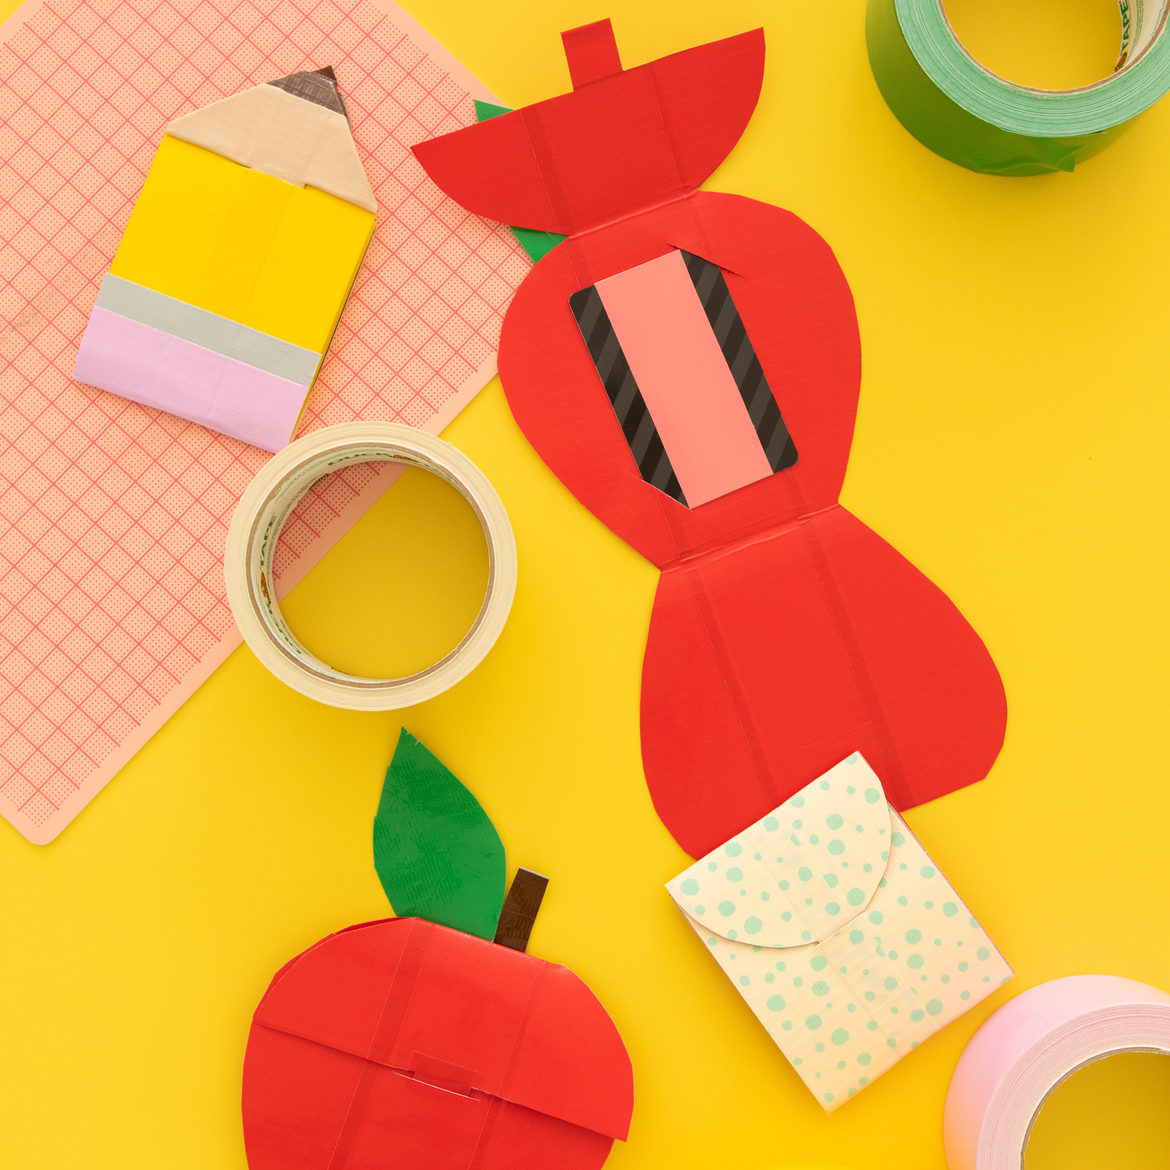
Next, take the scissors and add two slits in the body of the apple. Place one slit in the top corner and the other in the opposite bottom corner (this is where the gift card will go). Place a third slit in the part of the apple that will fold up.
Step 4
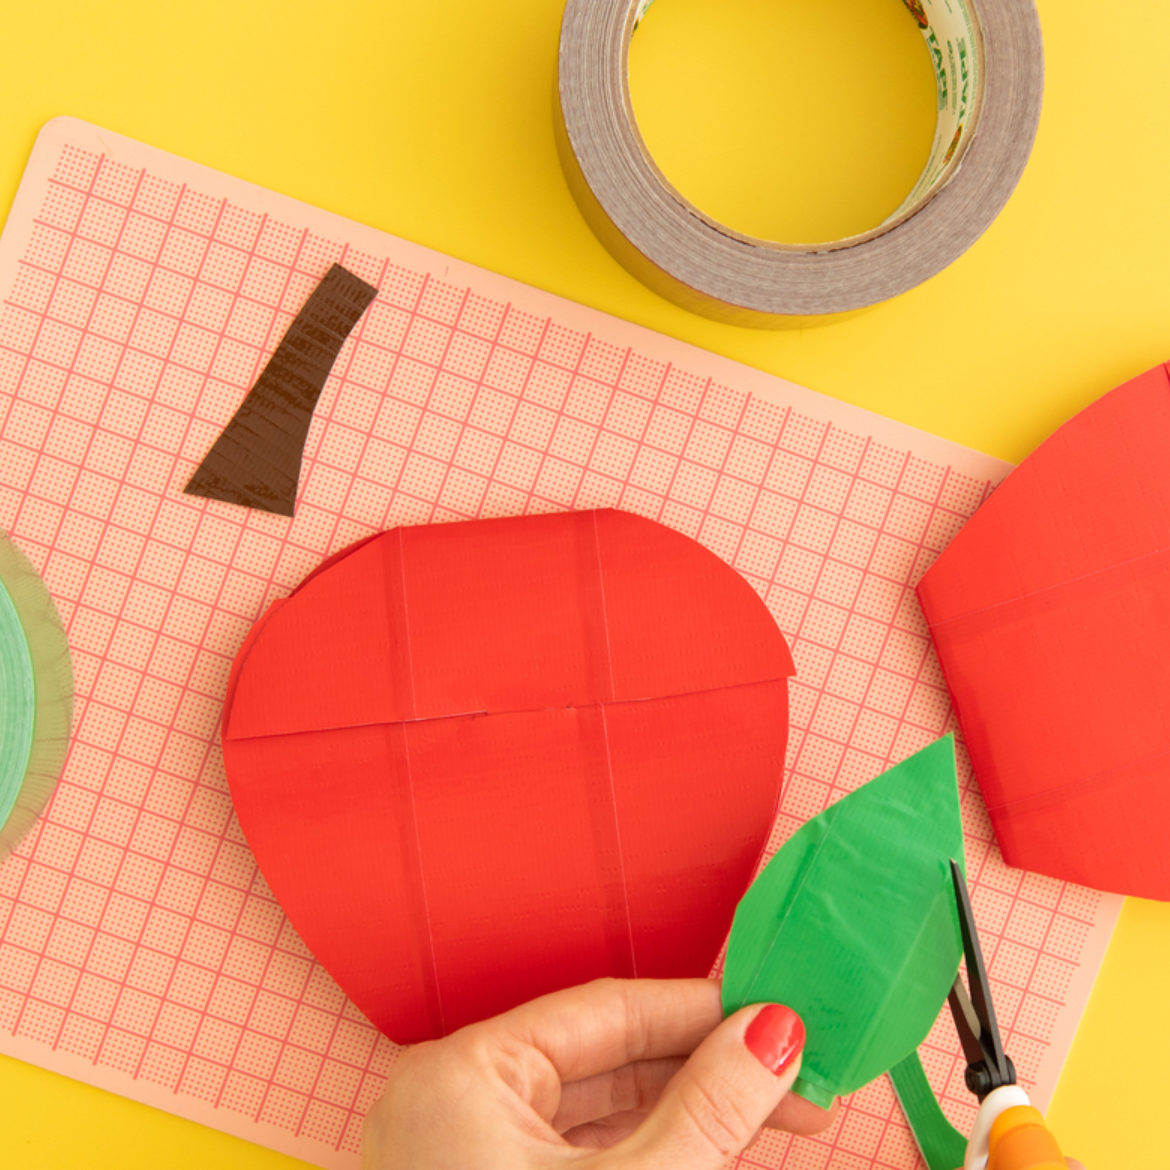
Create the apple core and leaf with brown and green colored Duck Tape®.
Step 5
Now it's time to add the finishing touches! Attach the leaf and core to the apple. Fold the bottom of the apple up and slide the tab through the slit to close the apple and keep the gift card safe!
