How To: Woven Mats
How To: Woven Mats
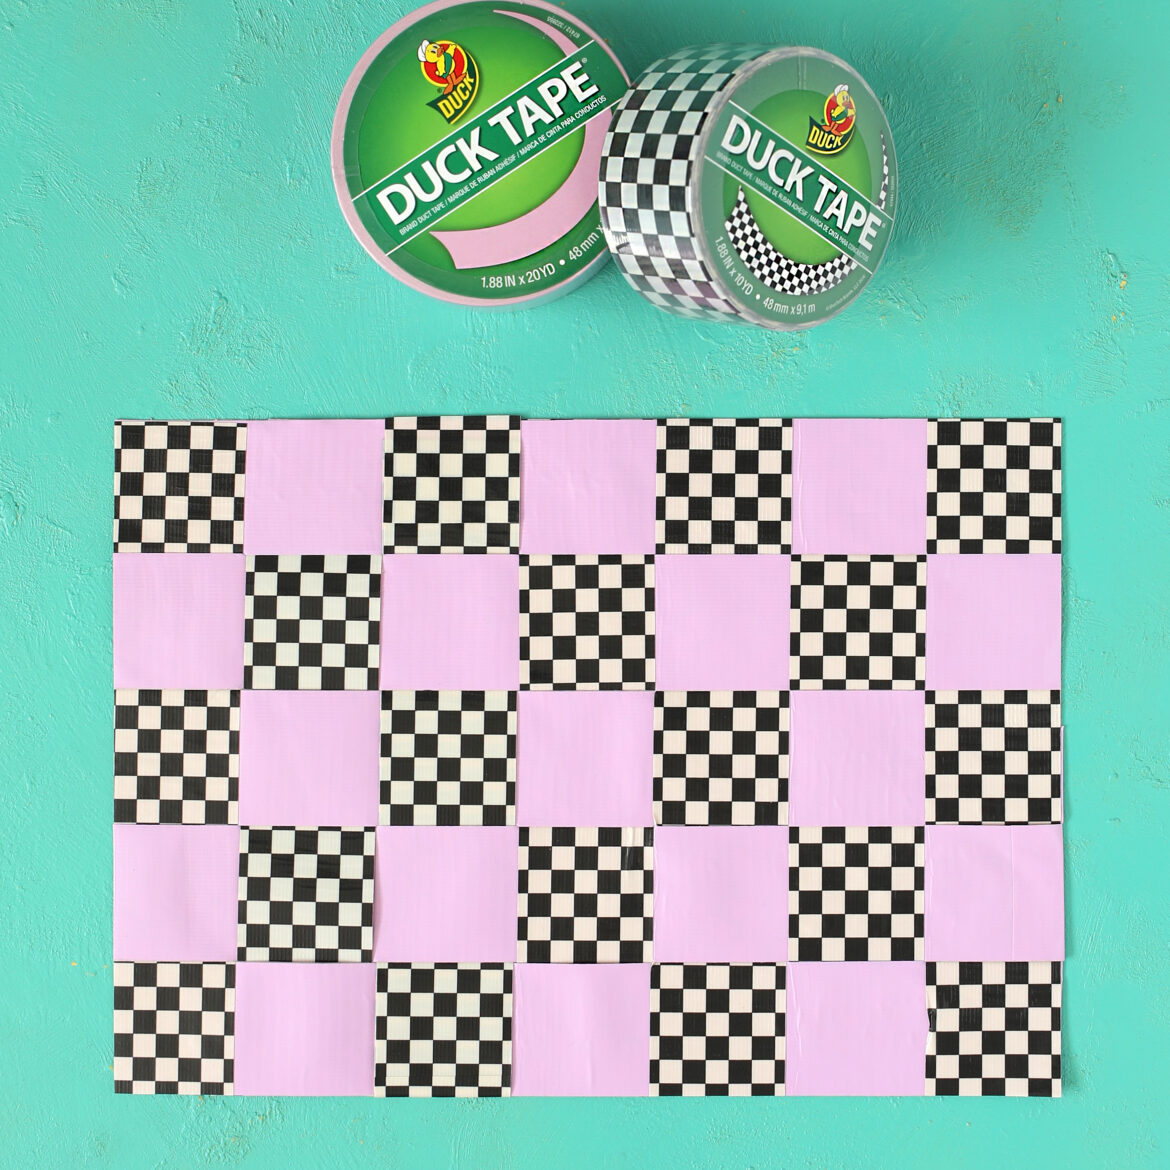
Learn how to create a Woven Mat
Tutorial
Beginner
15 Minutes
Supplies & Tools
Two Contrasting Rolls of Duck Tape
Rotary Cutter, Mat, and Ruler
Scroll down for step-by-step directions.
Disclaimer - If the listed tape type is not available, there's no need to worry. All of our crafts can be adjusted to use whatever tape you have on hand!
Directions
Step 1
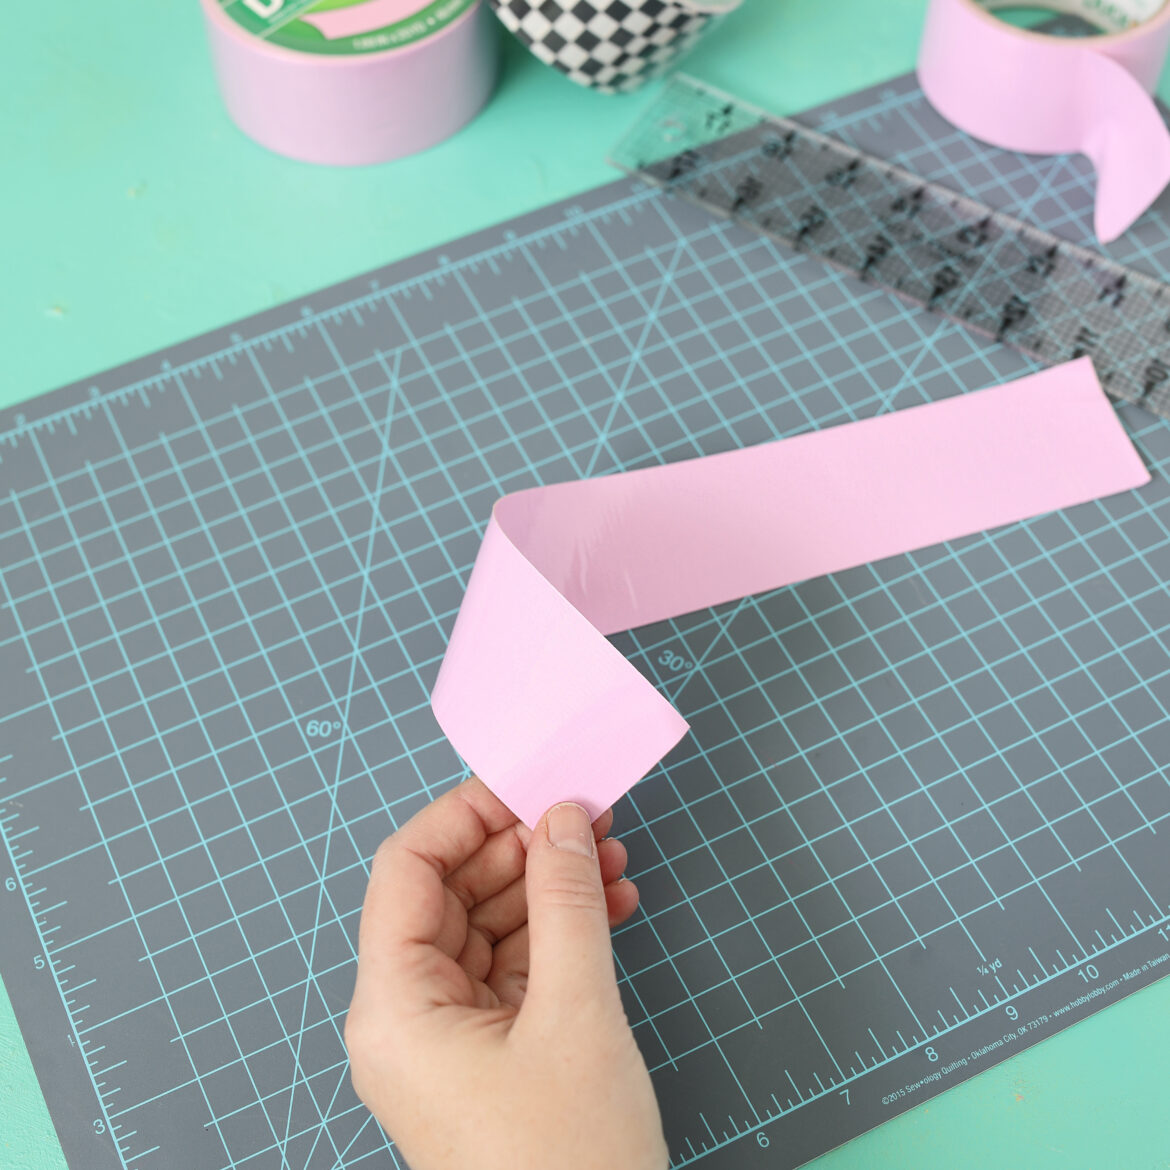
Cut strips of Duck Tape as long as you'd like your mat to be. I made mine about 14 inches, but I wish I would have gone a few inches bigger. Place one strip sticky side up, then place a second strip on top of the first, sandwiching the sticky sides together and lining up all the edges. Repeat until you have 5-7 strips.
Step 2
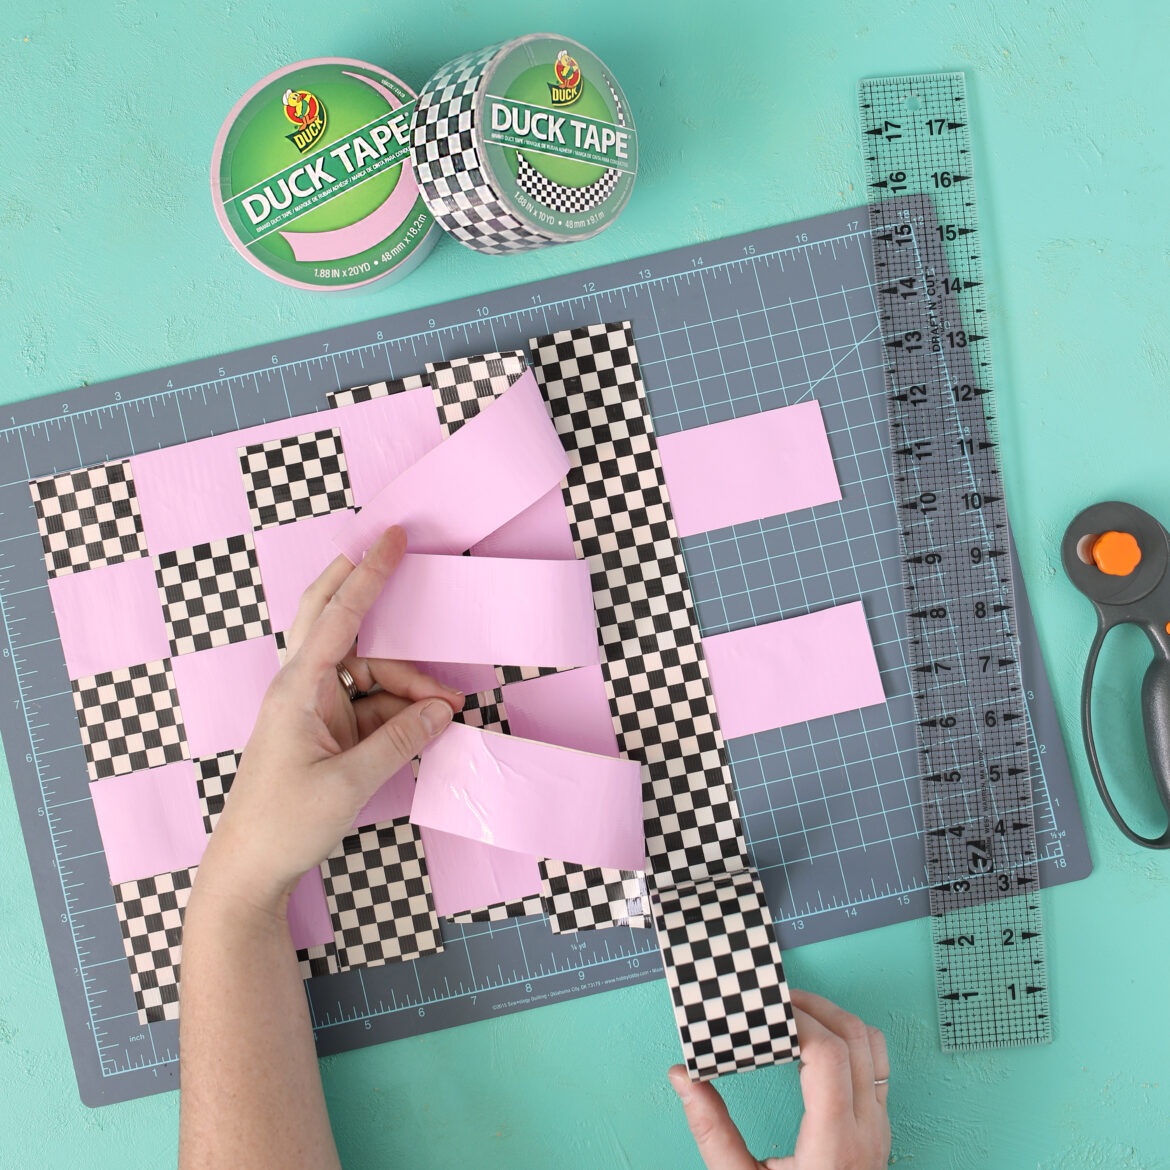
Line up the left edges of all of the strips you just made and lay them horizontally across your mat. Using a contrasting color, press a vertical piece of Duck Tape to the edge of the top corner, then weave that strip over, under, over, under until it covers all of the horizontal strips. Cut the end, but don't worry about precision. We'll trim the edges afterward.

Step 3
Keep adding vertical strips of tape until you reach the end of the horizontal strips.
Step 4
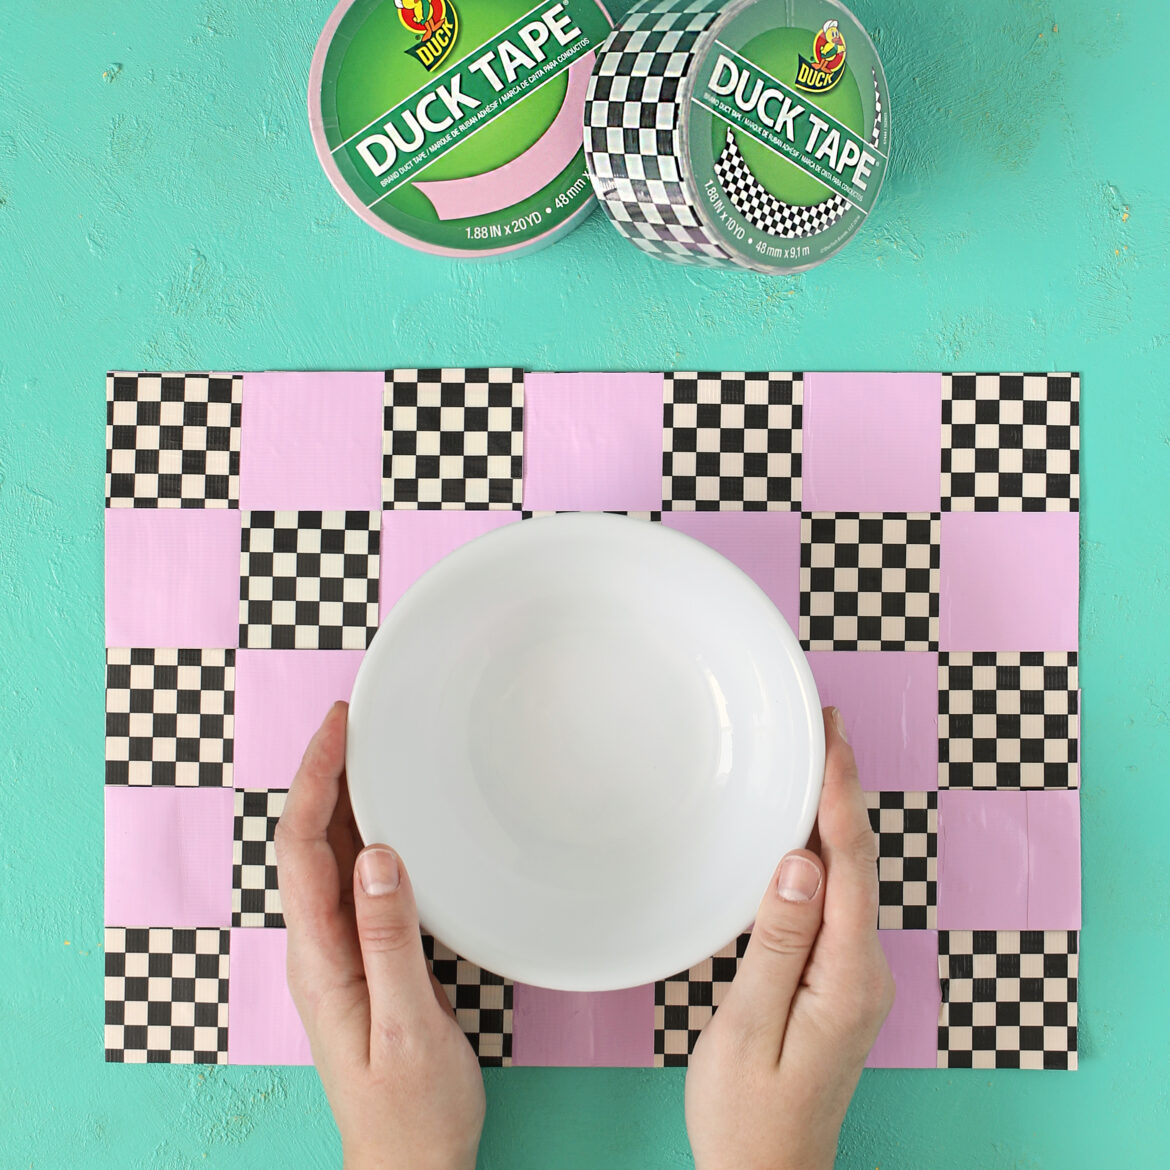
Flip the mat over to the back side and cover the whole thing with tape so that no more sticky surfaces remain visible.
Step 5
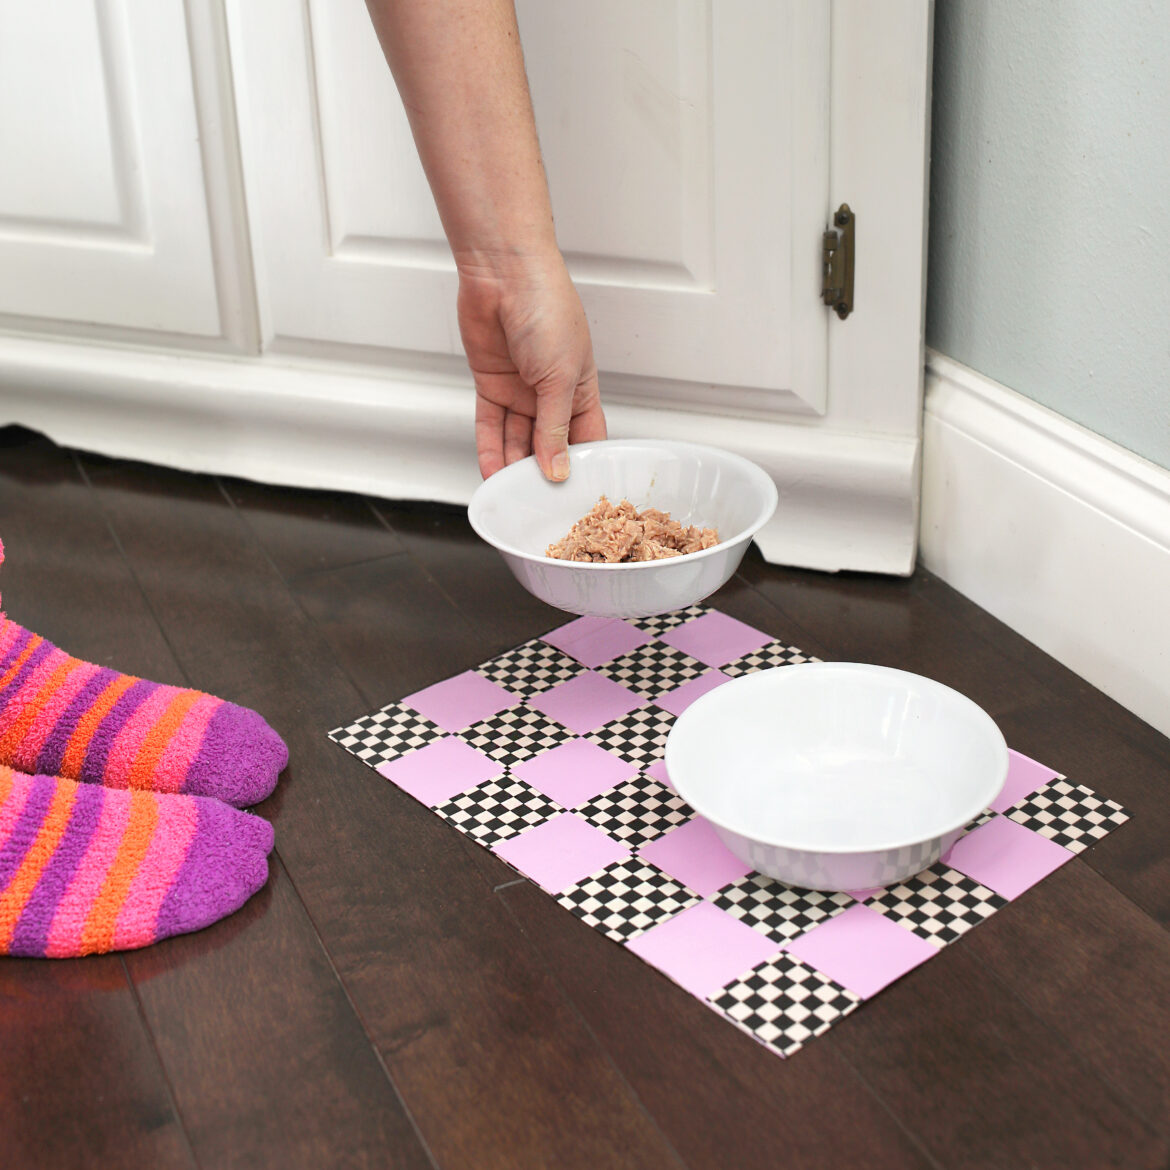
Then use the ruler and rotary cutter to trim around all four edges and square everything up nicely.
