How-To: Duck Tape® Ladybug Card
How-To: Duck Tape® Ladybug Card
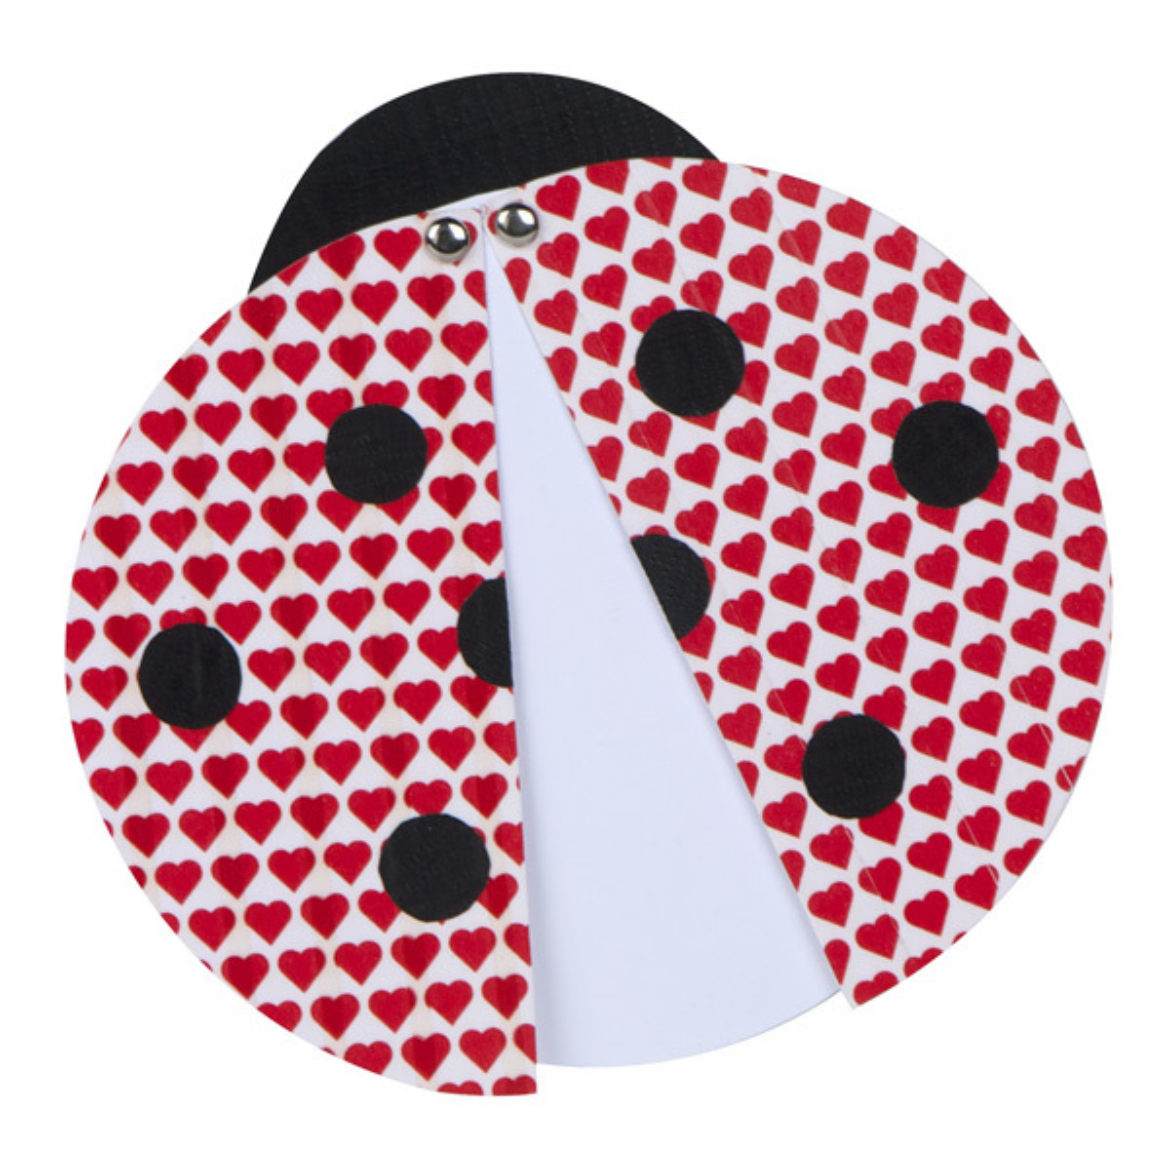
Make something special that is perfect for every occasion with this Ladybug card featuring Duck Washi® crafting tapes.
Tutorial
Intermediate
30 Minutes
Supplies & Tools
- Duck Tape®
- Duck Washi® Crafting Tape
- Duck Tape® Sheets
- Scissors
- Ruler
- Pen
- Cardstock
- Brads
- Crafting Board
Scroll down for step-by-step directions.
Disclaimer - If the listed tape type is not available, there's no need to worry. All of our crafts can be adjusted to use whatever tape you have on hand!
Directions
Step 1
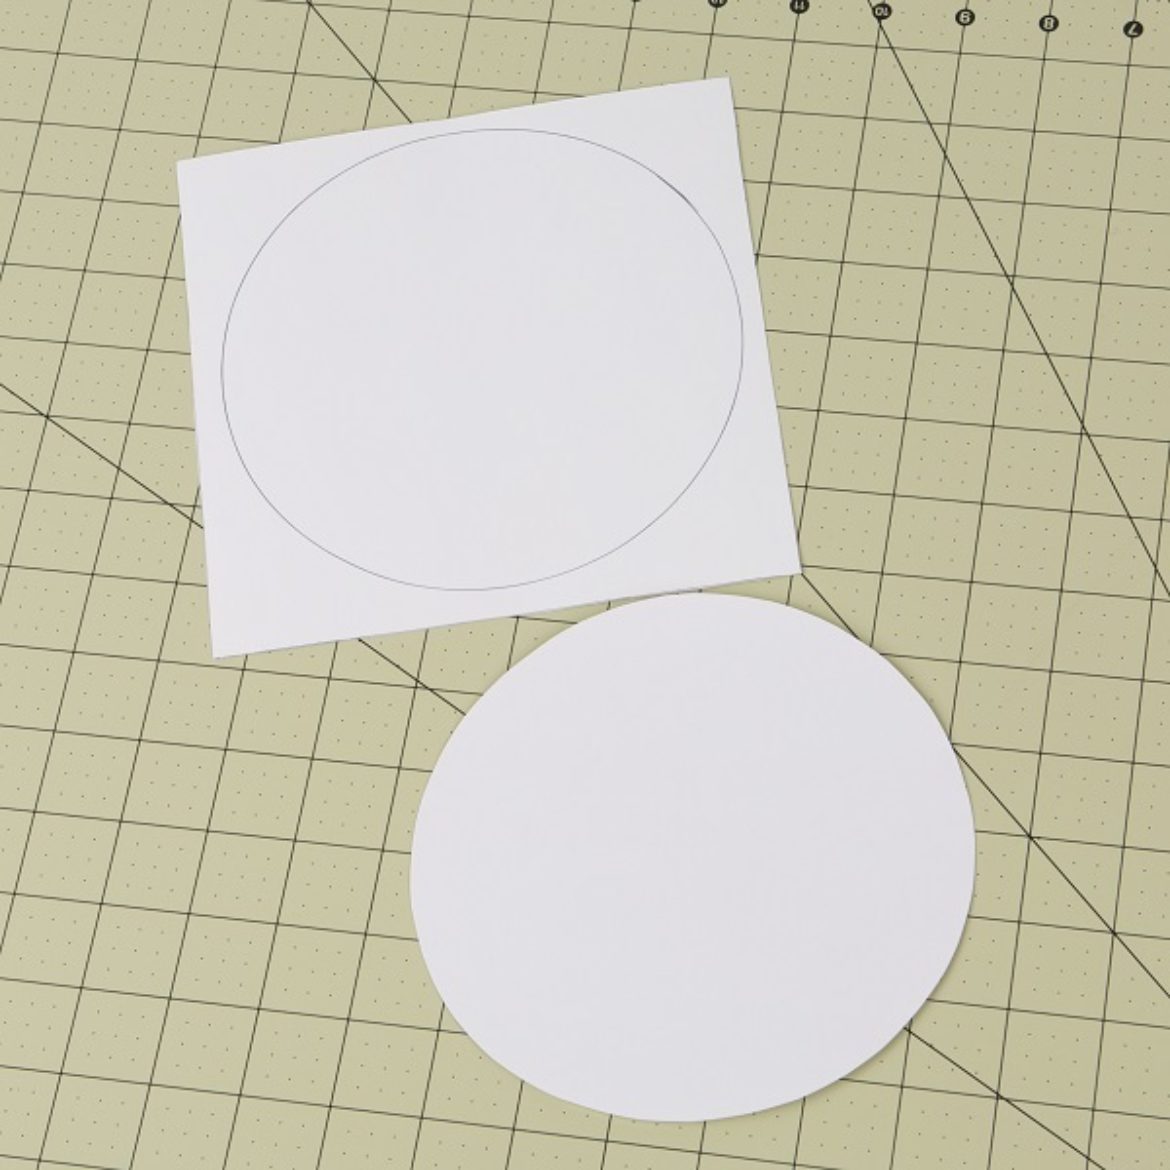
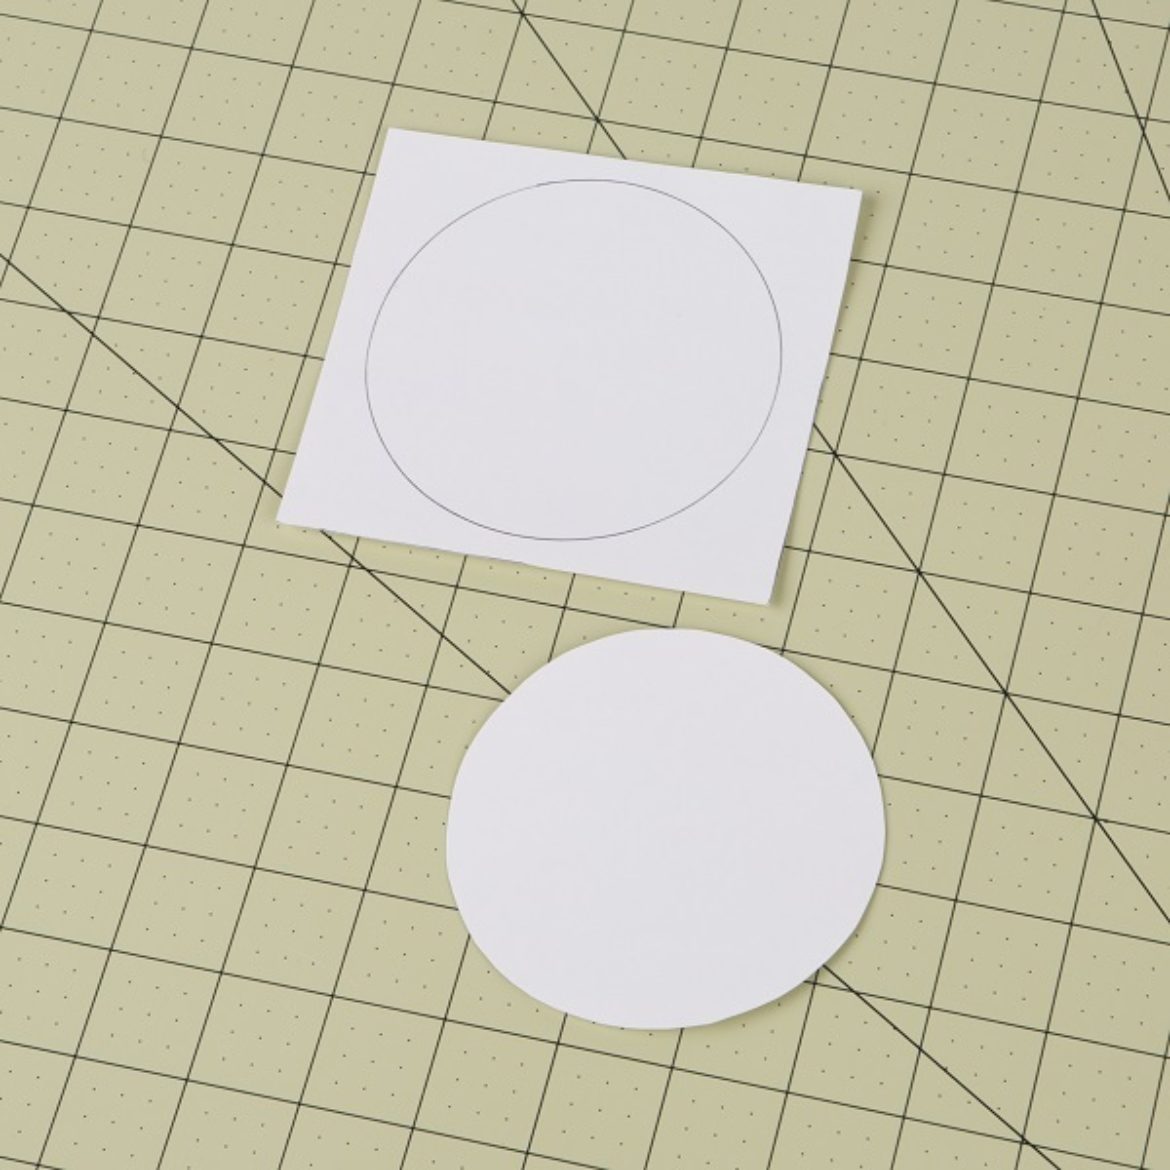
On a piece of card stock, draw two circles that are about 6 in. in diameter. Cut them out.
Step 2
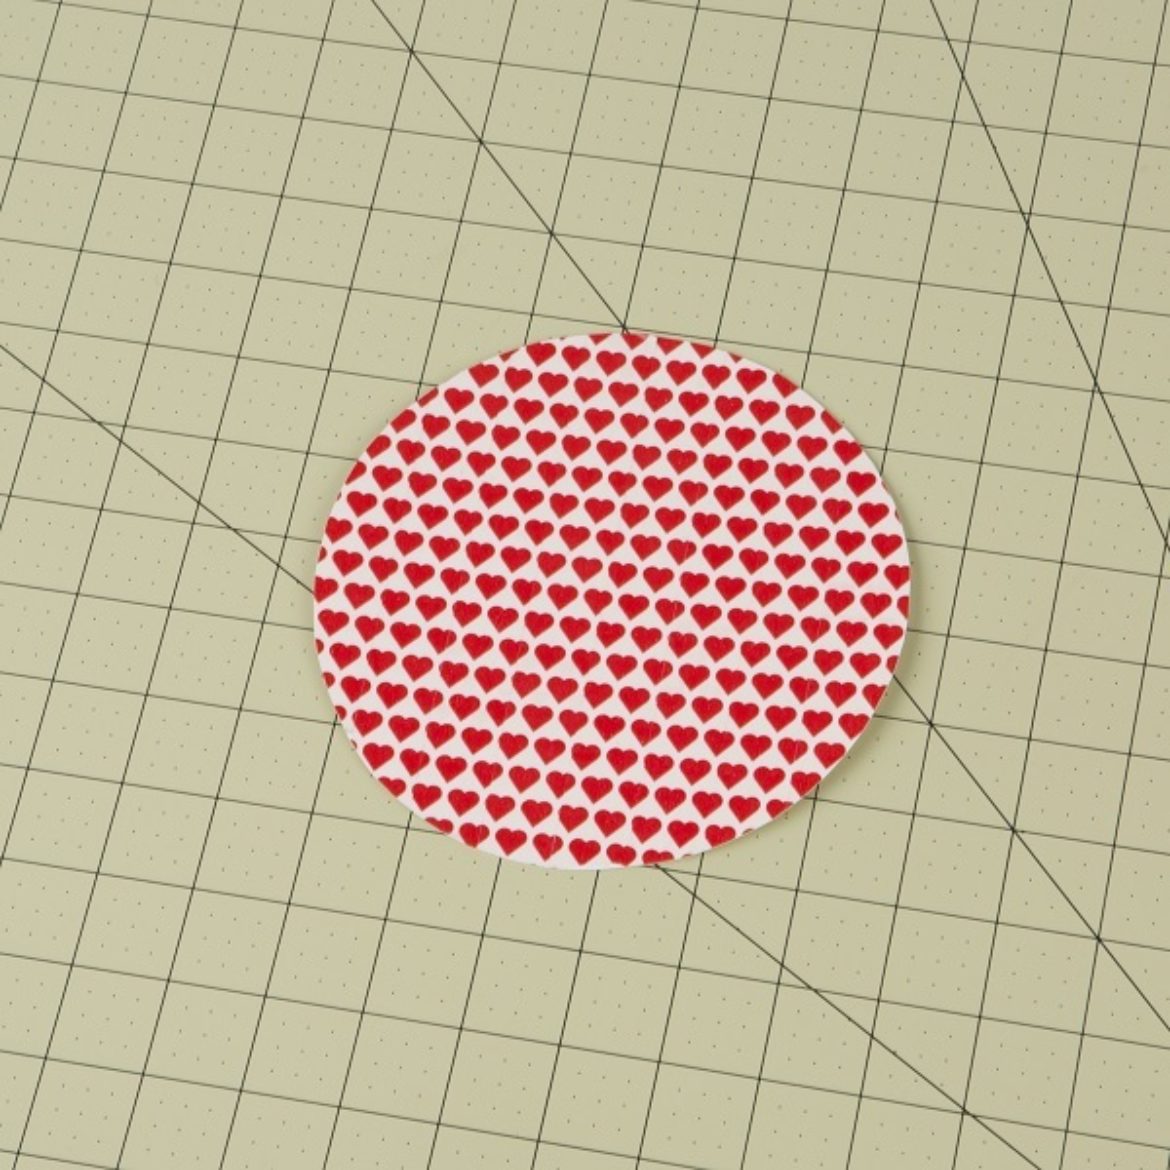
Cover one of your circles in Duck Washi®.
Step 3
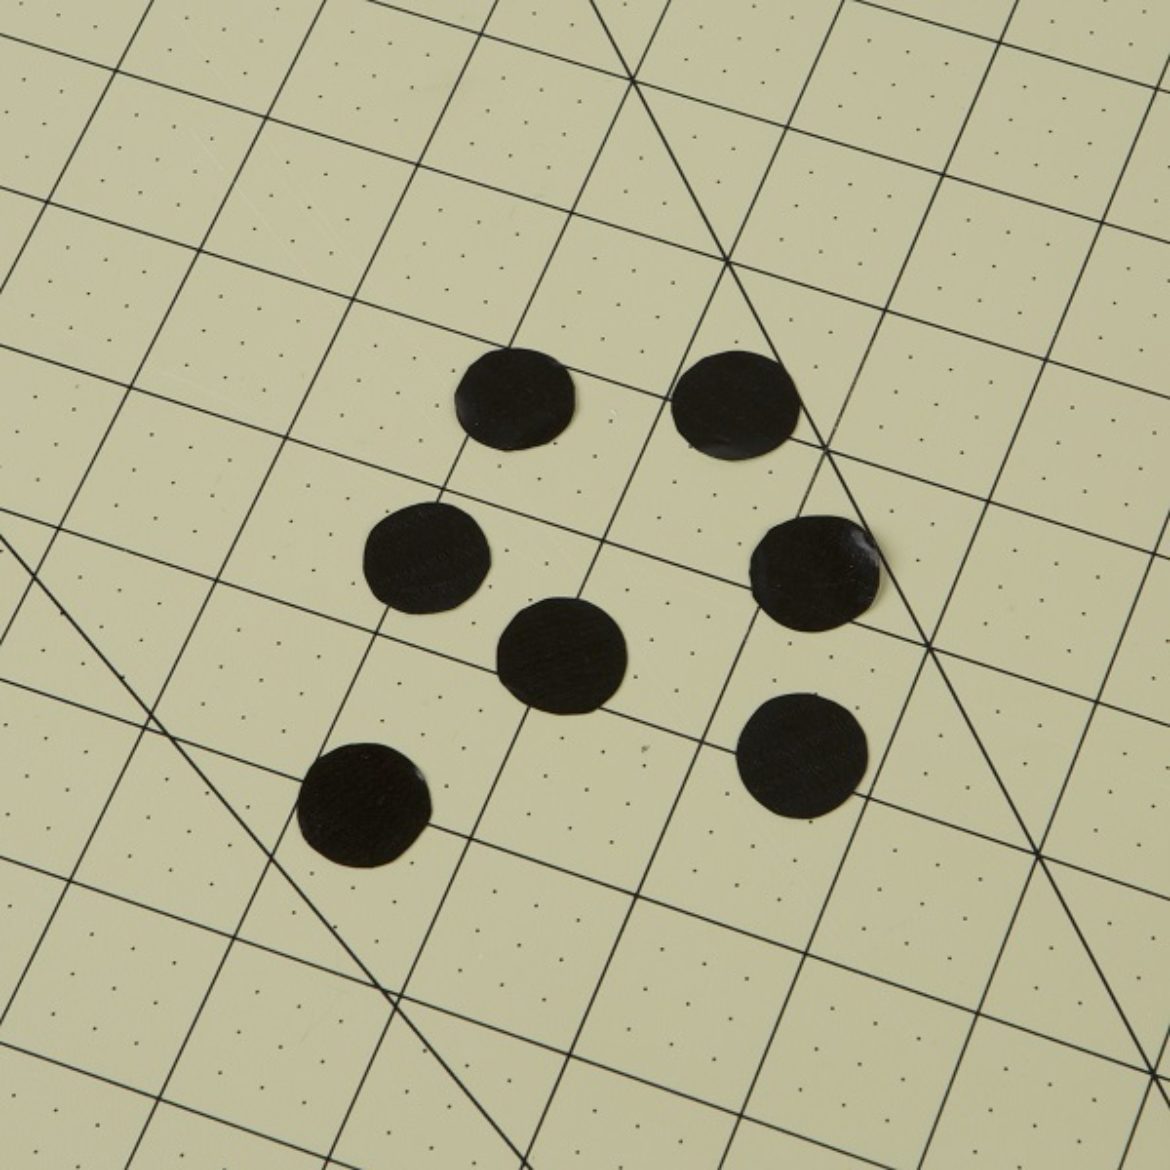
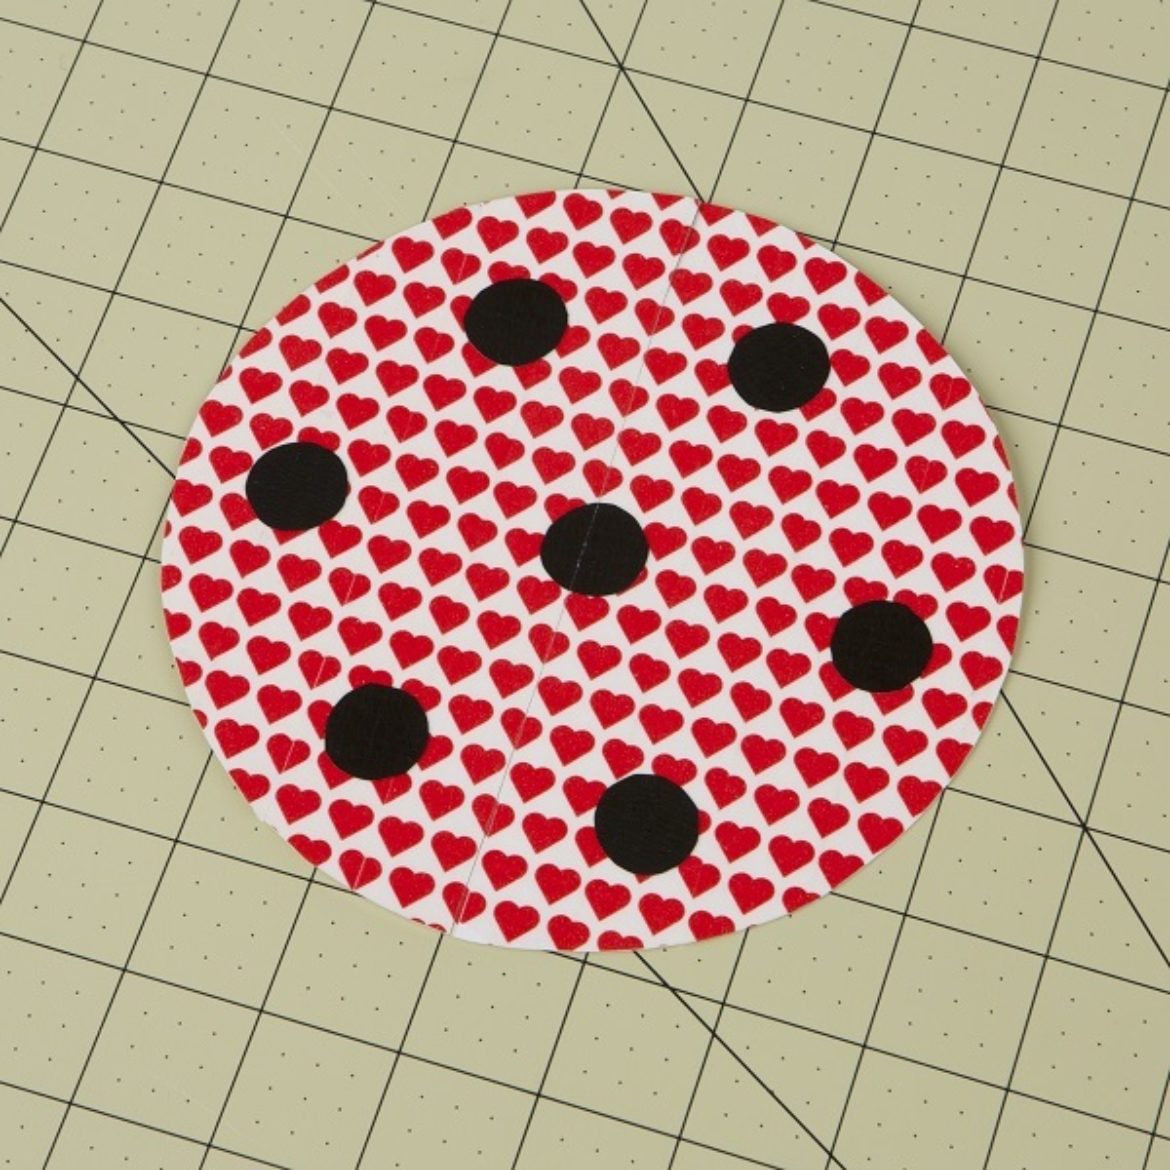
On a Duck Tape® Sheet, cut out small dots for the ladybug spots. You can trace a coin if you want them all to be the same.
Step 4
Place the spots on your covered circle from step 3.
Step 5
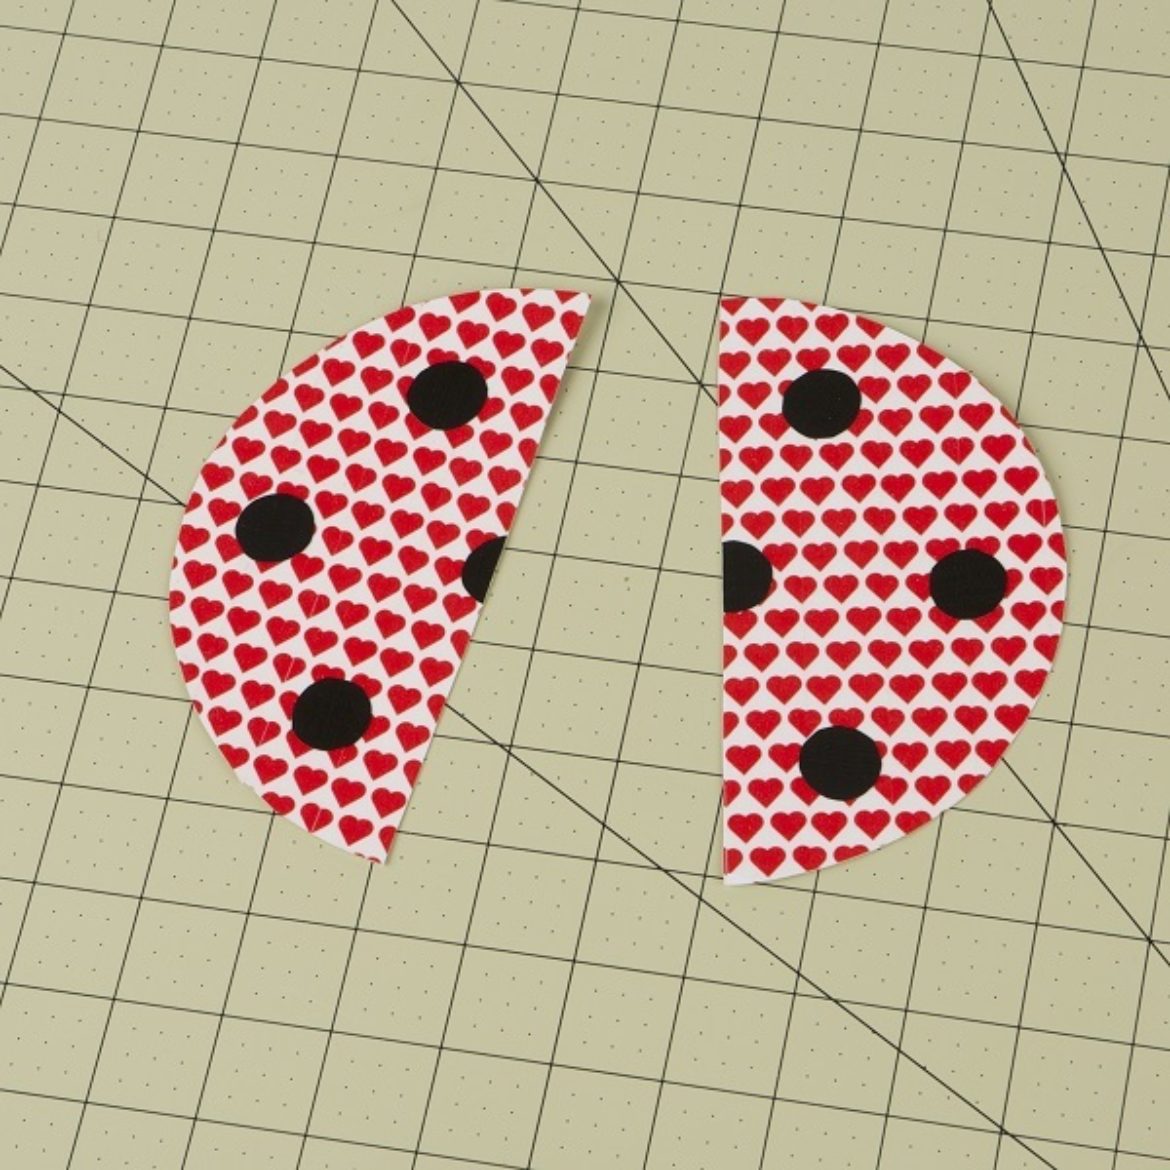
Cut this circle in half to create the wings.
Step 6
For the head of the ladybug, draw a circle that is about 4 in. in diameter on a piece of card stock.

Step 7
Cover this circle in Duck Tape®.

Step 8
To assemble your card, place the head down first, then the second circle from step 1 and finally the wings on top of the circle. Place a brad through each corner of the wing to attach all 3 pieces together. Write a message inside!
