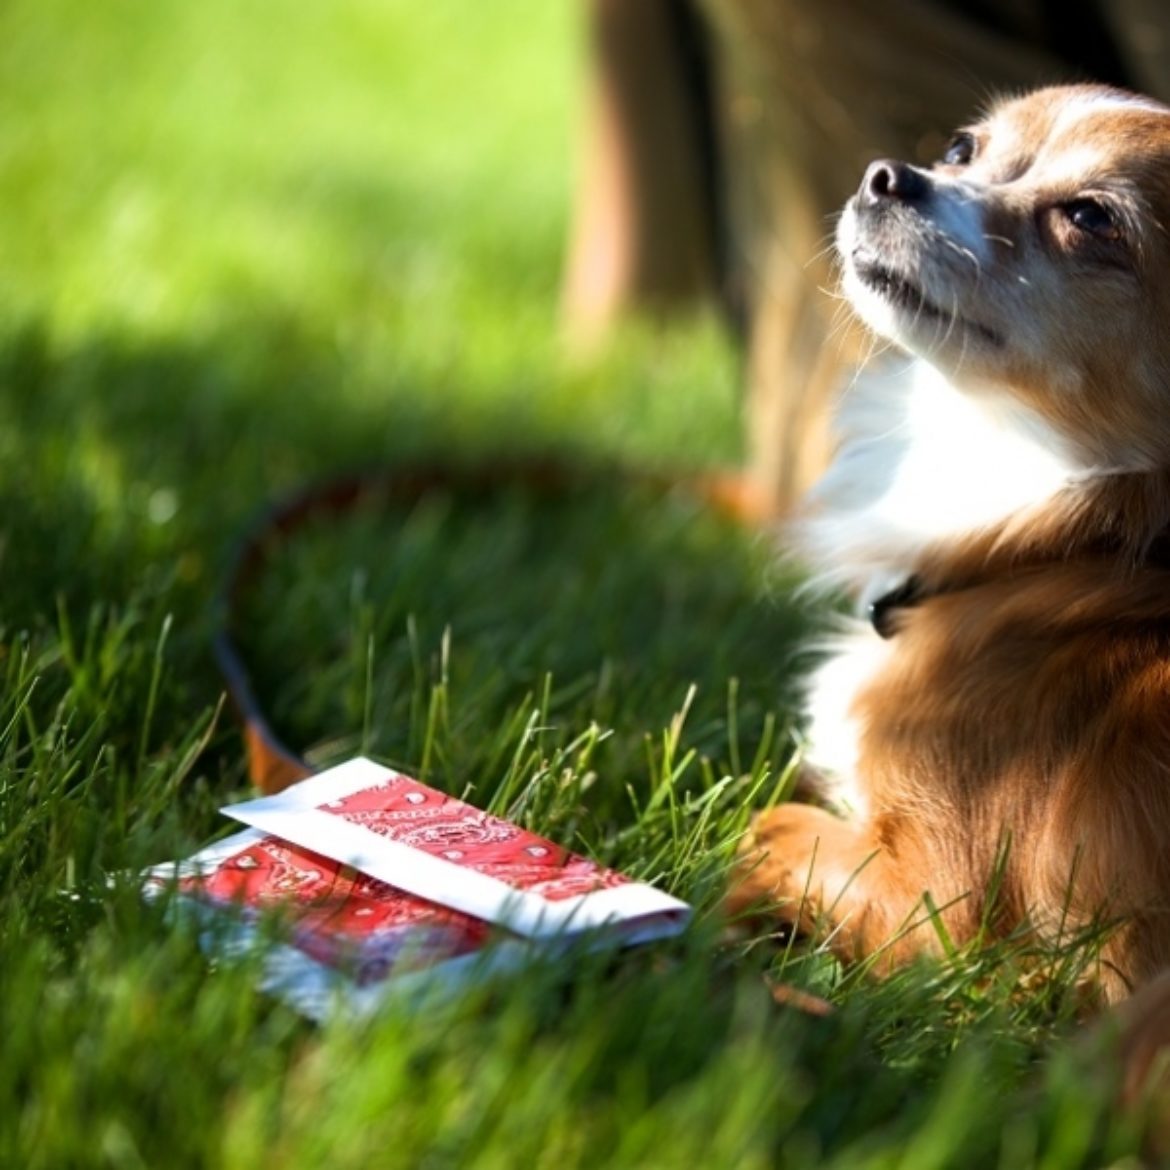
How-To: Duck Tape® Pet Treat Bag
How-To: Duck Tape® Pet Treat Bag
Tutorial
Advanced
45 Minutes
Supplies & Tools
- Duck Tape®
- Scissors
- Ruler
- Pen
- Sandwich Bag
- Hook & Loop Fasteners
- Crafting Board
Scroll down for step-by-step directions.
Disclaimer - If the listed tape type is not available, there's no need to worry. All of our crafts can be adjusted to use whatever tape you have on hand!
Directions
Step 1
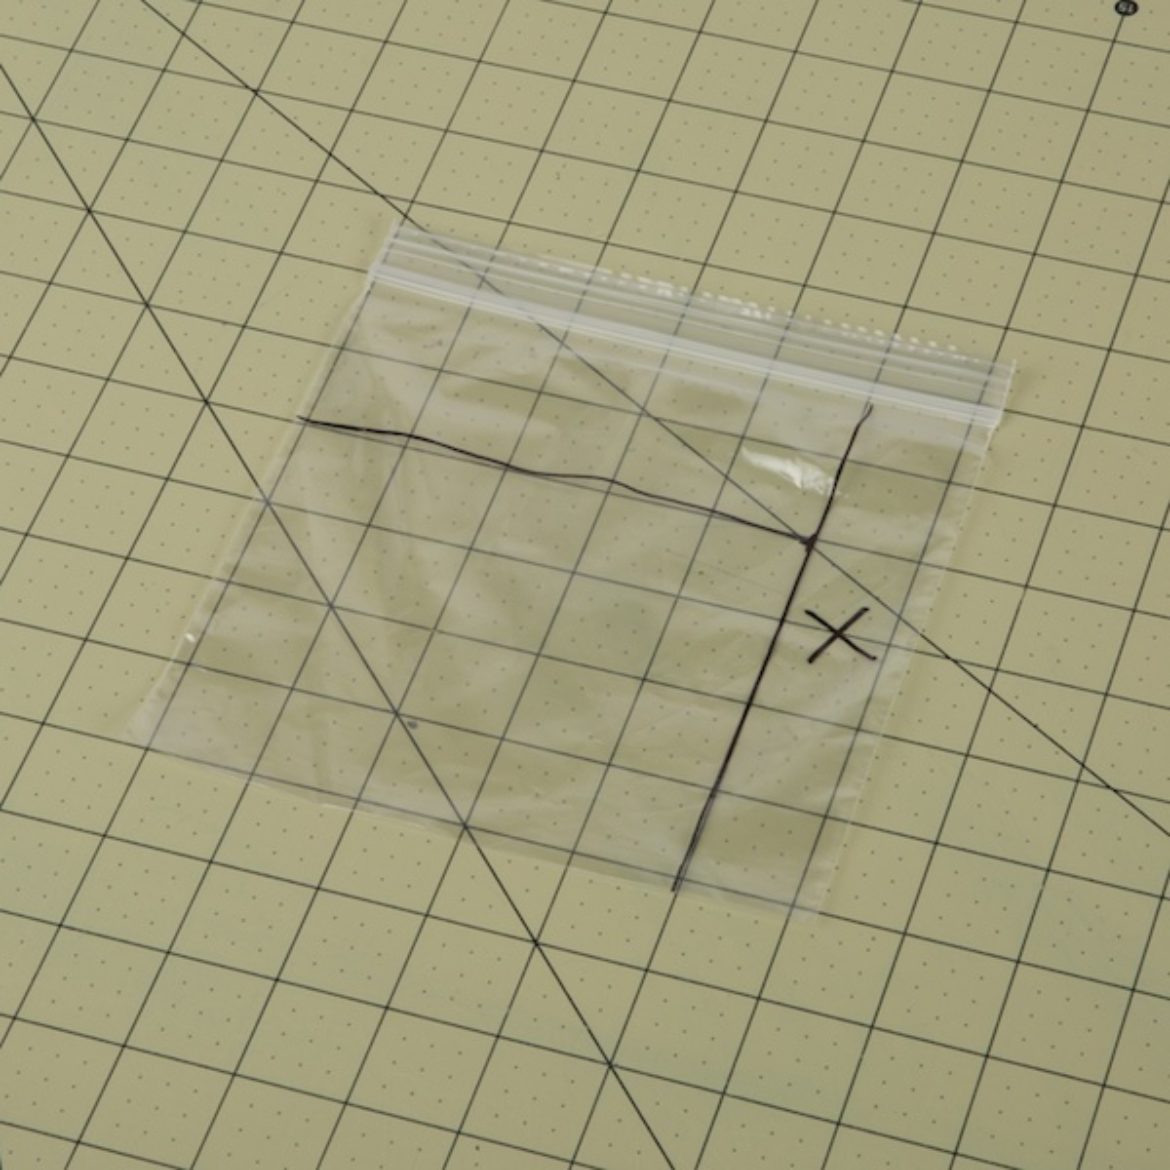
Divide your sandwich bag into three sections - the first will be 5 in. wide and 4 in. long for the body of the bag and the second will be 5 in. wide and 1.75 in. long for your flap. Mark the rest with an "x."
Step 2
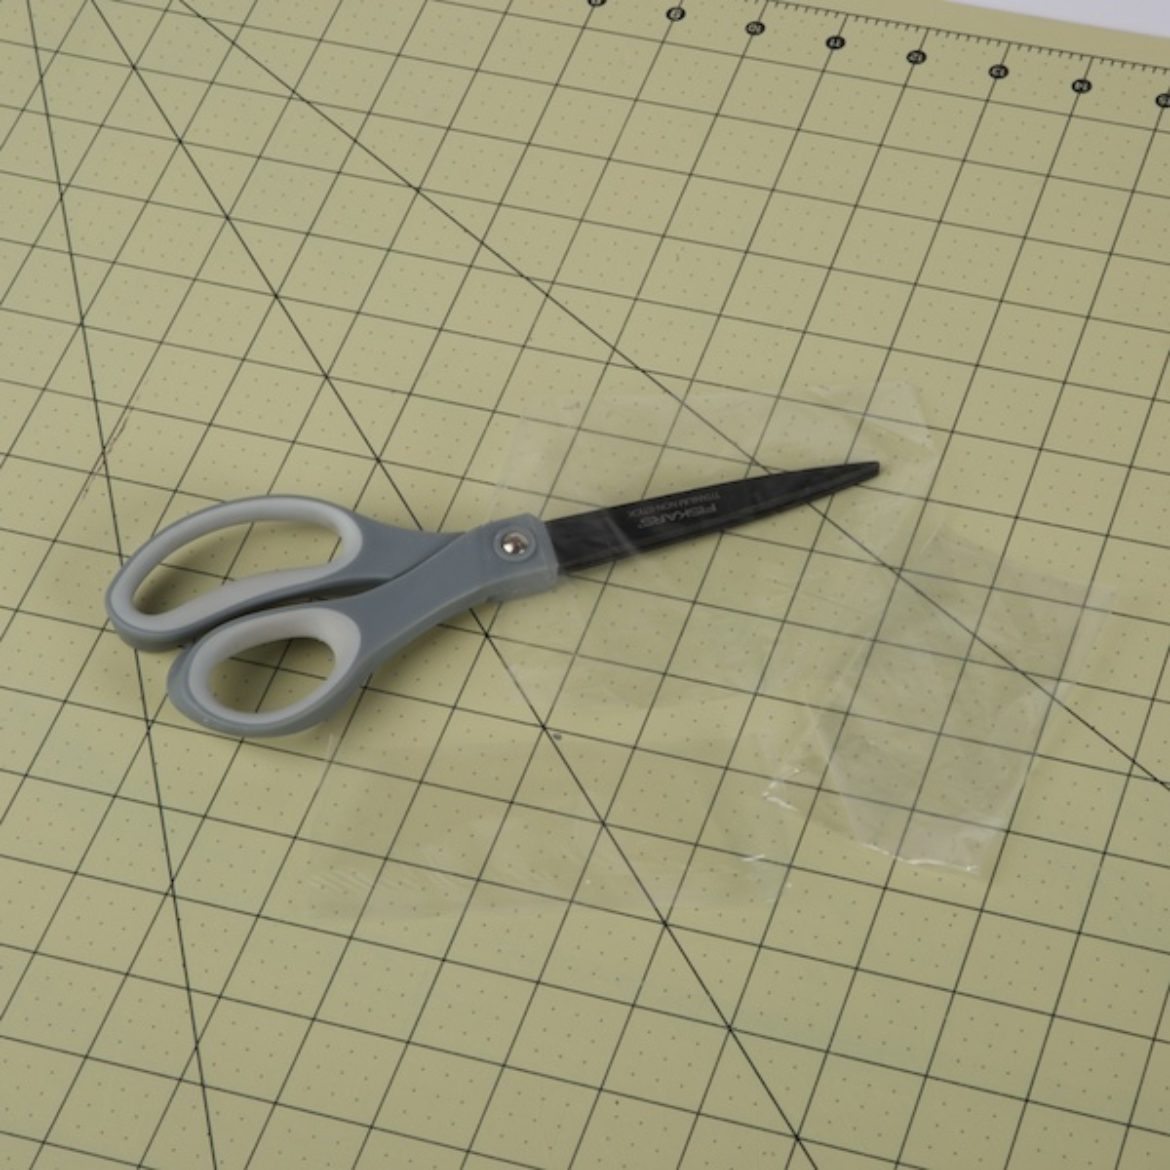
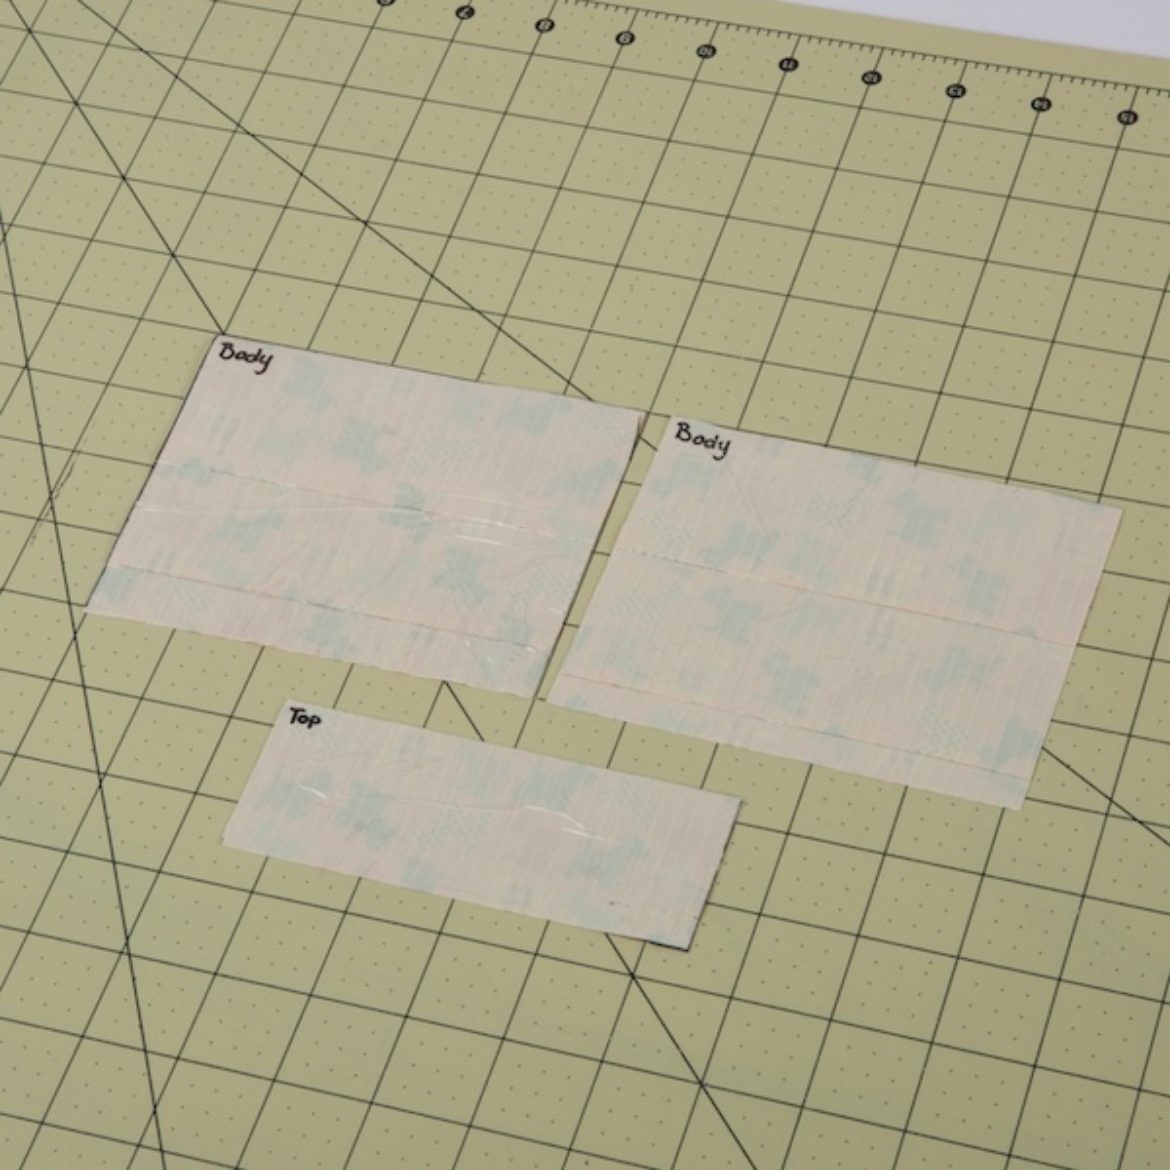
Using your scissors, cut out the first two sections. The part marked with an "x" and one of your flap pieces can be discarded. You will have a total of three pieces left - two squares for the body of your bag and one thin piece for your flap.
Step 3
Cover one side of each of your pieces with tape.
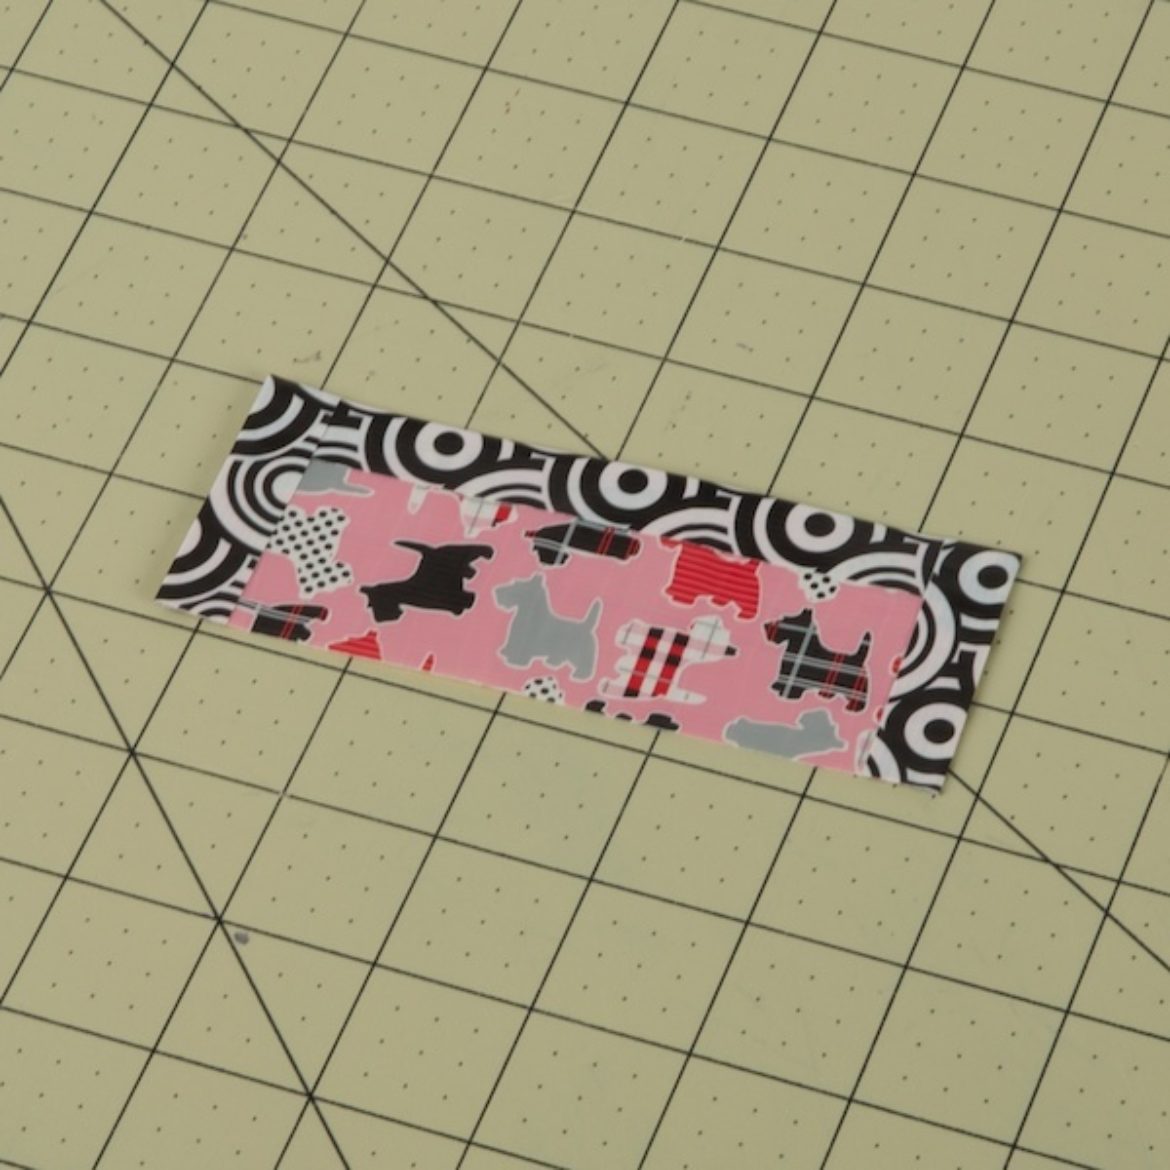
Step 4
Using one in. wide strips of a different color or printed Duck Tape®, tape the bottom and sides of your flap, making a border.
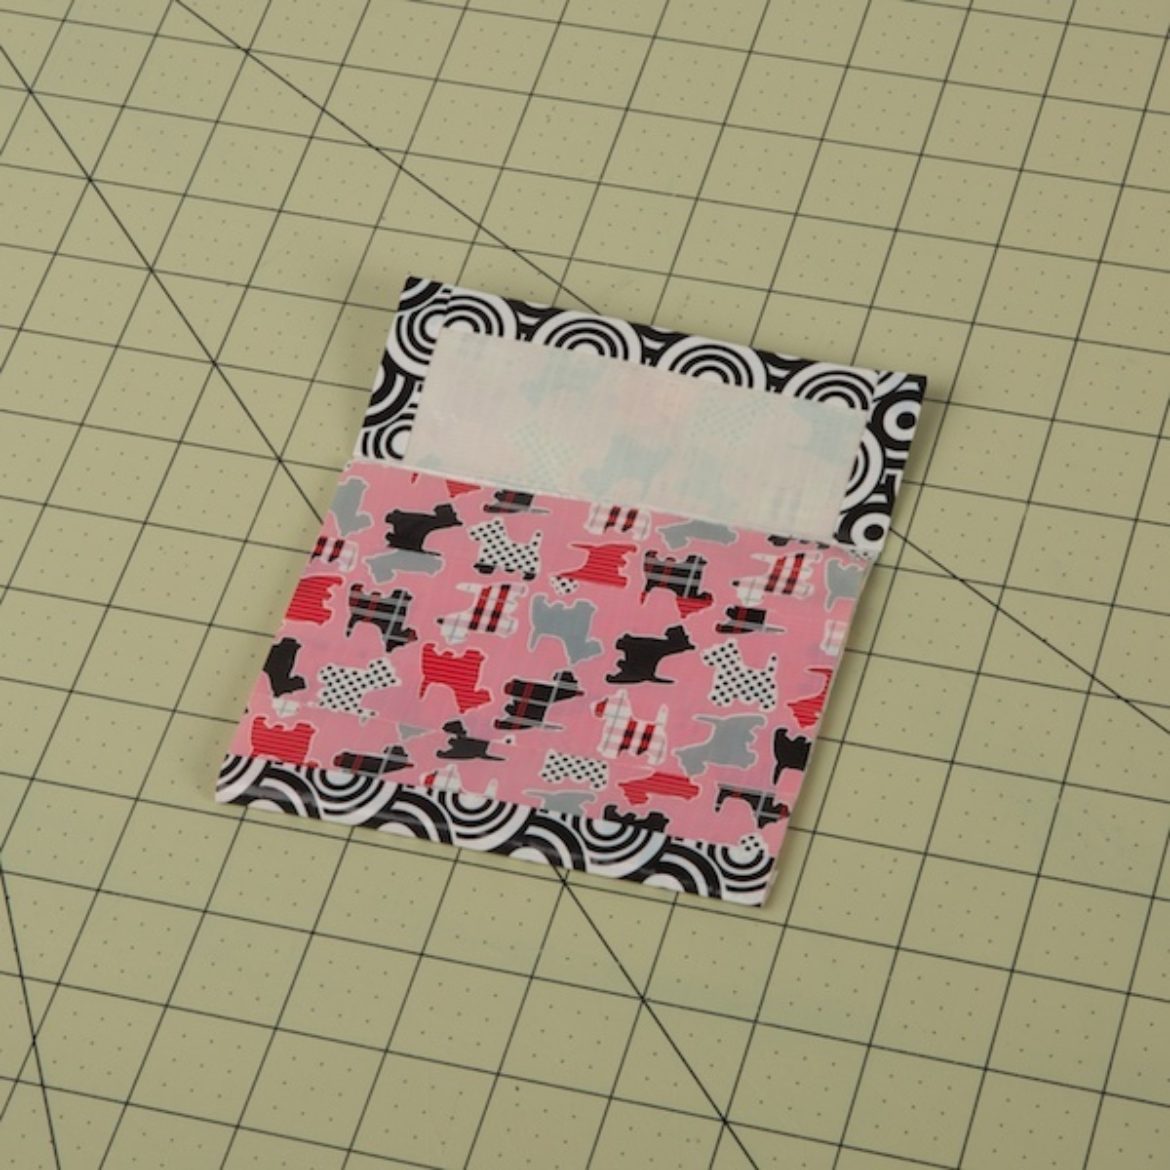
Step 5
Placing your body pieces together like a sandwich, tape the bottoms together with a 1 in. strip of tape. Then flip it over and attach your flap to the back body piece with a 1 in. strip of tape.
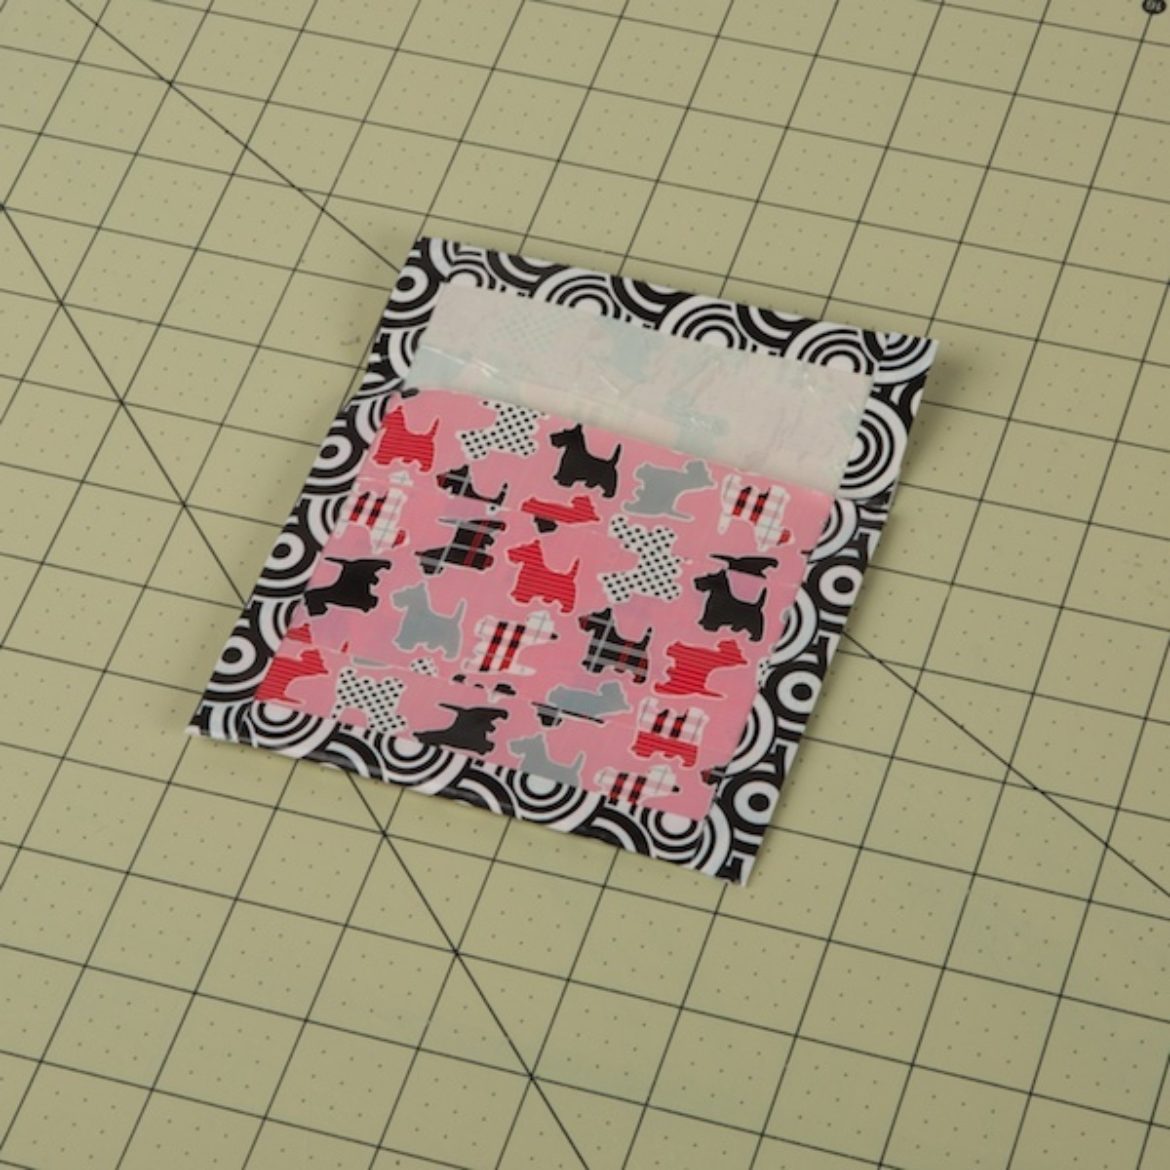
Step 6
Then, tape the sides of your body pieces together with a 1 in. strip of tape. Make sure to not tape the flap down.

Step 7
For the straps, make two double sided strips of Duck Tape® that is long enough to fit around the pet's leash.

Step 8
Attach the straps on the backside of your bag, forming a loop to fit around the leash.
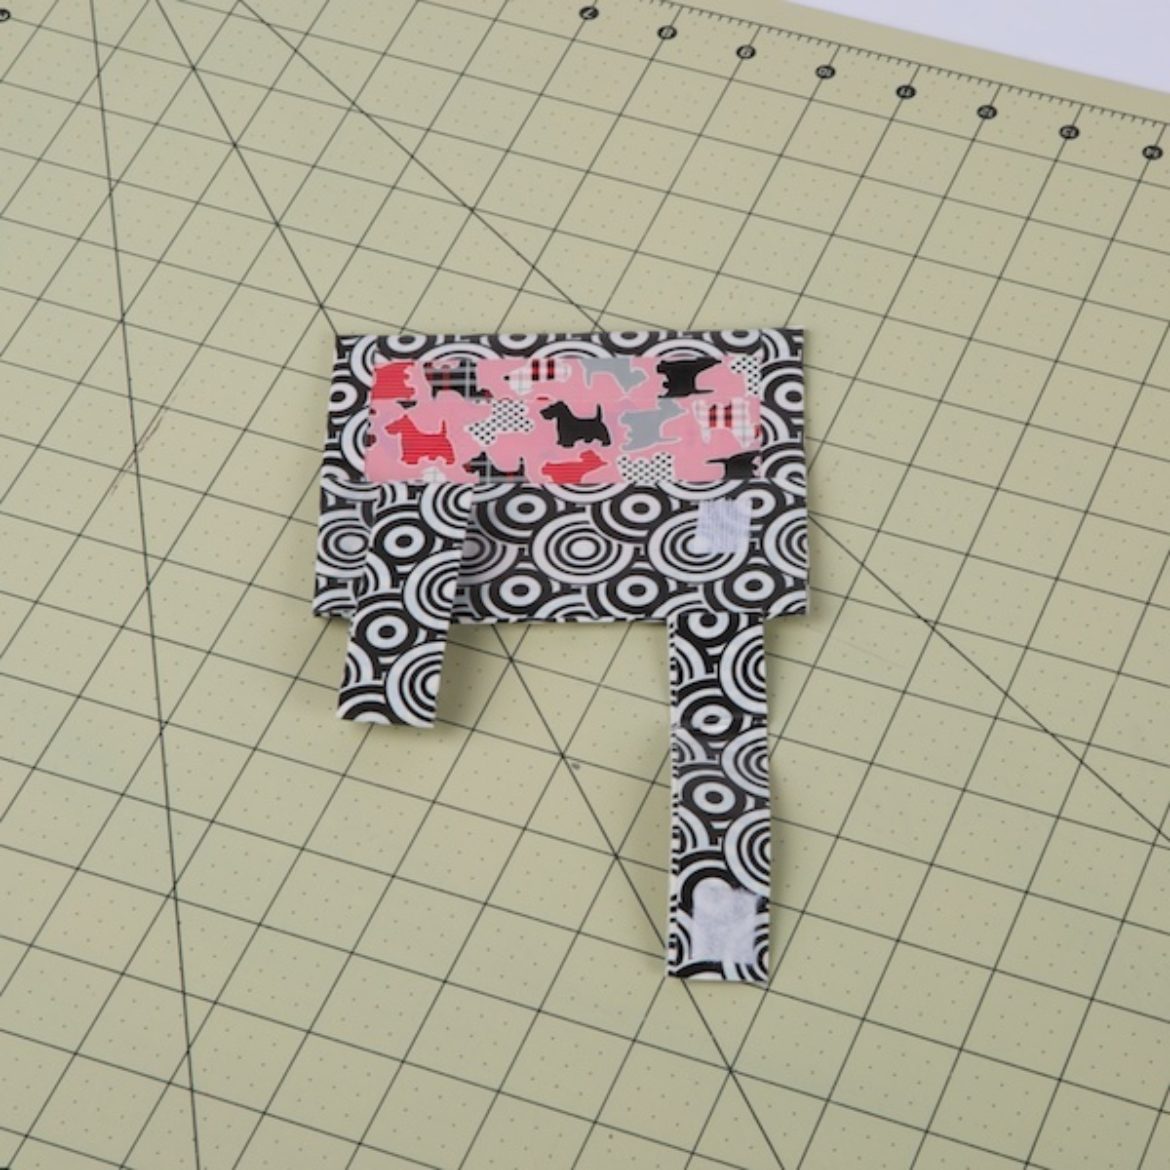
Step 9
Add a hook and loop fastener to your straps so you can take it on and off the leash.
