How-To: Duck Tape® Photo Booth Frame.
How-To: Duck Tape® Photo Booth Frame.
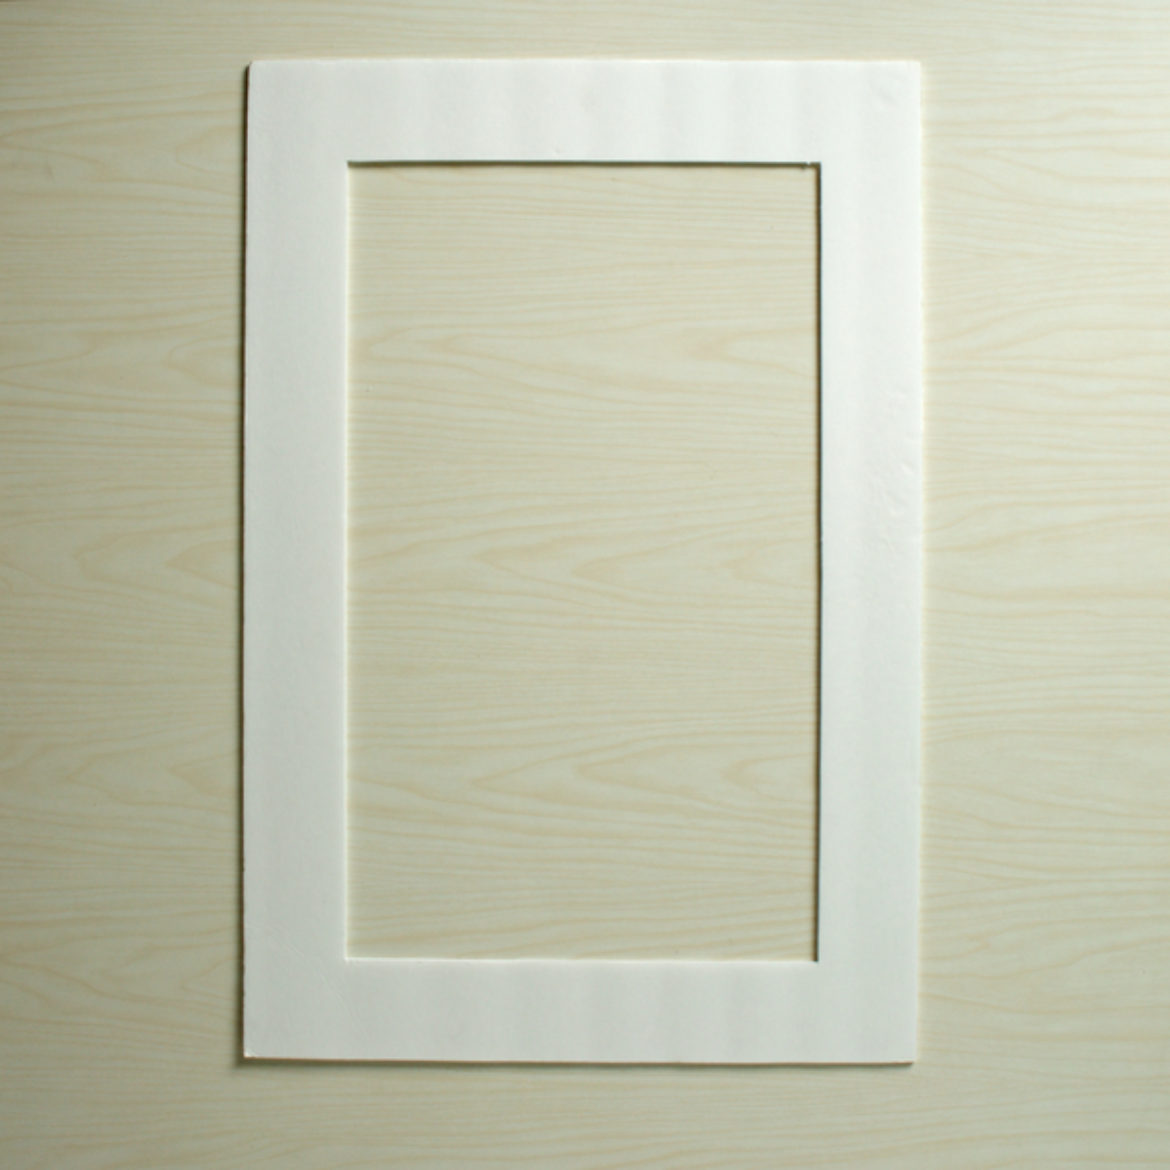
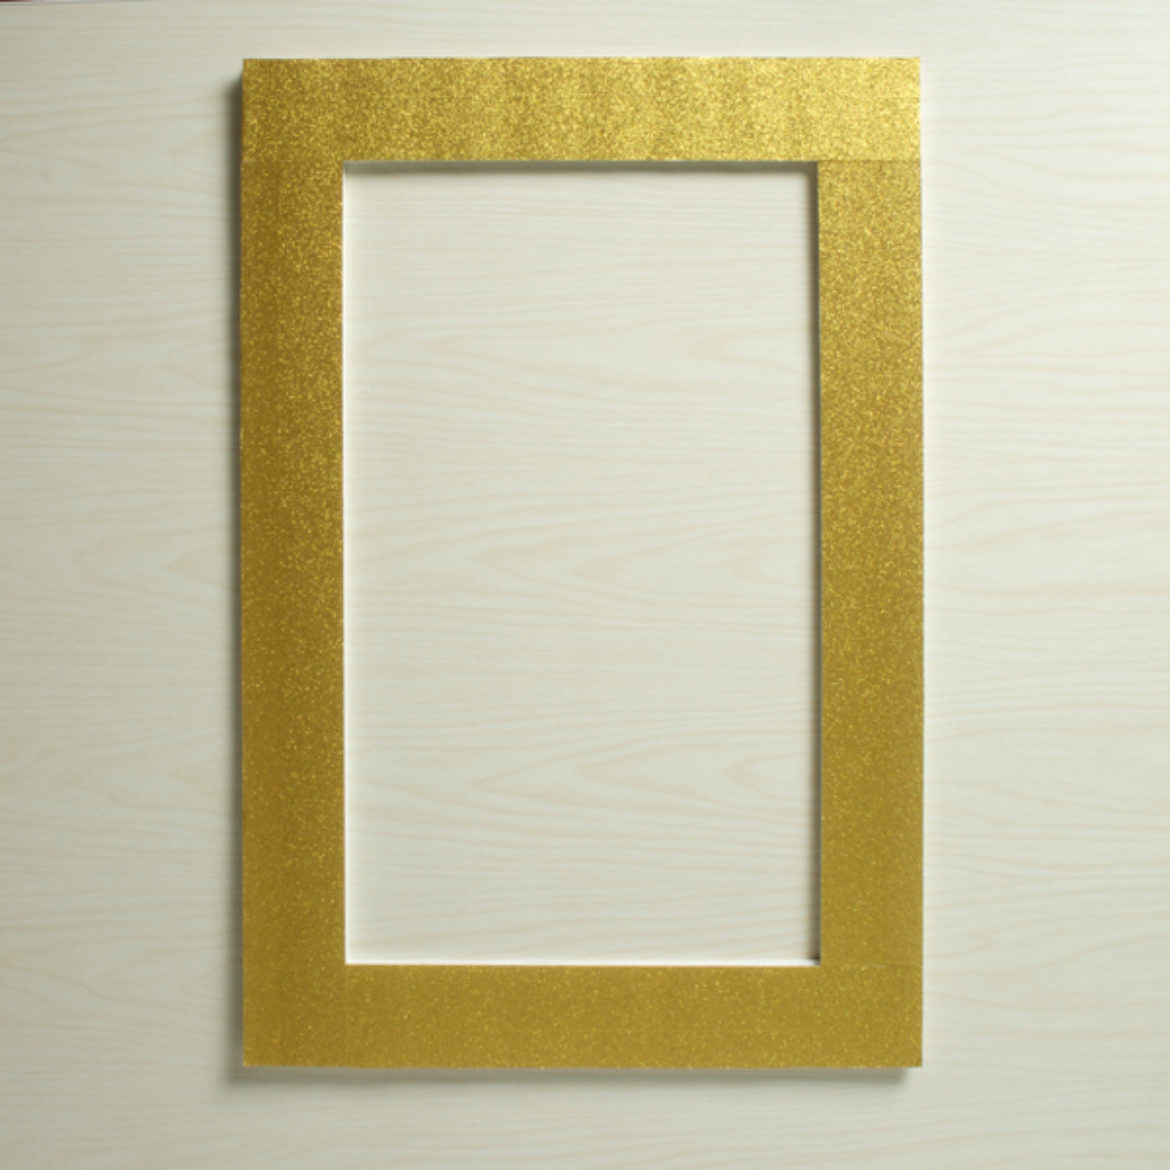
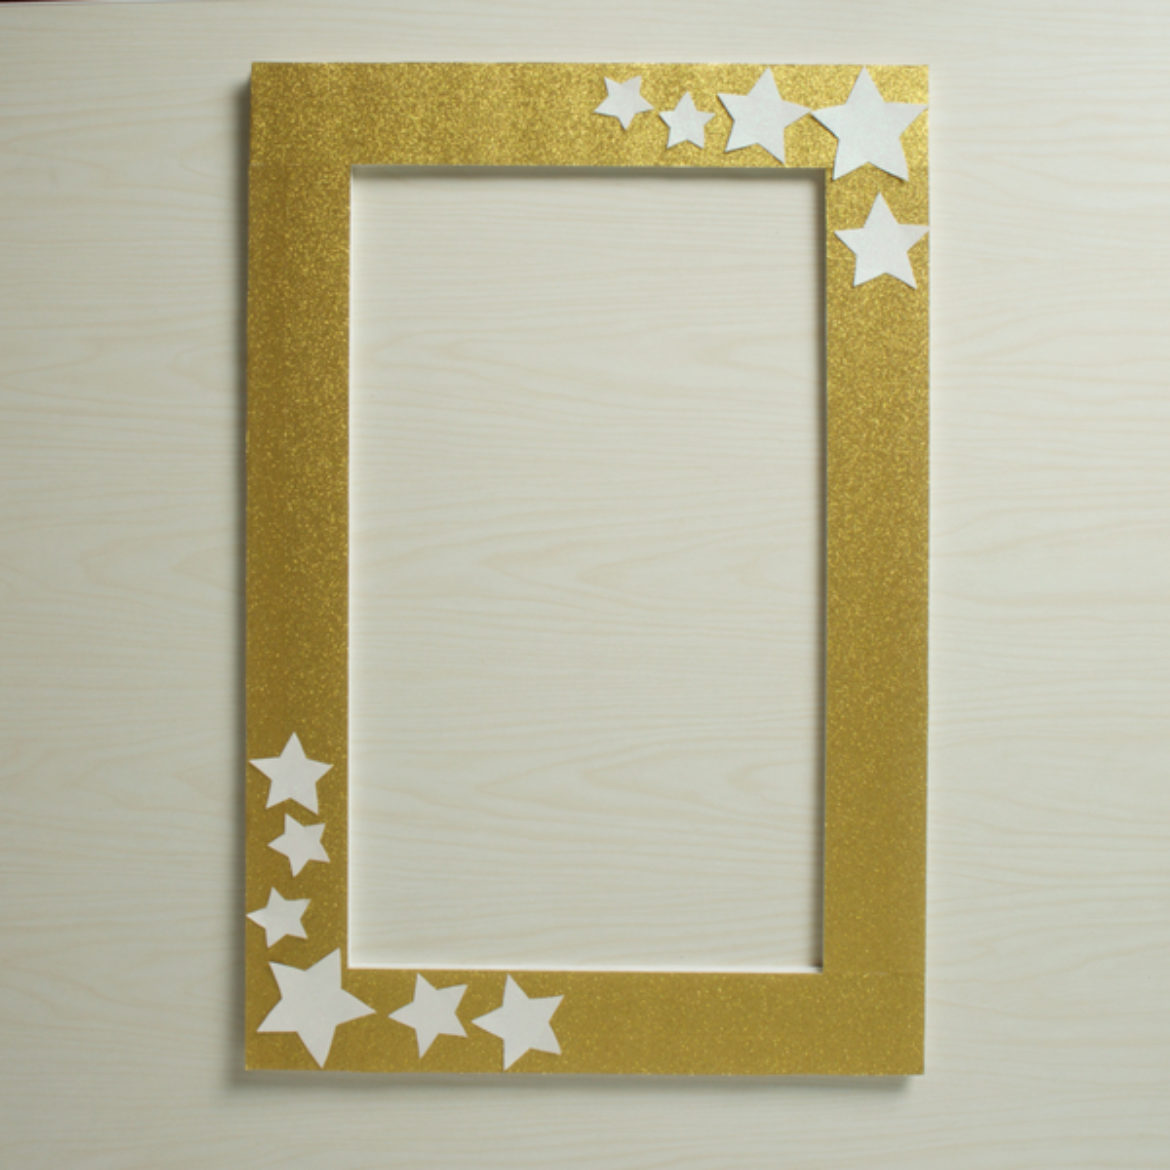
Capture the fun with this Duck Tape® Photo Booth Frame.
Tutorial

Intermediate
30 Minutes
Supplies & Tools
- Glitter Duck Tape®
- Ruler
- Pencil
- Craft Knife
- Scissors
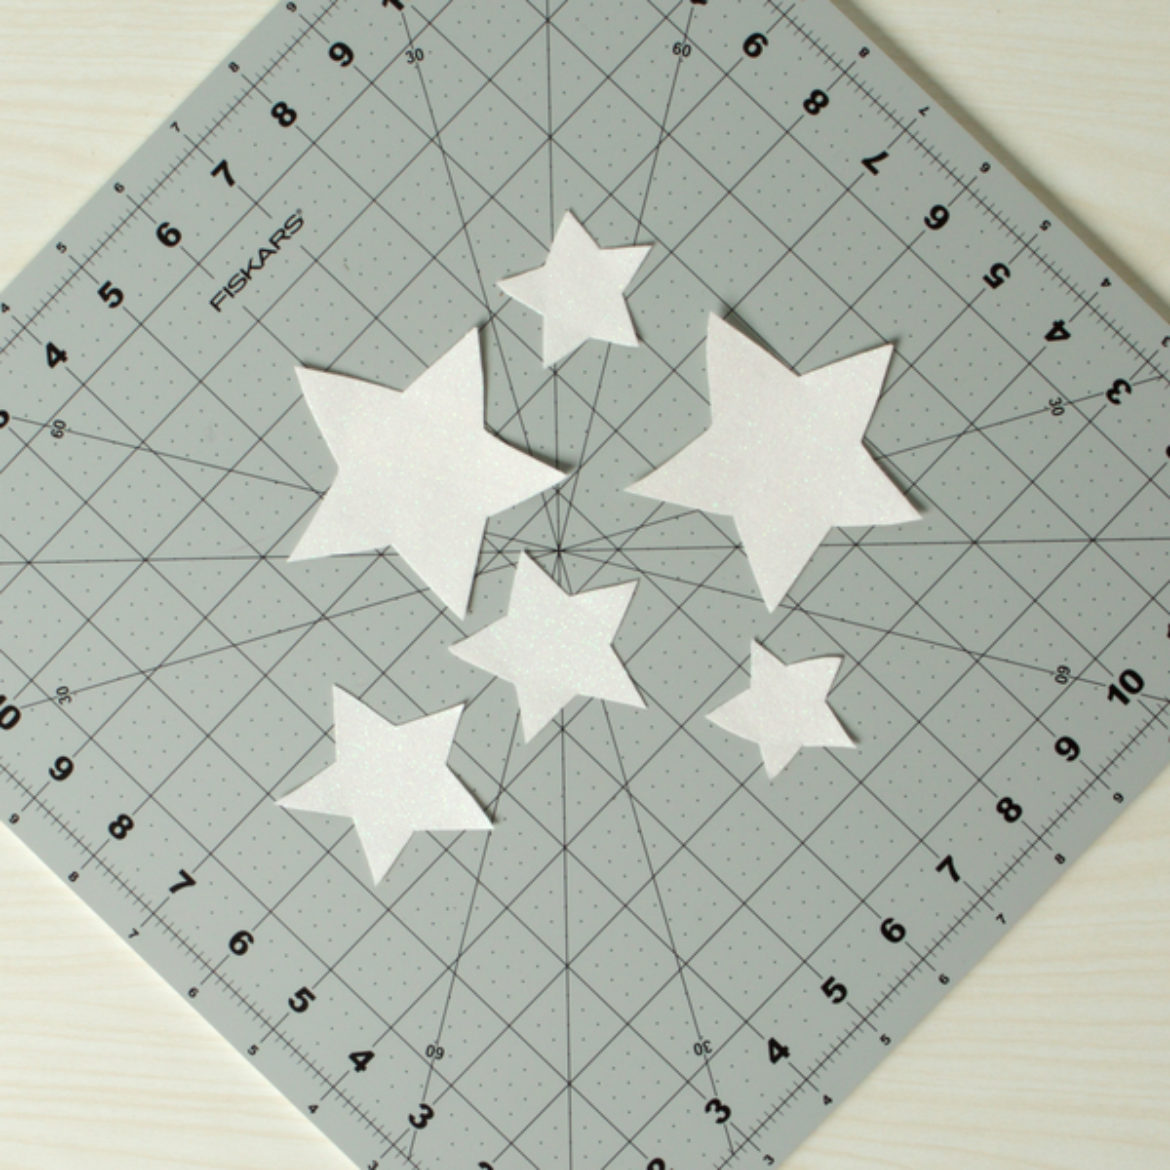
- Star Template
- Foam Board
- Crafting Board
Scroll down for step-by-step directions.
Disclaimer - If the listed tape type is not available, there's no need to worry. All of our crafts can be adjusted to use whatever tape you have on hand!
Directions

Step 1
For the body, make two pieces of Duck Tape® fabric that each measure 5.75 in. long and 7.5 in. wide.

Step 2
For the sides, make two pieces of Duck Tape® fabric that each measure one strip wide and 5.75 in. long.

Step 3
For the bottom, make a piece of Duck Tape® fabric that is one strip wide and 7.5 in. long.

Step 4
For the flap, make a piece of Duck Tape® fabric that measures two strips wide and 7.5 in. long.
Step 5
Cover three edges of your flap from step 4 with a different color or printed Duck Tape®.
Step 6
Using 1 in. wide strips of Duck Tape®, assemble the pieces from step 1-5 together as shown (the numbers correspond with the step number).
Step 7
Close the bag up by bringing up the front of the bag and taping it to the sides and closing off the bottom.
Step 8
To make the straps, cut a piece of Duck Tape® that measures 9 in. long and fold it in half lengthwise. Repeat to make a second strap.
Step 9
Cut a 1 in. slit on both sides of the back of the bag and feed one of the straps through each slit. Secure with a piece of tape and add a hook and loop fastener to the back of the bag and at the end of each strap so you can hook the bag onto your leash or belt.
