How-To: Duck Tape® Plant Holder
How-To: Duck Tape® Plant Holder
Tutorial

Intermediate
30 Minutes
Supplies & Tools
- Duck Tape® Sheets
- Ducklings® Mini Duck Tape® Rolls
- Duck Tape®
- String
- Plant
- Crafting Board
Scroll down for step-by-step directions.
Disclaimer - If the listed tape type is not available, there's no need to worry. All of our crafts can be adjusted to use whatever tape you have on hand!
Directions
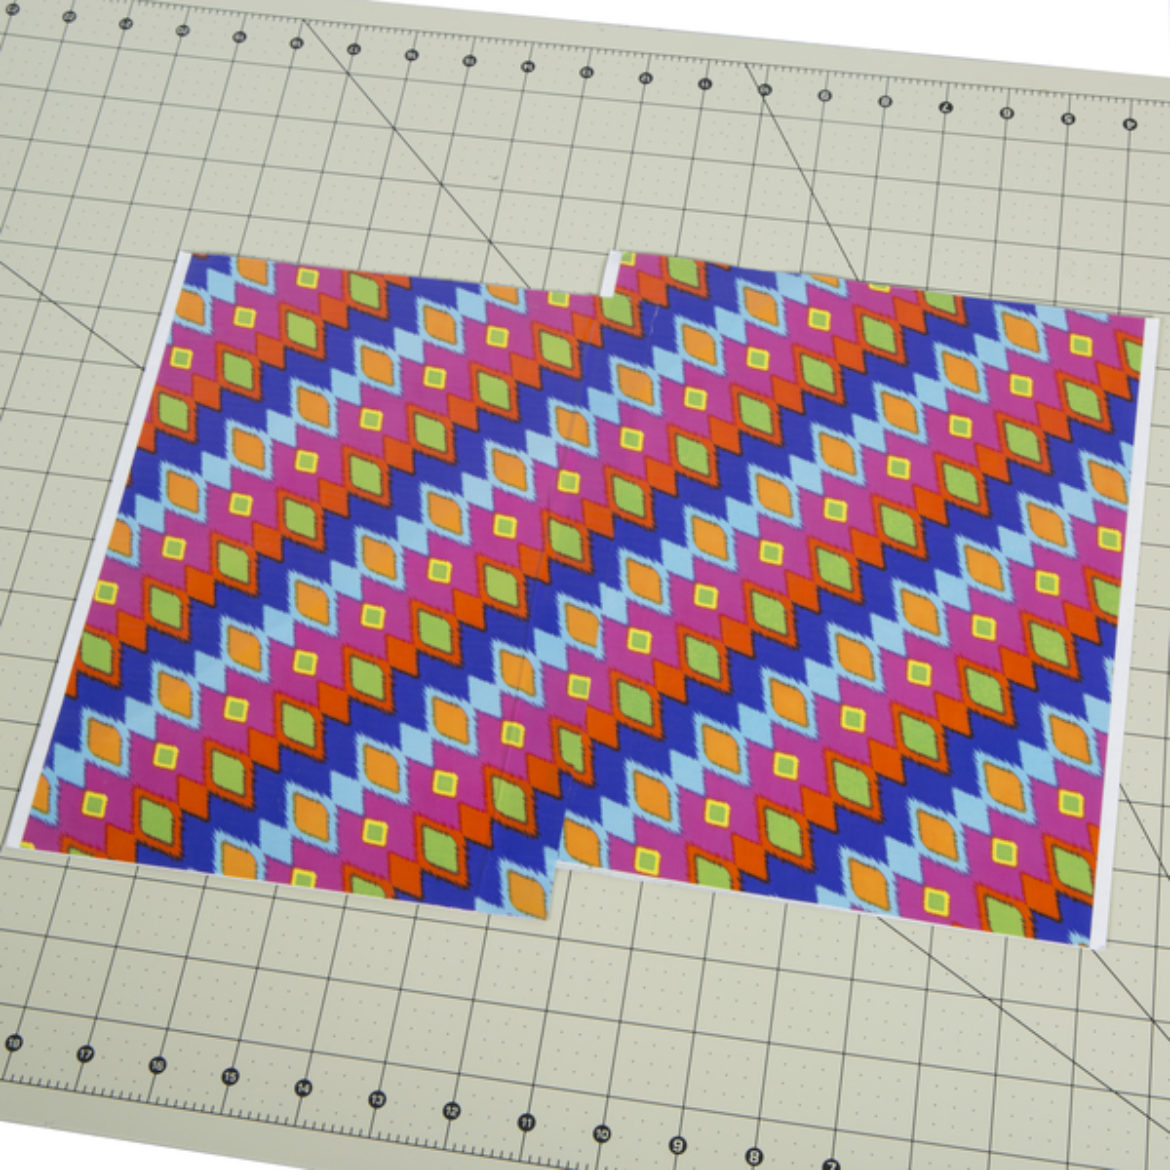
Step 1
Make a large Duck Tape® sheet with two pieces of Duck Tape® Sheets. Line up the sheets so pattern is continuous.
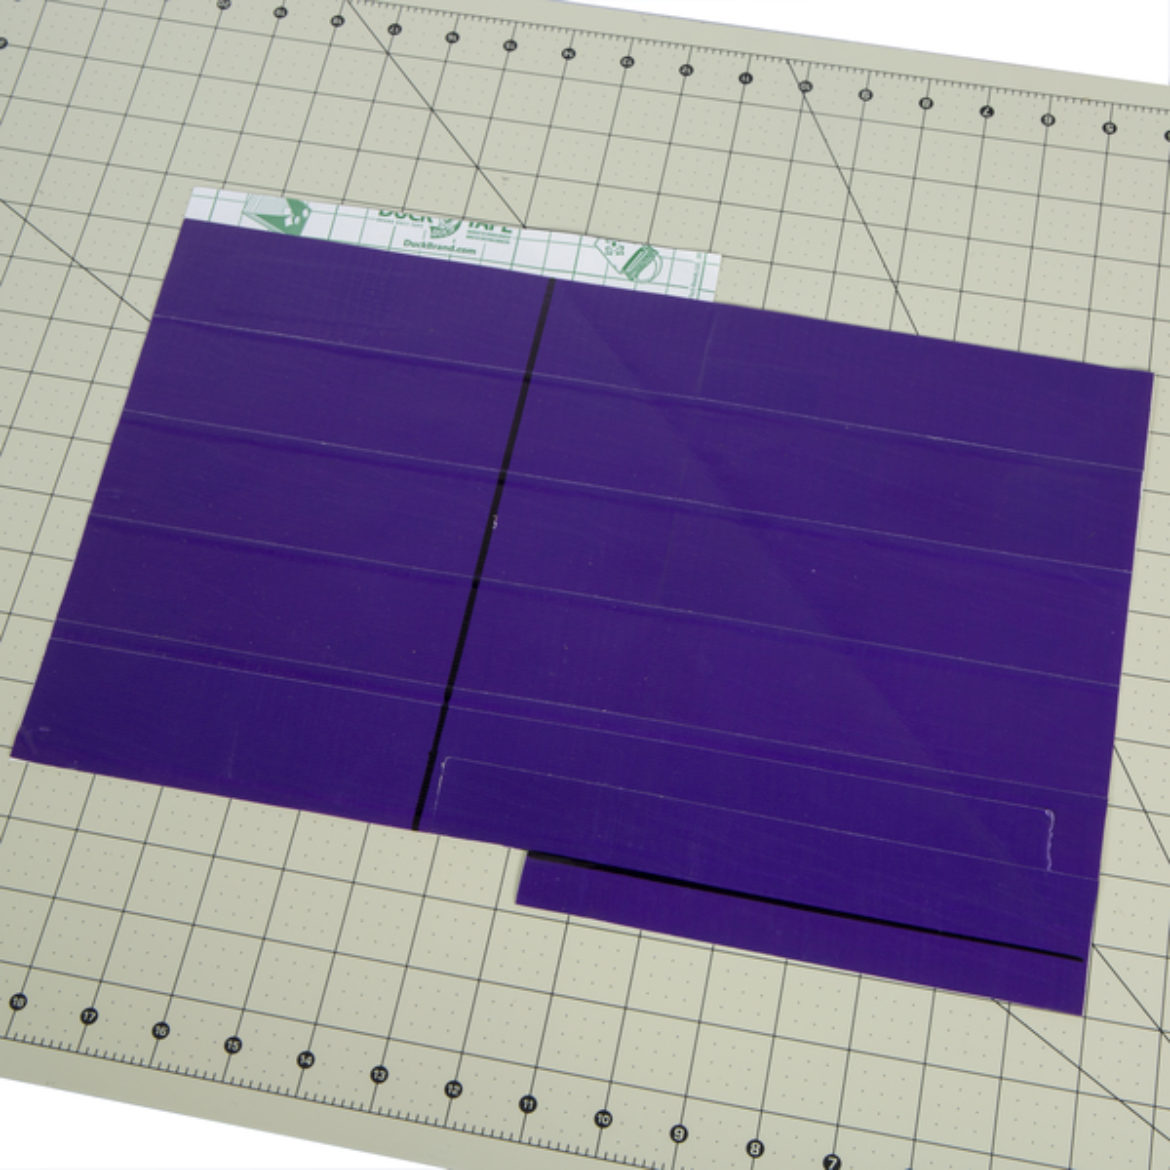
Step 2
Cover the backside of the sheet you made in step 1 with a coordinating color or print. Draw a square from your sheet that is large enough to cover your plant pot.
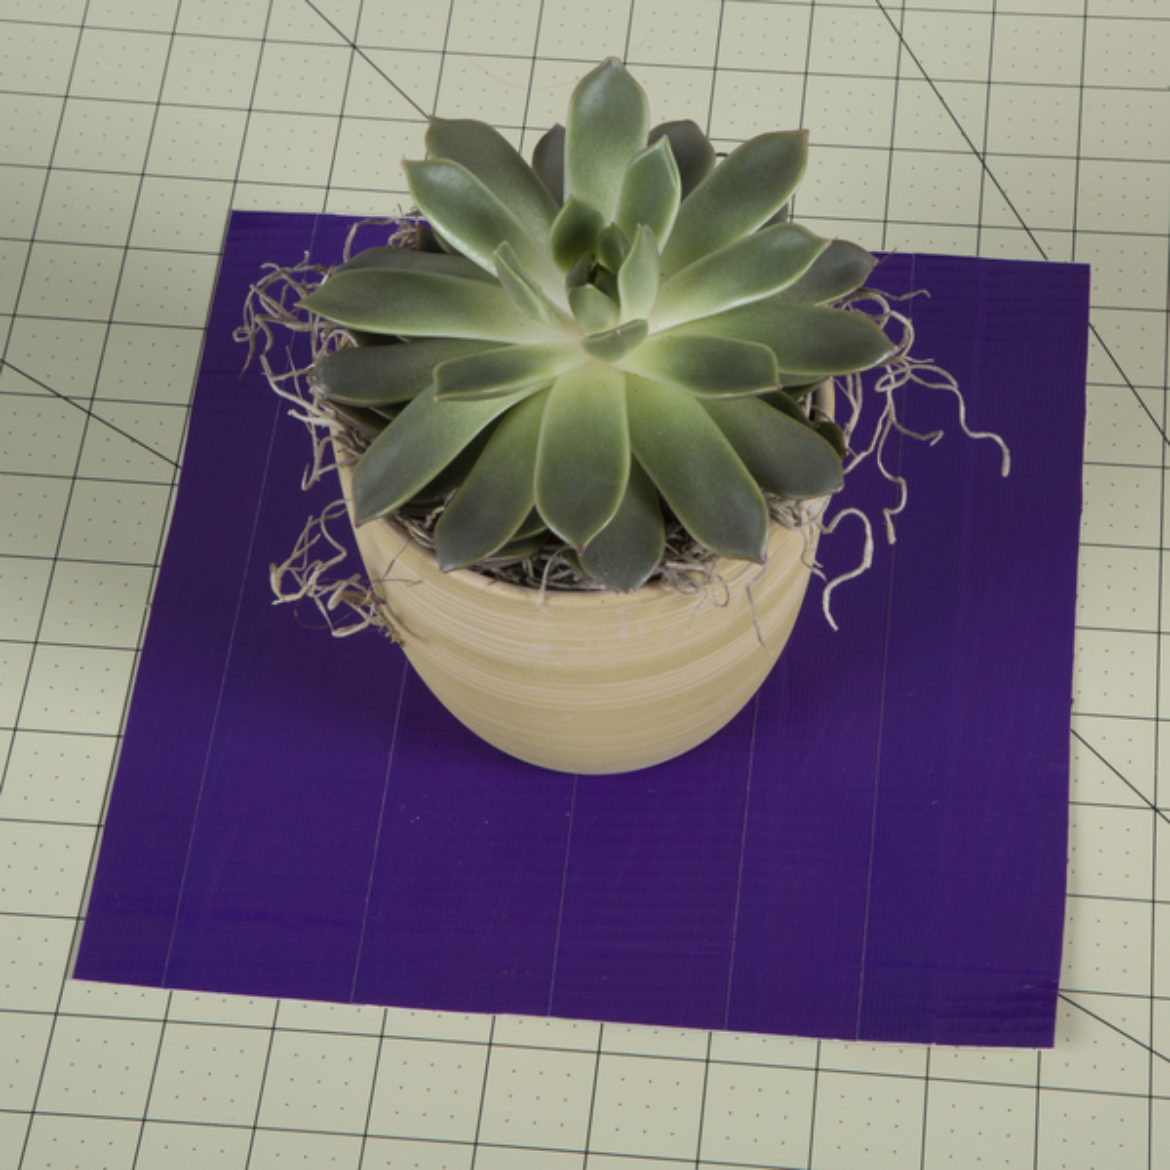
Step 3
Cut your square out from step 2. Place your plant in the middle of your sheet to make sure it will fit around your plant pot.
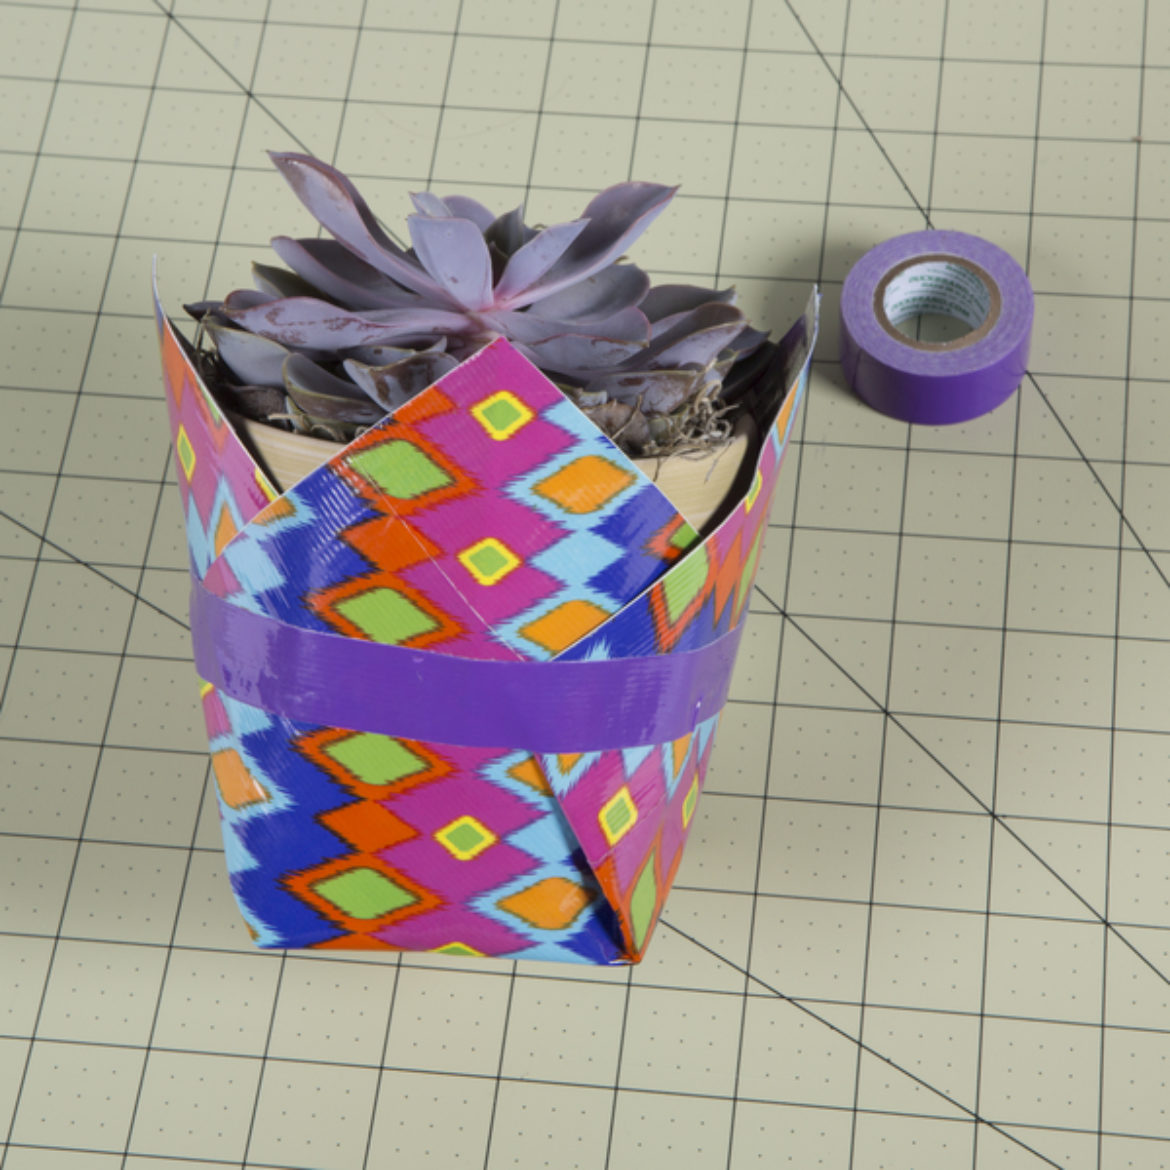
Step 4
With your plant in the center of your sheet, fold up the corners so the points are facing up. Use a coordinating mini roll around the plant to secure it all together.
Step 5
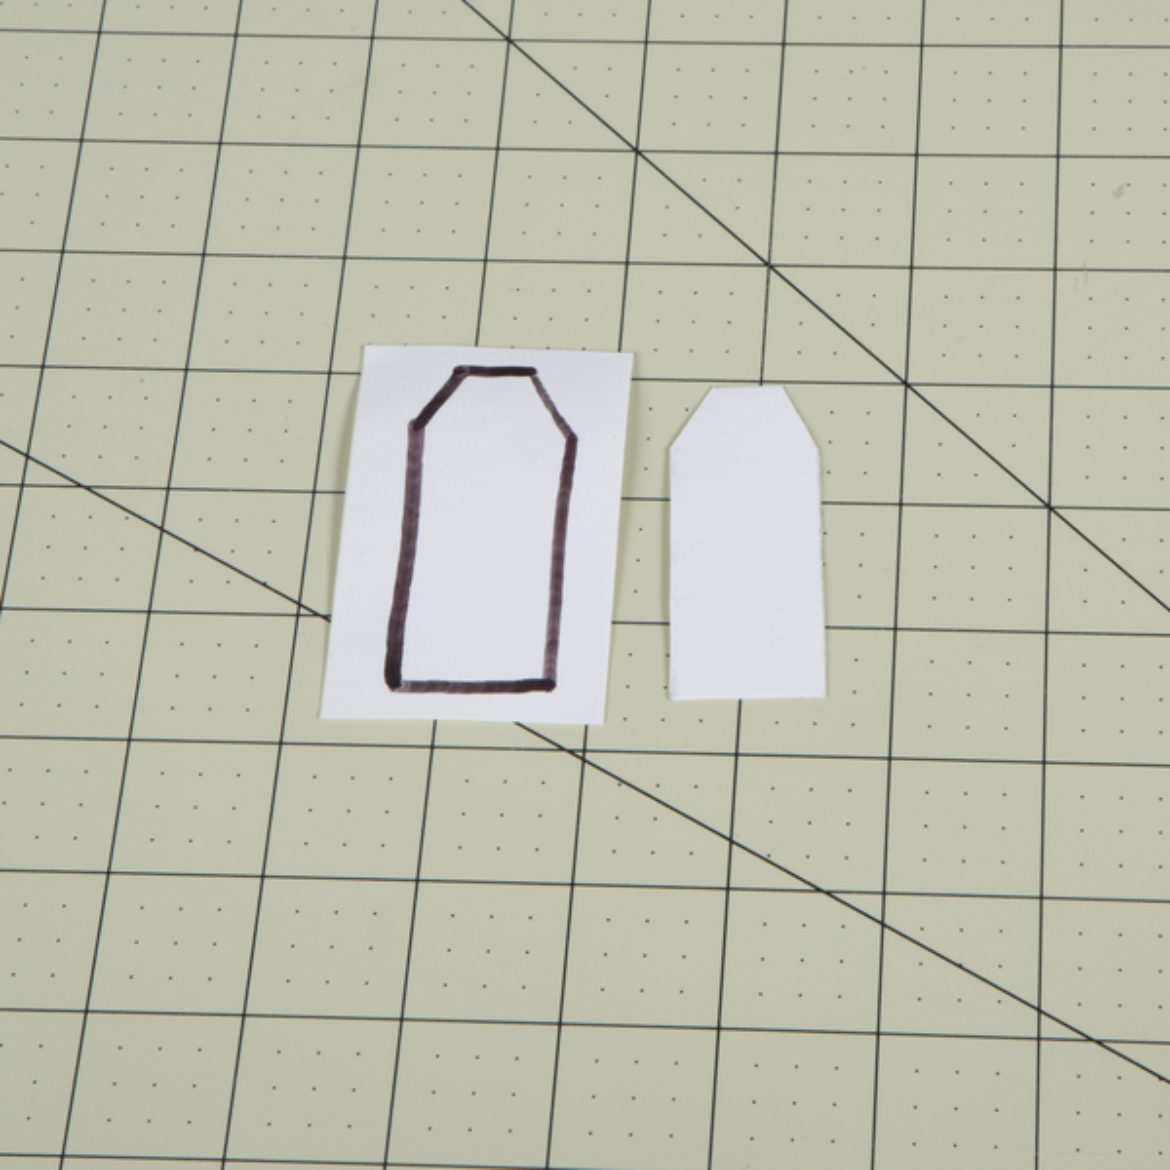
If you want to add a hangtag, draw and cut out a hangtag shape from a 3 in. double sided strip of tape.
Step 6
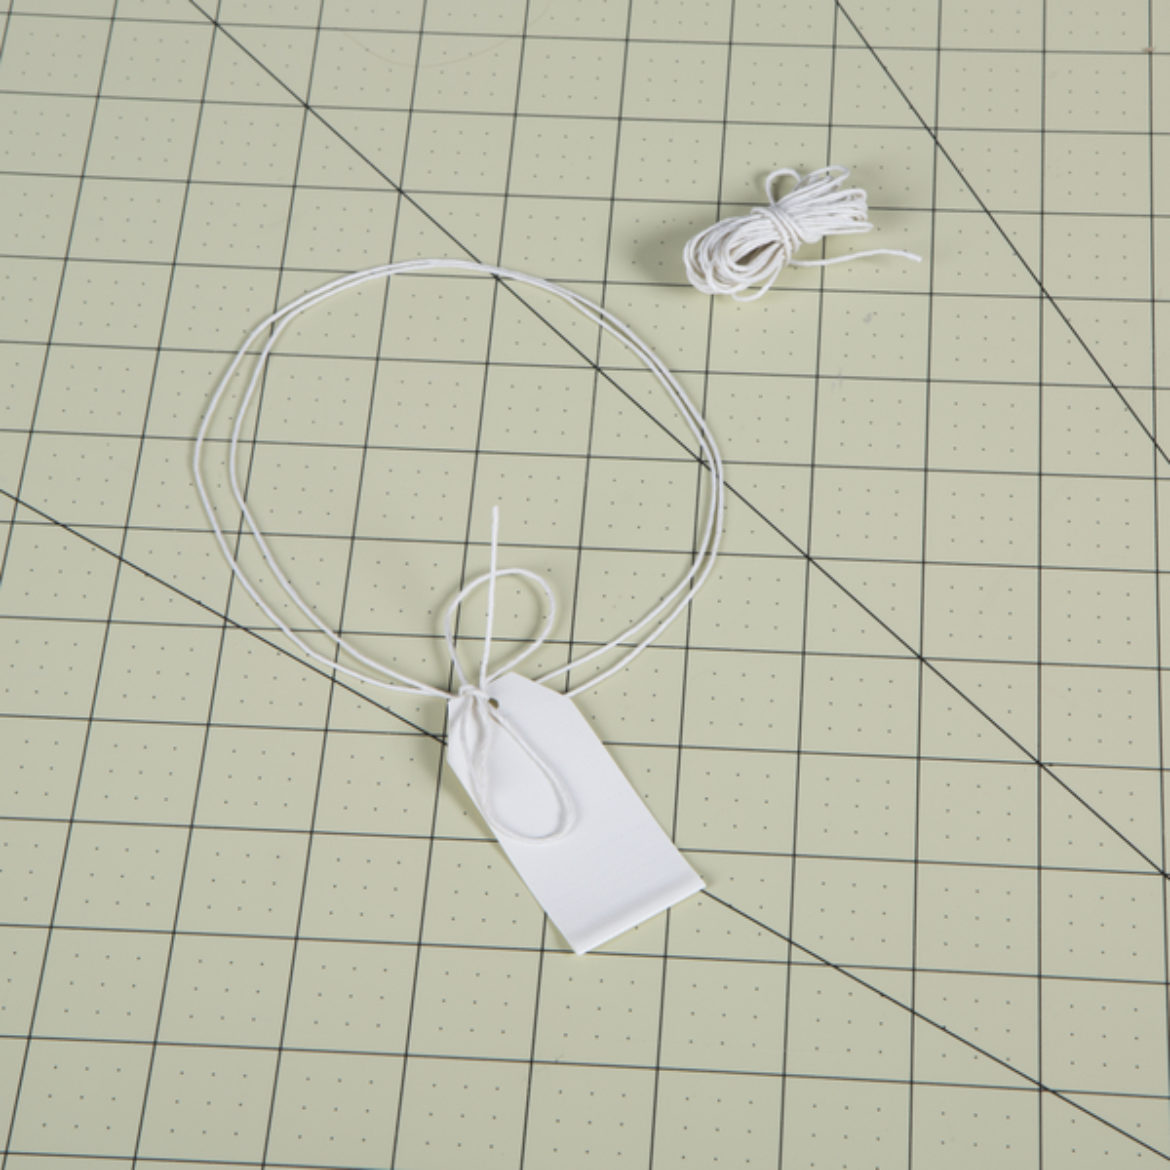
Cut a hole in the middle of your hangtag and tie it to a string or twine that is long enough to wrap around your plant from step 4.

Step 7
Add the tag from step 6 to your plant.
