How-To: Duck Tape® St. Patrick's Day Top Hat
How-To: Duck Tape® St. Patrick's Day Top Hat
Top off any outfit with style! Follow these instructions and accessorize for your own special occasions or holidays with this unique Duck Tape® headband.
Tutorial

Advanced
60 Minutes
Supplies & Tools
- Duck Tape®
- Scissors
- Ruler
- Poster Board
- Plain Headband
- Crafting Board
Scroll down for step-by-step directions.
Disclaimer - If the listed tape type is not available, there's no need to worry. All of our crafts can be adjusted to use whatever tape you have on hand!
Directions
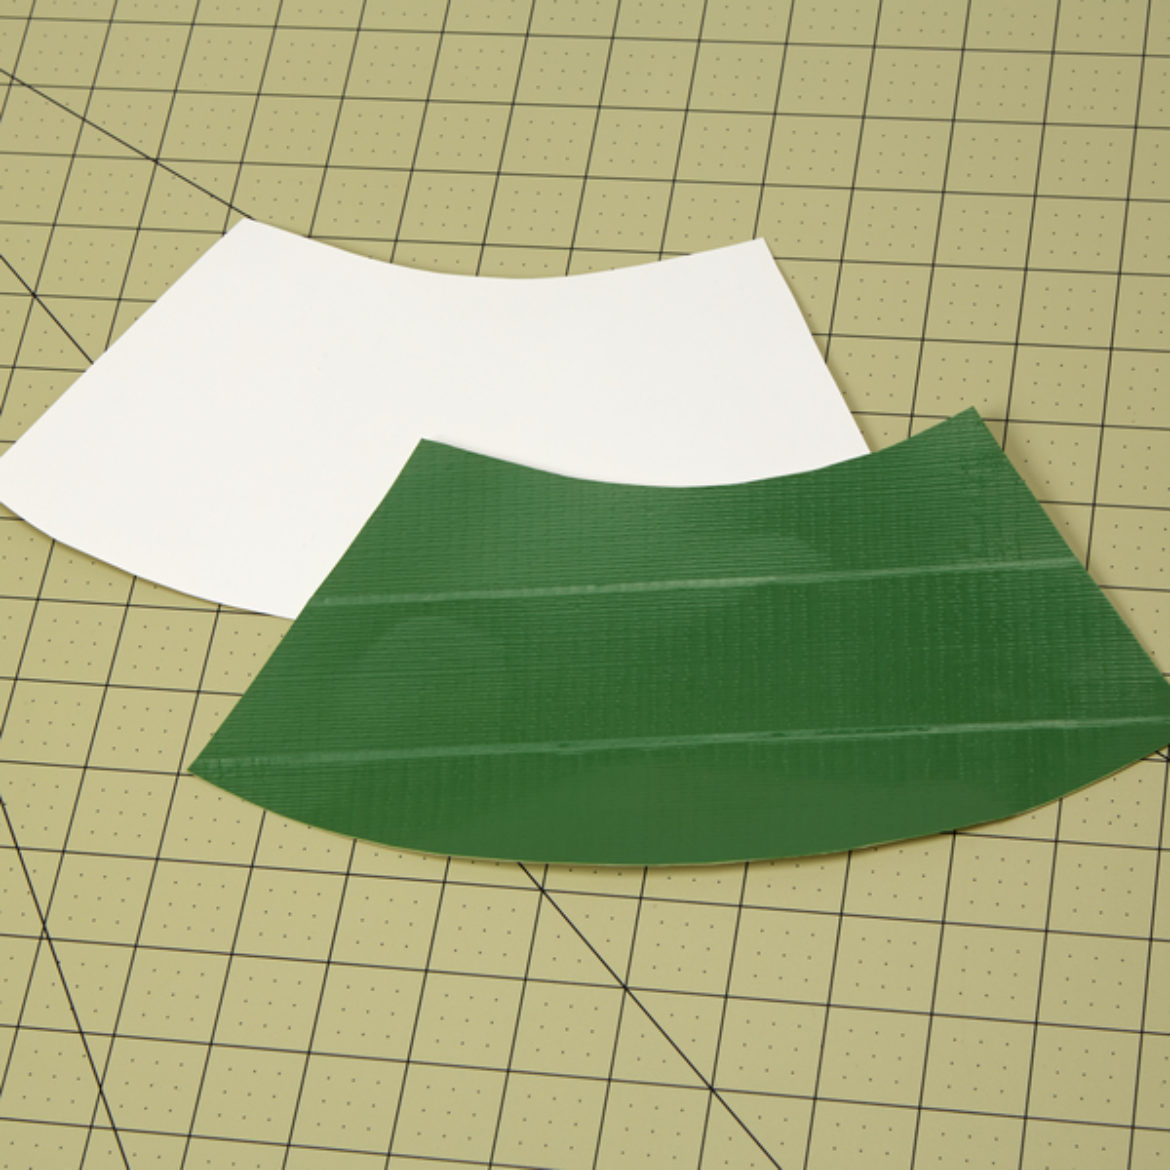
Step 1
For the top of the hat, draw and cut out an arch shape of your poster board that is 4.5 in. long and 10.5 in. wide at the top and 6 in. wide at the bottom. Cover it in Duck Tape®.
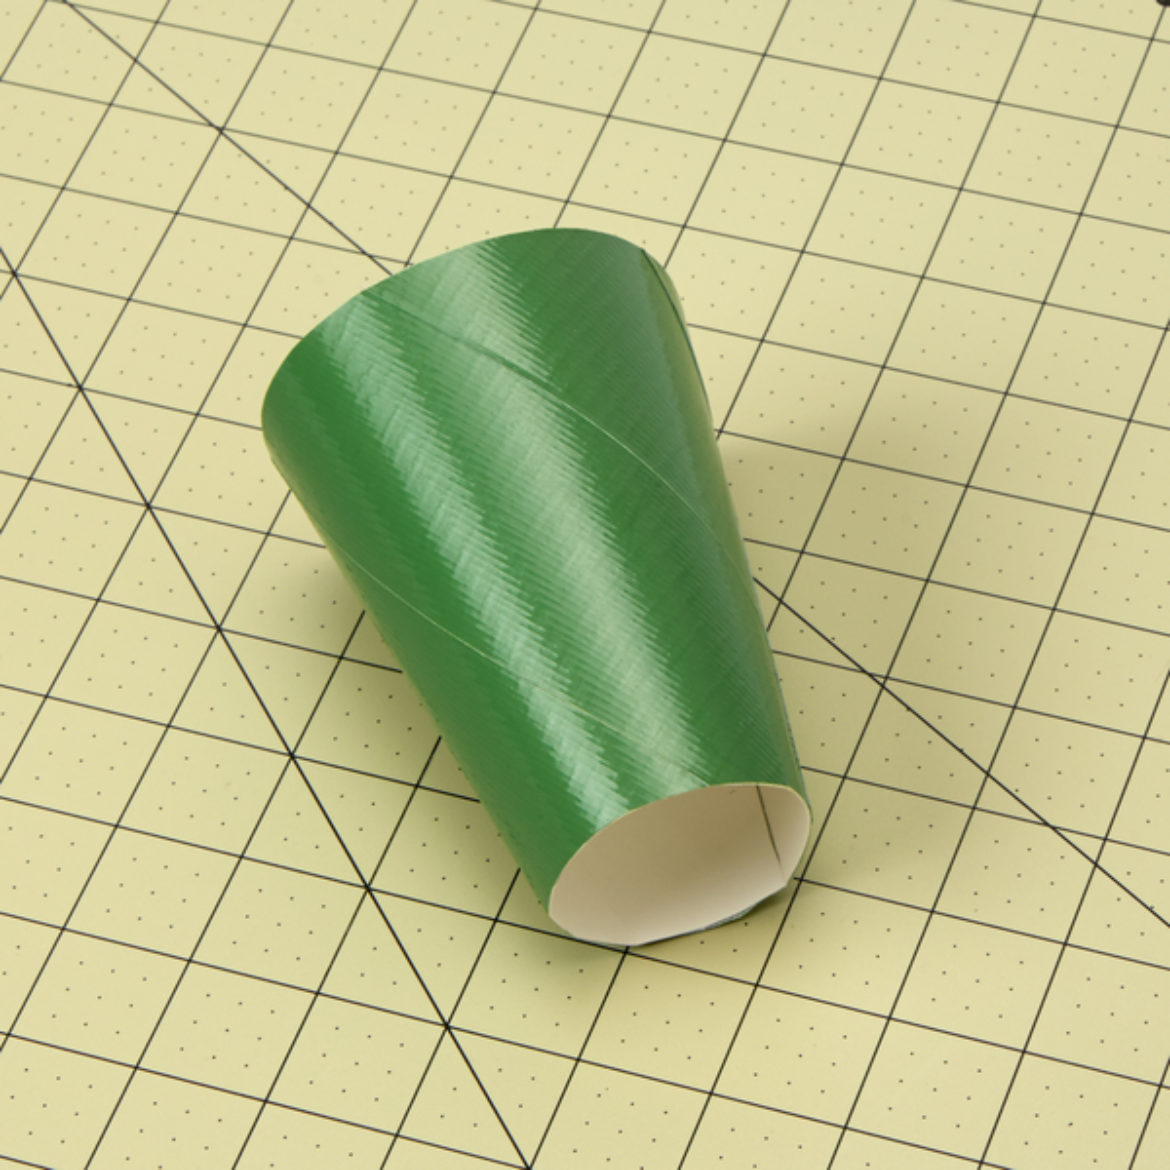
Step 2
Bring the edges of the arch together and secure with a matching piece of Duck Tape®.
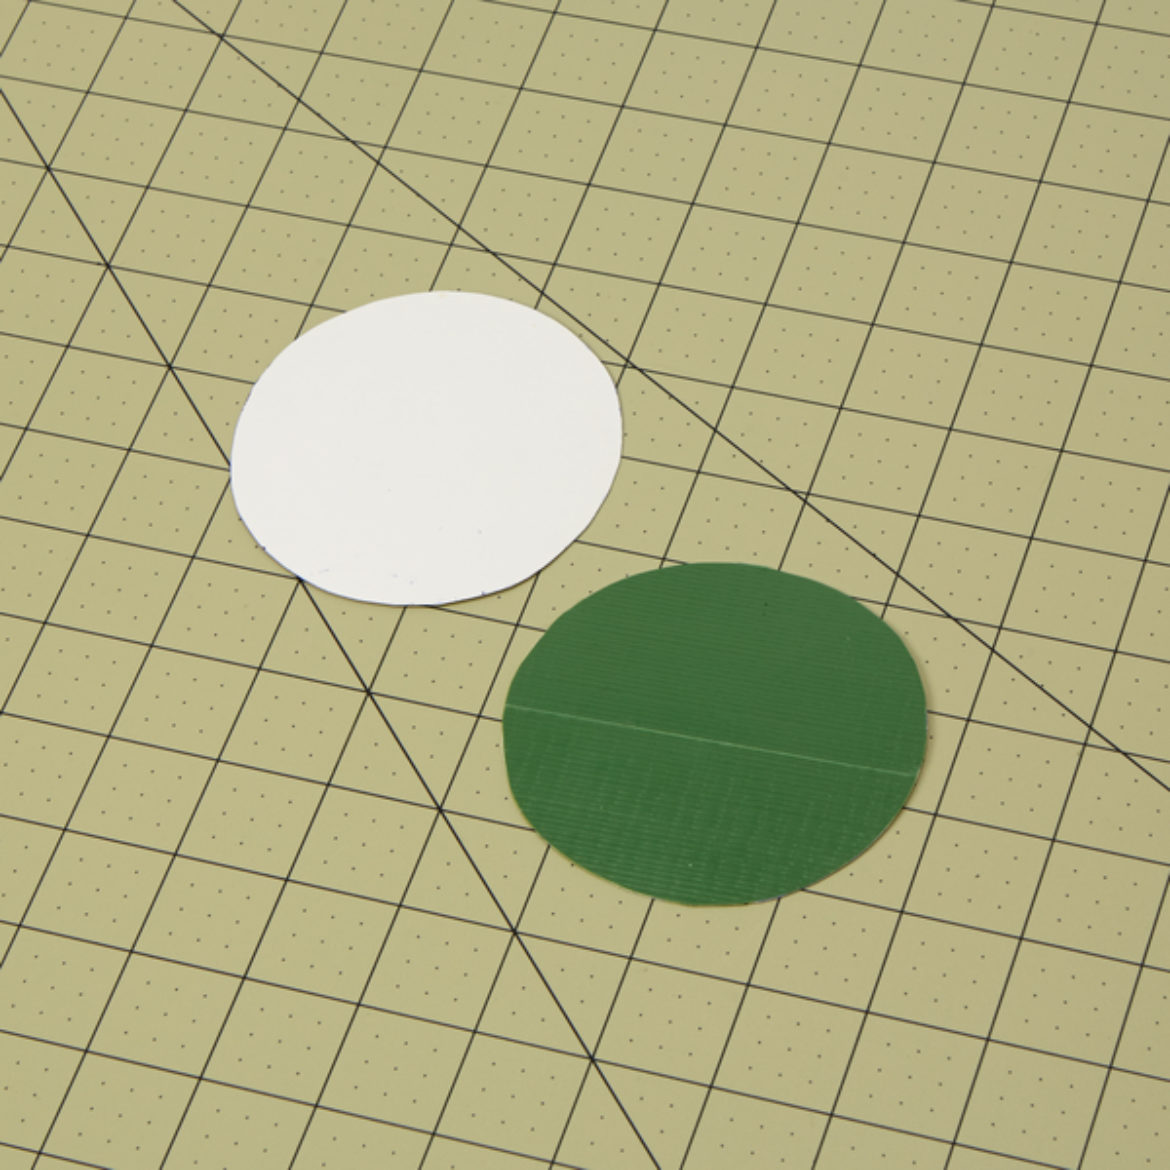
Step 3
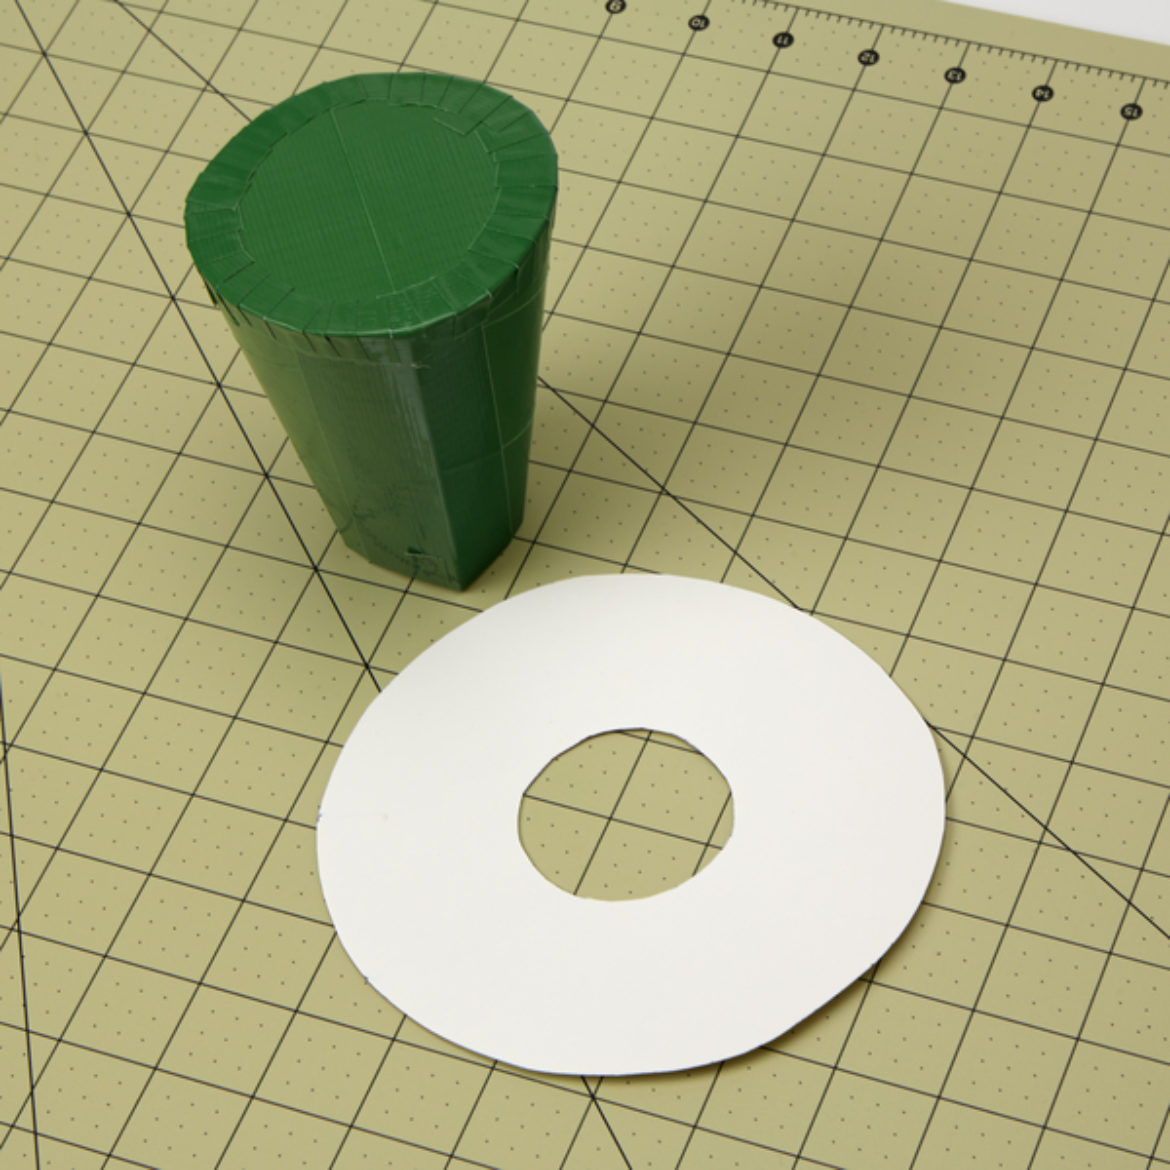
Using the cone you just made, trace the bigger of the 2 openings on another piece of poster board. Cut it out and cover it with Duck Tape®.
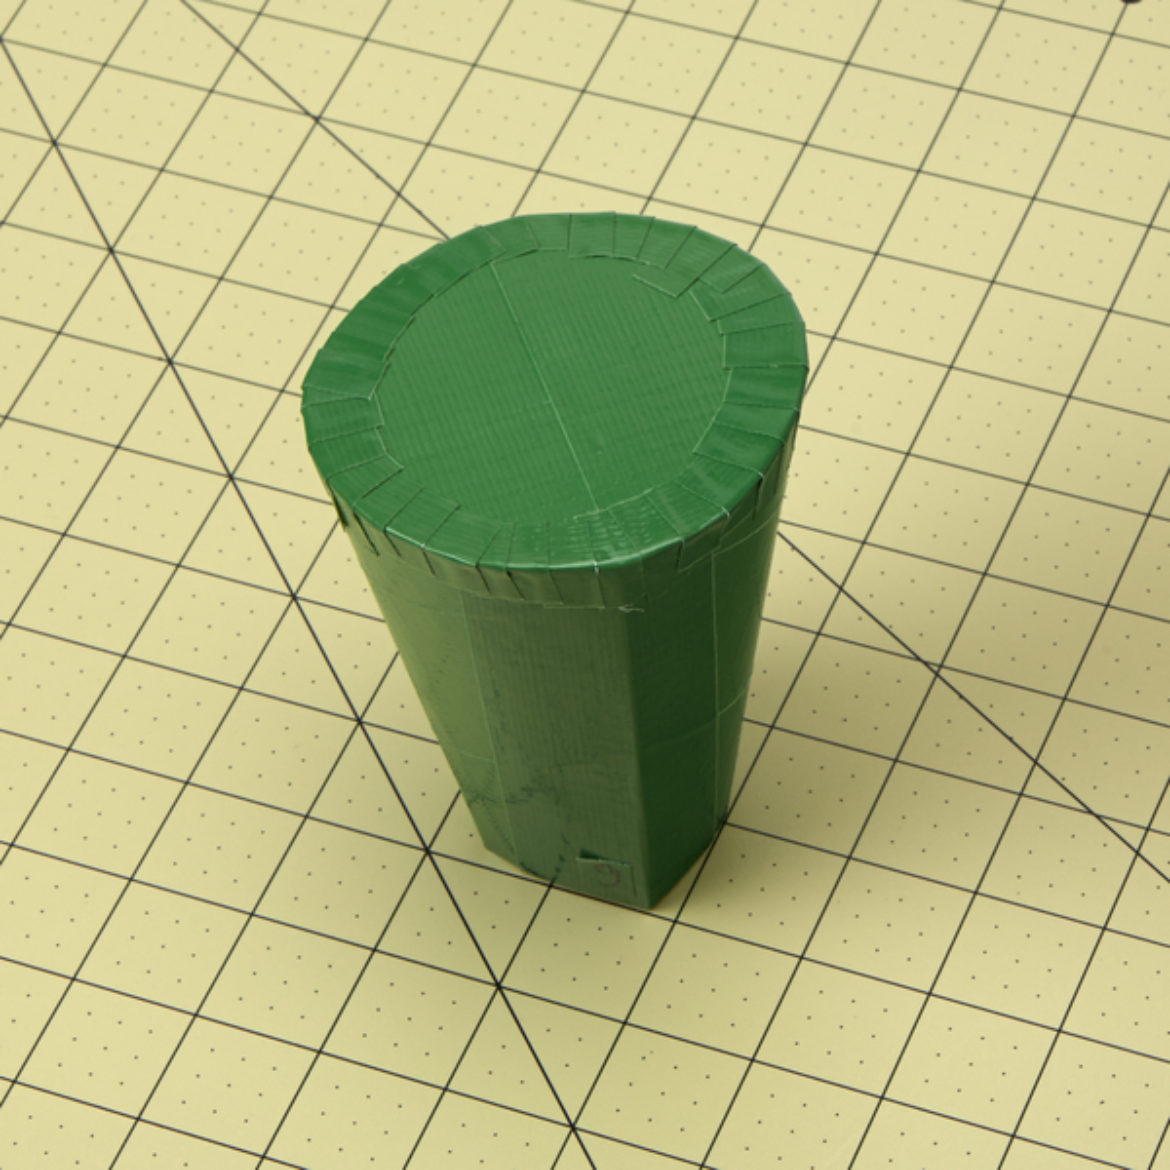
Step 4
Using small pieces of tape, attach the circle you just made to the cone from step 2.
Step 5
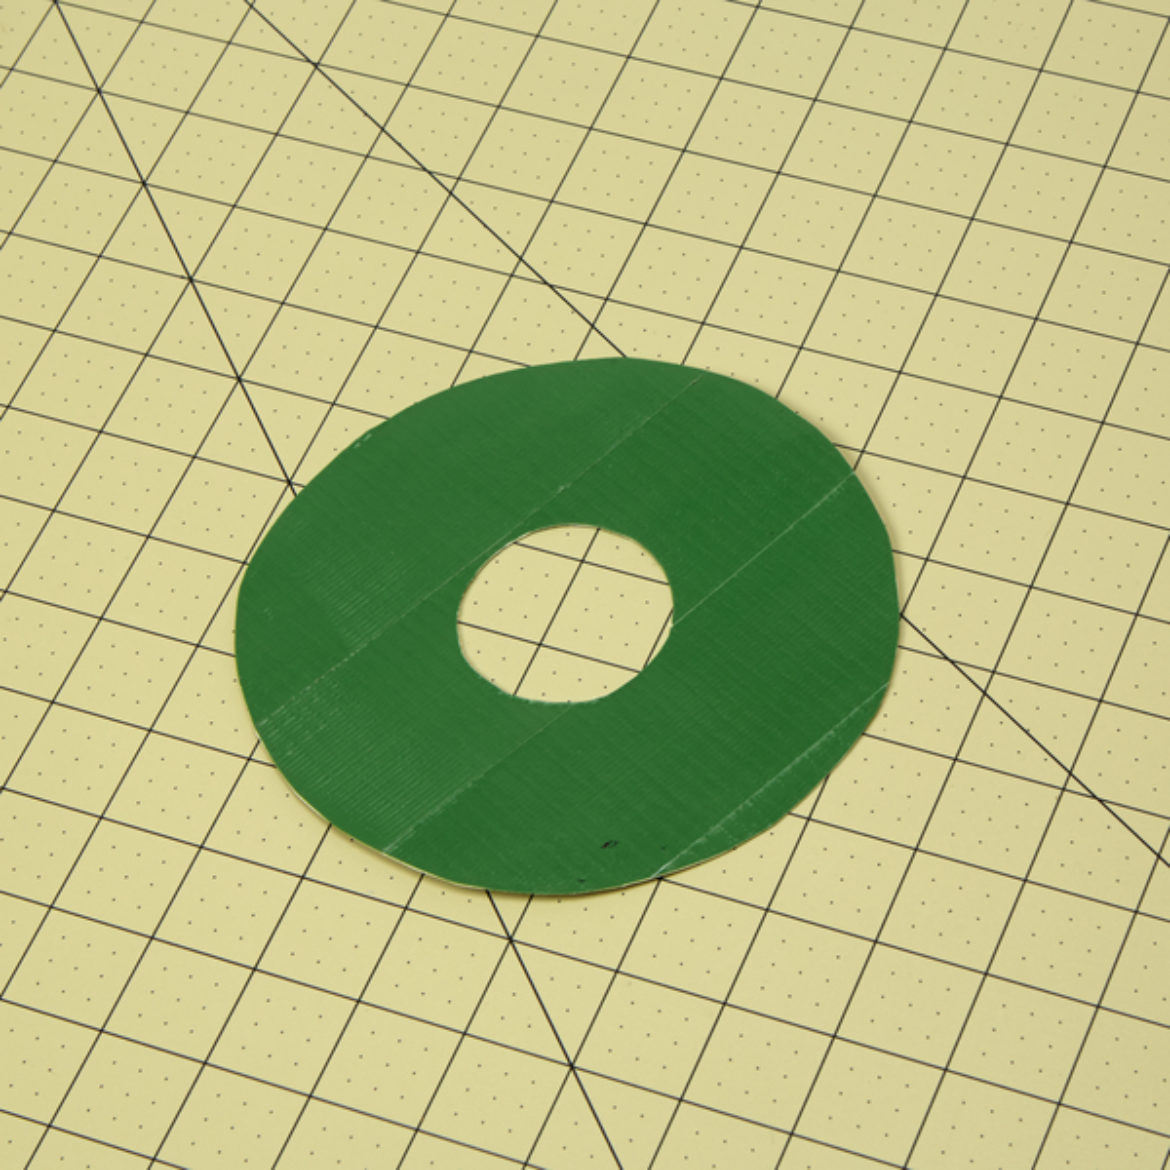
To create the brim of the hat, trace the smaller opening of the cone on a piece of poster board. Then, make marks 2 in. away from the circle you just traced to make a bigger circle. Cut out the outer and inner circle to make a donut shape.
Step 6
Cover both sides of the donut shape in Duck Tape®.

Step 7
Using small pieces of tape, attach the brim of the hat to the cone from step 4.

Step 8
To make the band for around the hat, cut a 7.5 in. long piece of Duck Tape® and it in half lengthwise, sticky side to sticky side.
Step 9
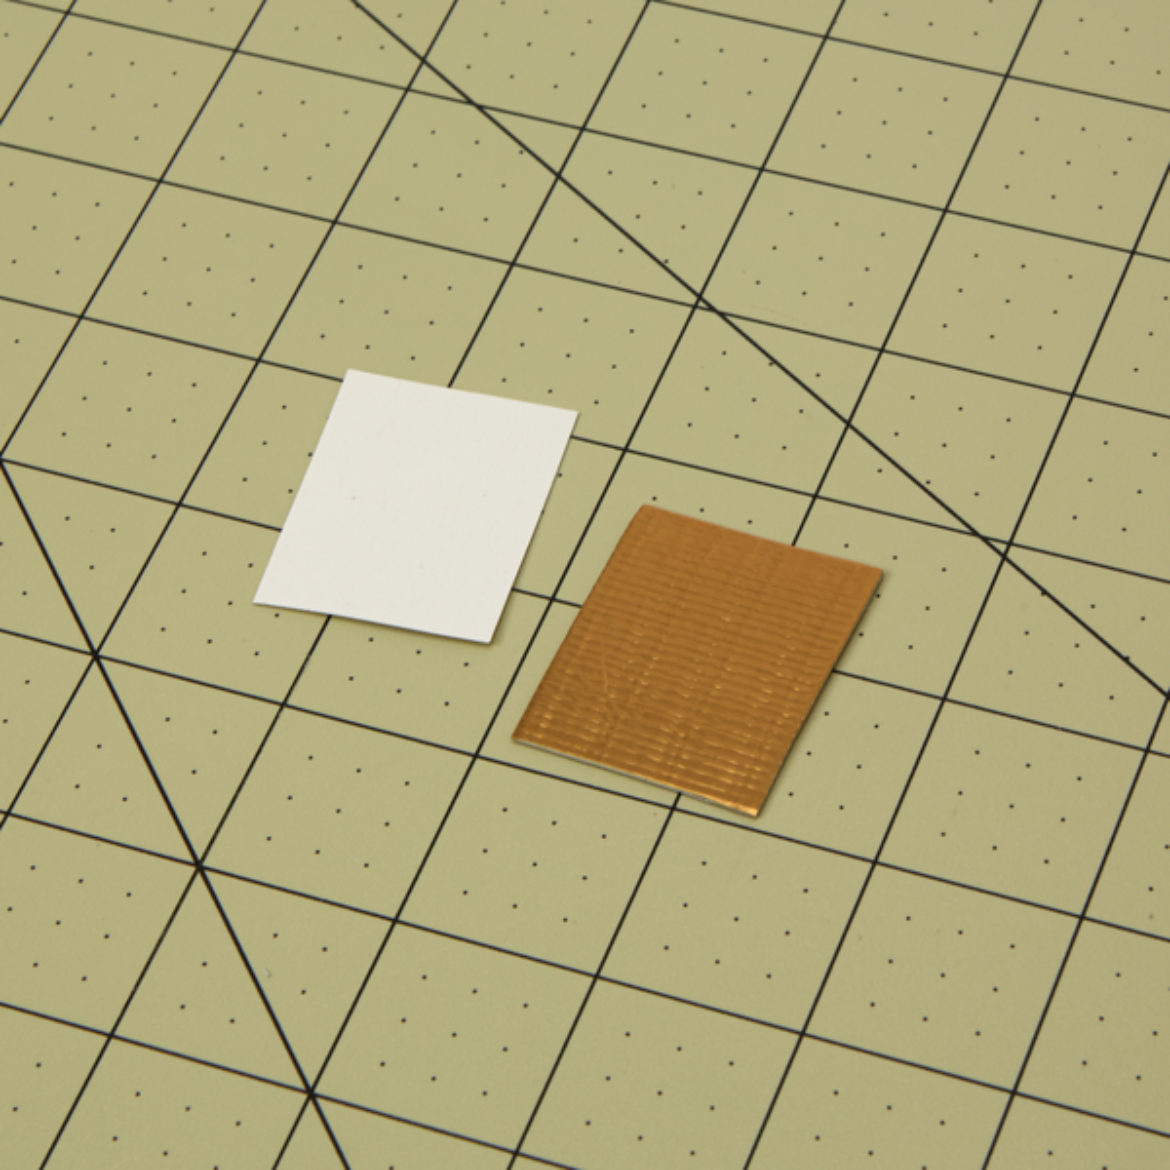
For the buckle, cut a rectangle out of poster board that measures 1.5 in. long and 1.25 in. wide.

Step 10
Cut two slits in the buckle that each measure .75 in. and weave the band you made in step 8 through the slits.

Step 11
Wrap the band around the base of the hat and secure the ends of the band together with a piece of tape.

Step 12
Trace a clover on a piece of double sided tape. Cut it out.

Step 13
Using a small piece of tape, attach the stem of the clover behind the band of your hat.

Step 14
Attach a headband to the bottom of the hat using strips of Duck Tape®.
