Halloween Treat Bags with Duck Tape®
Halloween Treat Bags with Duck Tape®
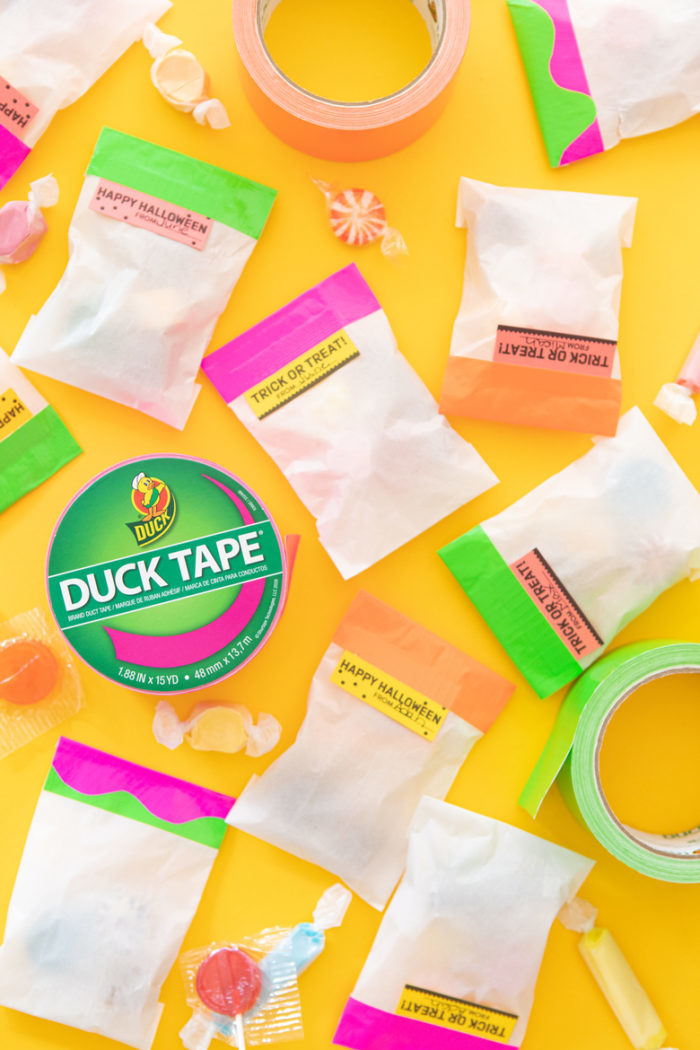
Individual Halloween Duck Tape® treat bags that are festive and functional? Sign us up. Thanks to Sarah Hearts® for this fun idea!
Article

For this project, we teamed up with Sarah from Sarah Hearts®, a graphic designer turned maker who loves creating things and helping others do the same!
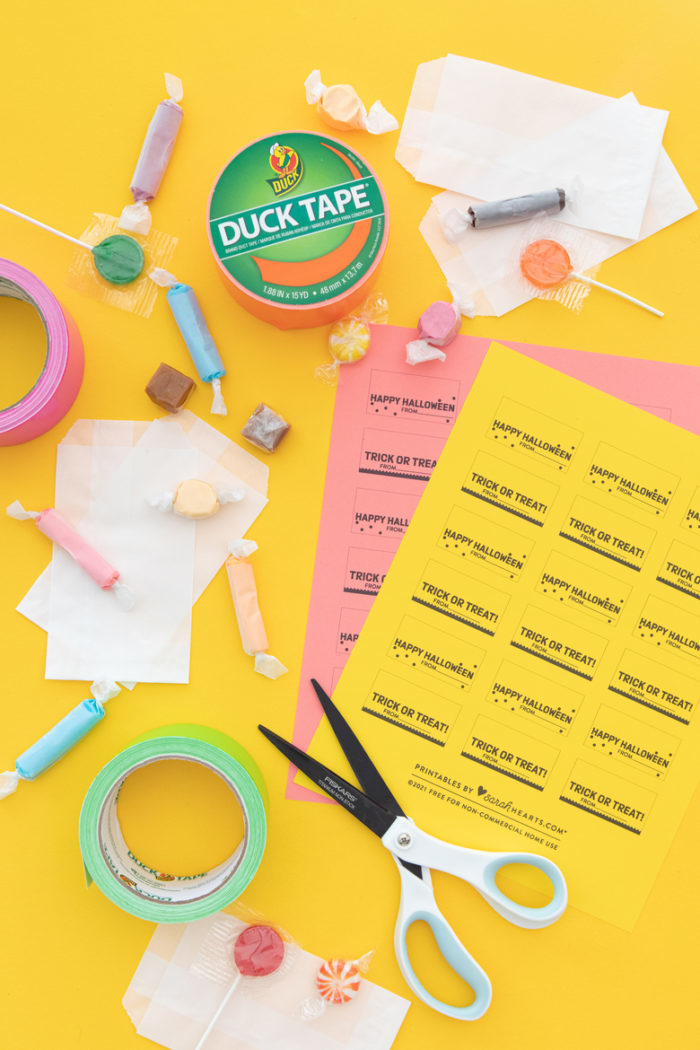
To get started, Sarah gathered the following supplies:
- Color Duck Tape®
- Scissors
- Glassine bags, 3 in. x 4 in. or larger
- Assortment of wrapped candy
Optional Supplies:
- Printable Halloween Tags
- Cardstock paper
- Printer

And, now it's time to make the treat bags.
- Download the free Printable Halloween Tags file from Sarah Hearts®. Print it out on cardstock and use scissors to cut out the cards. Write your child's name on each.
- Trim about 1 in. off the top of the glassine bags. You can stack about 5 bags and cut them at the same time. Then, fill the bags with the Halloween candy.
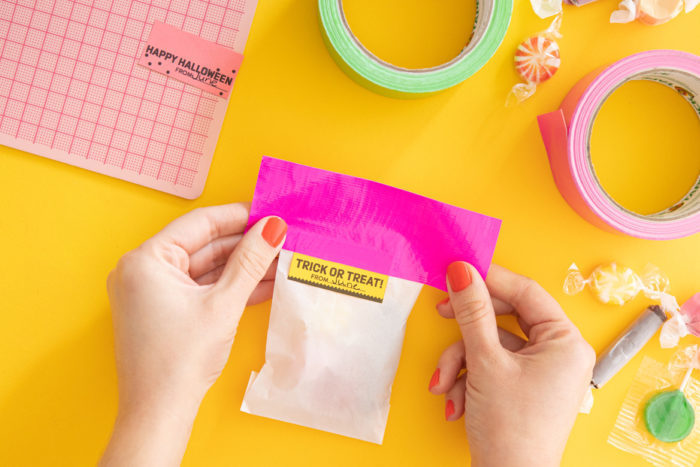
- Cut a piece of Color Duck Tape that's a little wider than the bag. Place the tape on top of the printable tags and then place the entire strip across the top of one of the bags filled with candy.

4. Fold the top of edge of the tape towards the back so it sticks to the back of the bag and seals it closed. Trim the left and right side of the tape with scissors. And, that's it! Repeat the steps above to make as many bags as you need.
Need more details? Check out the full Duck Tape® Halloween Treat Bag tutorial and the rest of Sarah's DIY projects.
