10 Easy Tips for Every Paint Project
10 Easy Tips for Every Paint Project
Getting ready to paint? Here are some basic tips to get you the best results.
Tutorial
Are you getting ready to paint and don’t know where to start? Here are a few tips you can follow to get the best results for your DIY project quickly and efficiently.
- Paint a small, sample area of the room with your desired color and finish. After living with it for a few days, you’ll be certain whether or not it’s the right shade for you.
- Prep work is key – after making any necessary repairs, like patching holes or nicks, wipe down the areas you’re going to paint before you get started. Paint will apply more evenly to a clean surface.
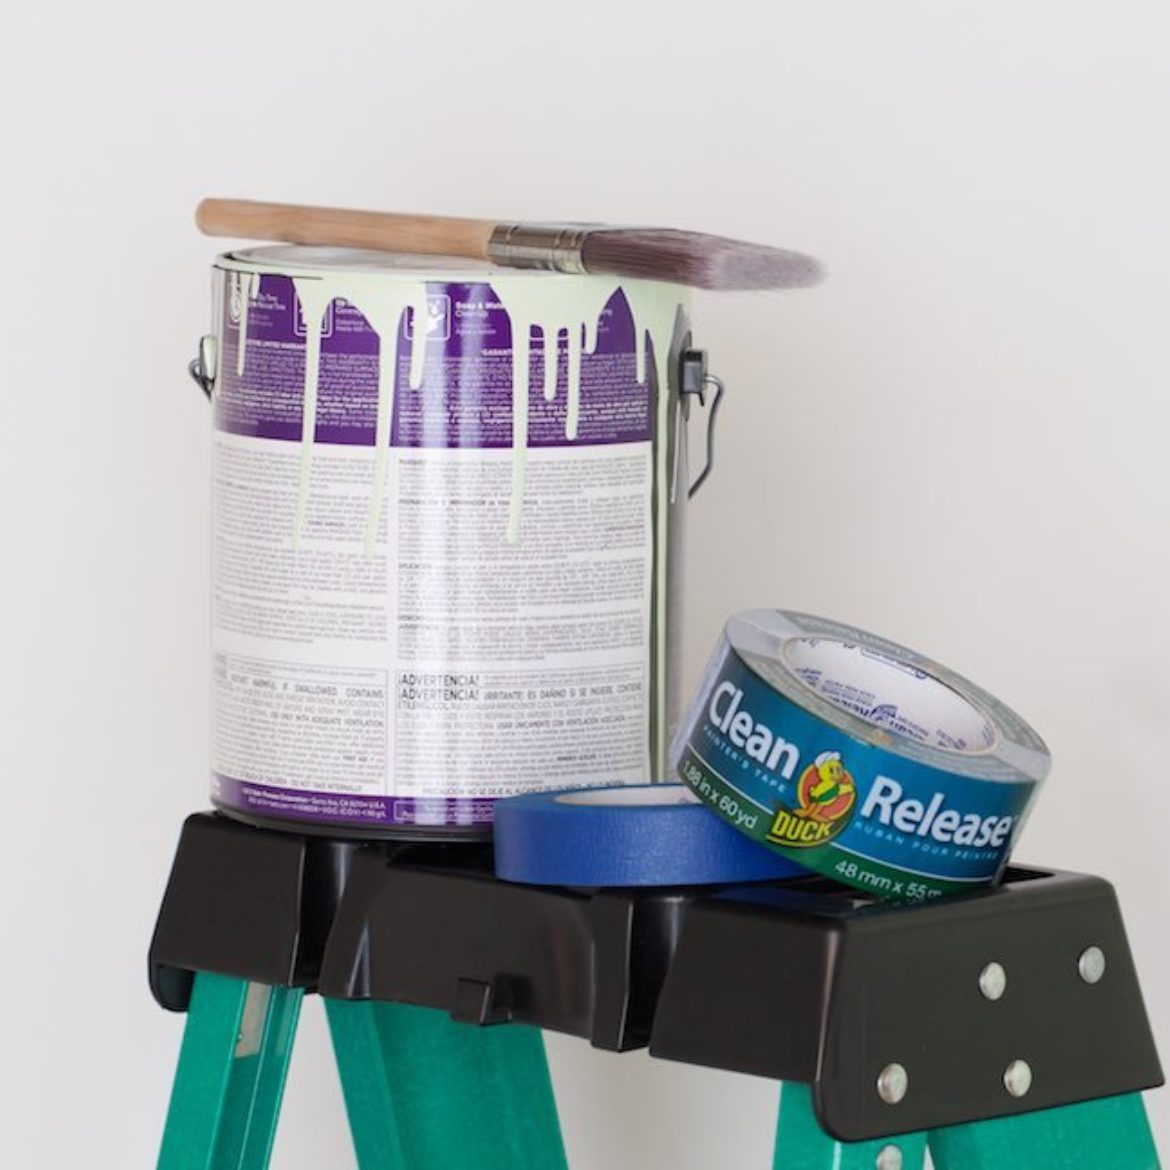
- Invest in high-quality paint tools – inexpensive roller covers and brushes won’t provide a professional-looking finish for DIYers.
- Look for a quality painting tape to deliver clean paint lines.
- When applying, don’t stretch the tape. Using pieces longer than 3’ can cause the tape to pull, leaving gaps that can lead to paint bleed.
- If the painting tape is not adhered to the surface properly, it won’t prevent paint bleed. Use a tool such as a putty knife or plastic card to run along the tape to create a tight seal.
- Remember to keep a wet edge on the wall to prevent the paint from drying as you work. Paint along the trim with a paintbrush first, then roll the rest of the wall.
- Paint in long, continuous strokes and avoid overworking the surface. This can result in brushstrokes and an uneven surface when finished.
- Remove the painter’s tape as soon as you’re done with your last coat, while the paint is still wet. Waiting until the paint is dry can create a bridge over the tape edge and tear the paint
- Be sure to keep your tape stored in a protective container like a toolbox; it protects the edges from damage or debris and will ensure proper adhesion for future projects.
Getting professional results doesn’t have to be expensive. By following these steps you can achieve the best look while saving time and money.