How-To: Duck Tape® Bee Costume
Supplies & Tools
- Yellow Shirt
- Black Duck Tape®
- White Duck Tape®
- Cardboard
- Styrofoam Cone
4 Steps
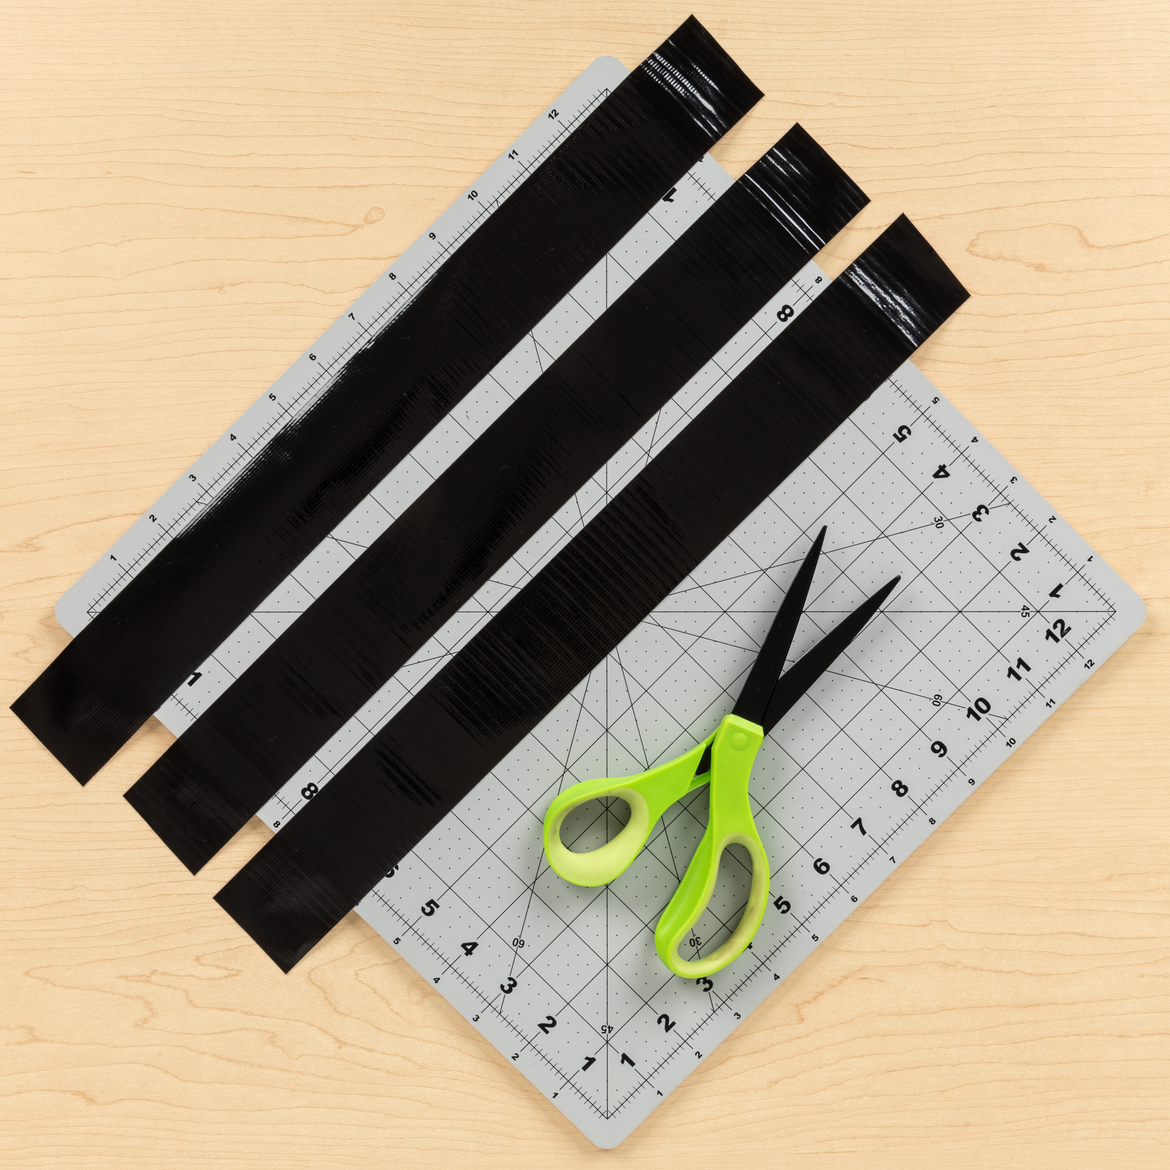
1
Cut strips of Black Duck Tape® to fit on the front and back of the tee shirt.
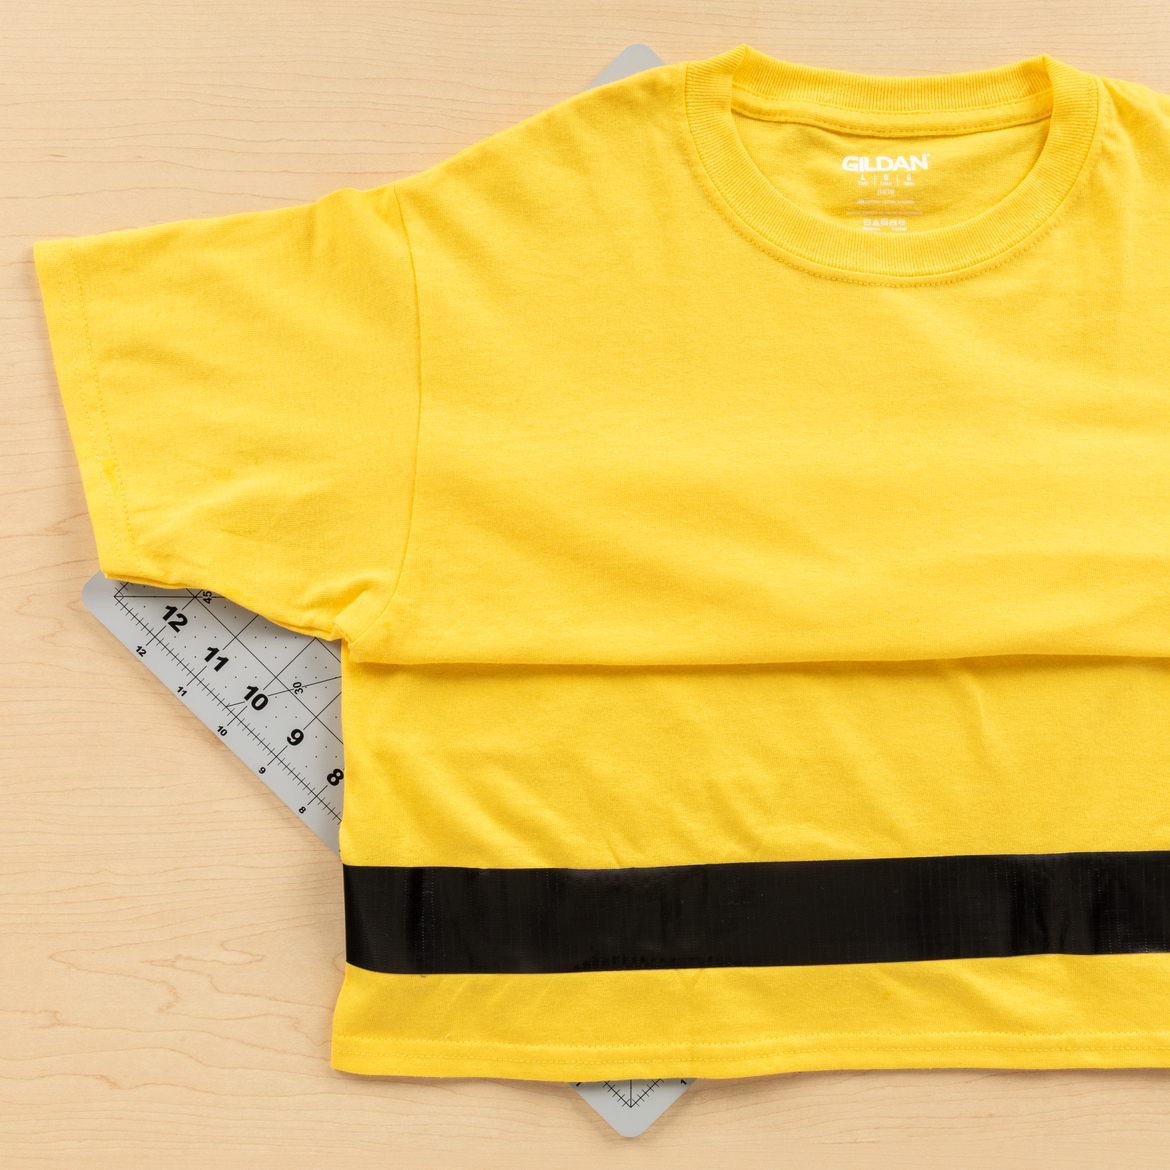
2
Carefully place the stripes onto the shirt.
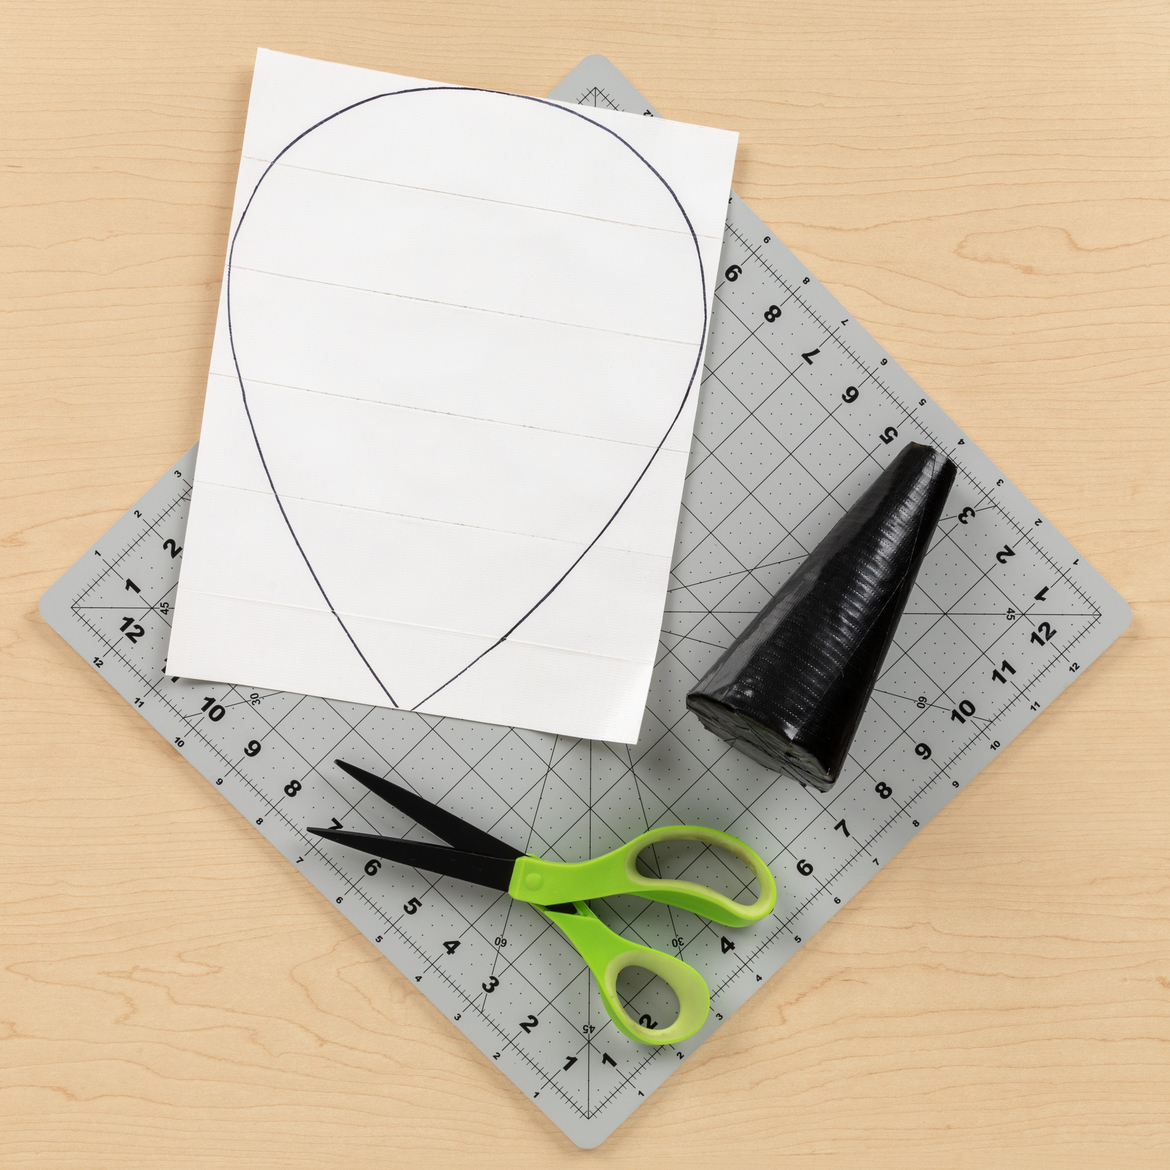
3
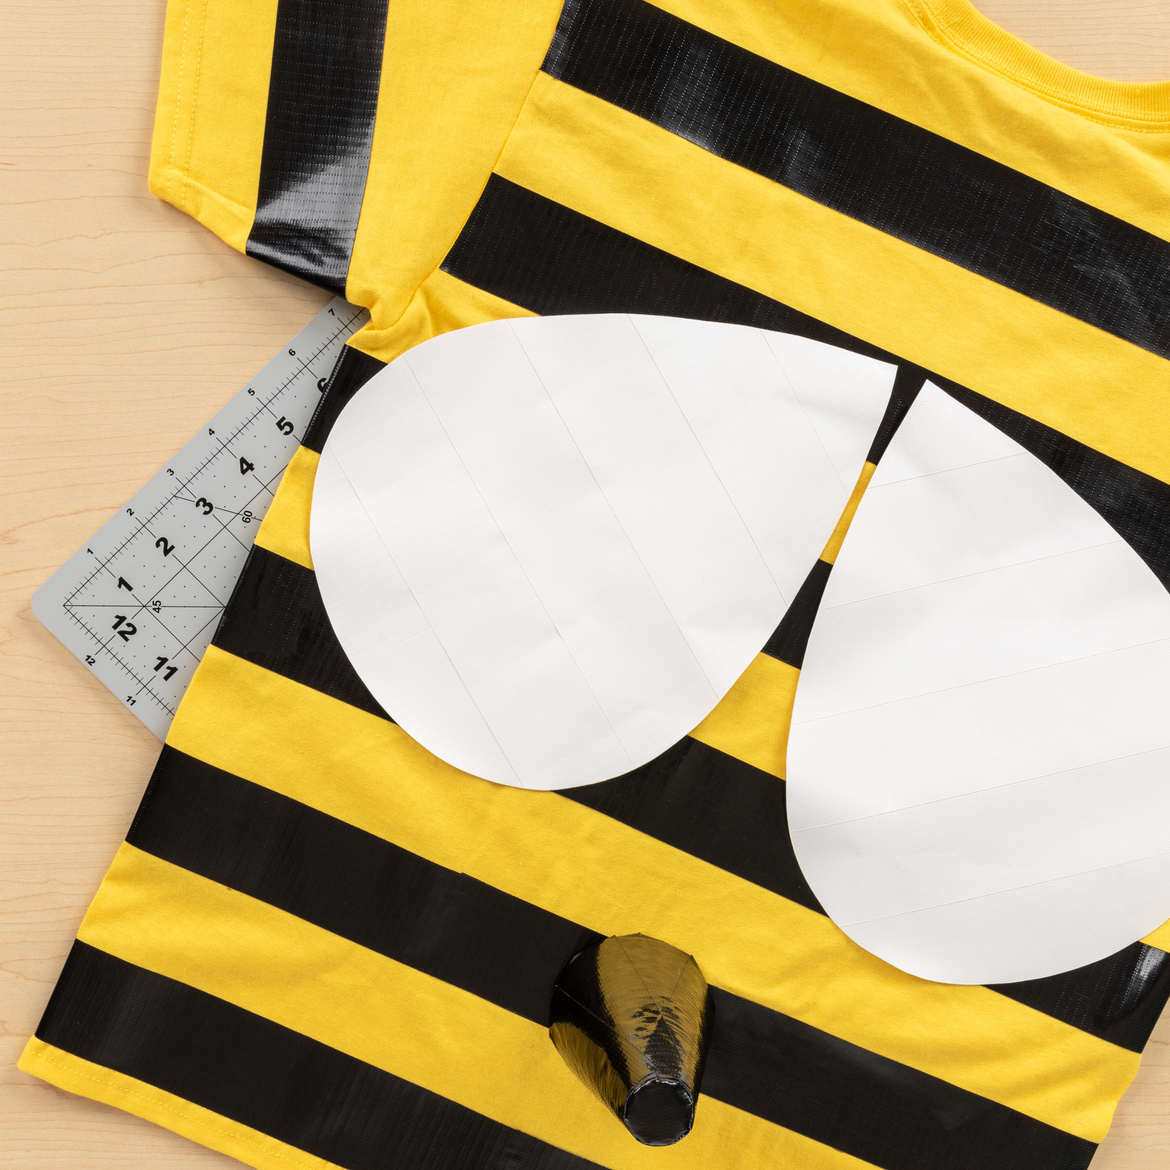
Cover a piece of cardboard with White Duck Tape® and cut out wing shapes. Then, cover the styrofoam cone with Black Duck Tape®.
4
Attach the wings and cone to the finished tee shirt, and you're ready to for a fun night of trick-or-treating!