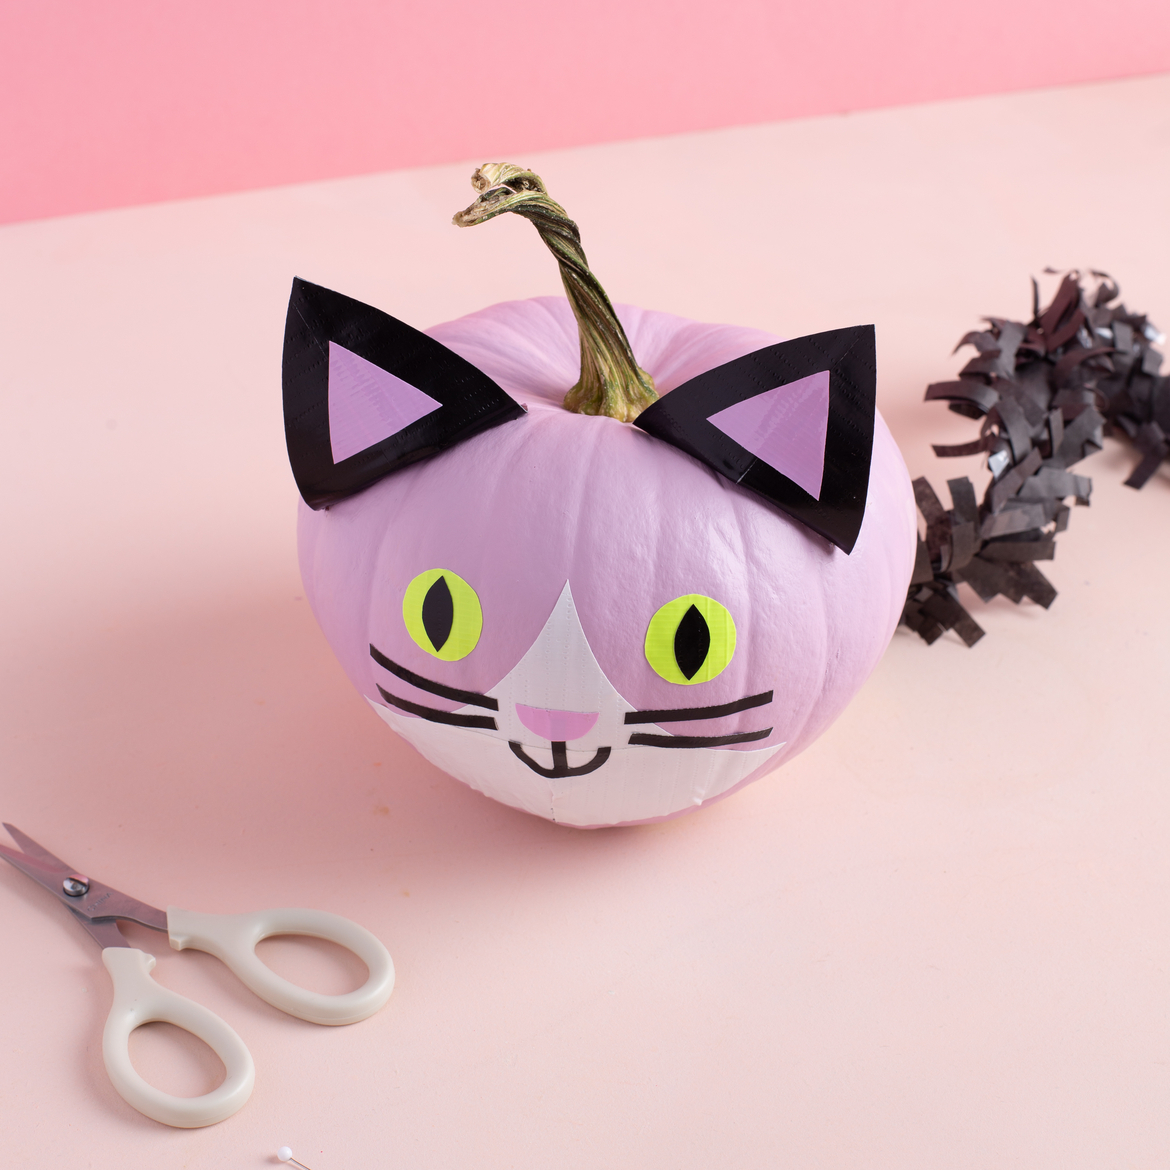
How-To: Halloween Cat Pumpkins with Duck Tape®
Supplies & Tools
- Duck Tape (3-4 colors)
- Pumpkin
- Acrylic Paint
- Paintbrush
- Parchment paper
- Scissors
- Template shapes printed on paper
- Washi tape
- Pins
- Tissue festooning
5 Steps
1
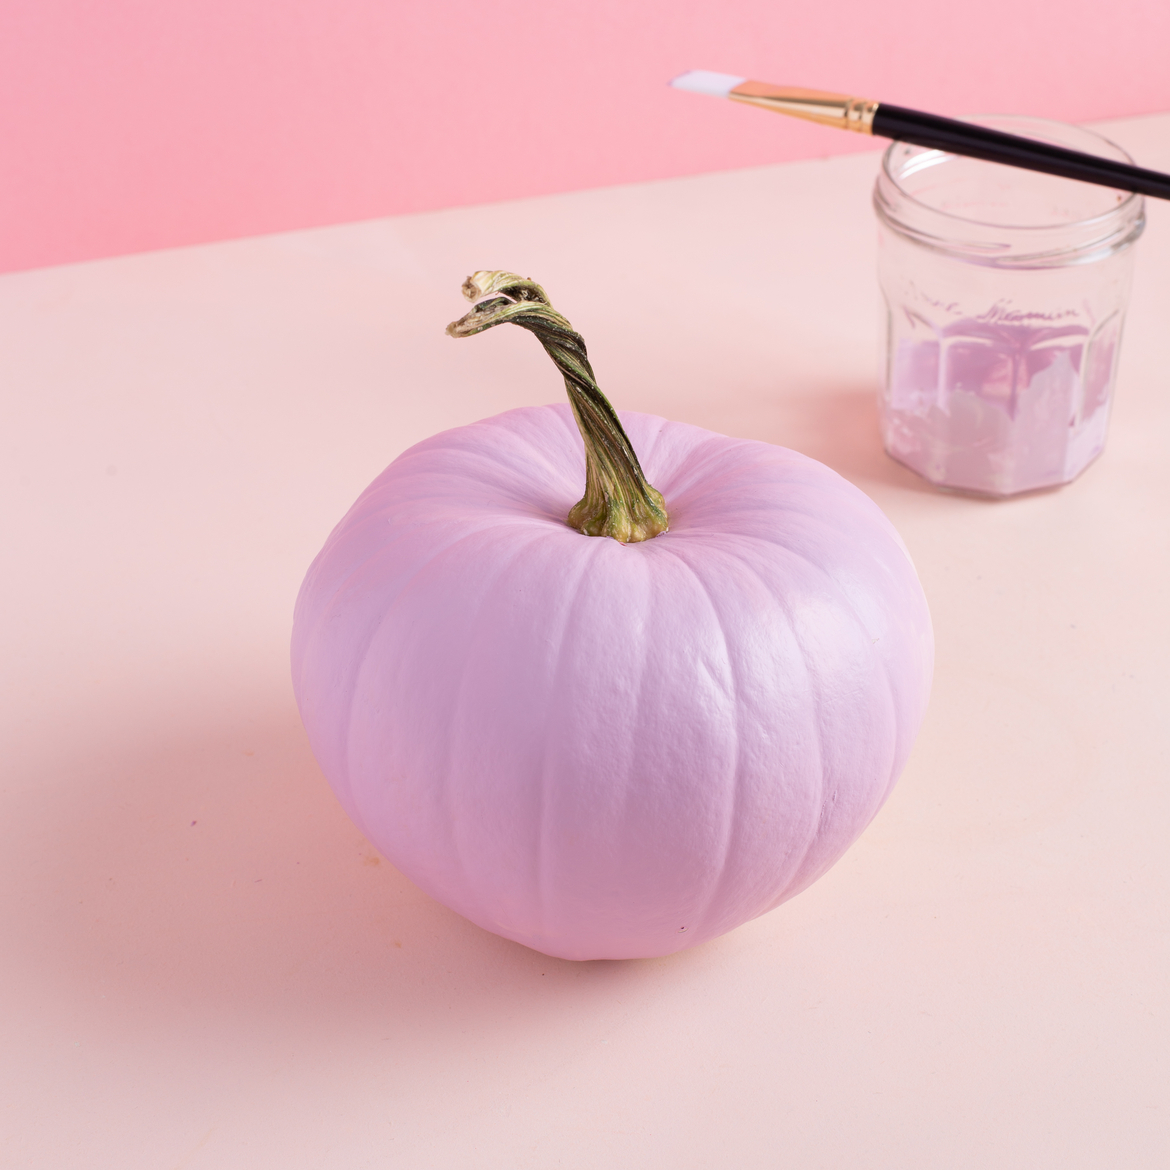
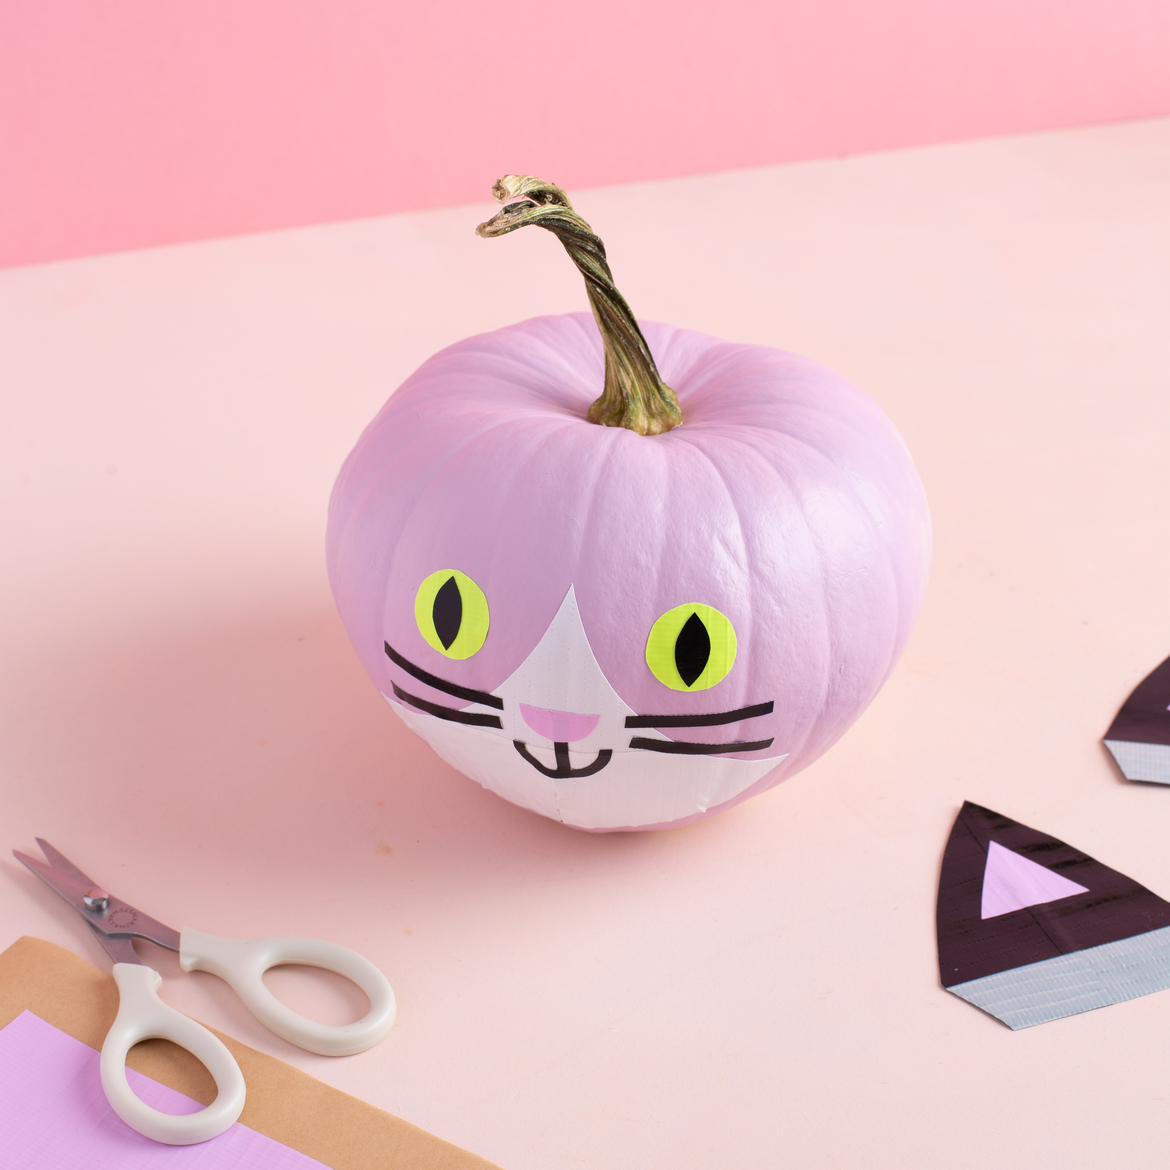
Paint pumpkin a solid color with acrylic paint and let dry completely.
2
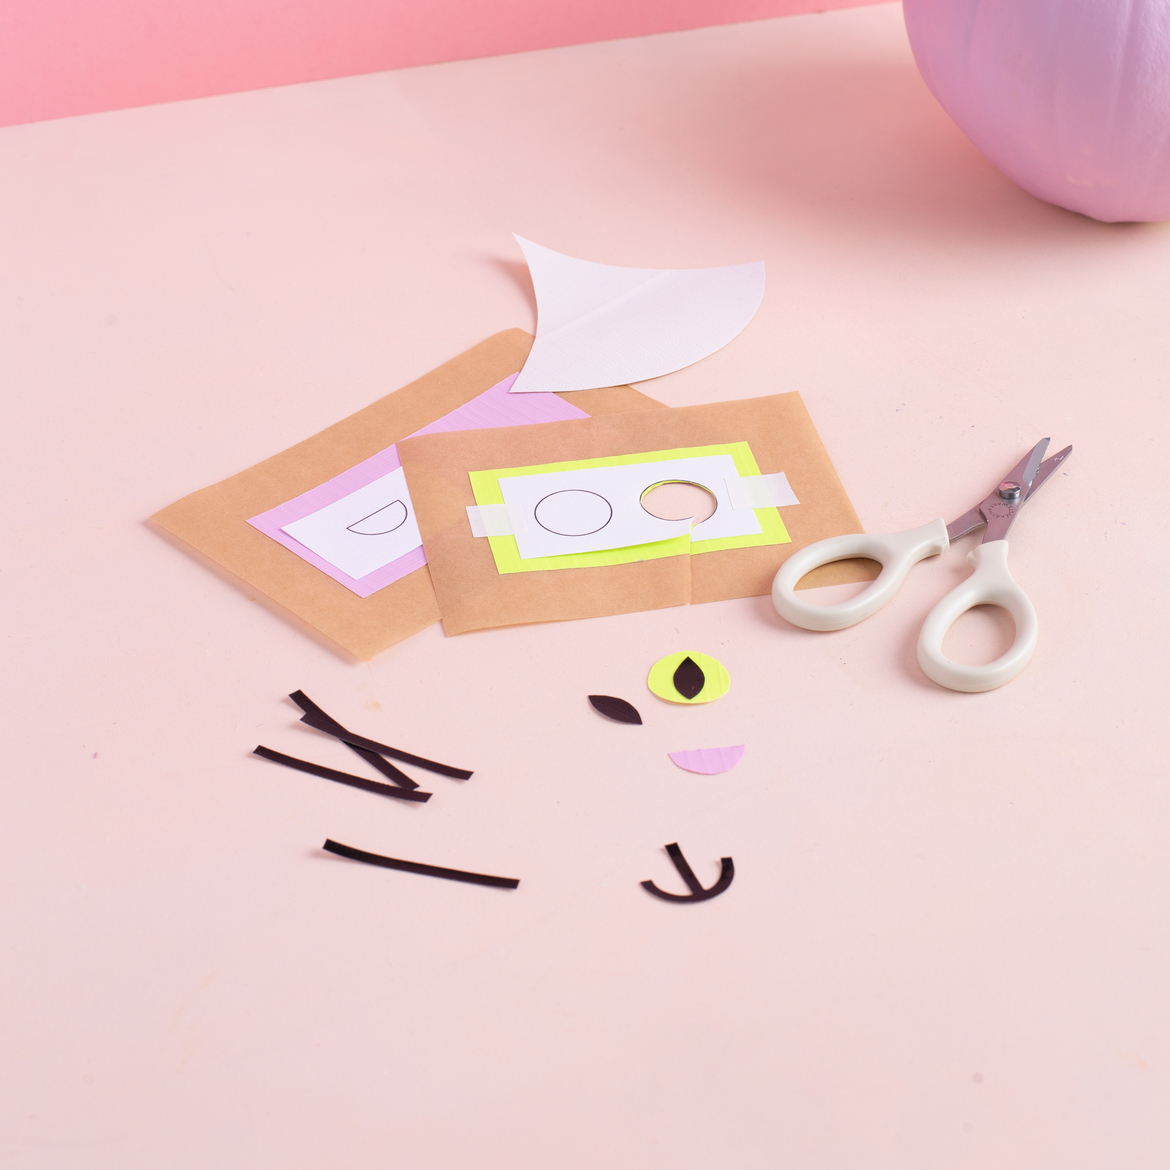
Cut face details from pieces of colored Duck Tape. To cut the tape more easily, apply a strip of tape to parchment paper. If desired affix paper template on top with washi tape before cutting, or cut shapes freehand. For larger details, affix 2-3 strips of tape side by side on a piece of parchment, overlapping slightly. See template.
3
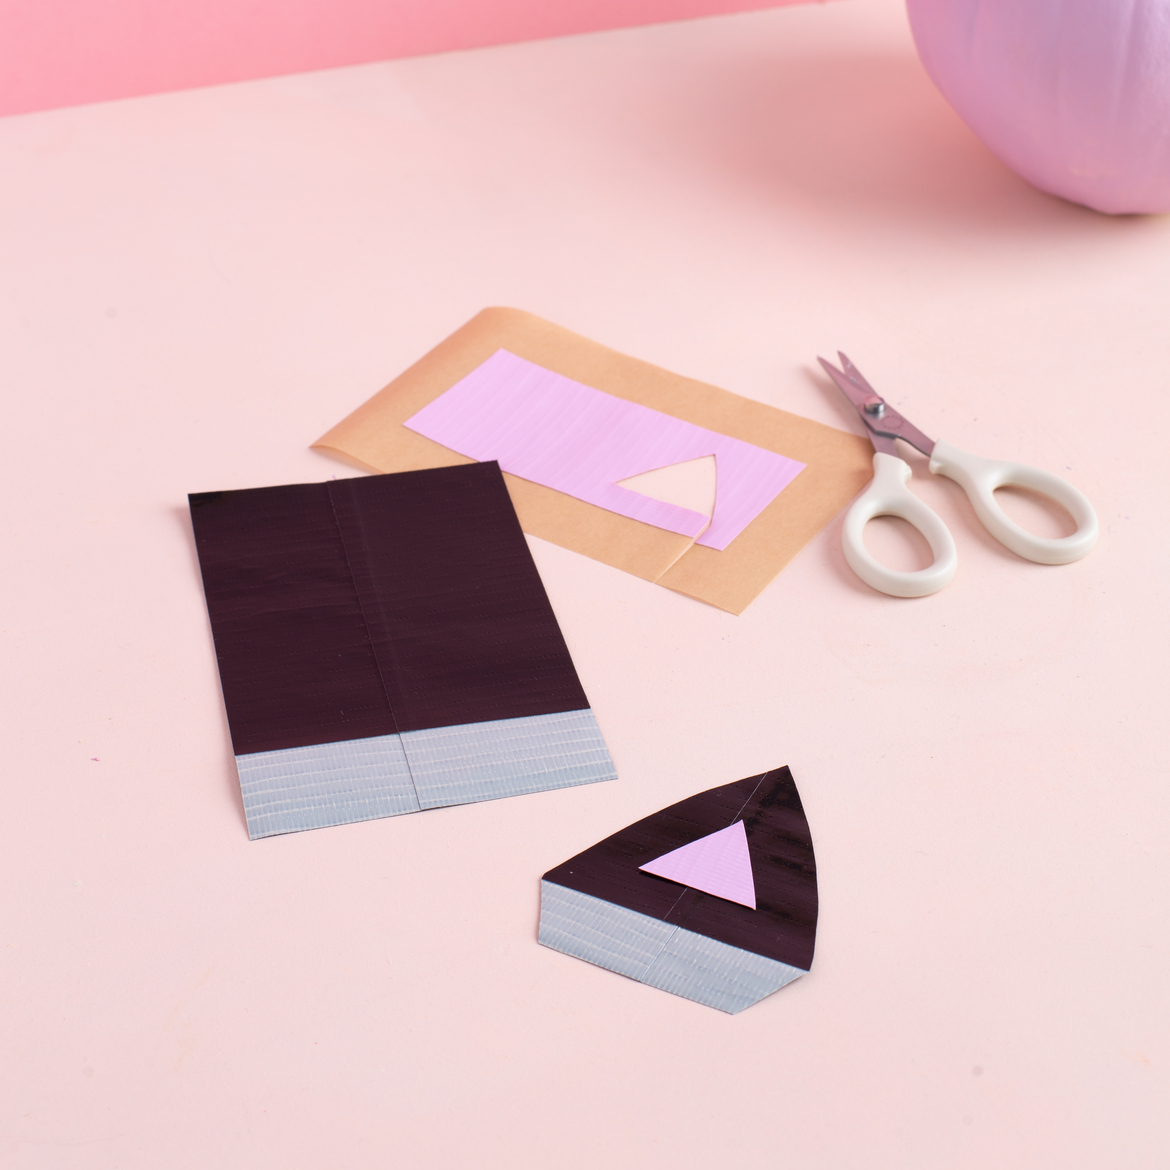
To create the ears, adhere two 8 in. strips of tape to a sheet of parchment paper side-by-side, overlapping slightly. Remove from parchment, and fold in half as shown, leaving a 1/2 in. section of the adhesive side revealed. Cut away excess tape to create a triangular ear shape. Cut inner ear shape from a contrasting color of tape and affix.
4
Apply face details to pumpkin as shown. To attach the ears, cut notches along the bottom of the ear and shape it around the pumpkin. Adhere to pumpkin and secure with two sewing pins in each corner.
5
If desired, add a tail made of tissue festooning. Use a piece of Duck Tape to attach to back of pumpkin.
