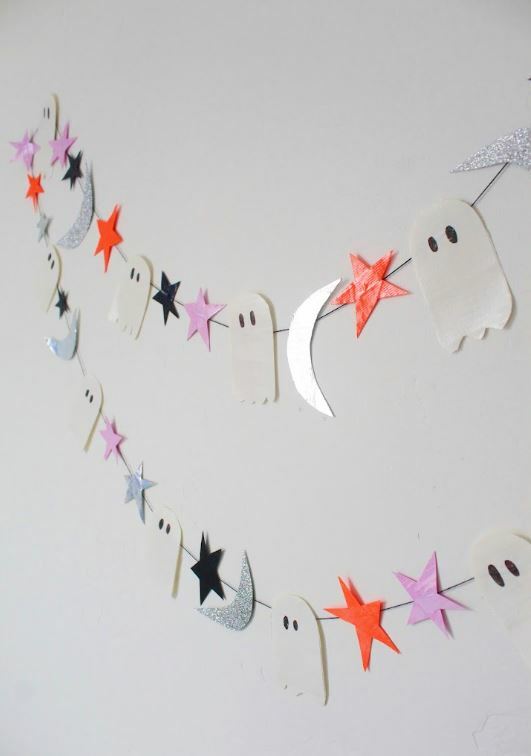
How To: Easy Halloween Garland
Supplies & Tools
- Duck Tape® in Baby Pink, Chrome, Black, White, Neon Orange
- Duck® Glitter Crafting Tape in Silver
- Scissors
- Permanent Marker in Black
- String
7 Steps
1
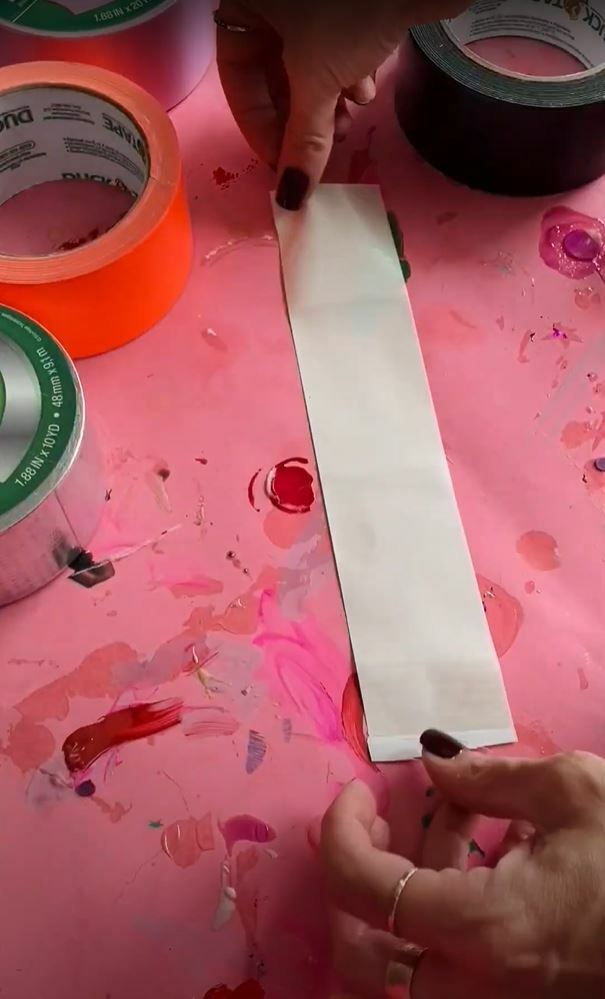
Cut a 12 in. strip of Duck Tape® in white and place on a flat surface, sticky side up.
2
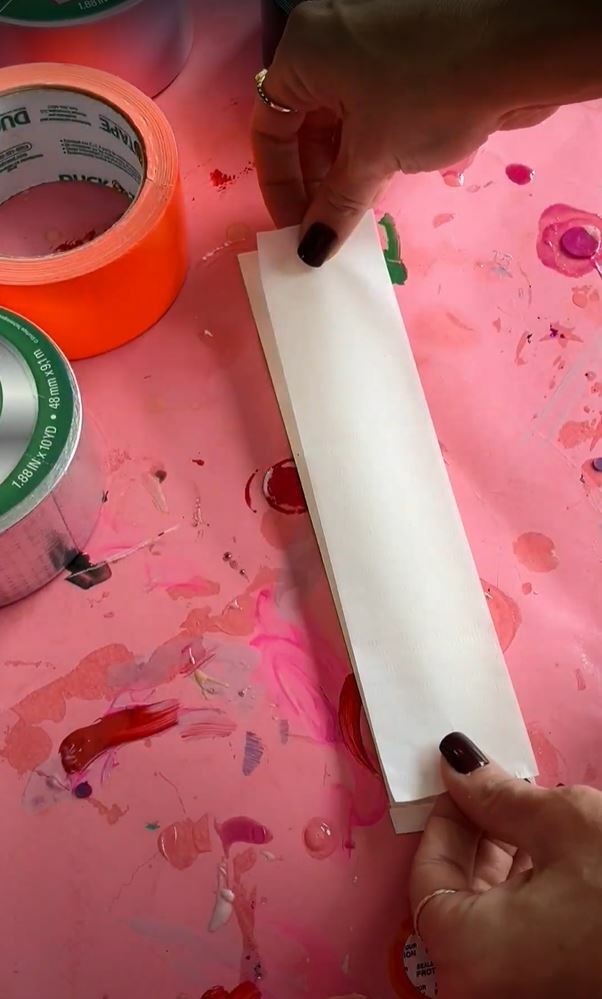
Cut another 12 in. strip of Duck Tape® in the same color and place it directly on top of the first strip of tape so that both sticky sides of the tape are touching. Use your fingers to smooth out any bumps or bubbles.
3
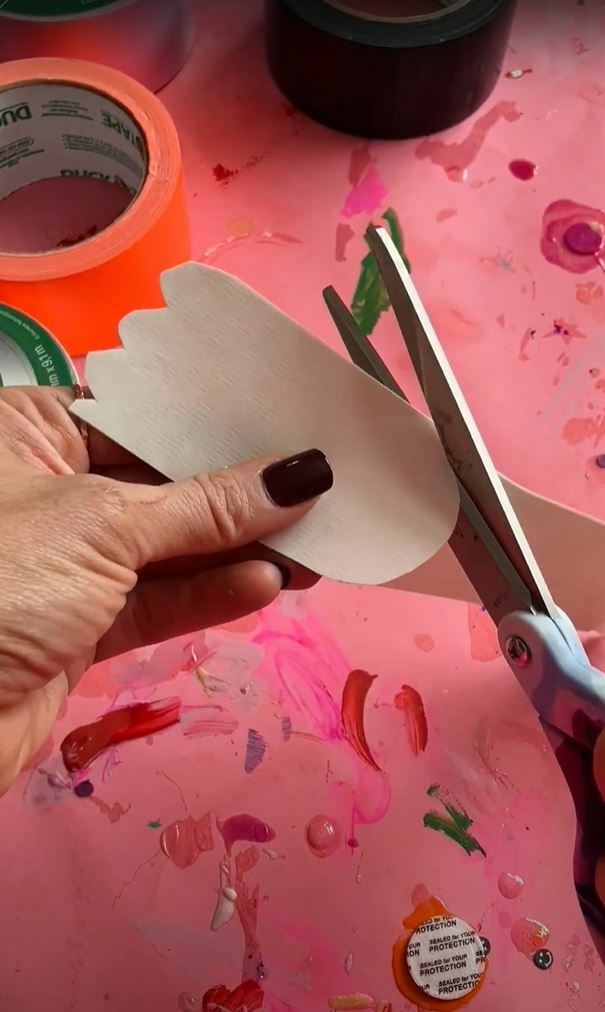
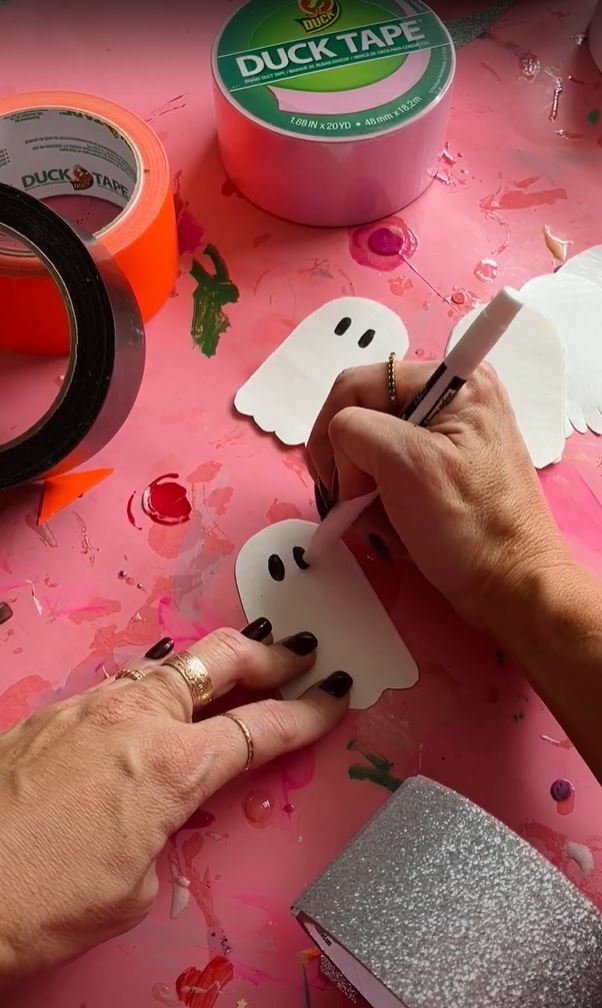
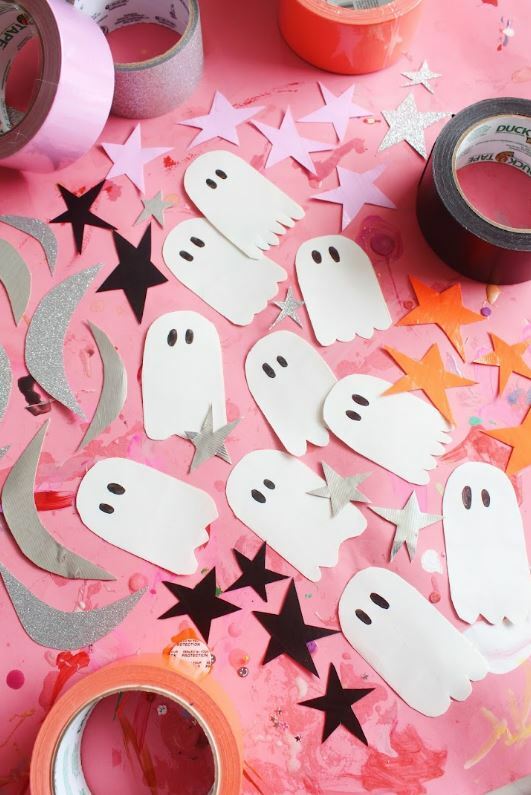
Using scissors, cut ghost shapes from the strip of tape.
4
Using a black permanent marker, draw eyes on the ghosts.
5
Repeat this process to create your desired shapes in your desired colors. For instance, we used silver to make half moons, and baby pink, black and neon orange to make stars.
6
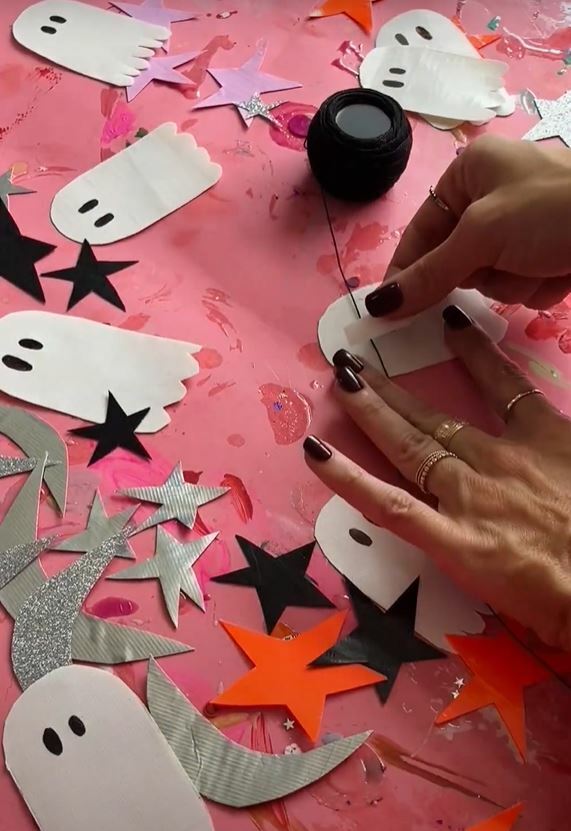
Once you have created all of your desire shapes, cut a number of small strips (approx. ¼ in. x ½ in.) of Duck Tape® in matching colors to your shapes. Attach the shapes to your string by taping them to the back of each shape using its matching tape strip.
7
Hang and enjoy!