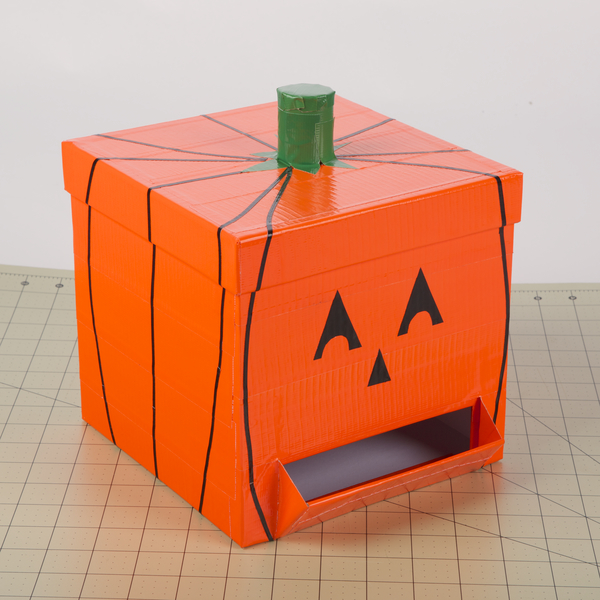
How-To: Duck Tape® Pumpkin Candy Dispenser
Supplies & Tools
- Color Duck Tape®
- Box
- Scissors
- Crafting Board
- Wrapped Candy
9 Steps
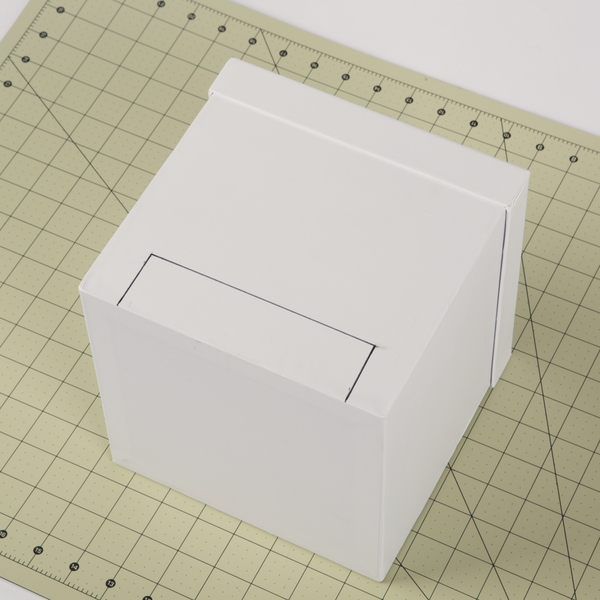
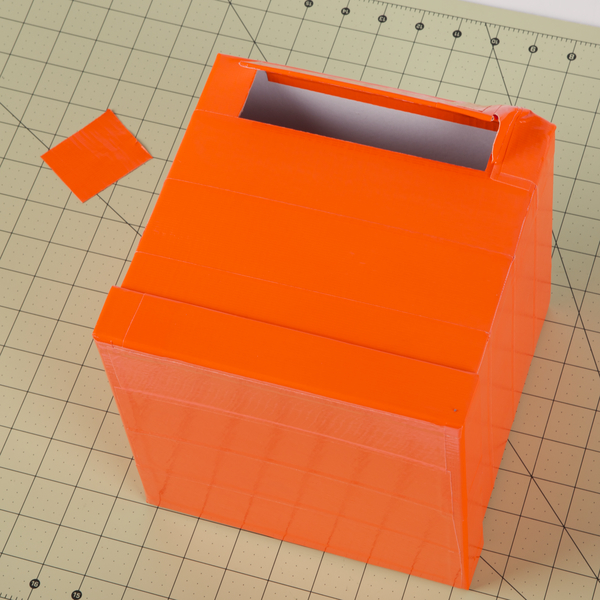
1
Draw three lines to make a flap on the front of your box.
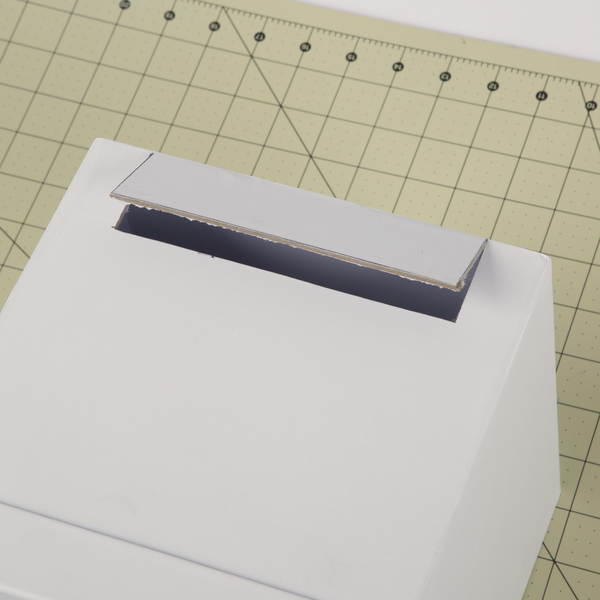
2
Cut along the lines.
3
Cover your box and flap with Duck Tape®.
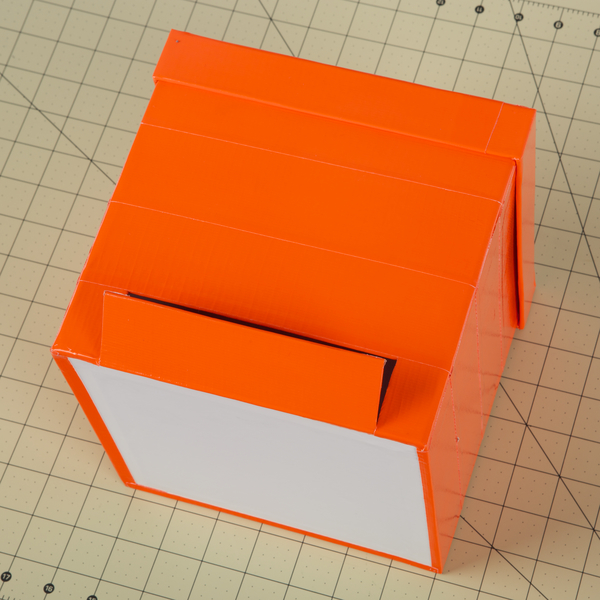
4
Attach two Duck Tape squares to the sides of your flap to secure it to the box.
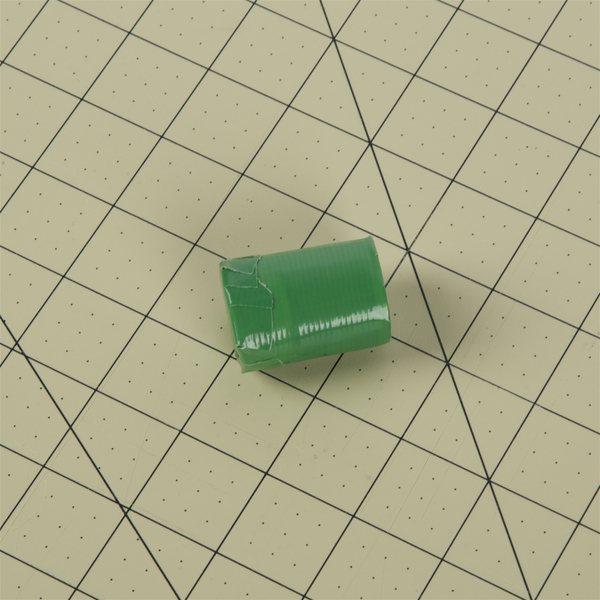
5
Make the stem of your pumpkin. You can cover an existing material or form a double sided strip of tape into a loop and attach a circle on the top.
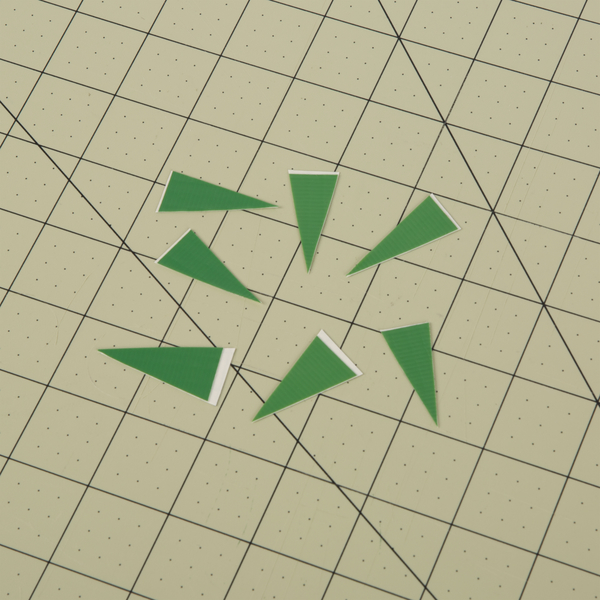
6
Cut out Duck Tape triangles.
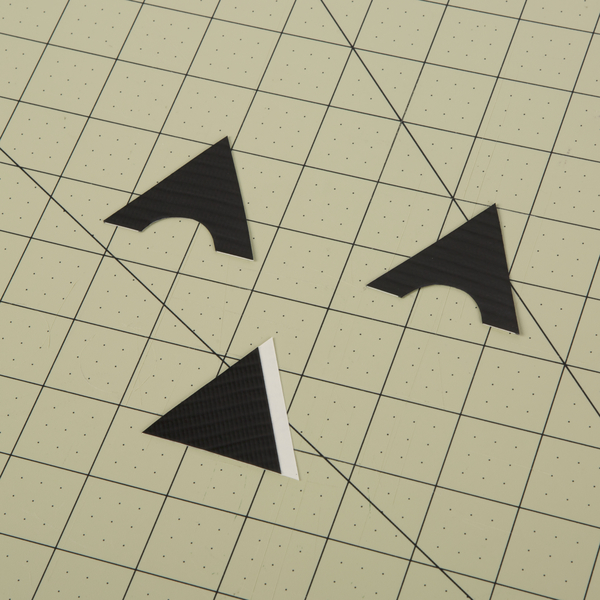
7
Cut out the face for your pumpkin.
8
Cut out long strips of tape.
9
Place your cut outs from steps 5-8 to the front of the box. Attach your stem using the triangles and arrange your strips of tape to form the shape of your pumpkin.