How-To: Duck Tape® Daisy Pen
How-To: Duck Tape® Daisy Pen
Turn ordinary office supplies into something colorful and fun with Duck Tape®.
Tutorial

Beginner
45 Minutes
Supplies & Tools
- Color Duck Tape®
- Pen
- Floral Wire
- Wire Cutters
- Scissors
- Crafting Board
Scroll down for step-by-step directions.
Disclaimer - If the listed tape type is not available, there's no need to worry. All of our crafts can be adjusted to use whatever tape you have on hand!
Directions
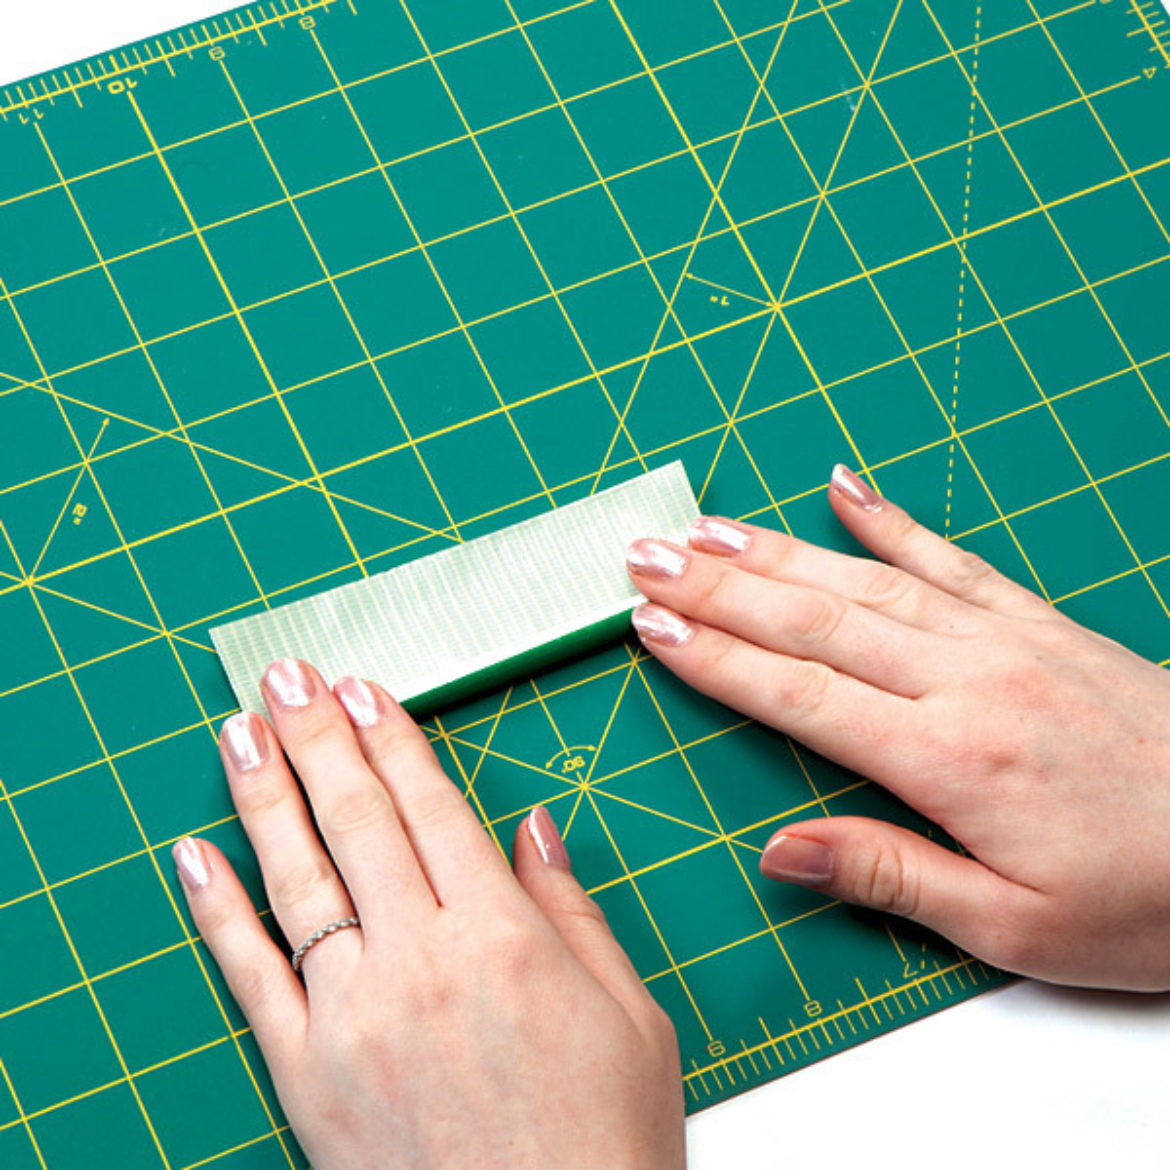
Step 1
Place your pen on the outside edge of a strip of Duck Tape® and roll the pen across to cover.
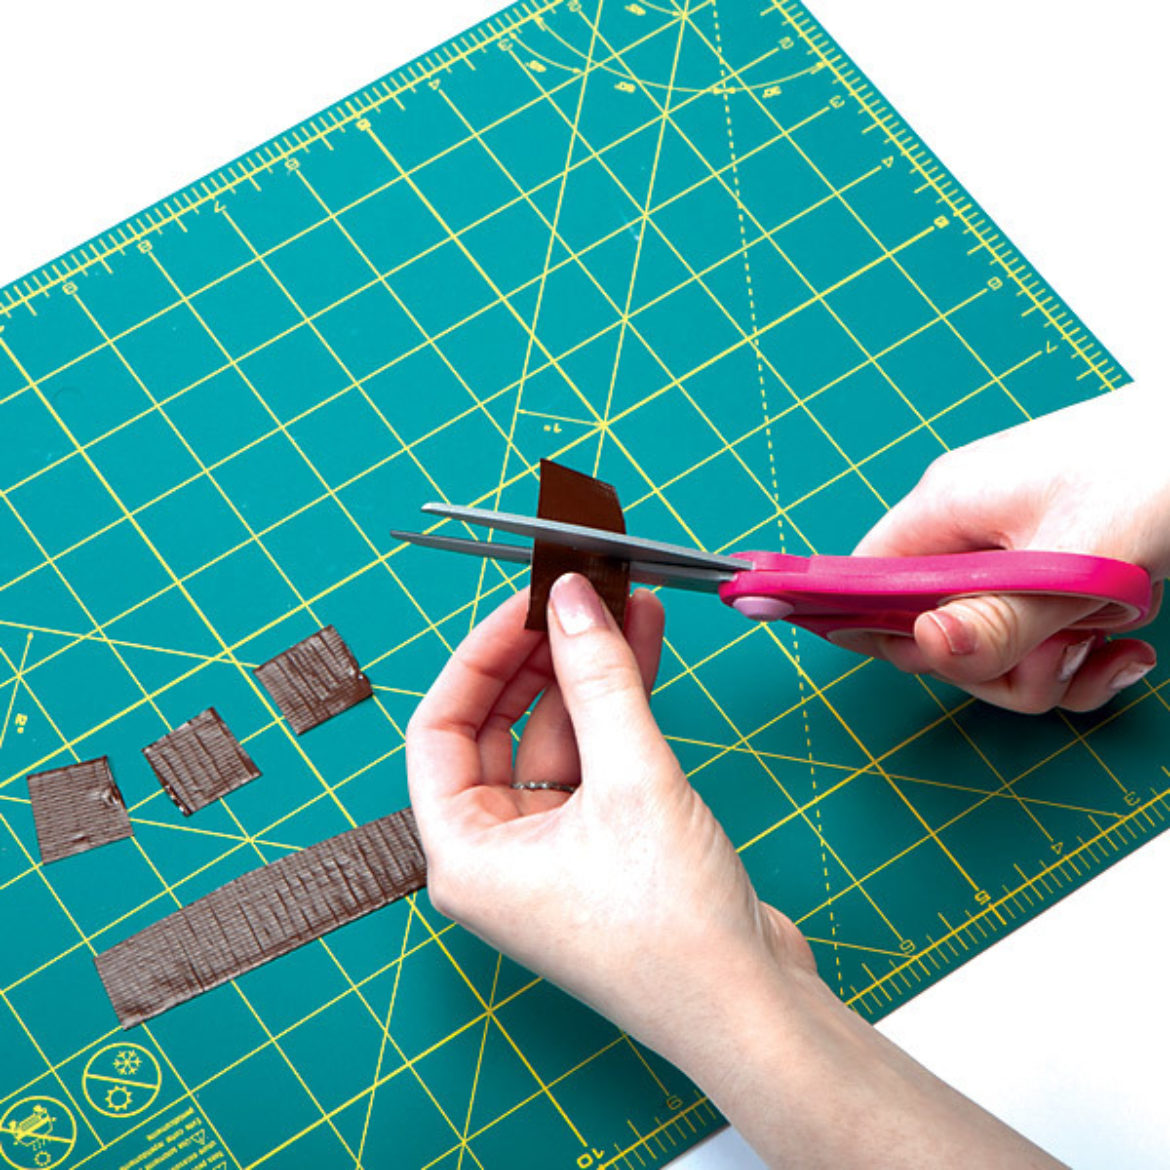
Step 2
For the center of the flower, cut out several squares of Duck Tape® measuring 2 in. each. You will need about 22-30.
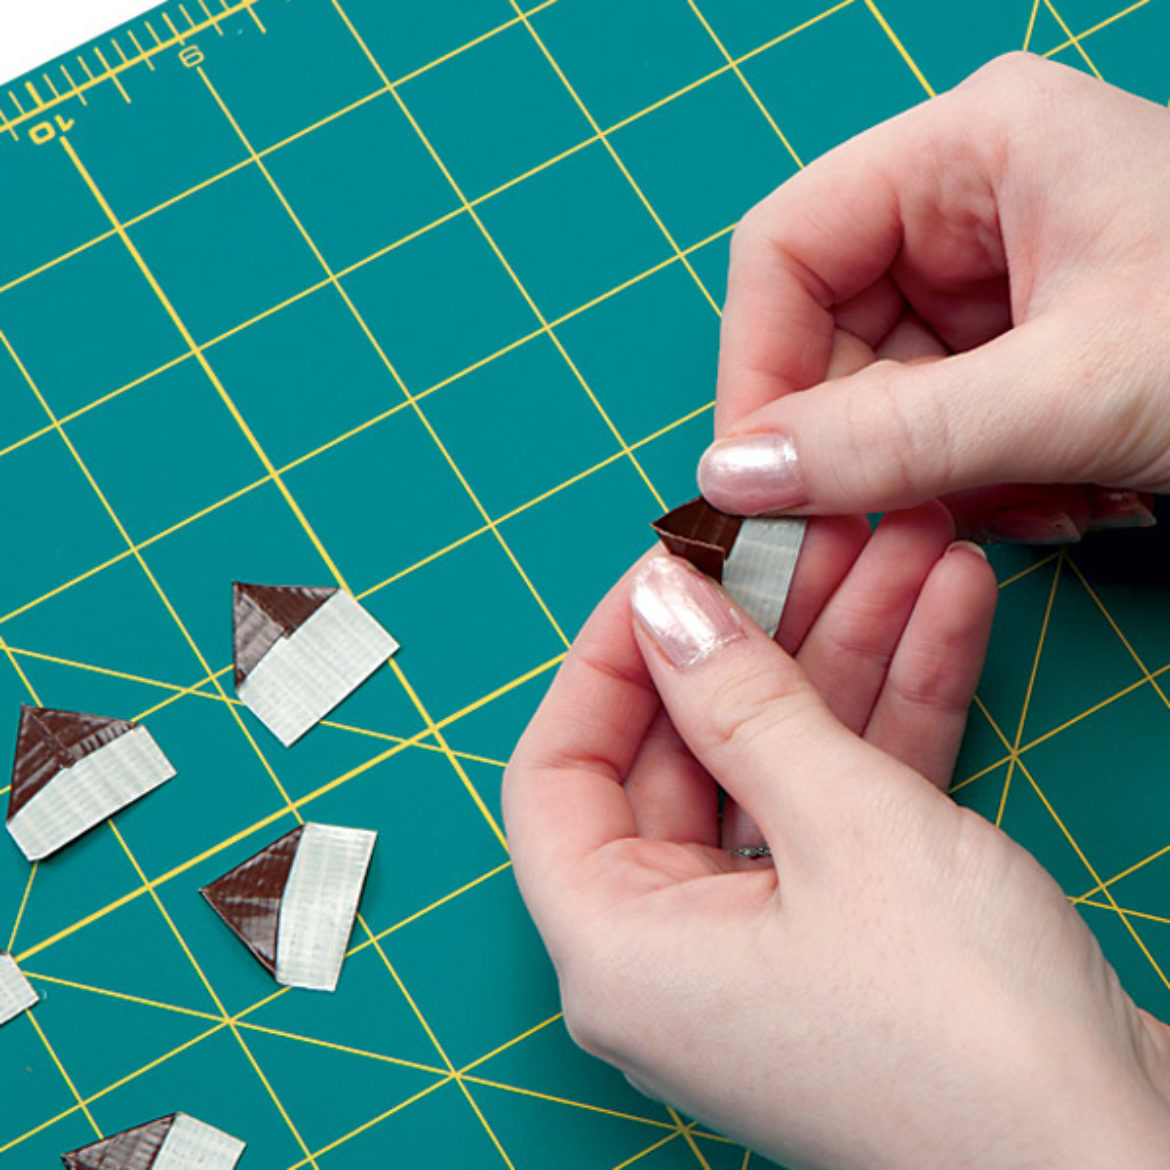
Step 3
Sticky side up, fold each edge over itself, leaving only stickiness on the bottom of the squares.
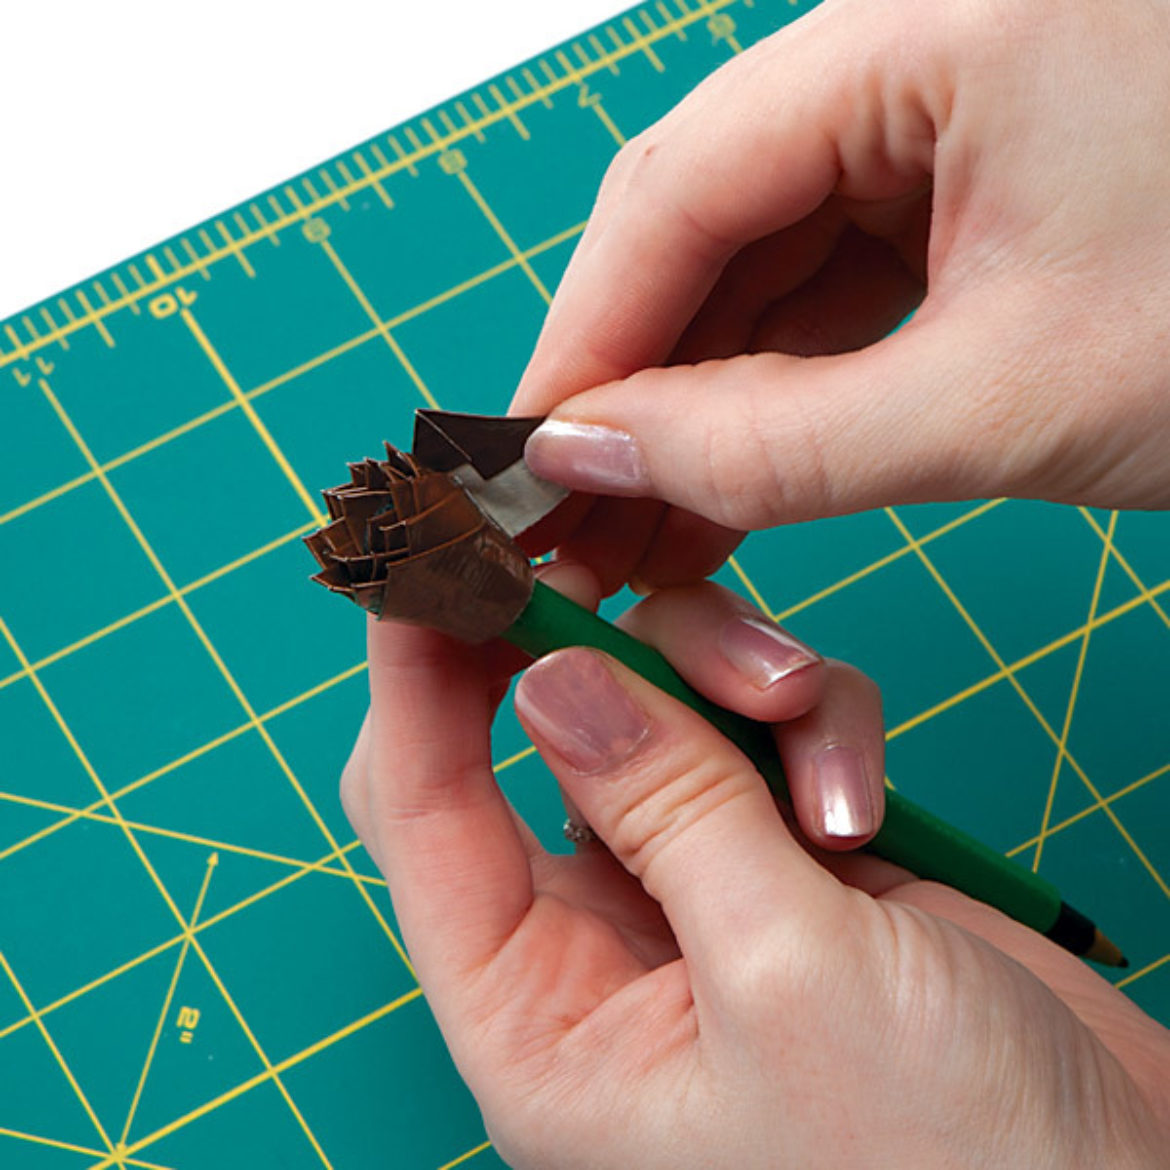
Step 4
Roll the pieces from step 3 around the top edge of the pen creating the center of the flower. Set this aside.
Step 5
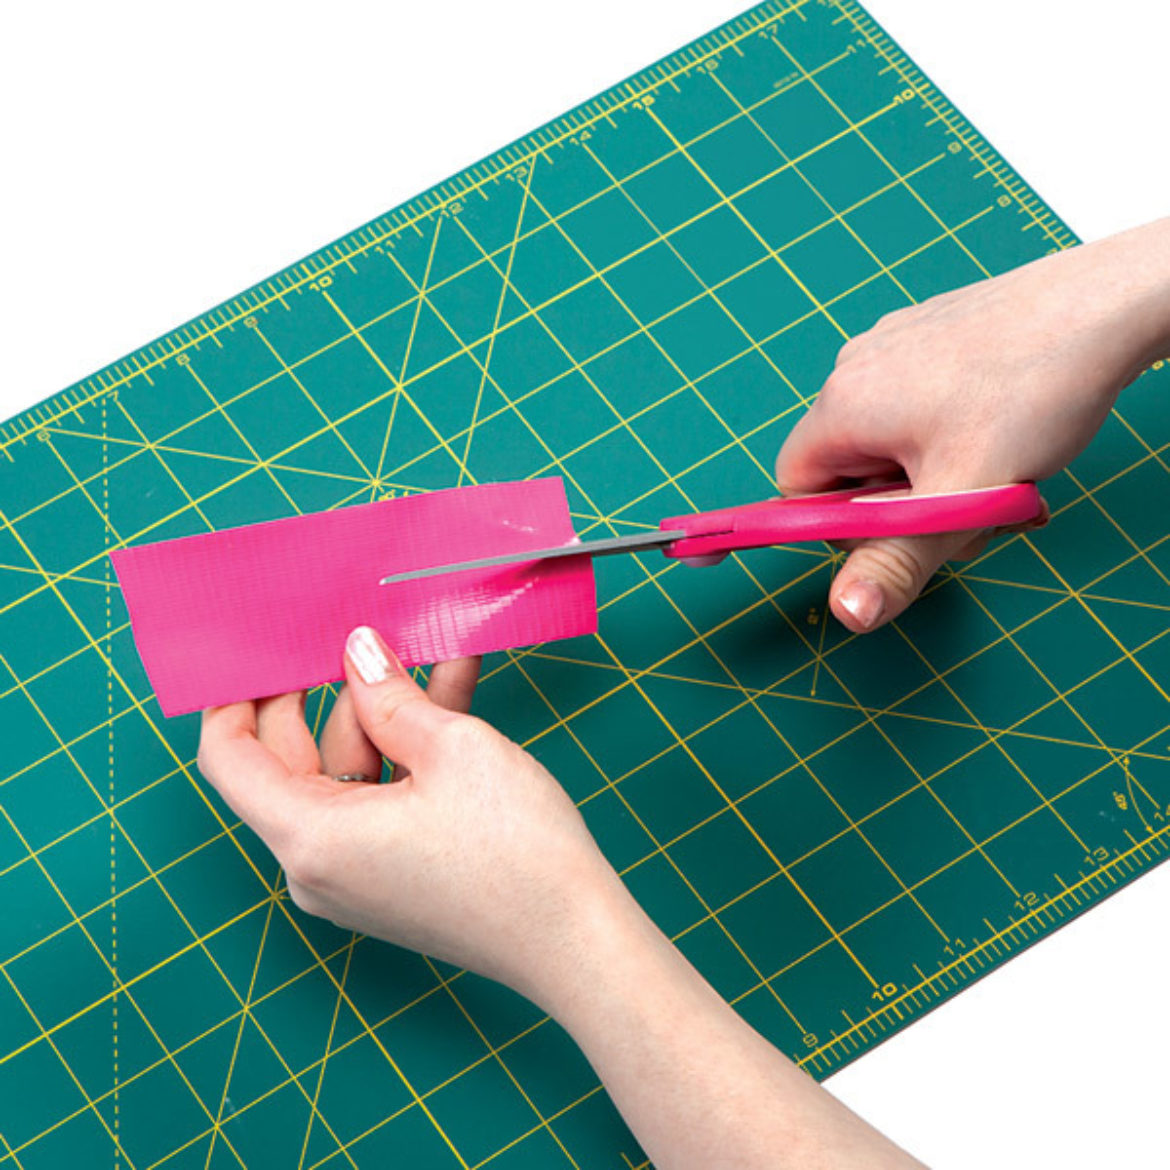
For the flower petals, cut eight pieces of Duck Tape® that are 5 in. long and 1 in. wide.
Step 6
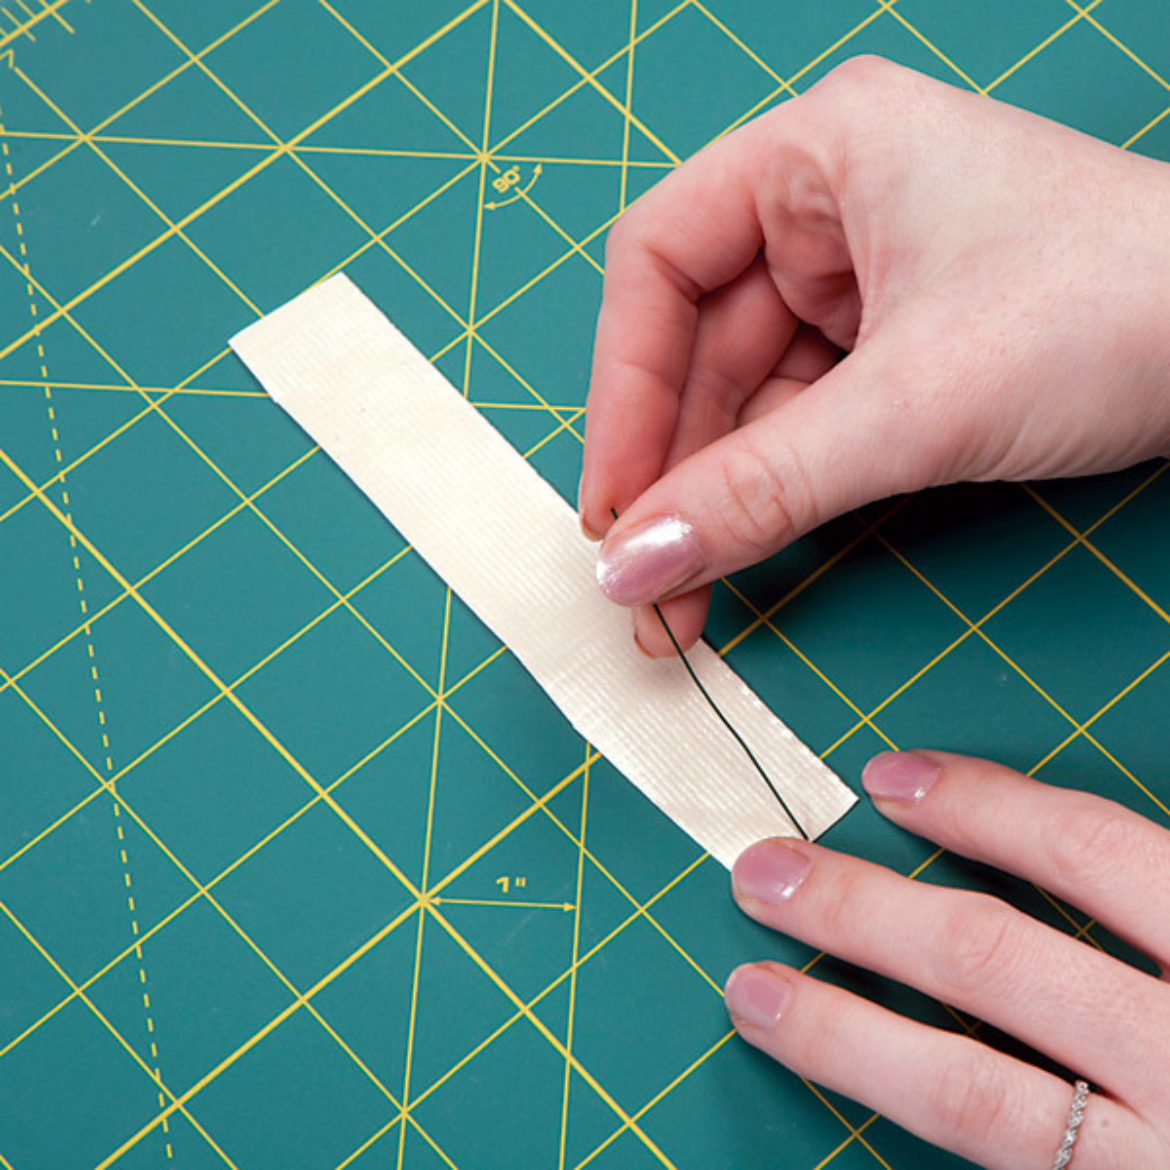
Using wire cutters, cut a 3 in. piece of floral wire and place the wire toward the end of your tape strips from step 5.

Step 7
Fold the top of the tape over, leaving the bottom half of the petal with the sticky side of the tape exposed.

Step 8
Cut the folded side of the tape strip into a flower petal shape.
Step 9
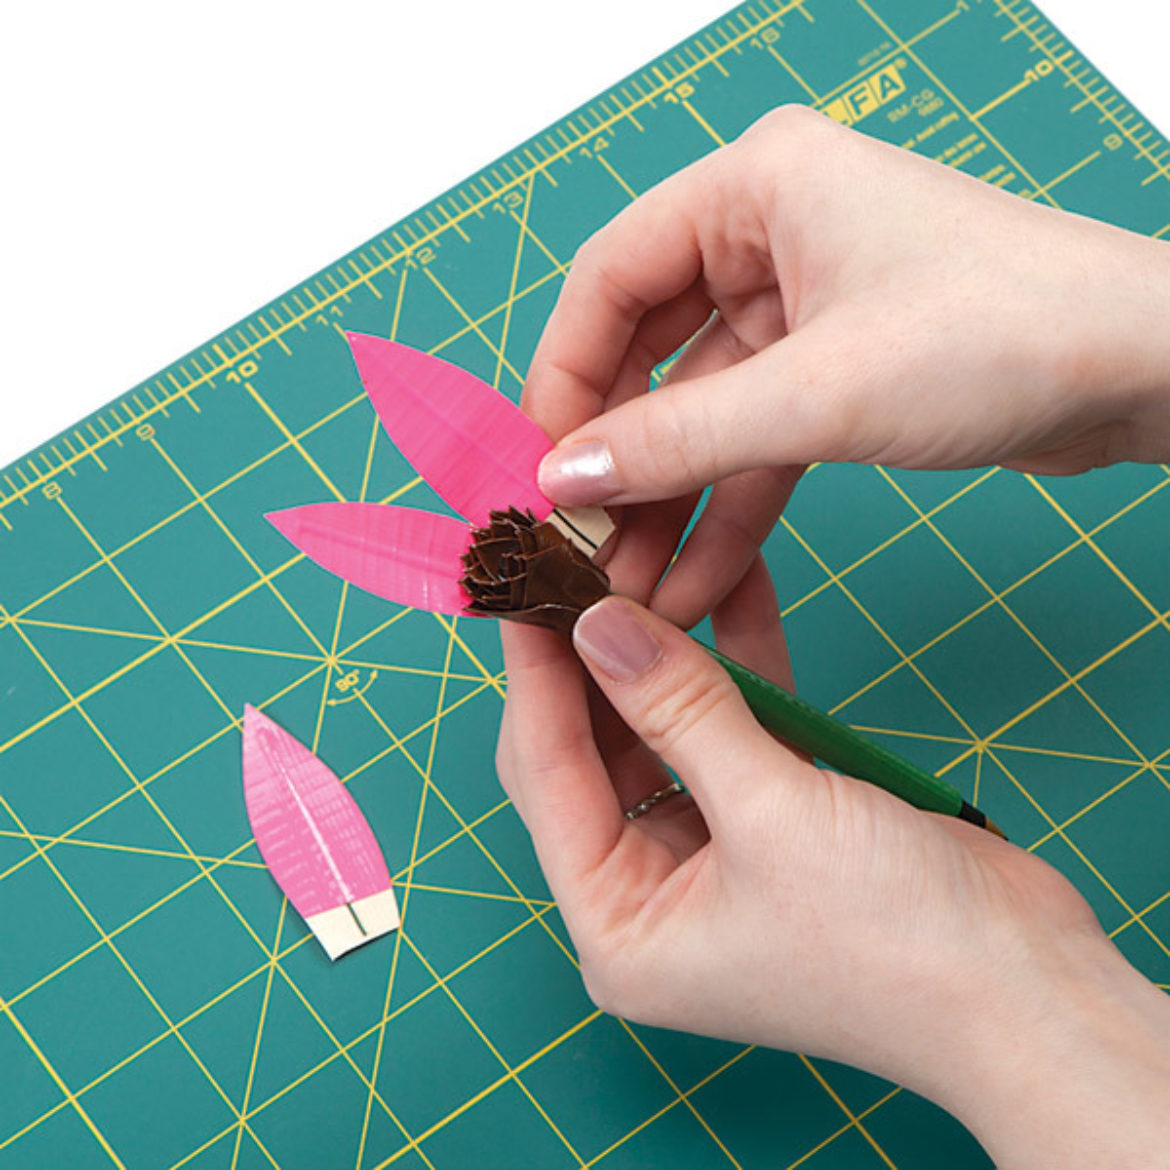
Take your petals and place the side with the adhesive showing on the stem and wrap the edges around it.

Step 10
Repeat steps 6-10 until you have a total of eight petals.

Step 11
Cut a 2 in. piece of Duck Tape® and cut four squares out of it. Place each of the squares at the base of the flower for a clean finish.
