How-To: Duck Tape® Flip Wallet
How-To: Duck Tape® Flip Wallet
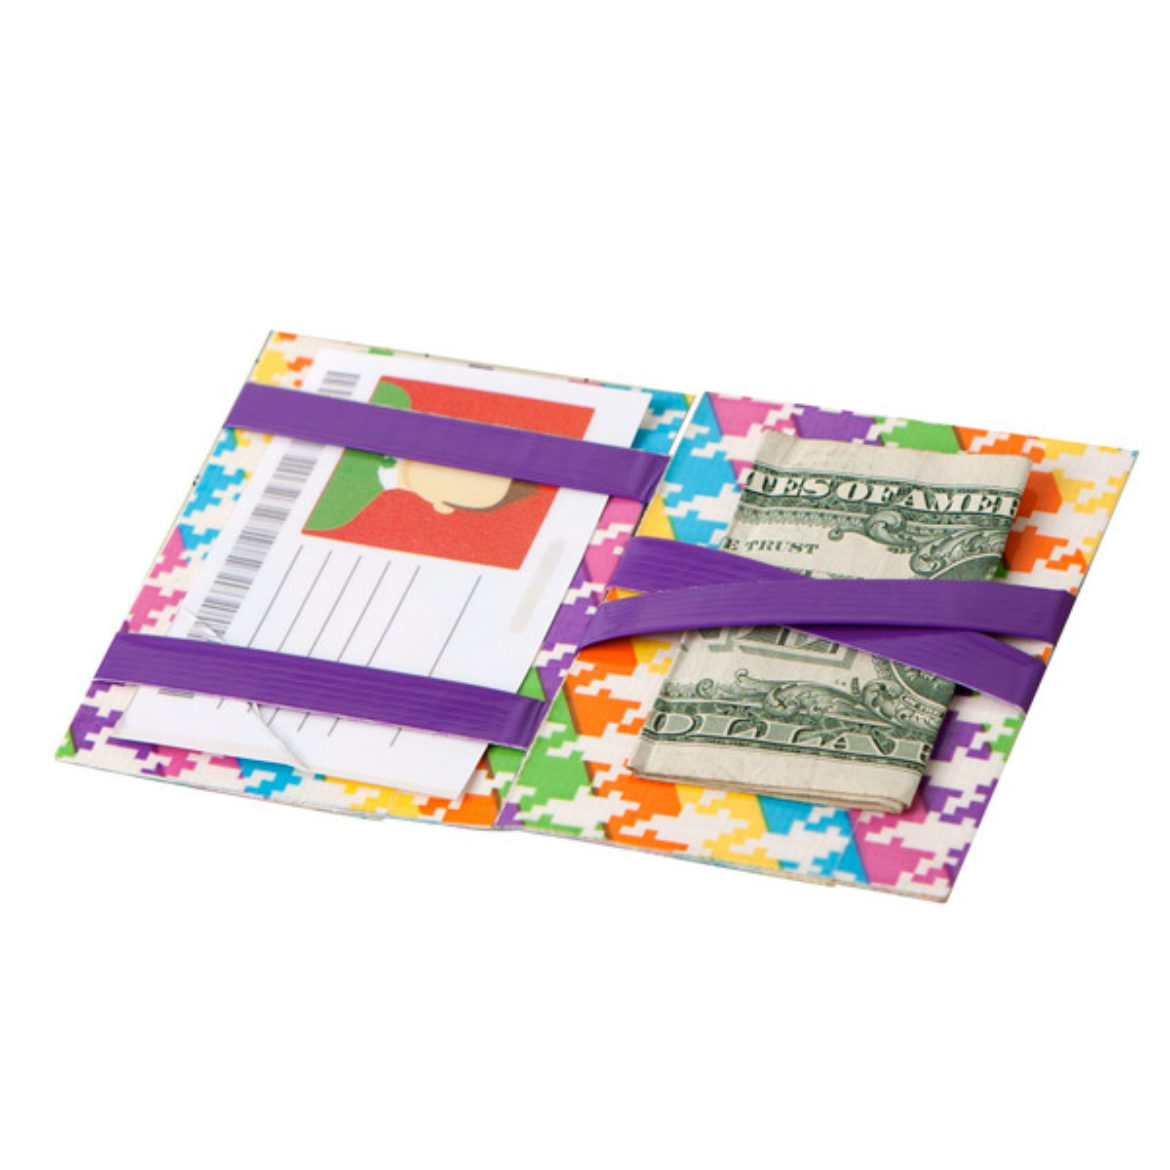
Take the magic of Duck Tape® wherever you go with this customized flip wallet.
Tutorial
Intermediate
30 Minutes
Supplies & Tools
- Duck Tape®
- Scissors
- Craft Knife
- Ruler
- Pen
- Card Stock
- Crafting Board
Scroll down for step-by-step directions.
Disclaimer - If the listed tape type is not available, there's no need to worry. All of our crafts can be adjusted to use whatever tape you have on hand!
Directions
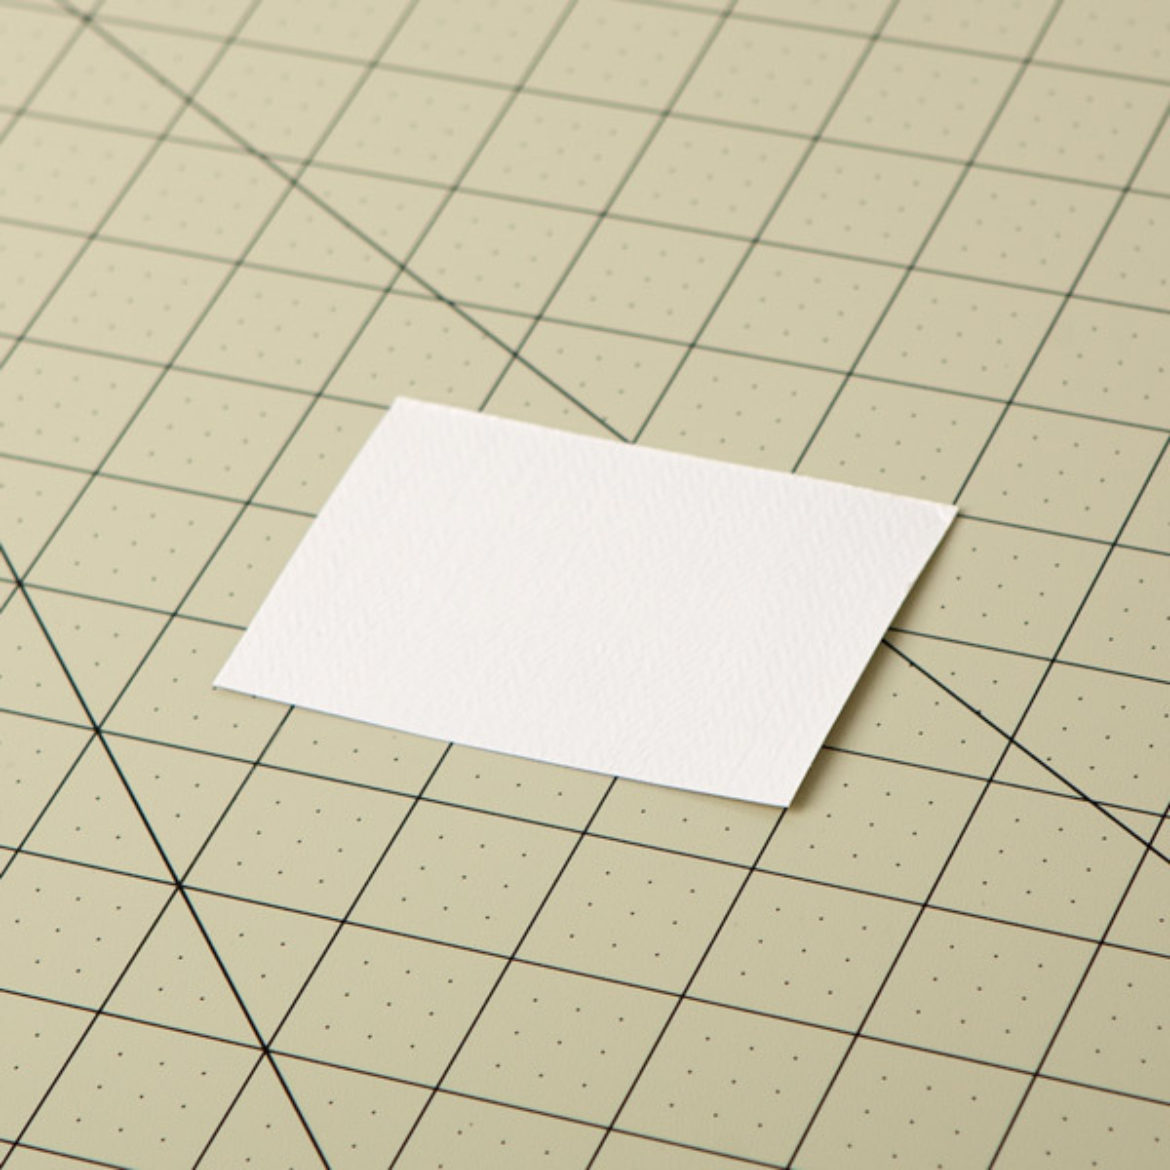
Step 1
Cover all the edges of your foam in Duck Tape®.
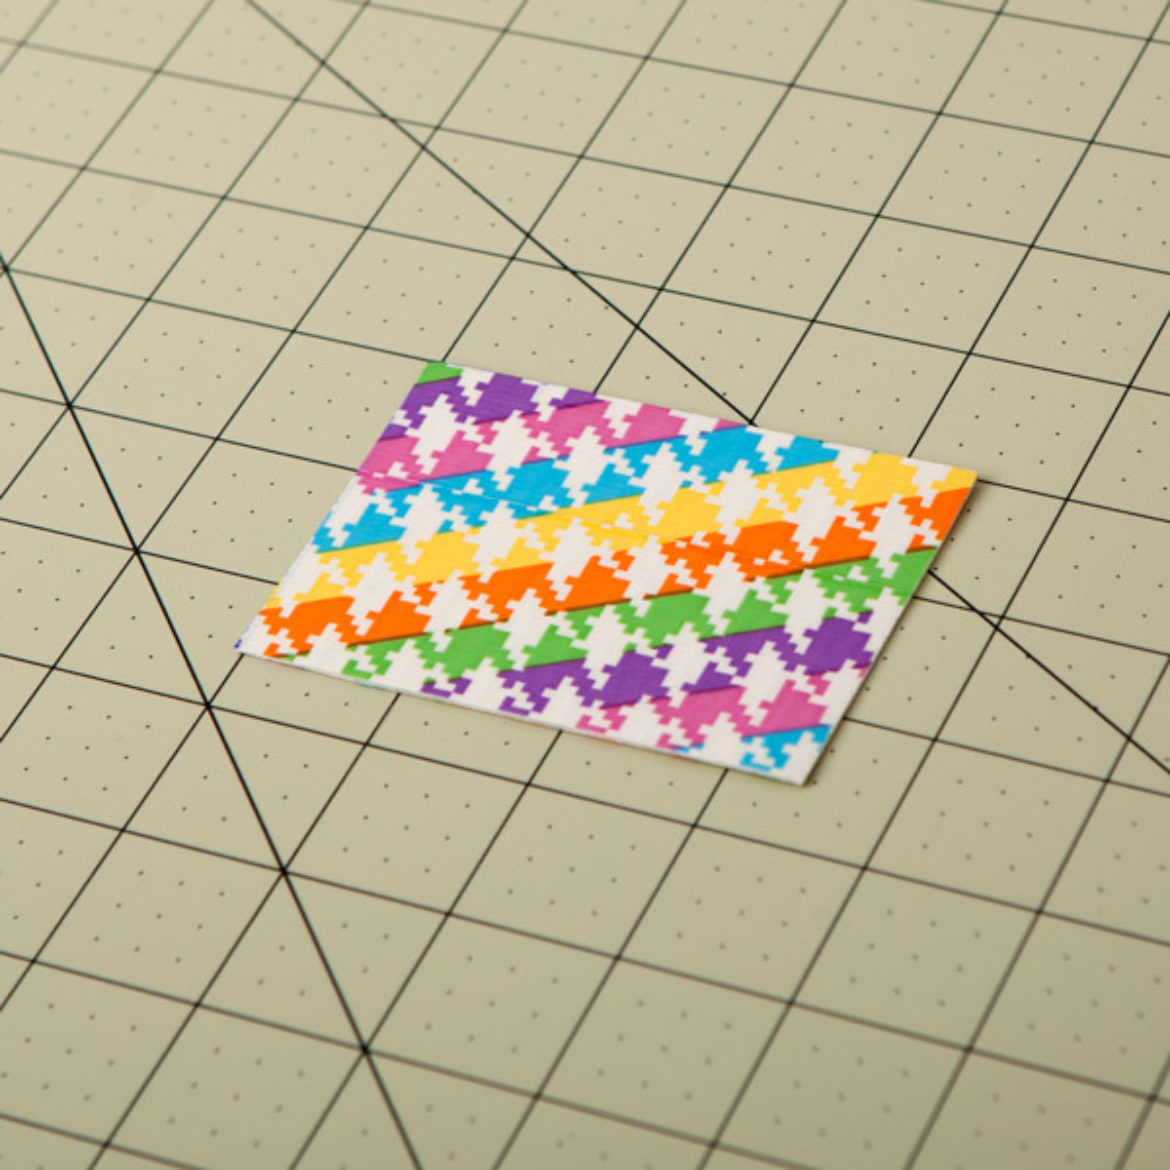
Step 2
Cover your card stock in Duck Tape®.
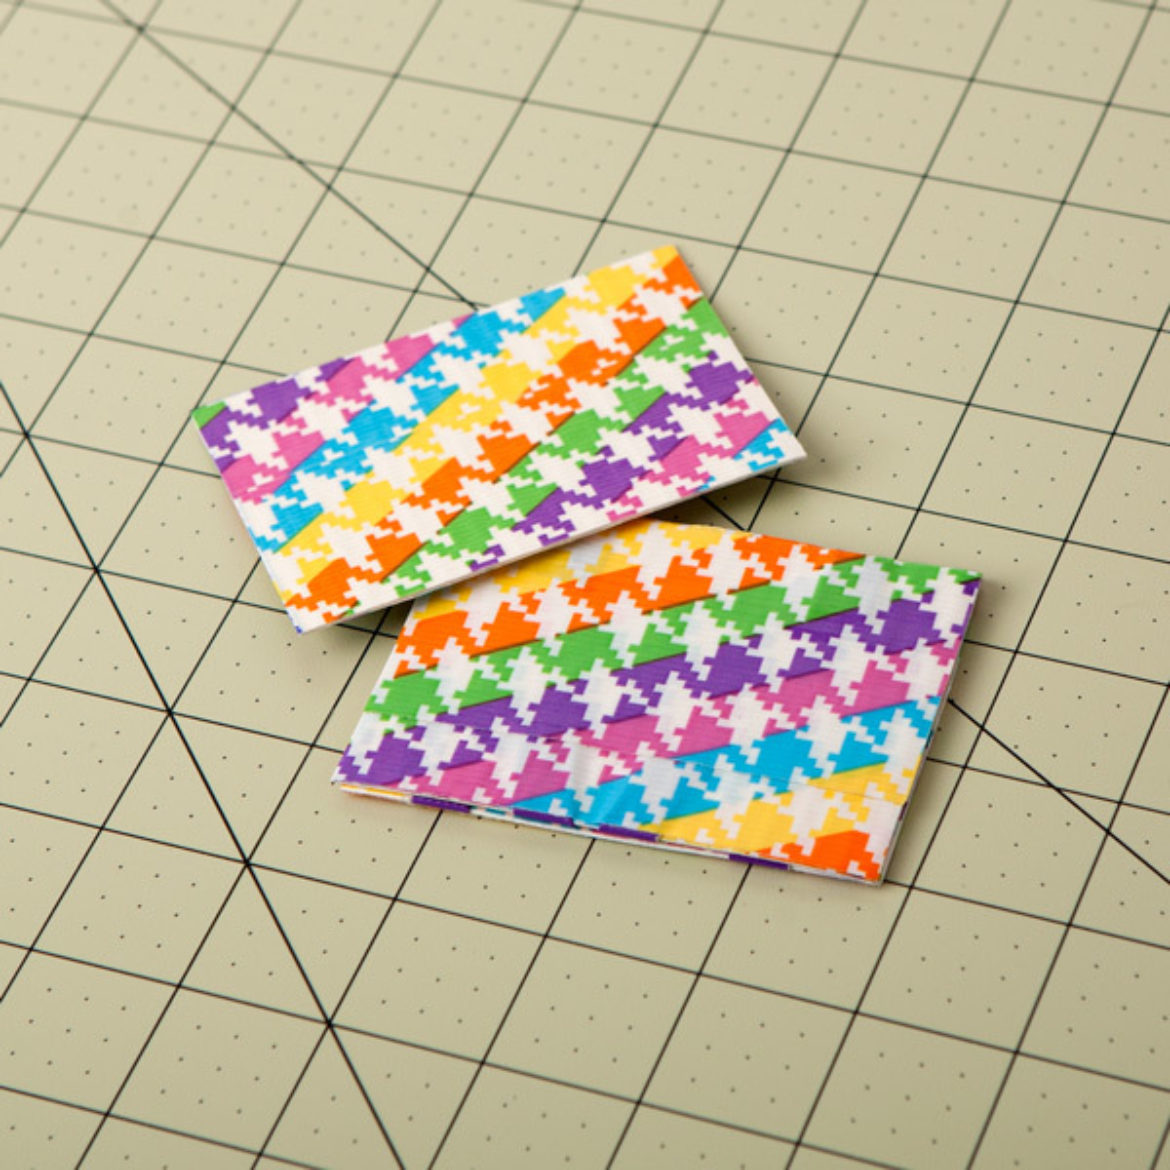
Step 3
Repeat steps 1-2 to make a second piece.
Step 4
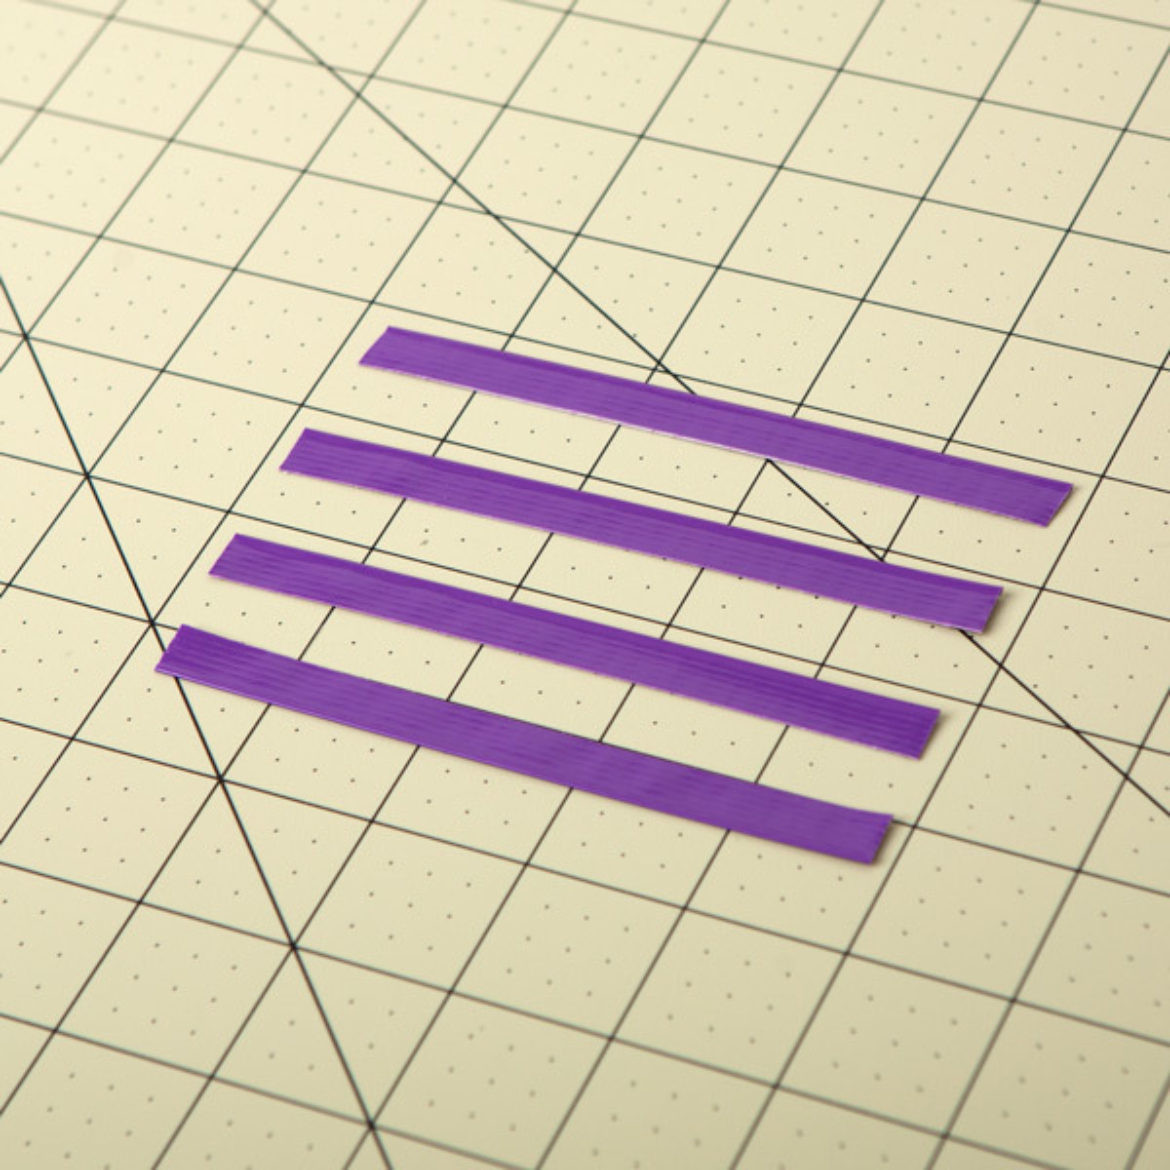
Make a double sided 4.5 in. long strip of Duck Tape® and cut it into 4 equal strips.
Step 5
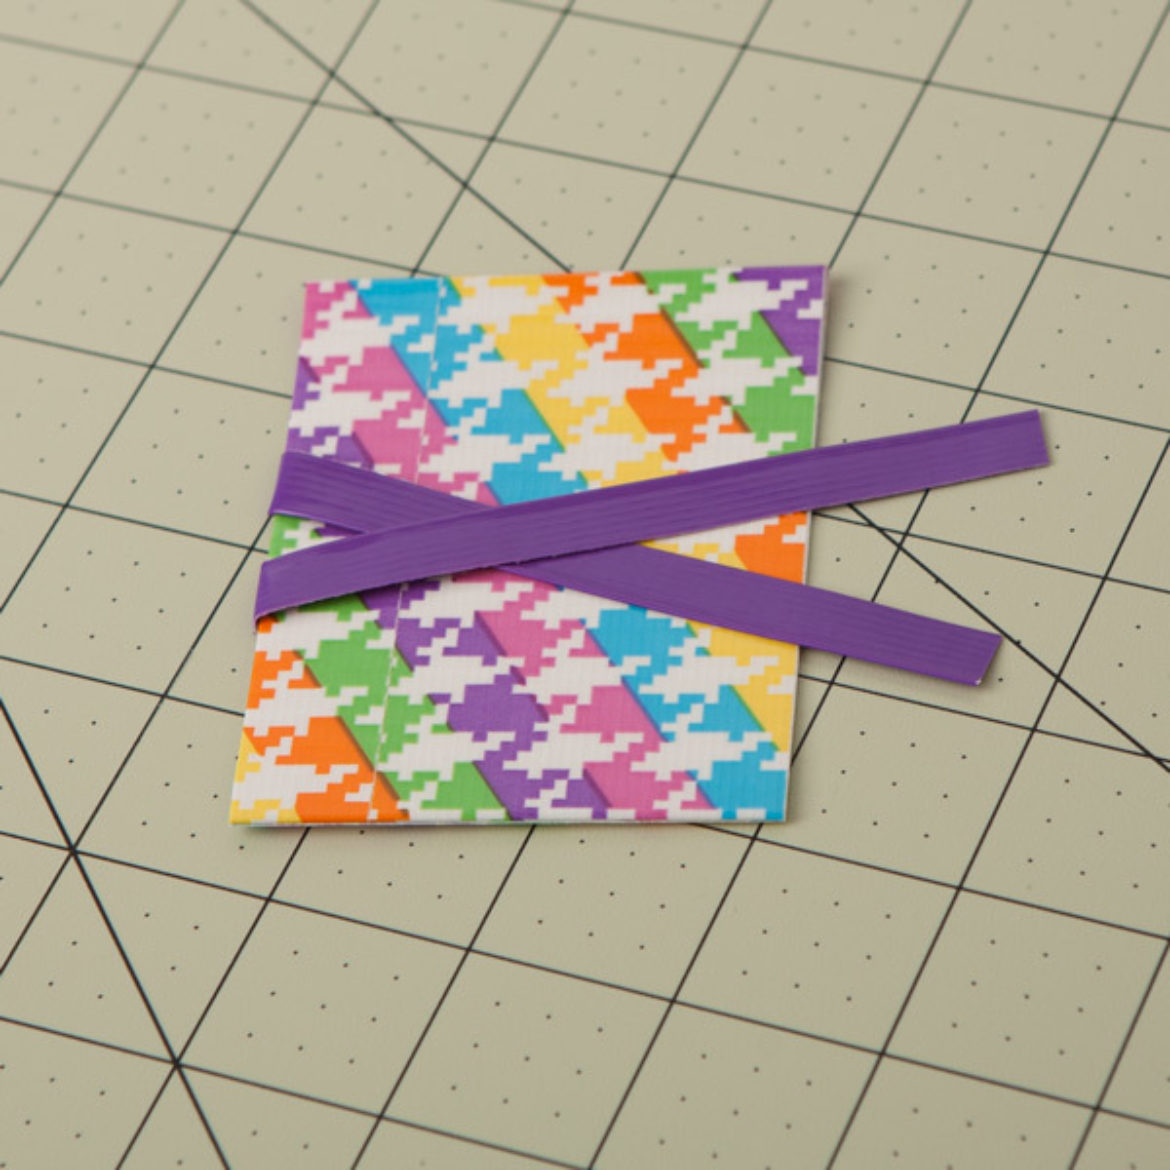
Crisscross 2 of your strips over top of one of your pieces of card stock.
Step 6
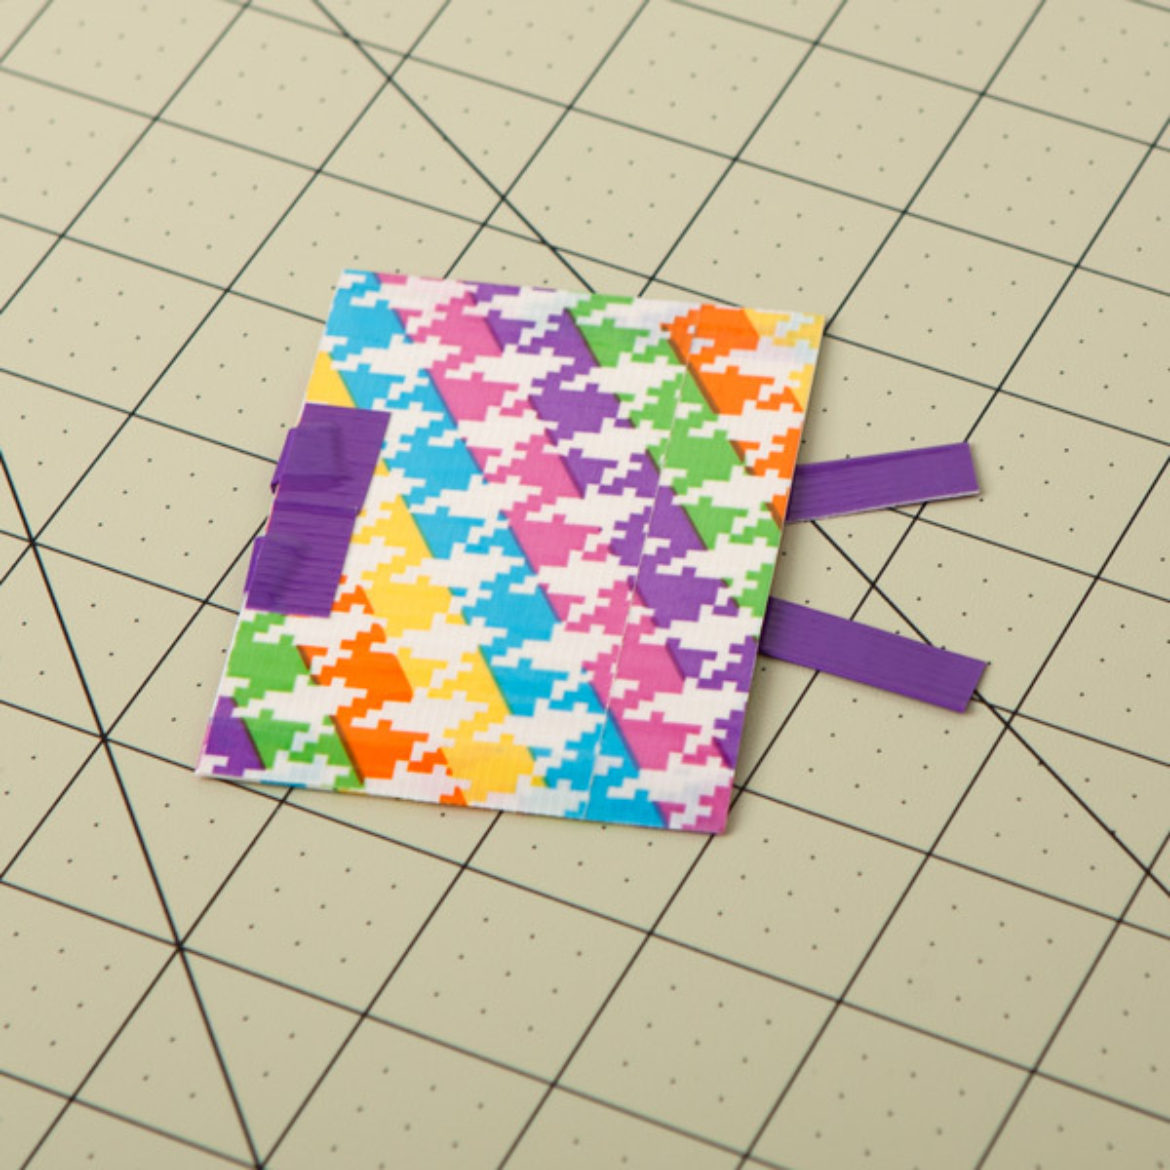
Fold the excess over the left edge and secure them using small pieces of tape.

Step 7
Place your second piece of covered card stock next to the first piece, making sure it’s on top of the other excess strips of tape.

Step 8
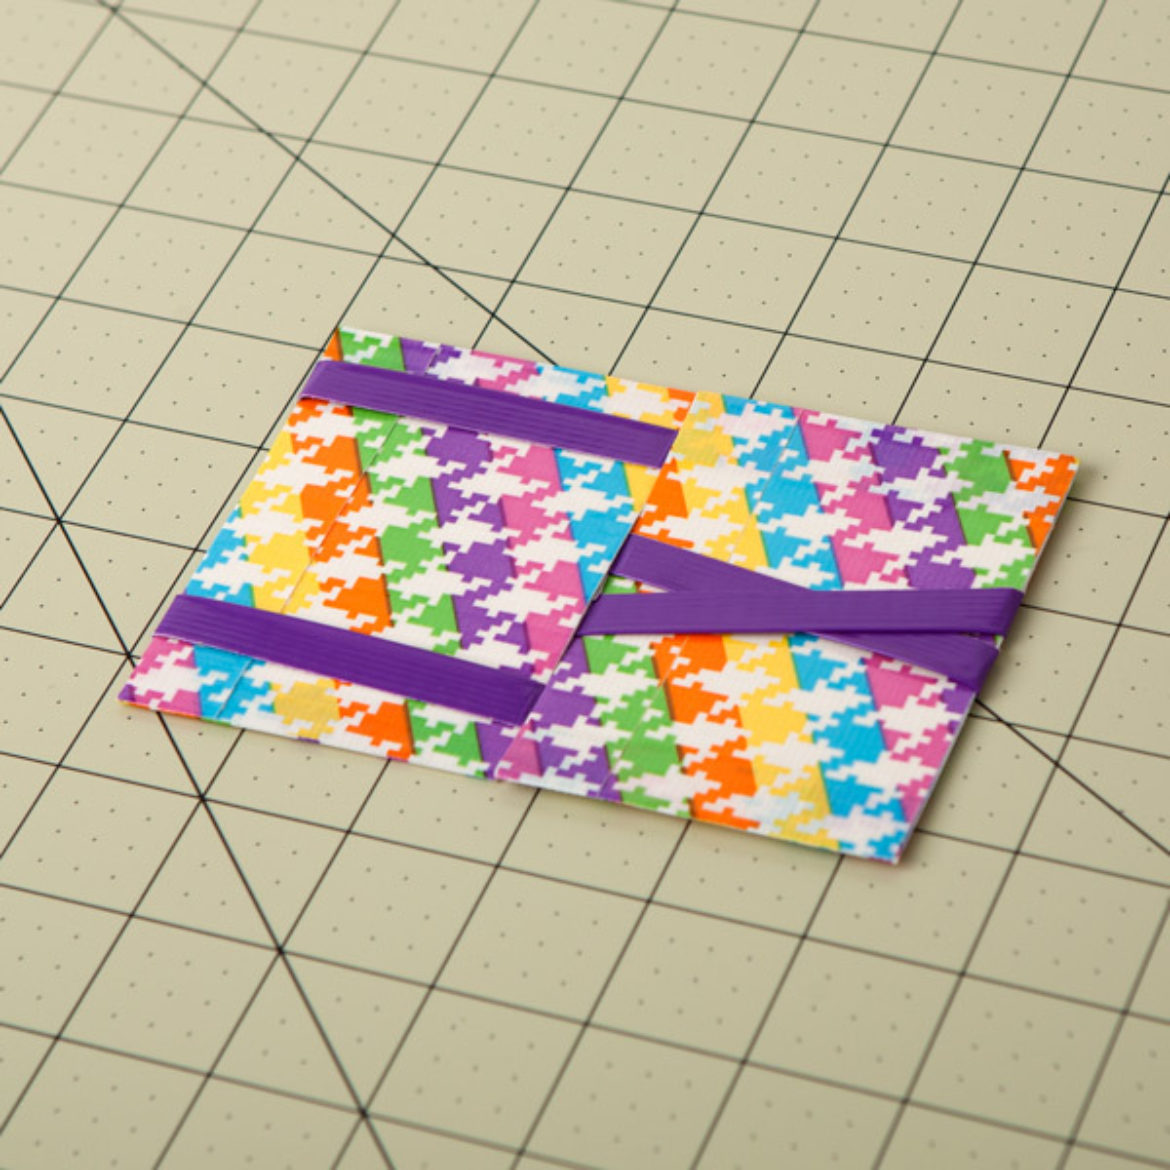
Take your last 2 strips of tape from step 4 and slide one in between the pieces of covered card stock on the top and slide one I between them on the bottom.
Step 9
Flip both pieces of card stock over and flip the excess tape over the back. Secure the strips with pieces of Duck Tape®.

Step 10
Cover the outside of the wallet with Duck Tape® for a finished look.
